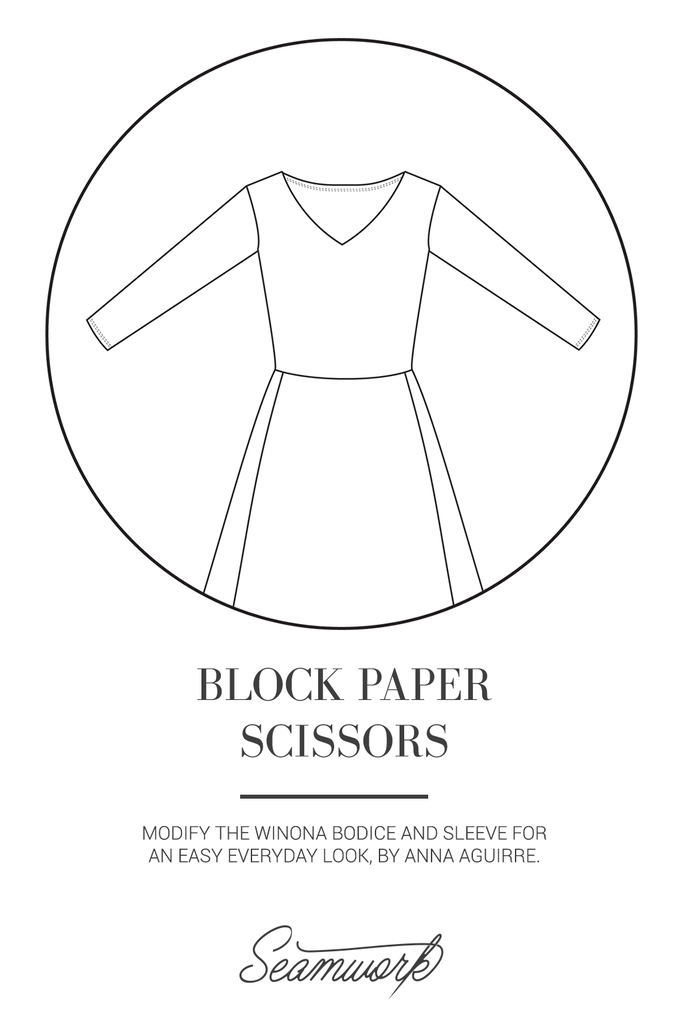
Block Paper Scissors is a monthly column featuring patternmaking hacks that will help you give your Seamwork patterns a custom spin—all you need is paper, a ruler, and a pencil!
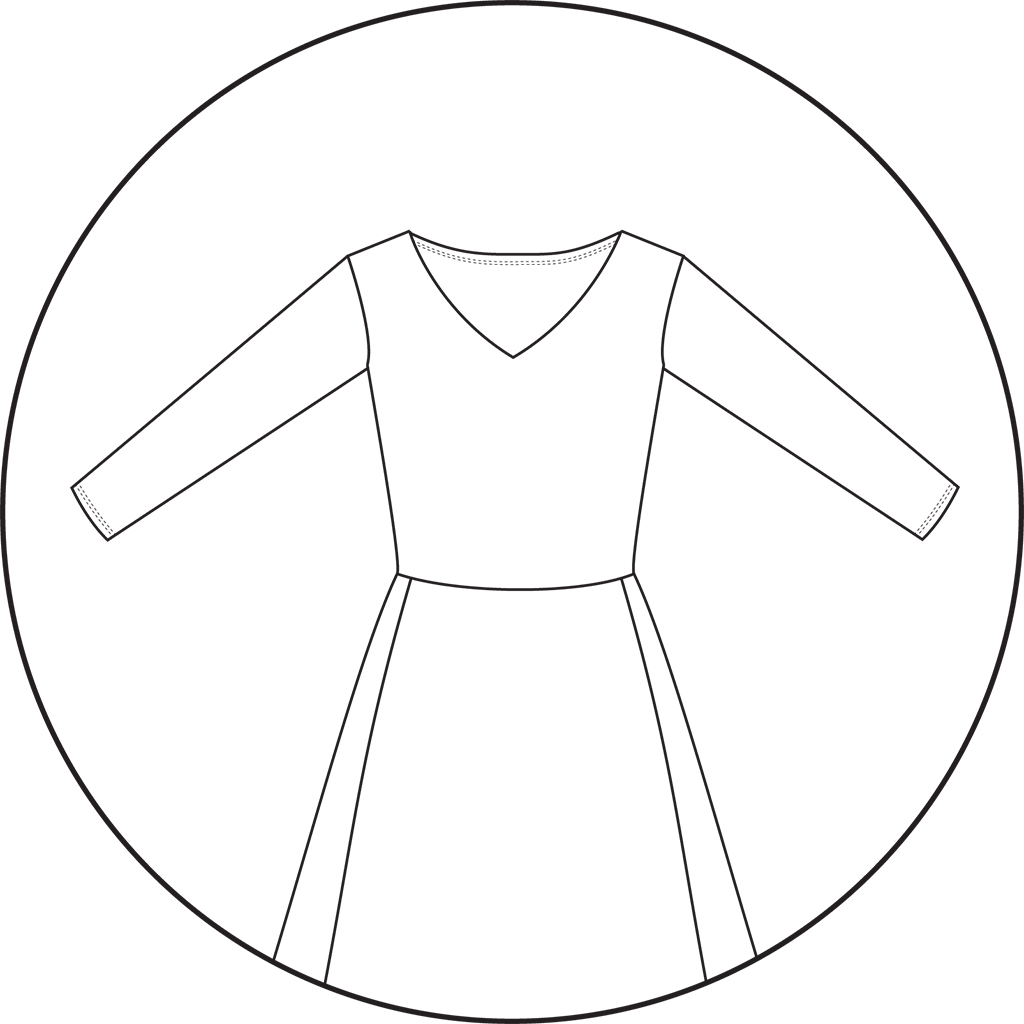
This hack shows you how to create a flattering V-neck for Winona, and taper the bell sleeves for a more understated look.
Note: Be sure to make any fit adjustments before doing the pattern hack.
You'll Need:
- Winona
- Pencil
- Tracing Paper
- Scissors
- Ruler
How to:
Step | 01
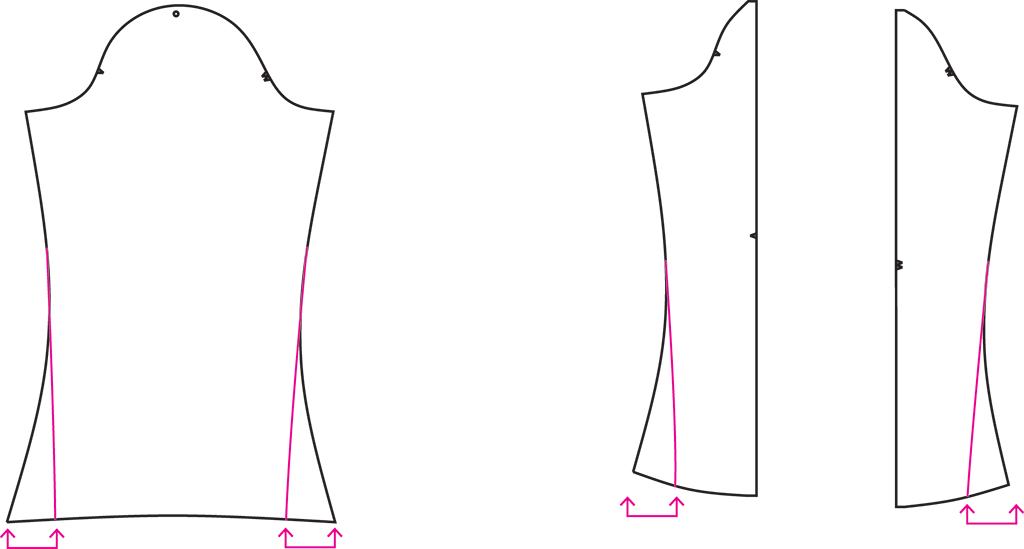
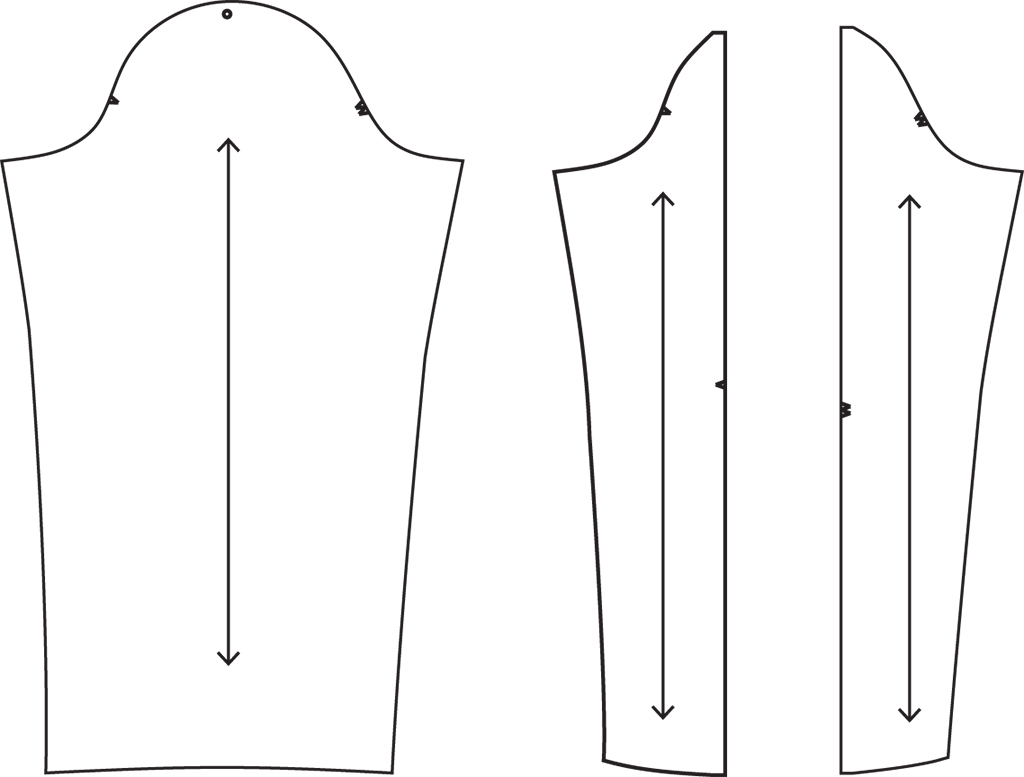
Trace the sleeve (C) version 1, or the sleeve front (F), and sleeve back (H) version 2 pattern pieces.
Step | 02
Measure in approximately 1- 1 1/2” from one under-arm seam, along the hem. Mark.
Step | 03
Create a new under-arm seam. Blend from about midway up the under-arm seam—or beginning of the bell curve—to the mark.
Step | 04
Repeat steps 1 - 3 for the other under-arm seam.
Step | 05
Cut out the pattern pieces.
Step | 06
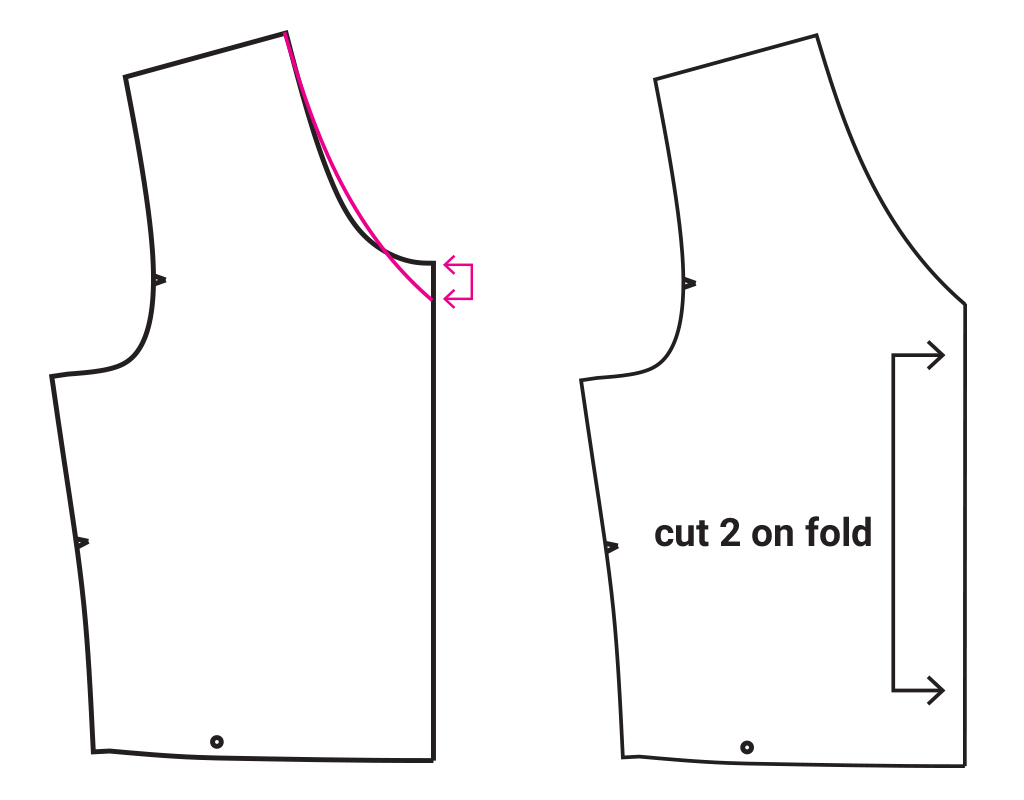
Trace the front bodice (A).
Step | 07
Measure down from the center front neckline about 1/2”. Mark.
Step | 08
Create a new V-neck shaped neckline. Blend from the shoulder seam to the center front marking.
Step | 09
Make the pattern piece cut 2 on fold. Cut out the pattern pieces.
Construction notes:
Step | 01
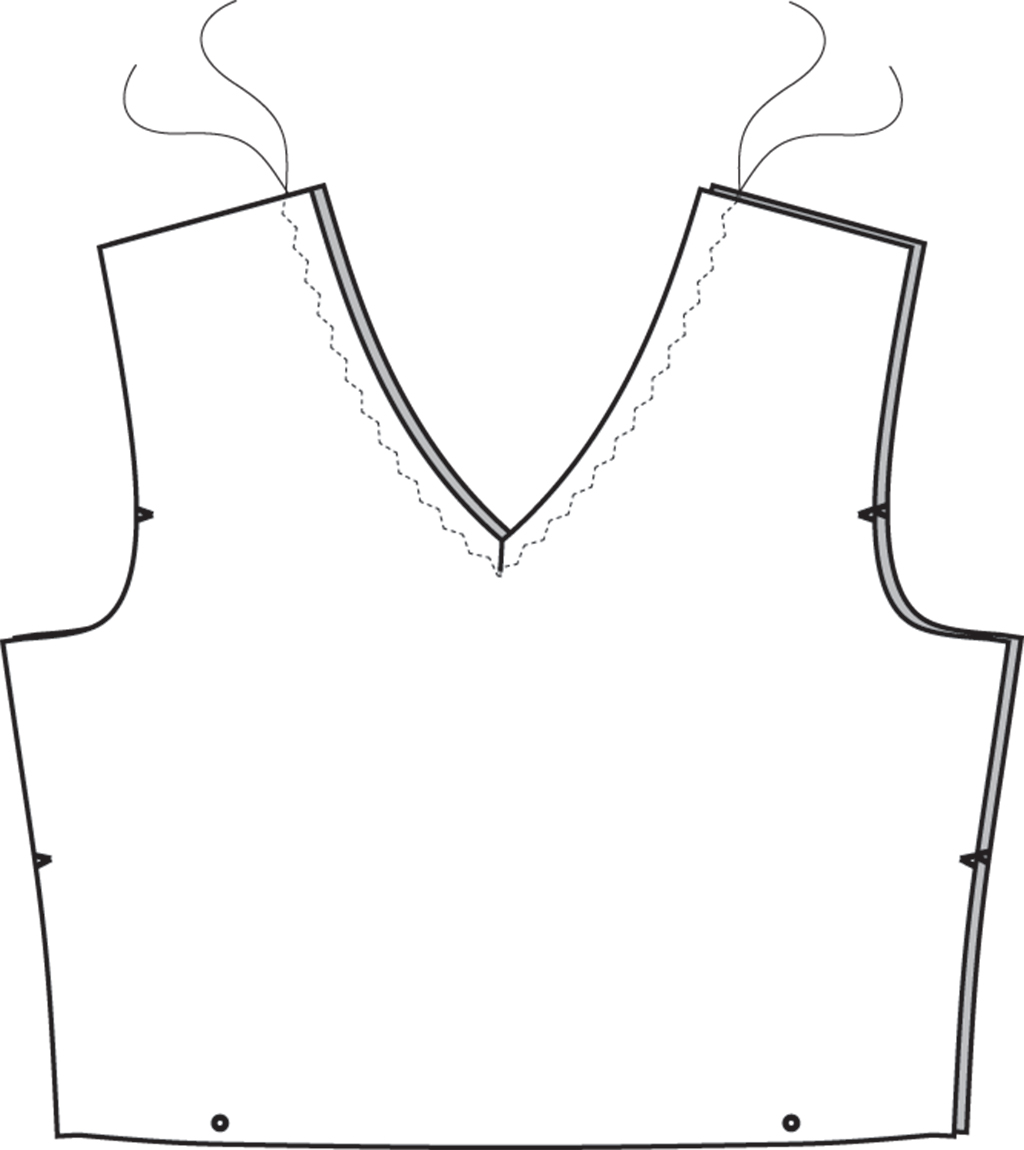
Assemble the front bodice (A) unit. With right sides together, match the two front bodice (A) pieces together along the neckline. Pin. Stitch. Pivot at the center front while sewing.
Step | 02
Clip the seam allowances at the center front pivot, being careful not to clip through the stitch line.
Step | 03
Finish the neckline seam allowances together.
Step | 04
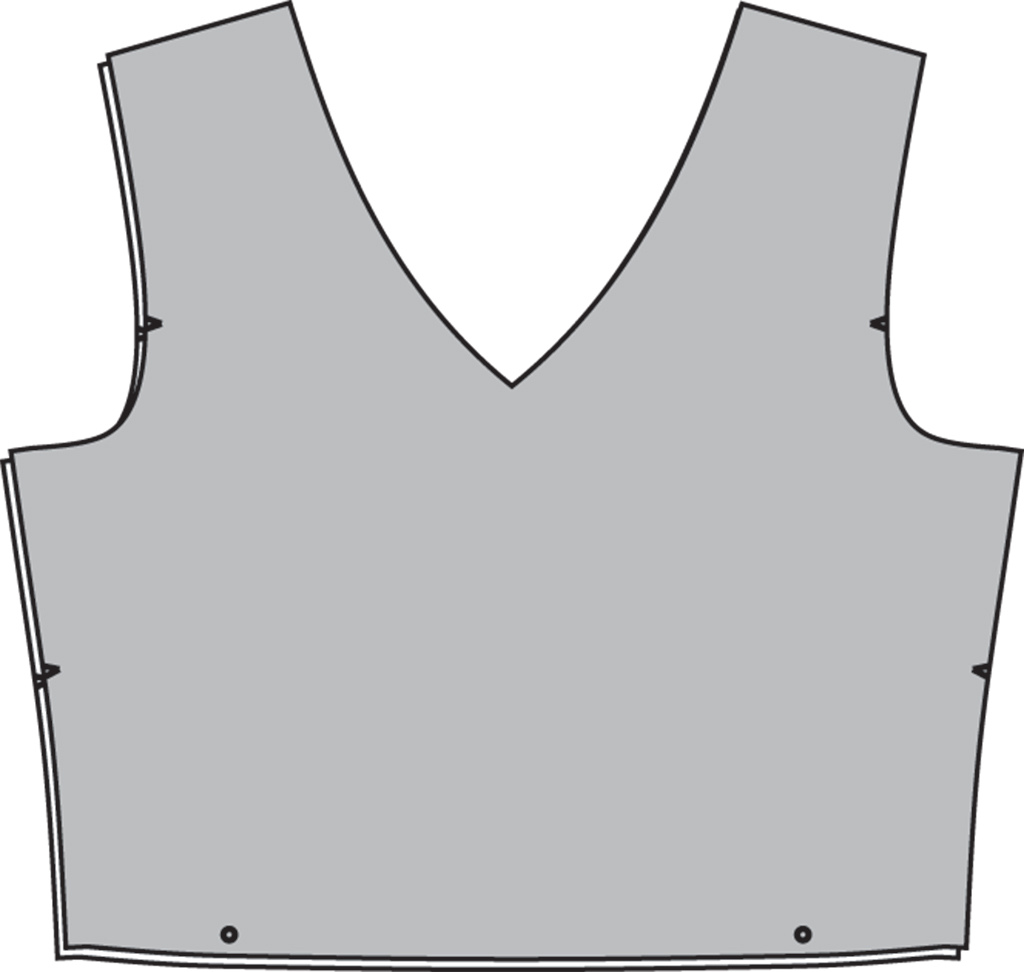
Turn the front bodice (A) unit right side out. Press the neckline in place.
Step | 05
Baste around the shoulder seam, armhole, and side seam on both sides of the front bodice (A) unit.
Step | 06
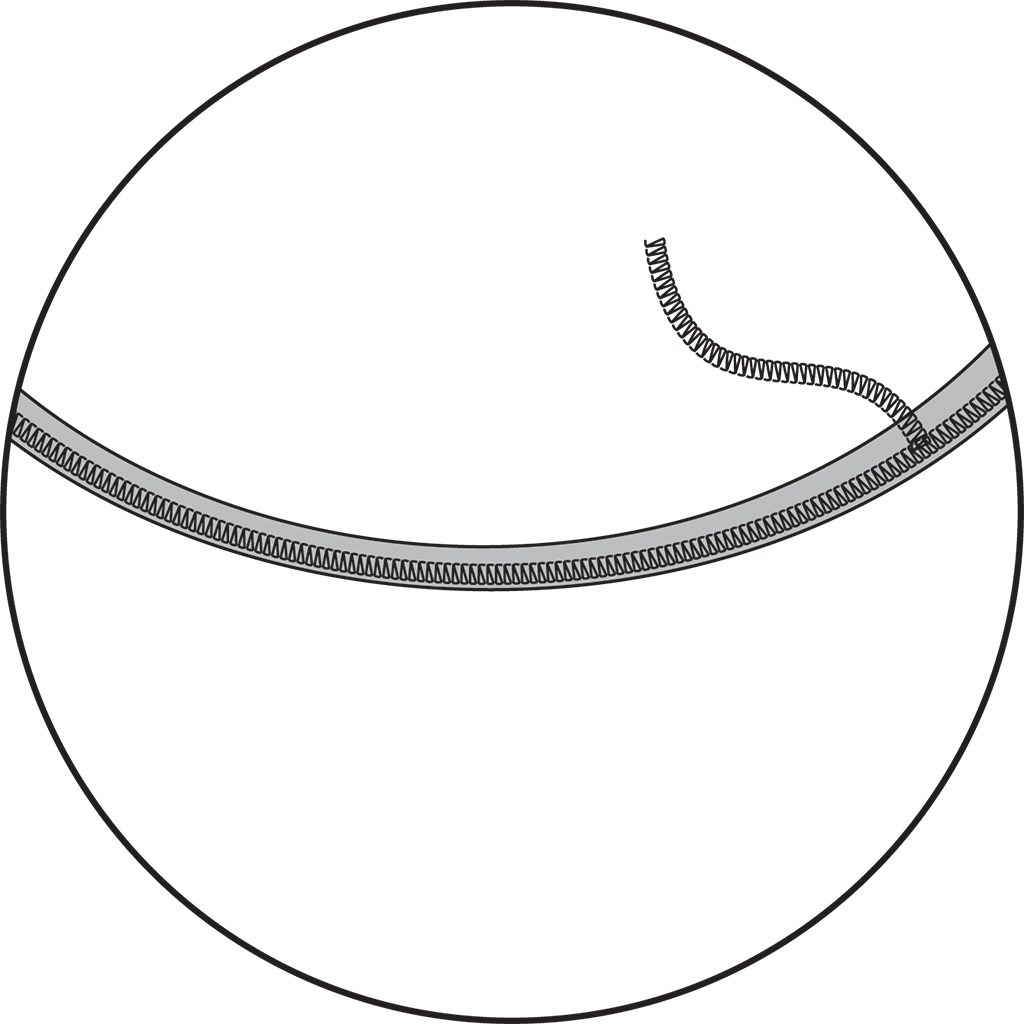
Hem the neckline of the back bodice (B) using a coverstitch machine, or the twin needle technique on your sewing machine. Press.
Step | 07
To control seam allowances, add a bar tack at neckline and shoulder seam.
Step | 08
Continue sewing dress per pattern instructions.

About the Author
As pattern designer, Anna works hard to make sure our sewing patterns boast both great style and instructions. She believes in the power of chocolate and coffee to cure just about anything.
 Related Articles
 Best Articles