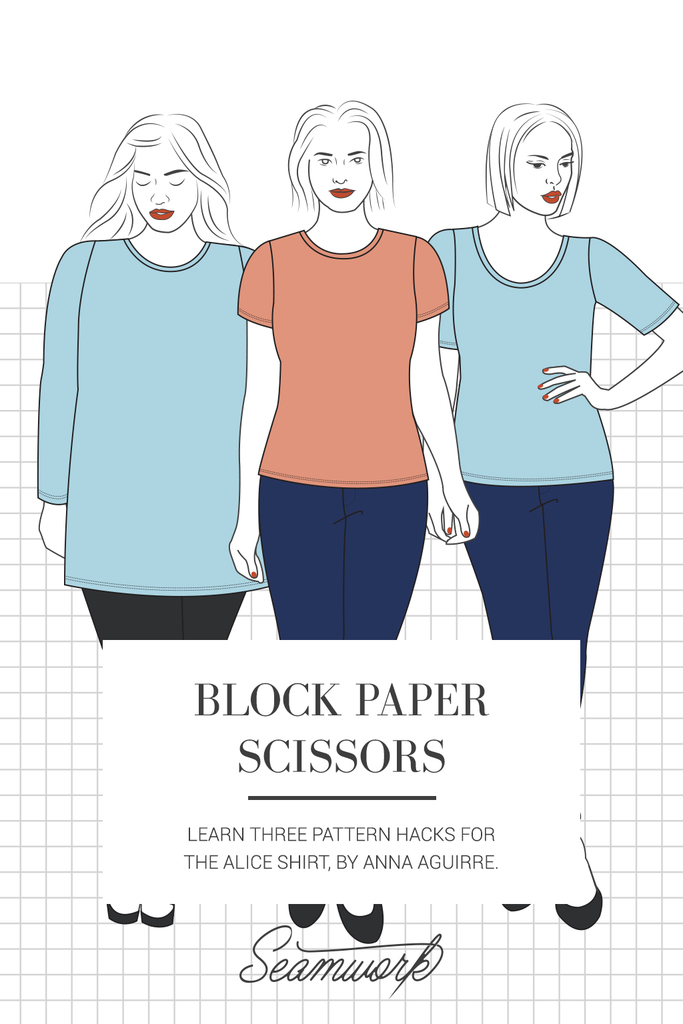
Block Paper Scissors is a monthly column that teaches three pattern hacks. These hacks help you give your Seamwork patterns a custom spin—all you need is paper, a ruler, and a pencil!
This month, we walk you through three different pattern hacks for the Alice shirt. Learn how to create a tunic version, shorten the sleeves, and change the neckline.
Note: For best results, be sure to make any necessary fit adjustments before hacking your pattern.
You'll Need:
- Alice
- Paper
- Pencil
- Scissors
- Clear ruler
- French curve
Create a Tunic
Step | 01
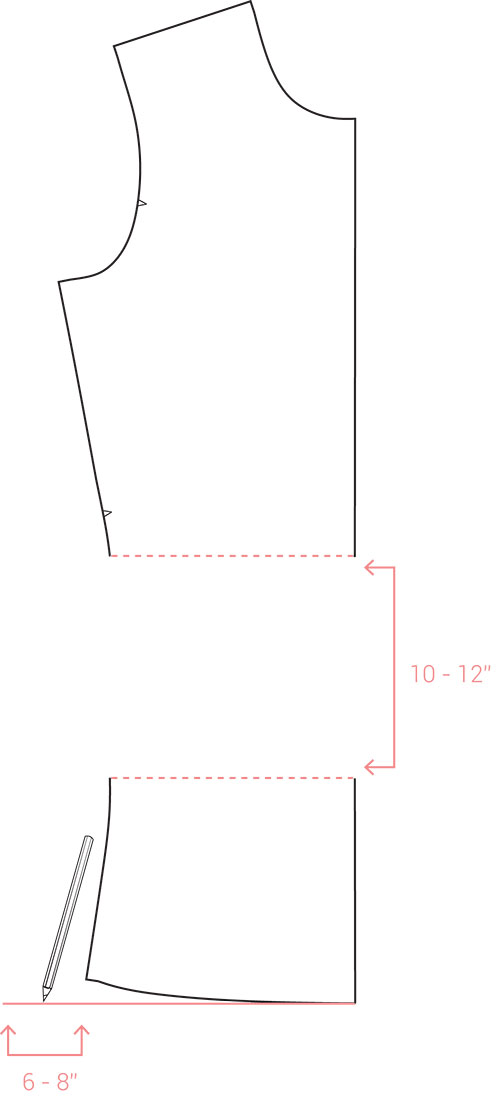
Cut along the lengthen and shorten line on the front (A).
Step | 02
Add 10 - 12” of space between the top and bottom portion of the front (A). You can add more or less length depending on your style preference.
Step | 03
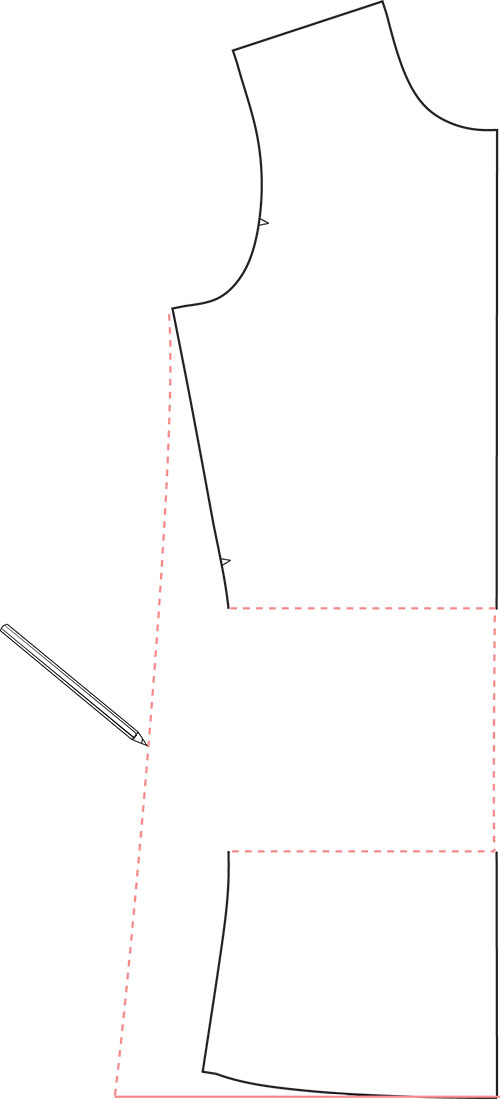
Draw a perpendicular line out from the center front. Extend the line 6 - 8” away from the side seam at the hem.
Step | 4
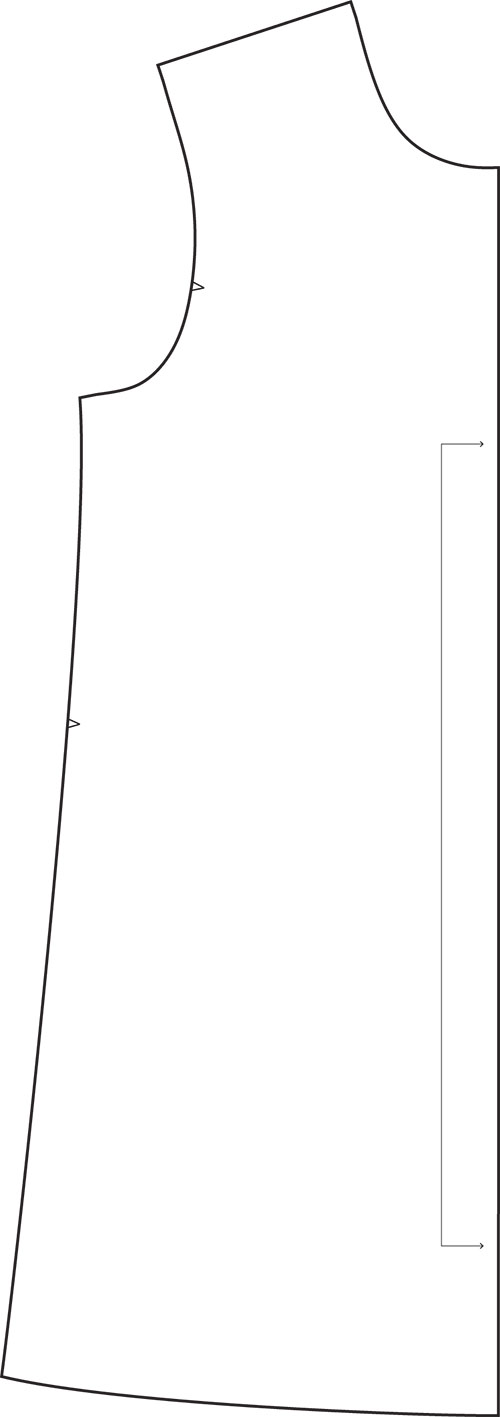
Re-draw the side seam from the armhole to the hem line. Add a slight curve near the waist area. Re-draw the center front line.
Step | 05
Trace off the new pattern piece and label cut on fold.
Step | 06
Repeat steps 1-5 for the back (B).
Step | 07
Sew the garment according to the pattern instructions.
Shorten the Sleeves
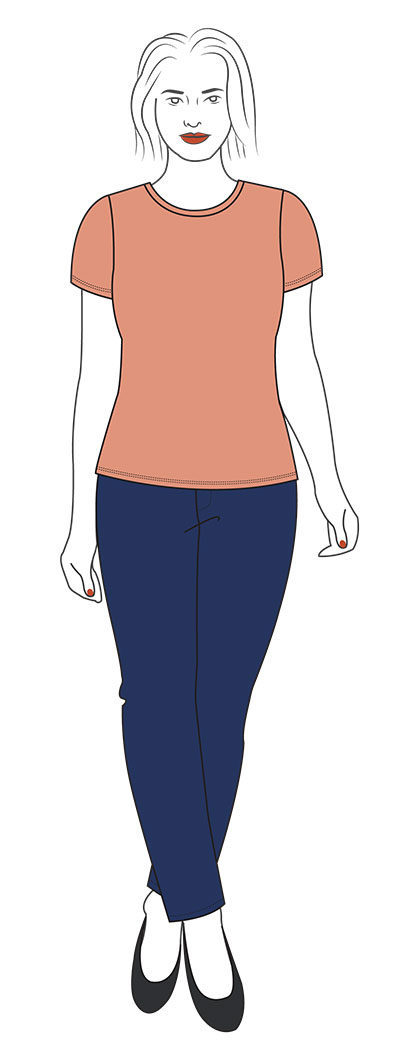
Step | 1
Measure from your shoulder cap down your bicep to the desired length of your sleeve.
Step | 2
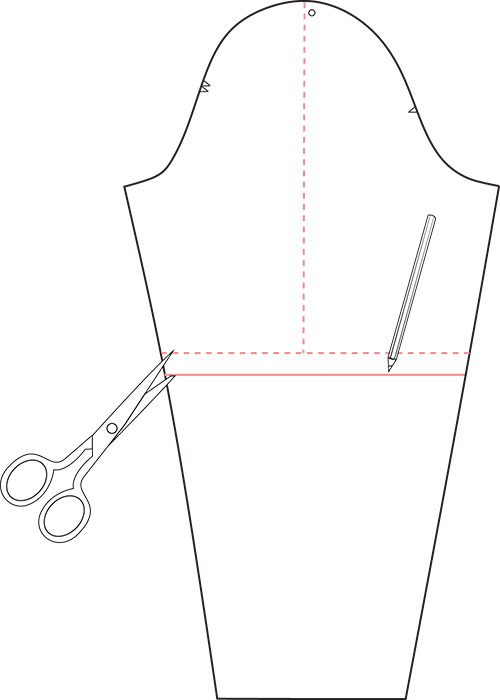
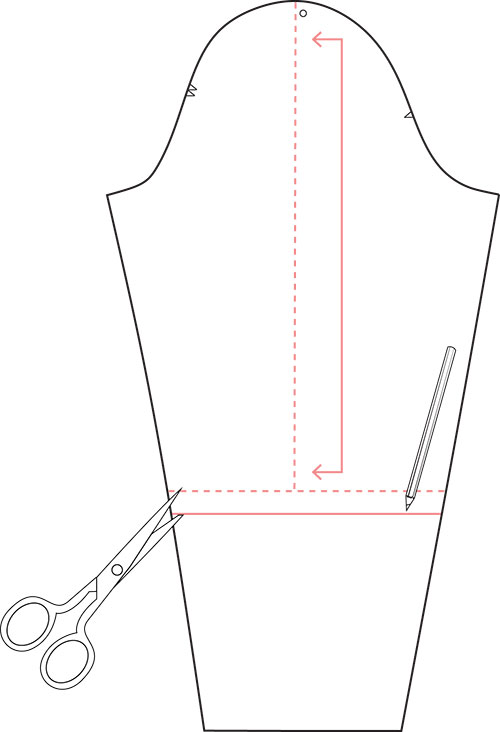
On the sleeve (C) pattern piece, draw a line parallel to the grainline from the circle at the sleeve (C) cap down as long as the desired length.
Step | 3
Draw a line perpendicular to the previous line. This will be your hem line.
Step | 4
Draw another line 1” below the line in step 3. This will be your cut line and hem allowance.
Step | 5
Cut along this line.
Step | 6
Sew the garment according to the pattern instructions.
Change the Neckline
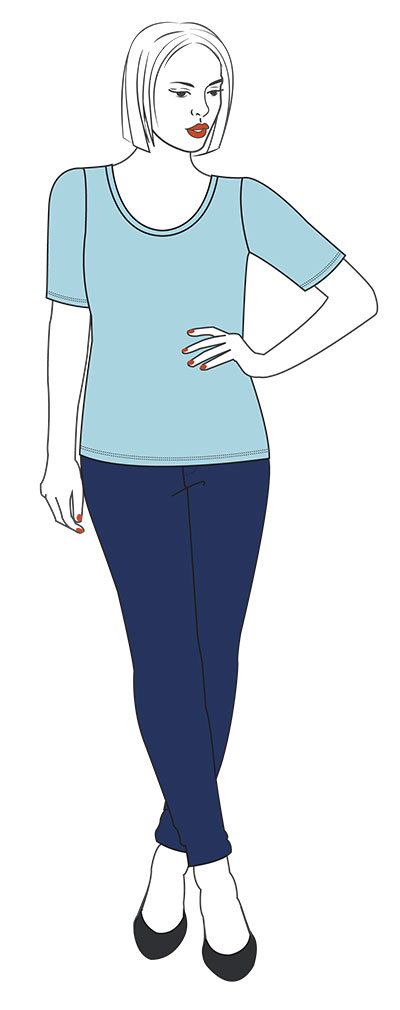
Step | 1
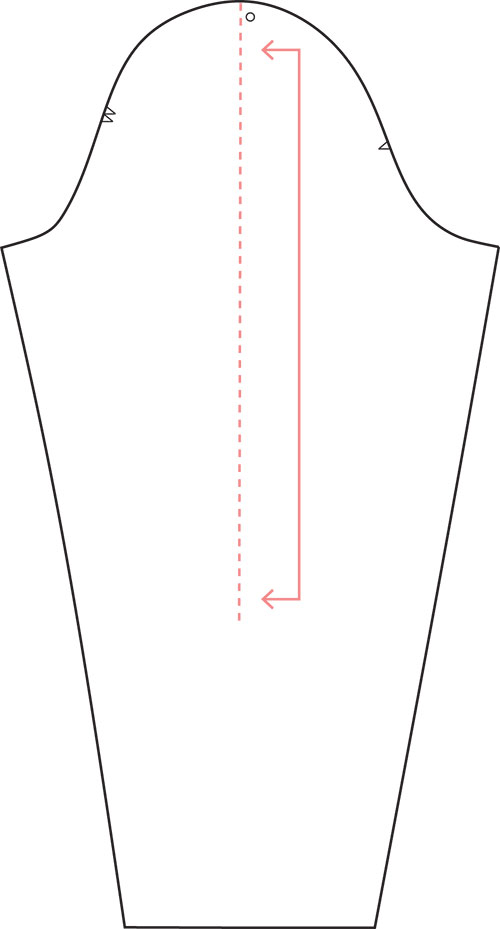
Repeat all steps in the previous section to create a 3/4-length sleeve. A 3/4-length sleeve should sit just above or below your elbow.
Step | 2
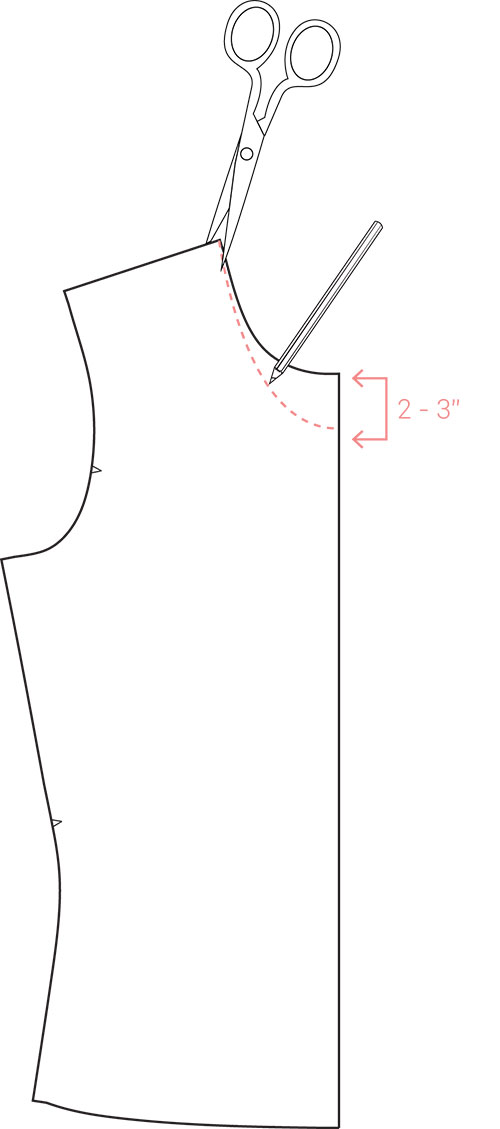
Measure down about 2 - 3” (or desired length) from the center front (A) neckline. Make a mark.
Step | 3
Draw a curved line from the shoulder to the mark, to create a new neckline shape.
Step | 4
Cut along this line.
Step | 5
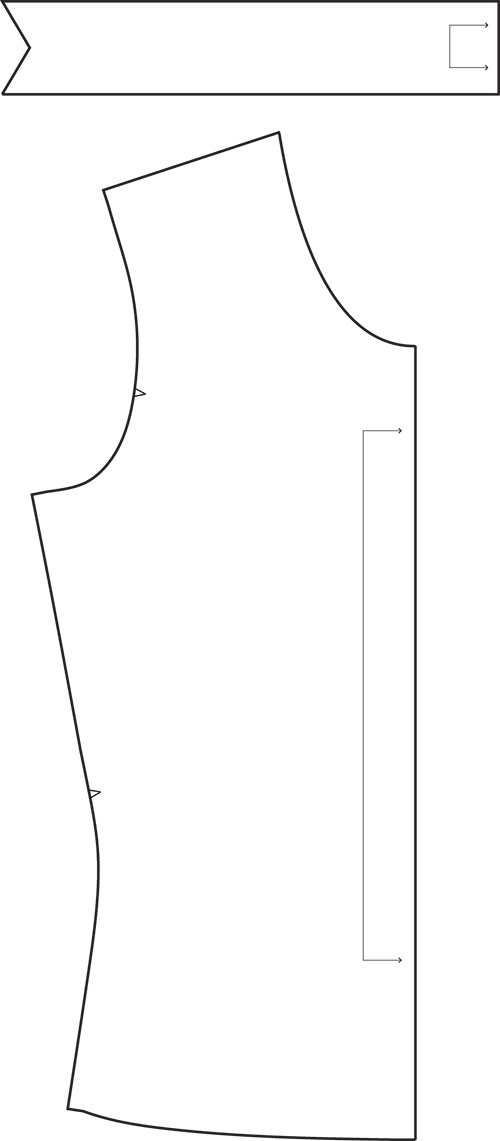
Measure the length of the new front (A) and back (B) neckline. Draw a new neckband that is 2 1/2” shorter than this measurement.
Step | 6
Sew the garment according to the pattern instructions.


