Sign In
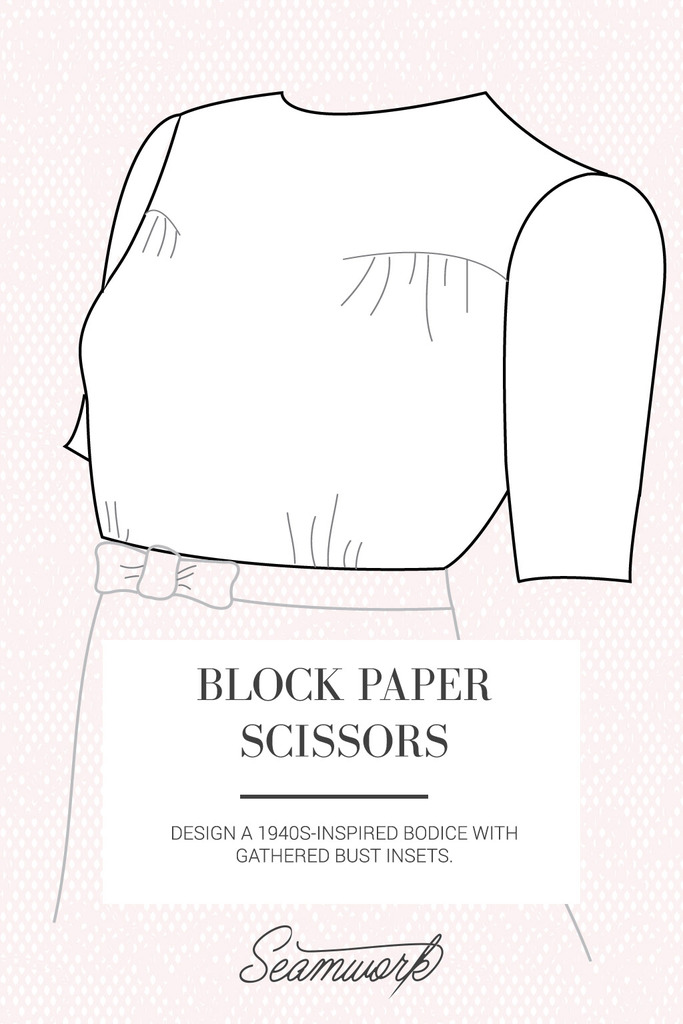
Block Paper Scissors is a patternmaking series featuring easy-to-follow tutorials—no experience necessary to join in! Each time we’ll start with a basic bodice pattern (also called a block or a sloper) with an underarm bust dart and a waist dart. We’ll use that as a jumping off point to create a different bodice design each time.
You can use nearly any basic bodice pattern for this, even if it doesn’t look exactly like the one in the illustrations; the principles will be the same. Make sure you do any and all fit adjustments to the pattern first.
Usually, flat patternmaking is done before the seam allowances are added in. Since most of us are using pattern pieces that have the seam allowances included already, we won’t worry about them unless they interact with our design.
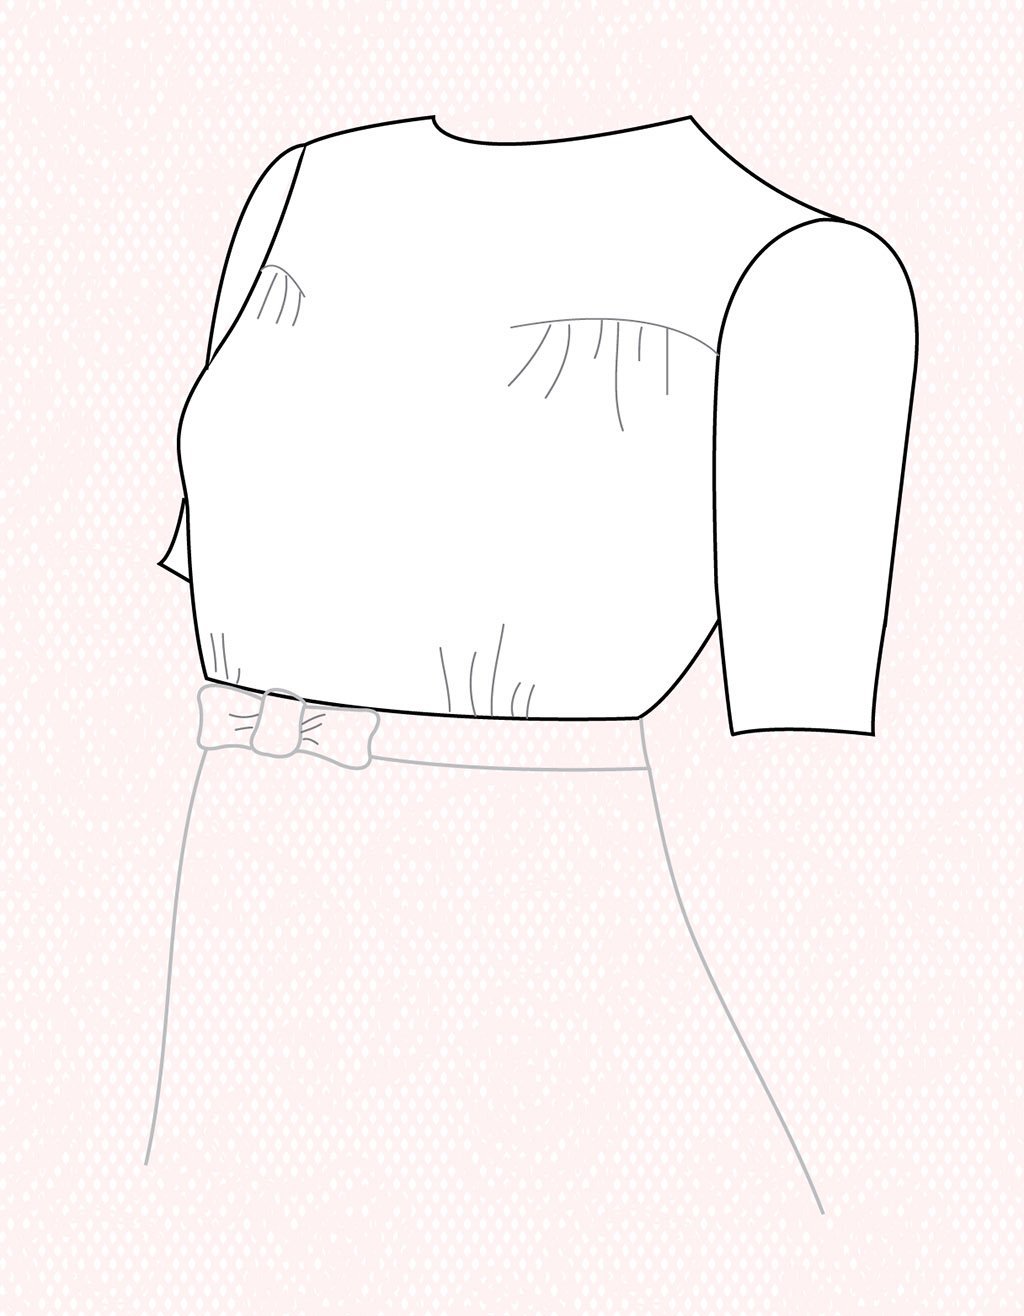
In this tutorial we’ll be giving our bodice gathered insets above the bust and small gathers at the waist. This design was inspired by a 1940s dress in a period TV show. Since the gathers add fullness at the bust, it would be best in a lightweight fabric like lawn or challis.
How to:
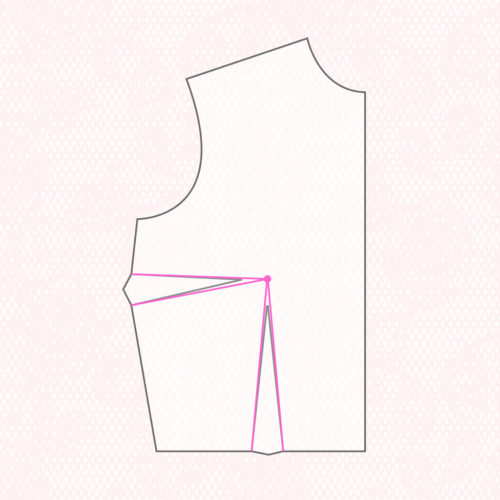
Step | 01
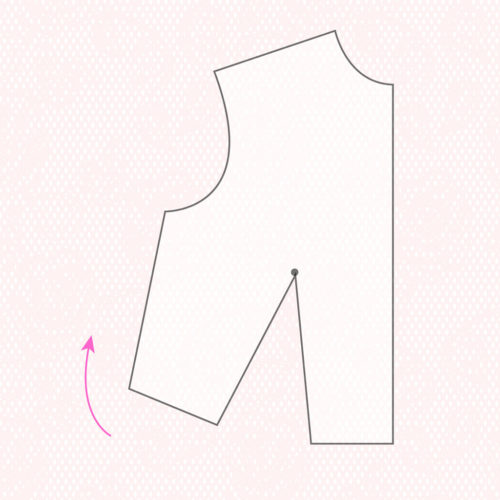
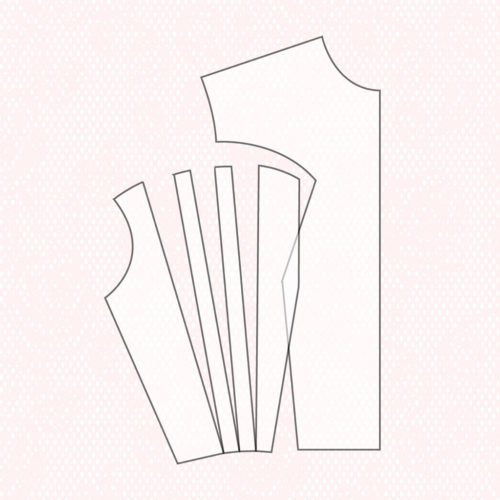
Mark your bust apex on your front pattern piece by placing the pattern piece over your body and aligning the center front and side seam. Mark the fullest point. Draw lines from the ends of both sets of dart legs to the bust point.
Step | 02
Cut along the lines to but not through the bust point. Remove wedges.
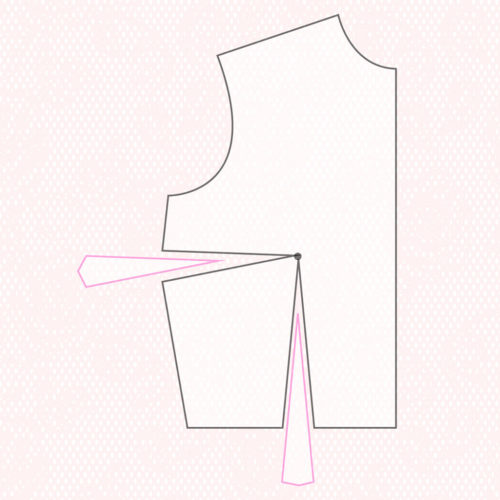
Step | 03
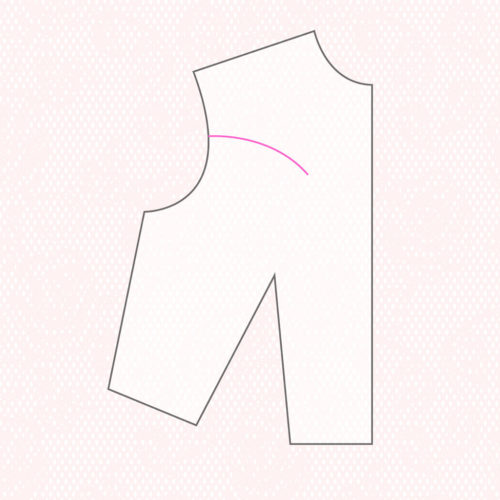
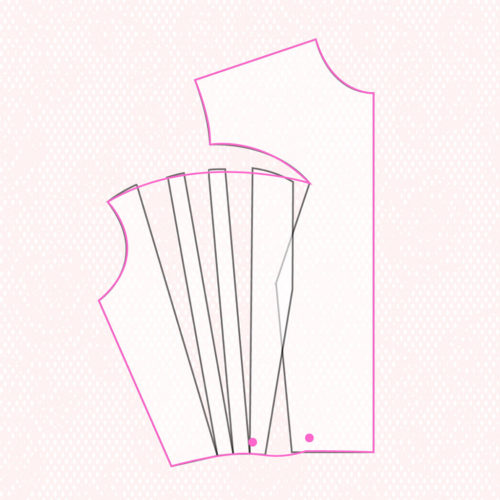
Rotate the pattern piece to close the bust dart. Tape. (All subsequent illustrations will not show bust dart.)
Step | 04
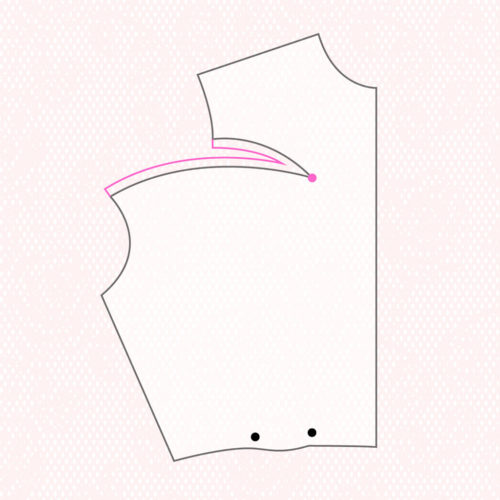
Starting at the middle of the armscye and using a curved ruler, draw the inset as a curved line arcing downwards and ending just past the bust point.
Step | 05
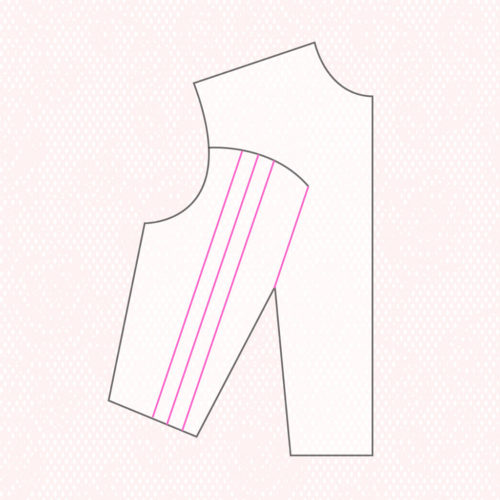
Draw a line from the end of the inset to the bust point. Draw three slash lines from the midsection of the inset down to the waist seam edge as shown.
Step | 06
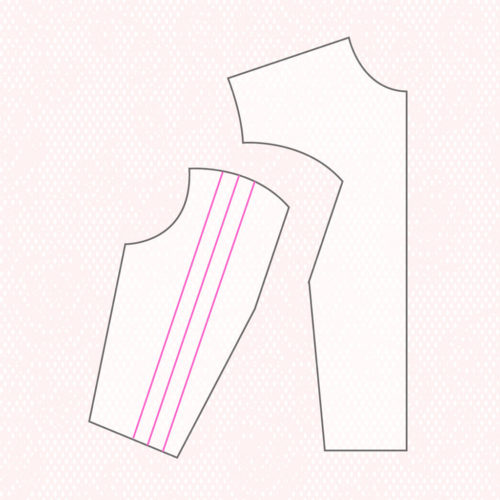
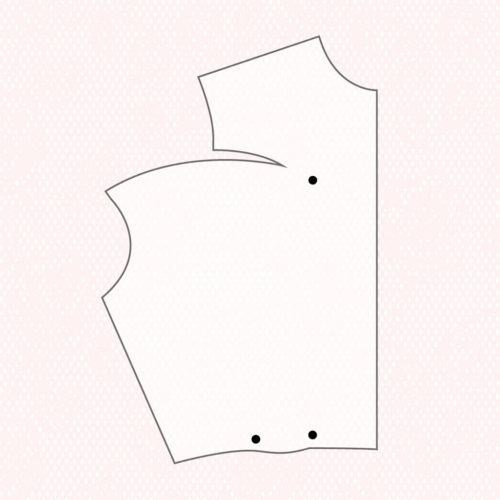
Cut along the inset and bust point line to separate.
Step | 07
Slash along other three lines, starting at the top and slashing to but not through the edge to create hinges. Fan sections out so that the new length of the inset edge is about 1.5 times longer than it originally was. Position fanned piece over the other piece as shown, overlapping at the bust point by 1/2”–1” and not entirely closing the waist dart. Tape to paper.
Step | 08
Trace around the entire edge, blending any jagged edges with a curved ruler. Put a mark 1/2” to either side of the waist dart.
Step | 09
Mark the apex of the inset. Add 1/4” seam allowance to the inner edges of the inset.
Step | 10
Cut out the new piece.
Sewing notes:
Sew basting stitches along lower edge of inset and gather until it matches upper edge. Sew along the edge like a dart with a 1/4” seam allowance, starting at the side seam and fading off the edge at the inset apex.
Gather the waist edge between the marks to fit waistband or skirt.