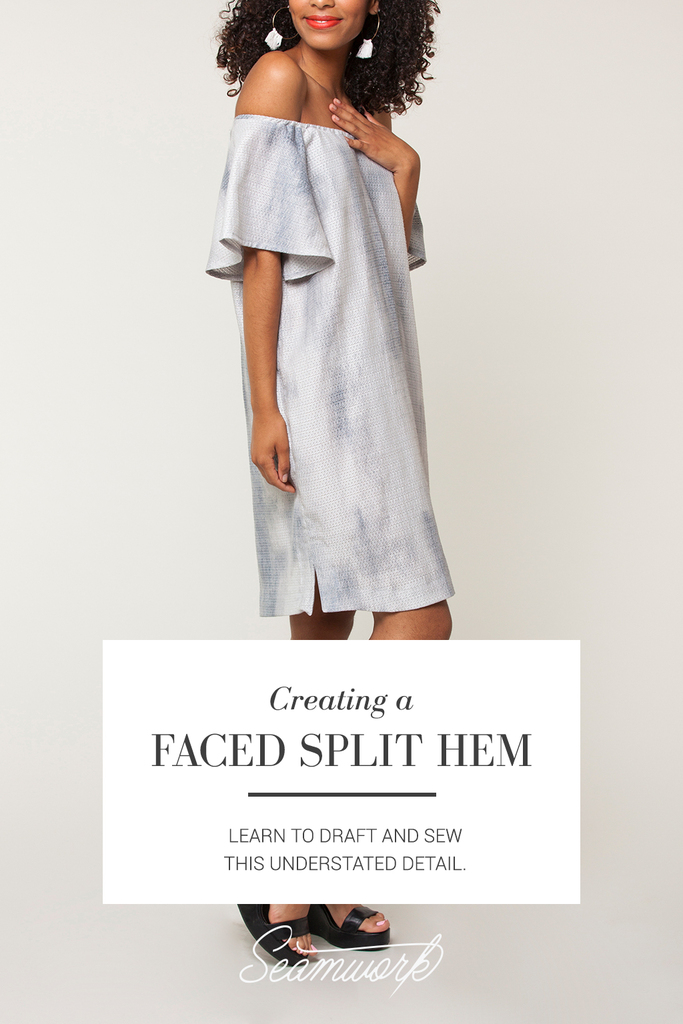
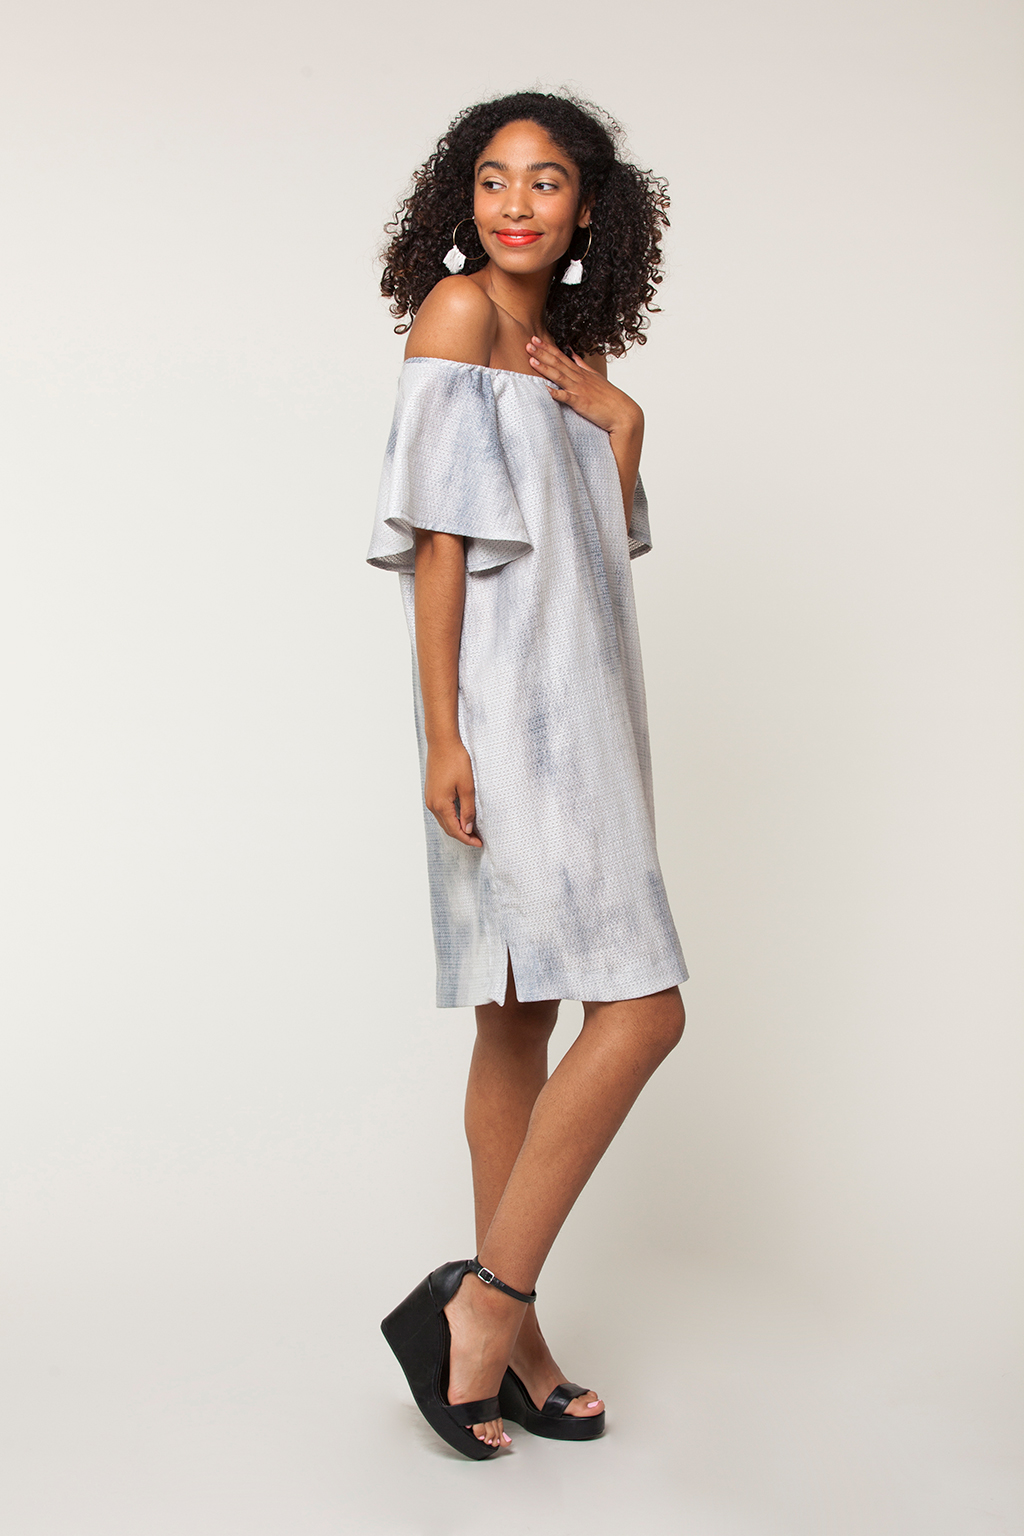
In this tutorial, I add a faced split hem to the Loretta top, which is lengthened into a dress, but you can easily upgrade many patterns with this technique. Try adding a faced split hem to these patterns.
One of my favorite garment details is a well-considered hem. Whether it is a dramatically curved hem or a delicate hand-stitched finish, an interesting hem can add a touch of luxury to an otherwise simple garment. But let’s be honest, by the time I get to sewing the hem of a garment I am typically so excited about my new creation that I rush through the process.
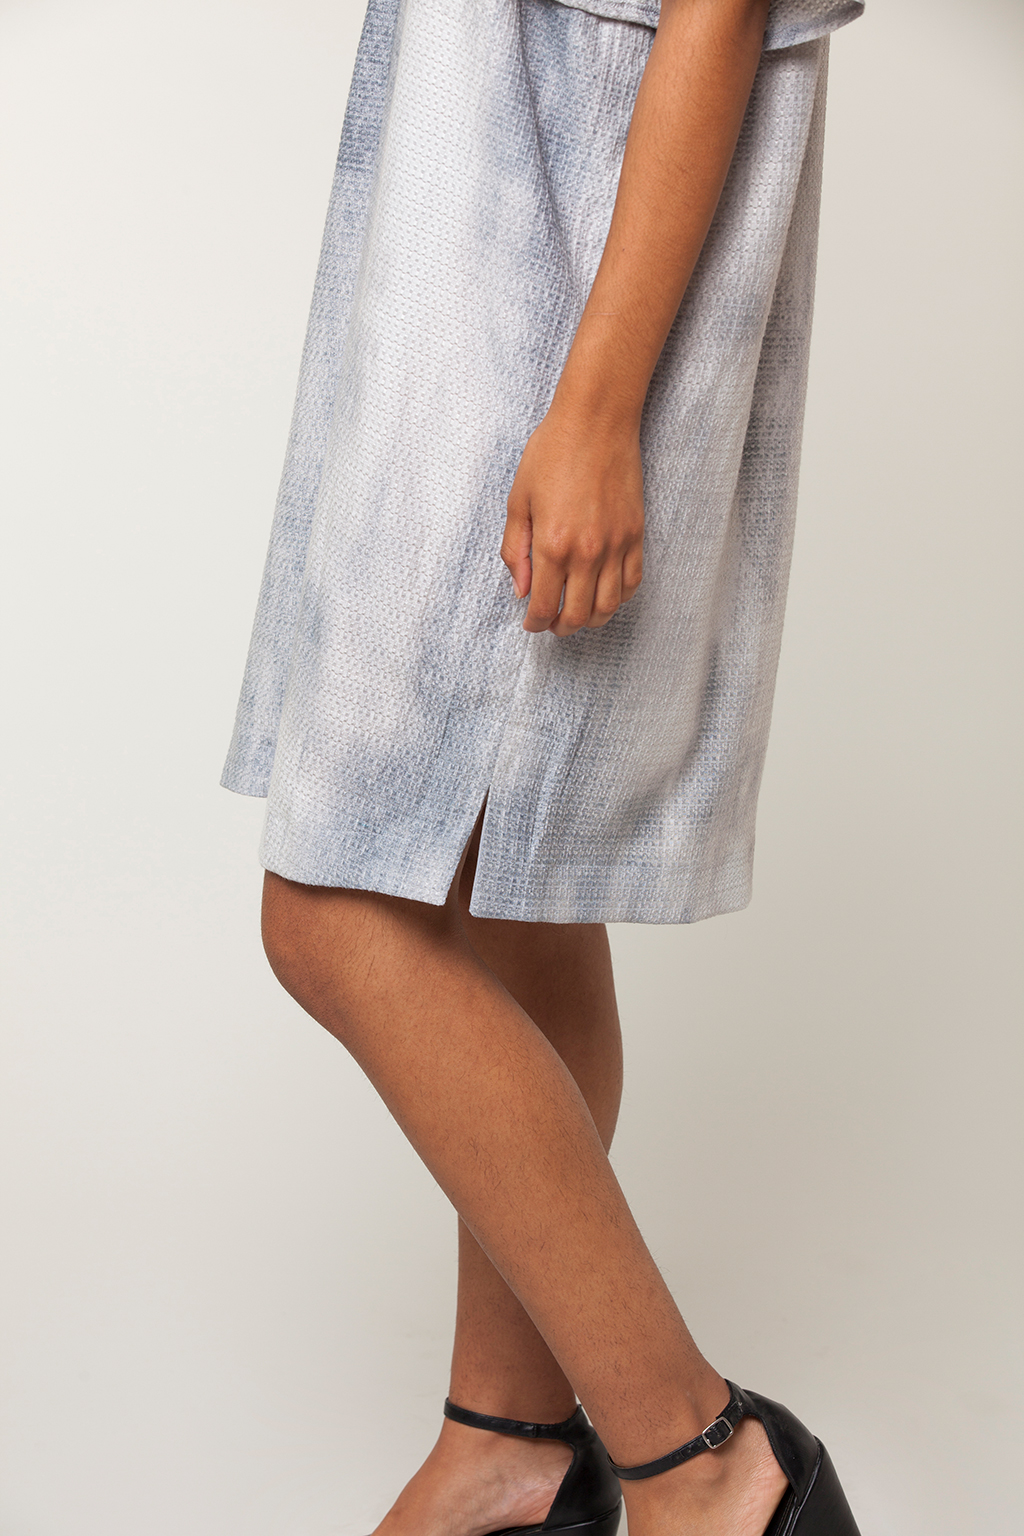
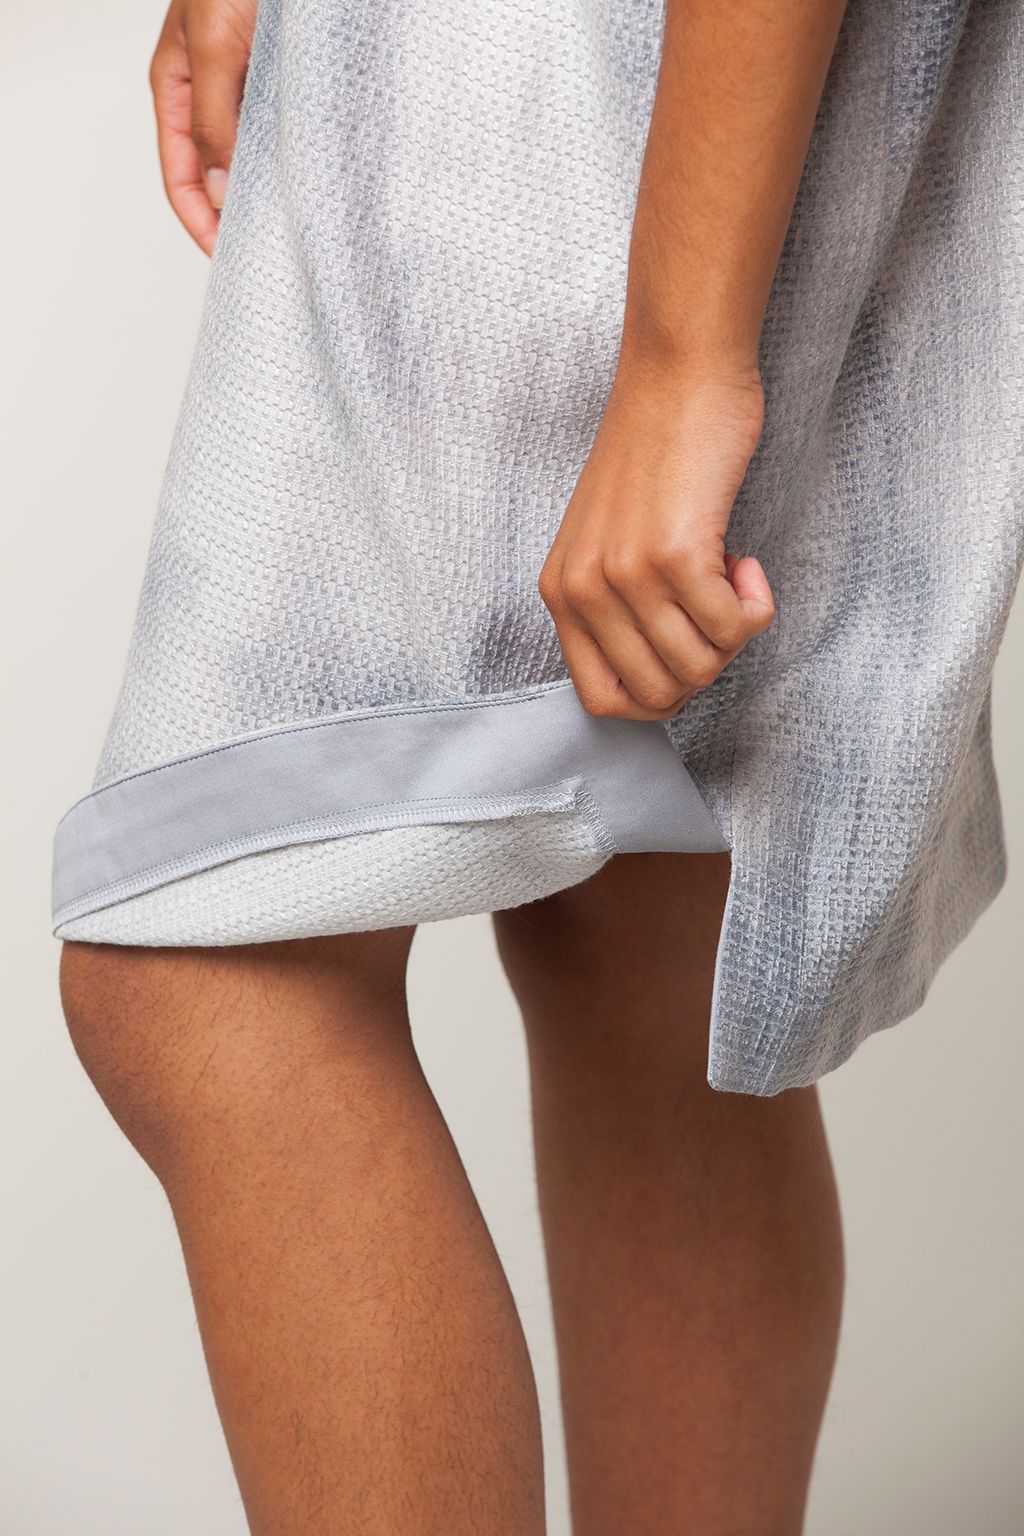
This is why I love a faced hem. This method of hemming uses a facing to finish the bottom edge of a garment, rather than a turned and stitched finish. Faced hems are perfect for finishing hems with dramatic curves or for creating split hems—a hem with a split at one or both side seams.
In this tutorial, I will walk you through the process of drafting and constructing a faced split hem. Not only does this detail add a modern touch to garments, but its simple construction takes place early in the sewing project, making it a breeze to sew.
You’ll need:
- Sewing pattern of your choice
- Pattern Paper
- Clear ruler
Drafting the Hem Facing
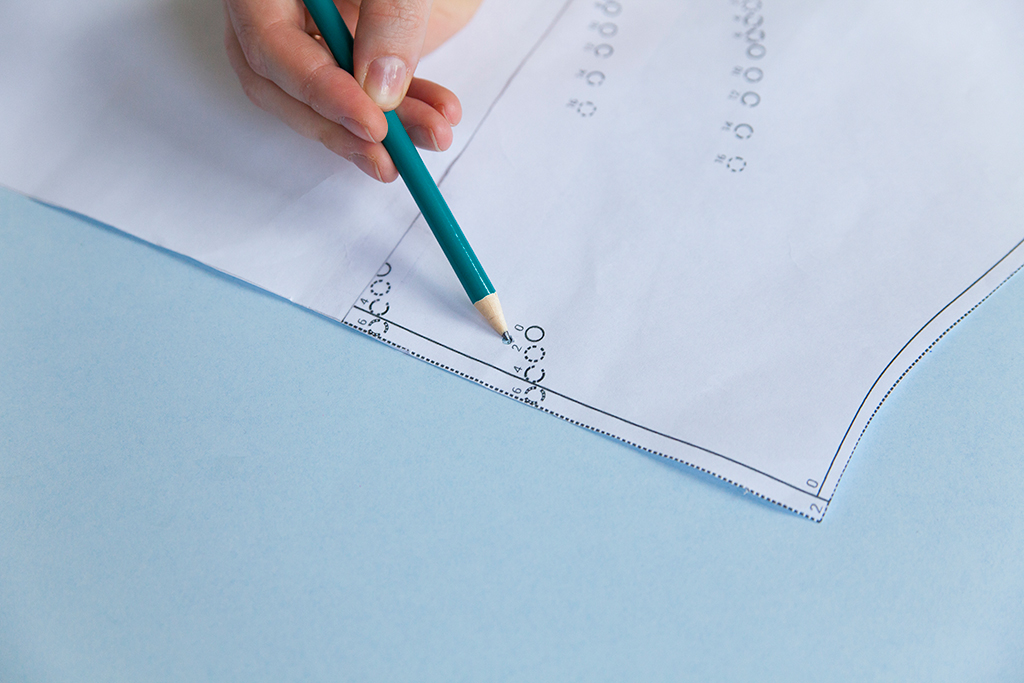
STEP 01 | On your front and back pattern pieces, mark your vent depth at the sewing line.
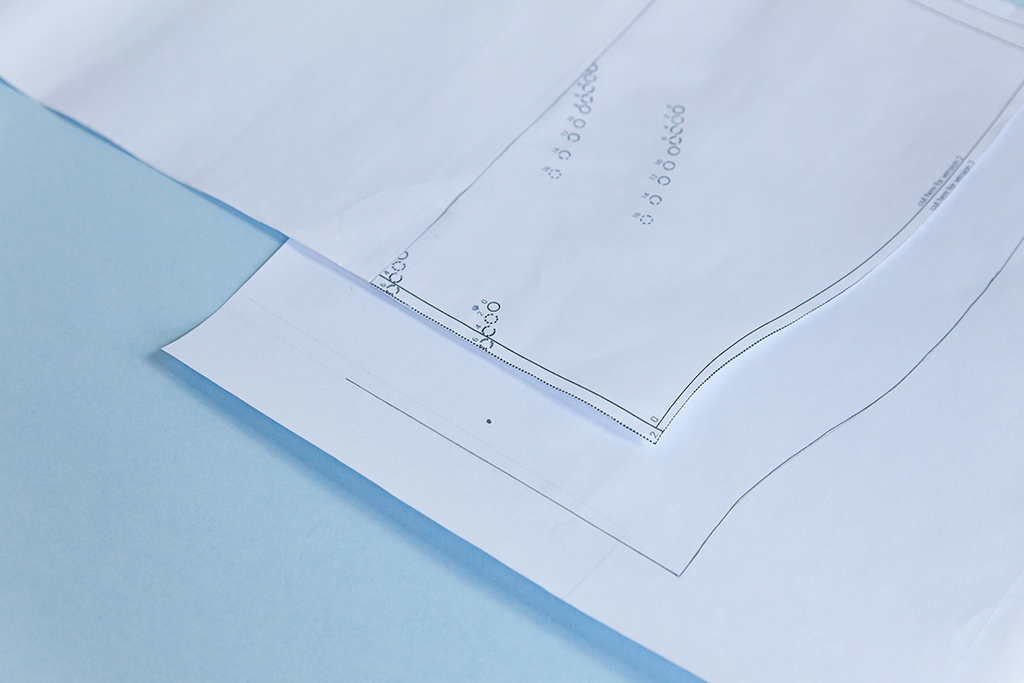
STEP 02 | On a separate piece of pattern paper, trace the front hem and side seam of your garment. Transfer all markings.
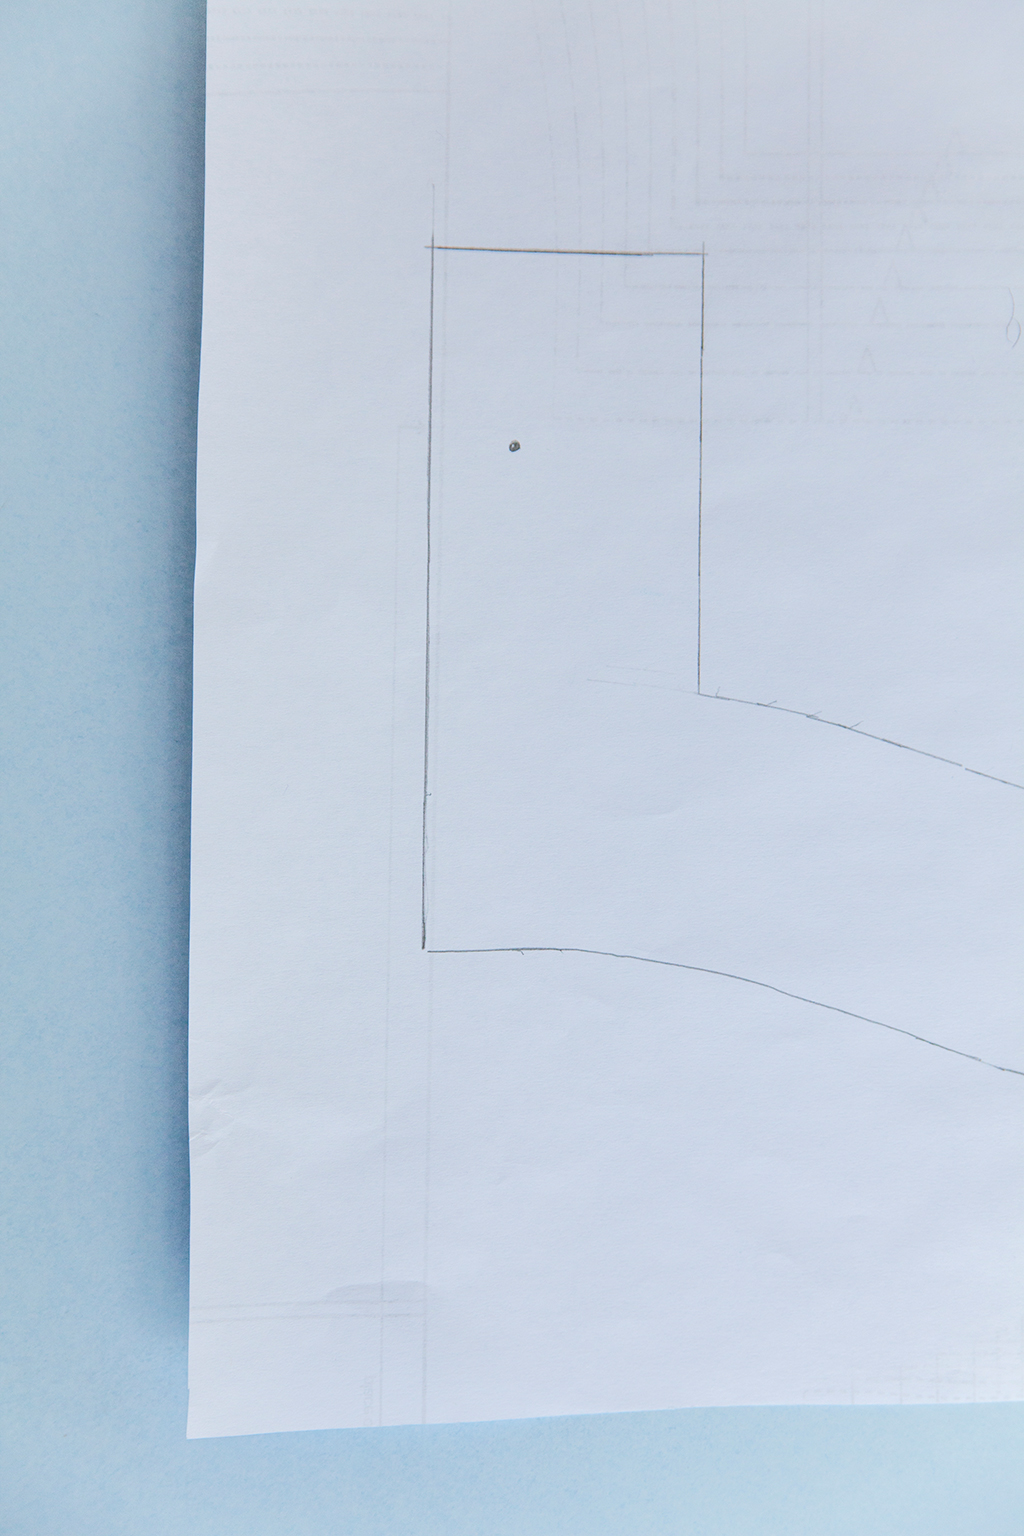
STEP 03 | Using a clear ruler, draw a hem facing that is 2 1/8” wide, which allows for a 5/8” seam allowance, and a 1 1/2” finished facing. The facing should extend 1 1/2” above the side vent mark. Label this piece “front hem facing.”
STEP 04 | Repeat steps 2- 3 on the back pattern piece, creating the back hem facing. Label this piece “back hem facing.”
Prepping the Hem Facing
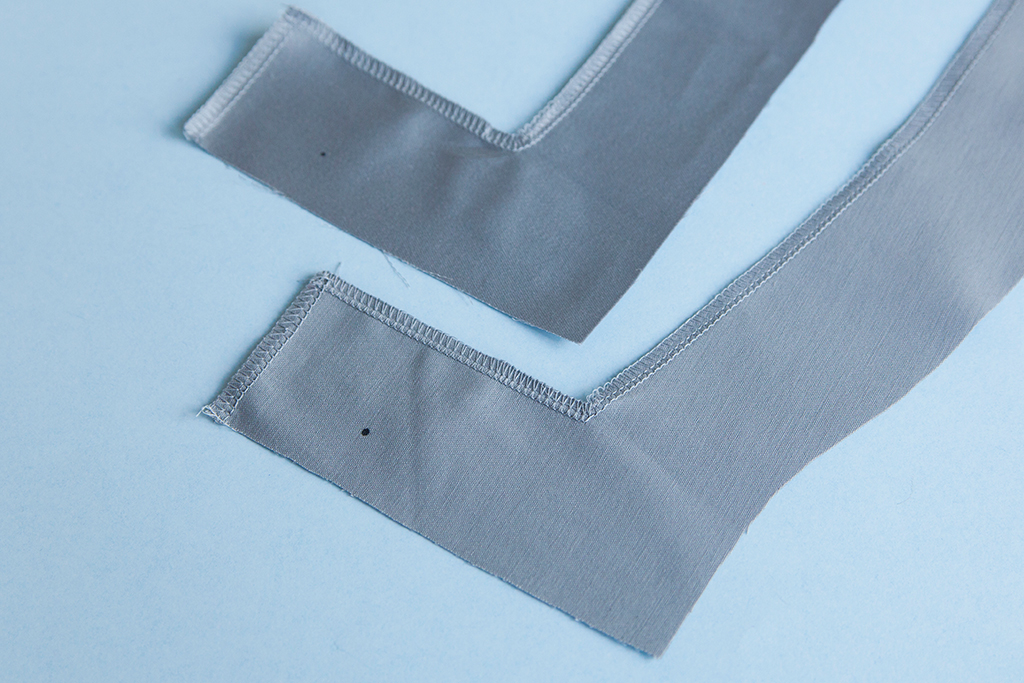
STEP 01 | Cut your project according to the pattern layout. Also, cut the front and back hem facing. Transfer the side vent marking to the front and back dress pieces and hem facings. Finish the inner raw edges of the front hem facing and back hem facing using a zigzag stitch or serger.
NOTE: You can also turn this edge to the wrong side at 1/4” and press for a clean finish.
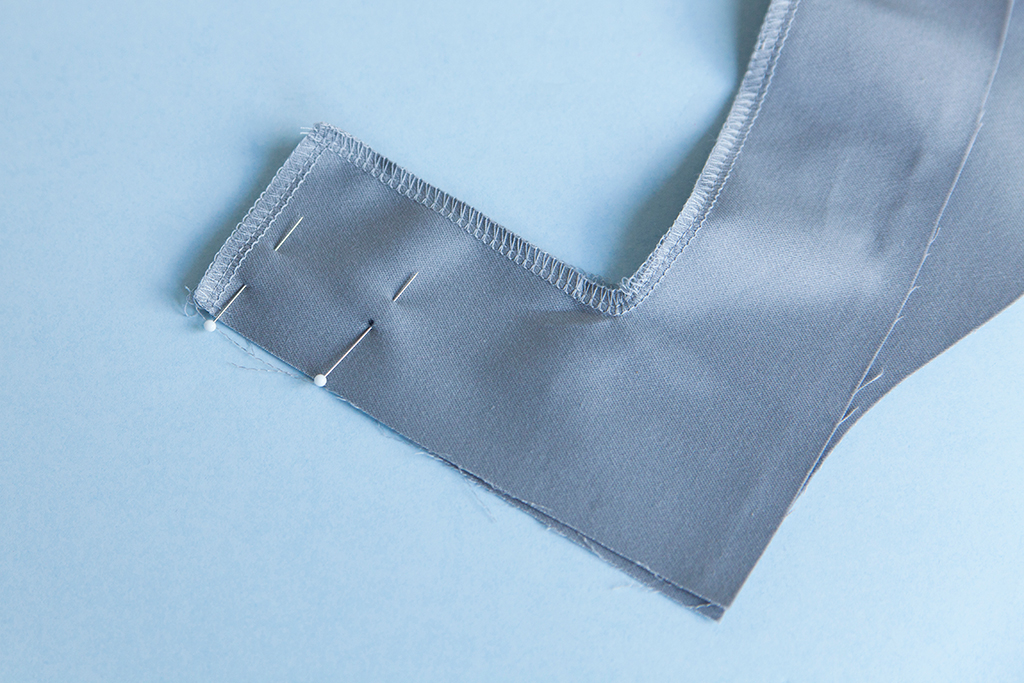
STEP 02 | With right sides together, match the front hem facing to the back hem facing at one side seam. Pin from the circle up the side seam.
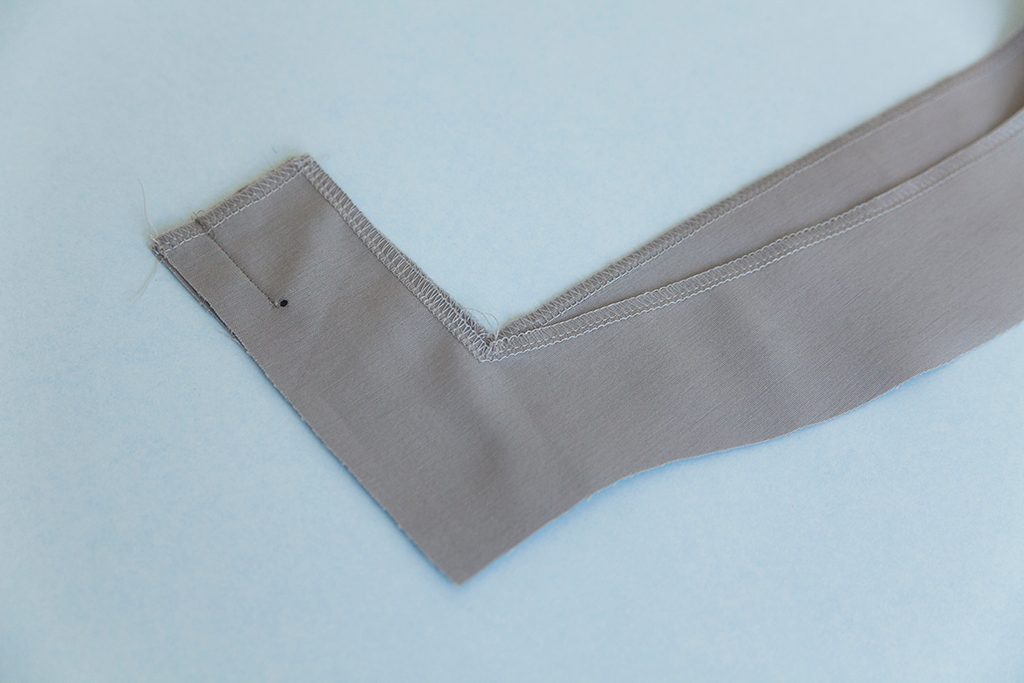
STEP 03 | Stitch from the circle up the side seam.
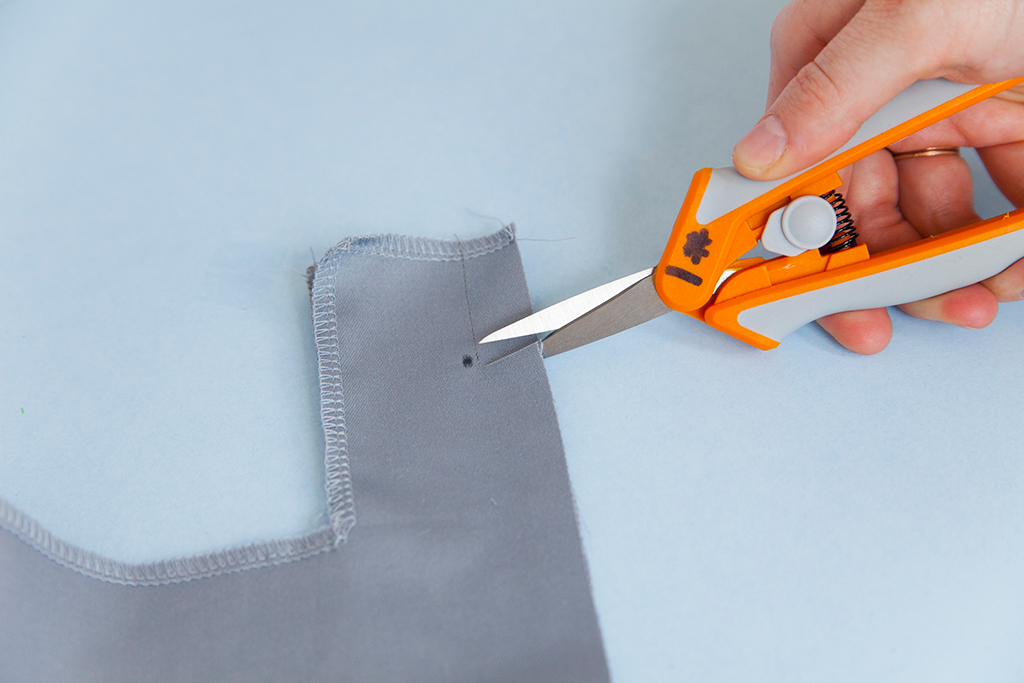
STEP 04 | Clip through the seam allowance at the circle to the stitch line.
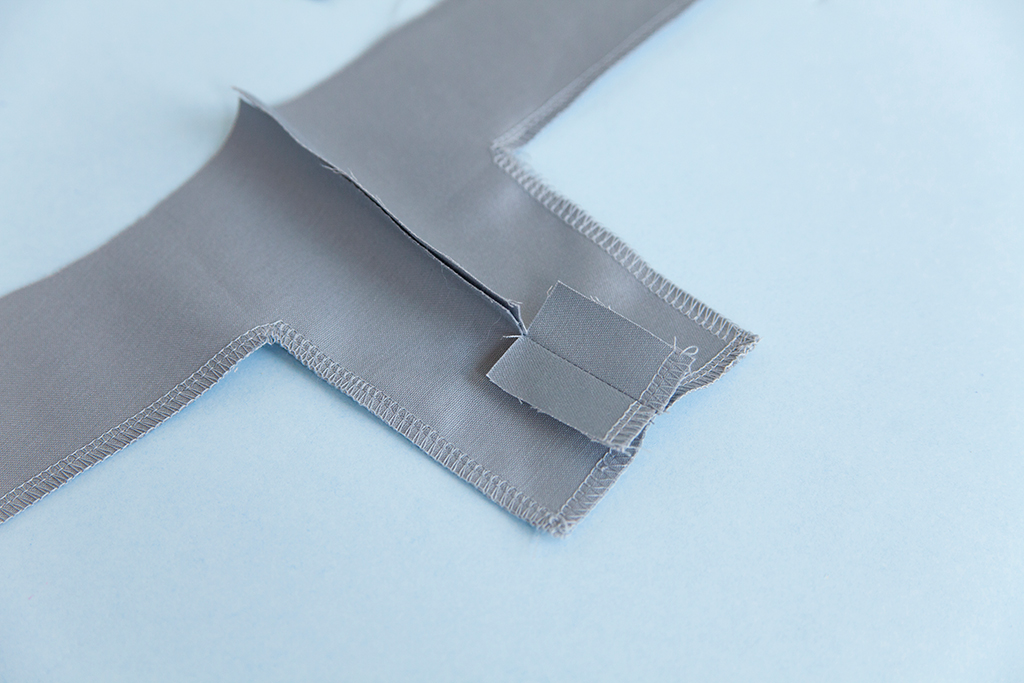
STEP 05 | Press the seam allowances open.
STEP 06 | Repeat steps 2-5 for the second side seam.
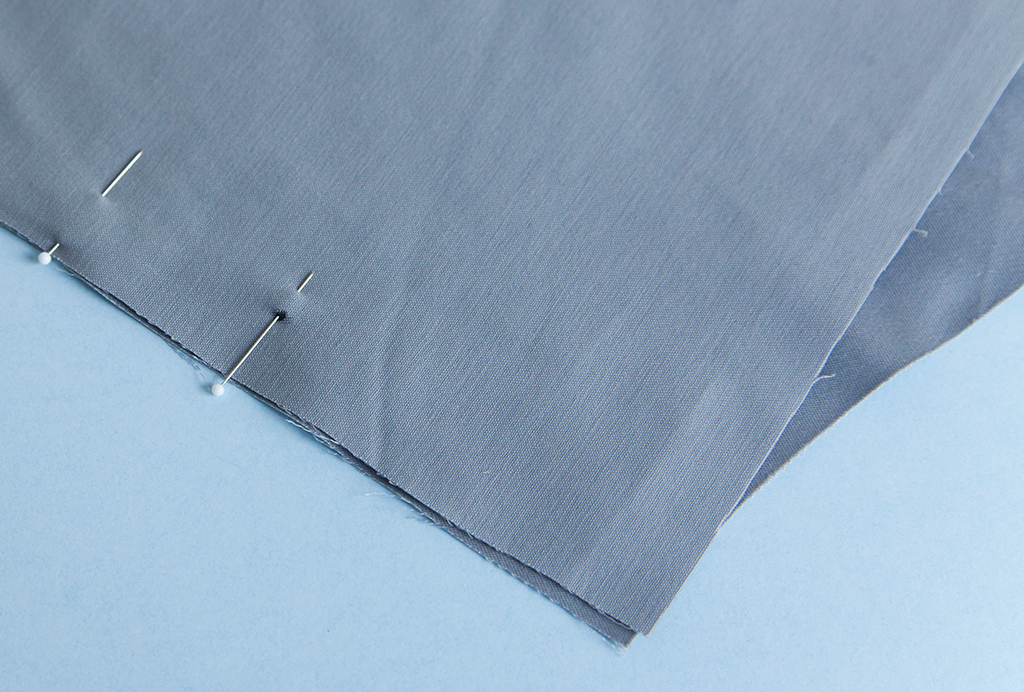
STEP 07 | With right sides together, match the front dress to the back dress at one side seam. Pin from the circle up the side seam.
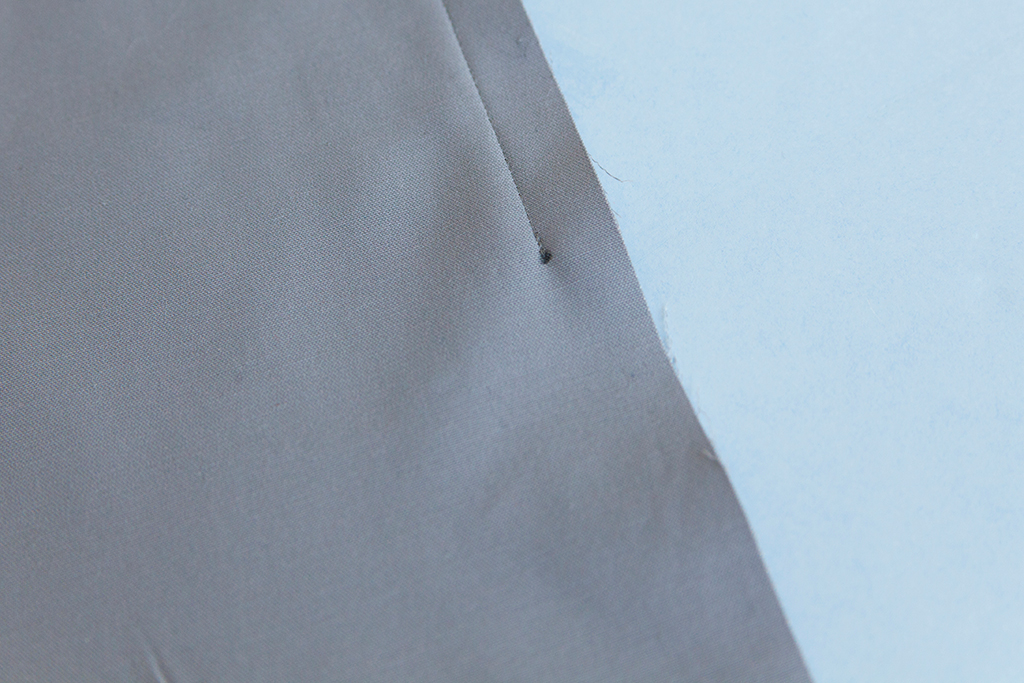
STEP 08 | Stitch from the circle up the side seam.
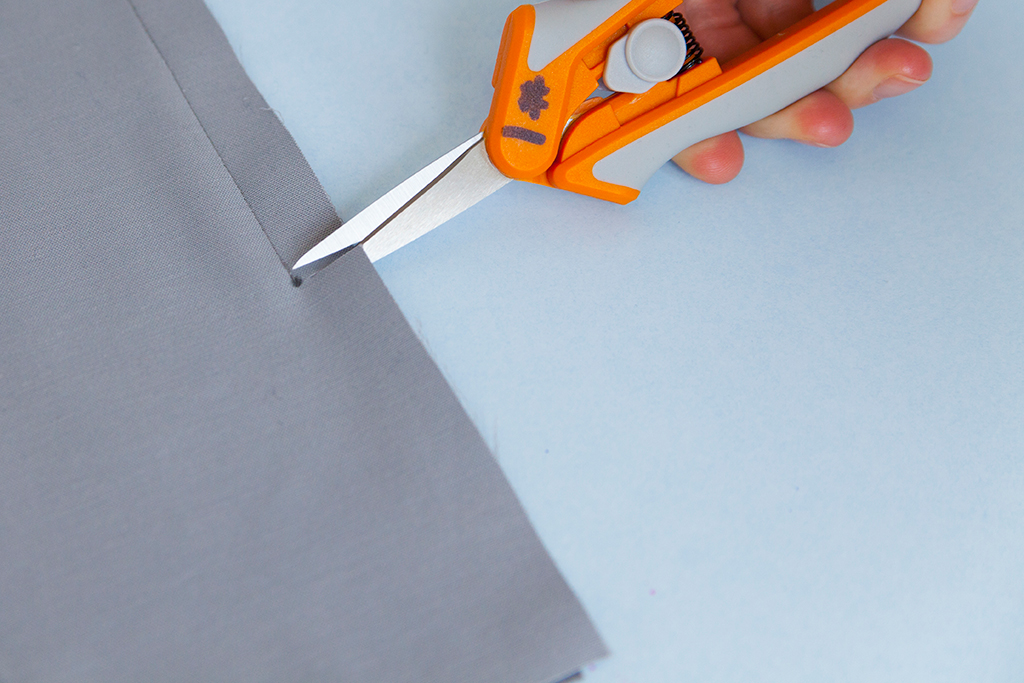
STEP 09 | Clip through the seam allowance at the circle to the stitch line.
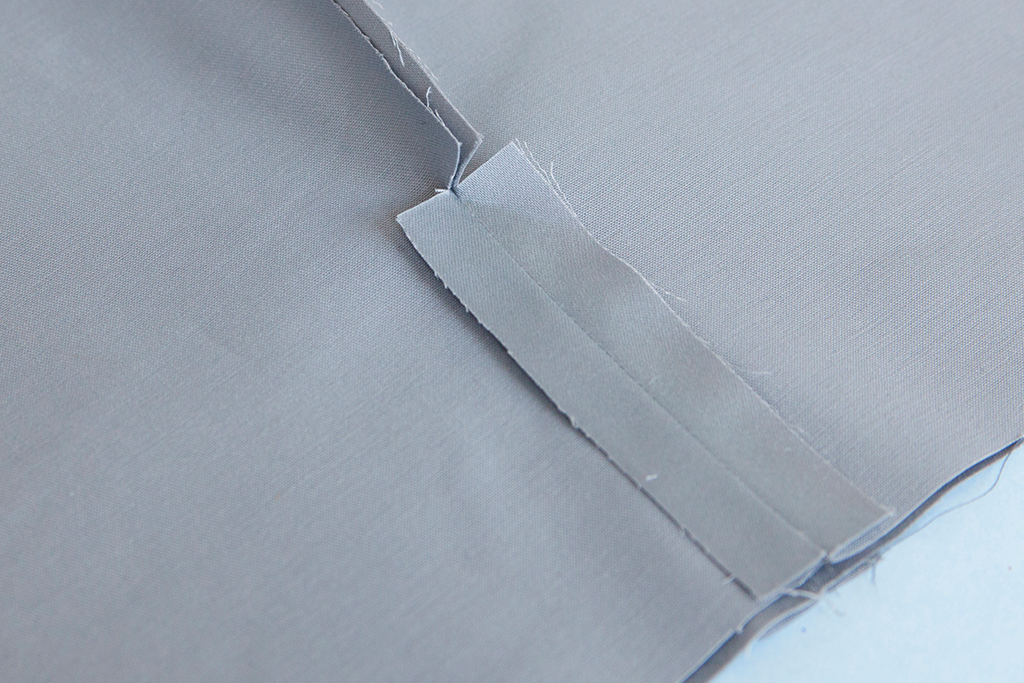
STEP 10 | Press the seam allowances open.
STEP 11 | Repeat steps 7-10 for the second side seam.
Attaching the Hem Facing
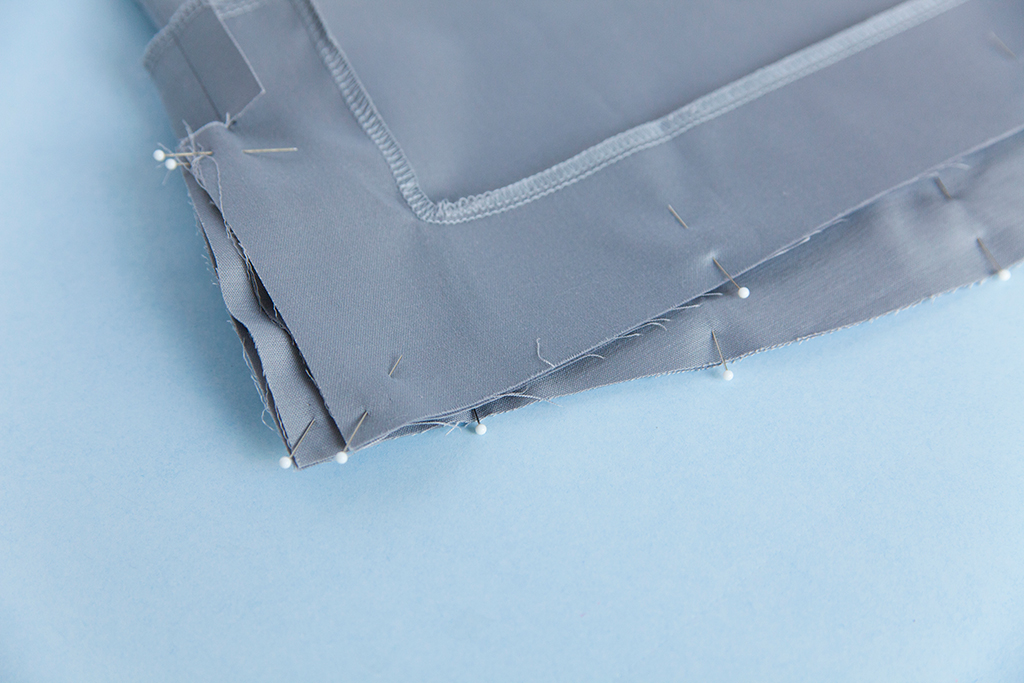
STEP 01 | With right sides together, notches and side seams aligned, match the hem facing unit to the hem. Pin. Stitch.
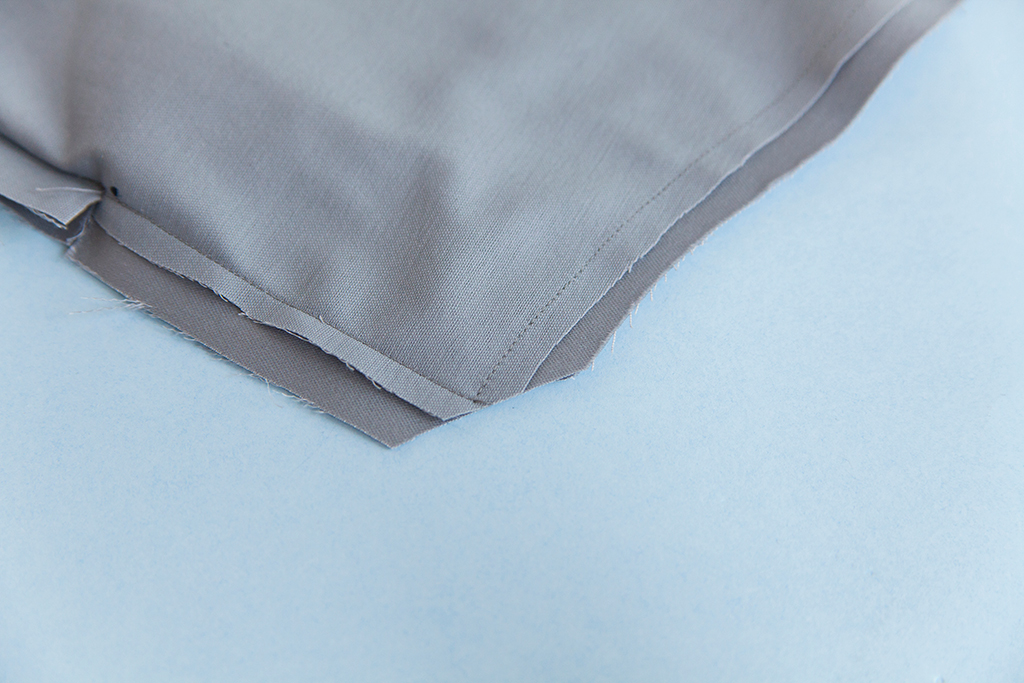
STEP 02 | Trim and grade the seam allowances. Clip the corners.
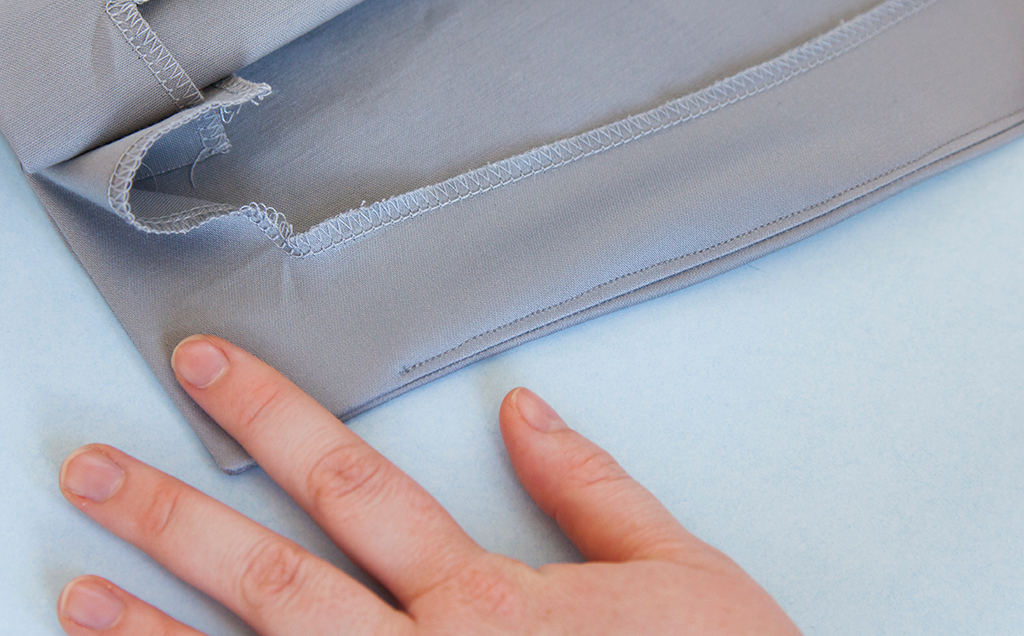
STEP 03 | Understitch along the hem facing unit, catching the seam allowances underneath. You will not be able to stitch all the way to the corners, but get as close as you can.
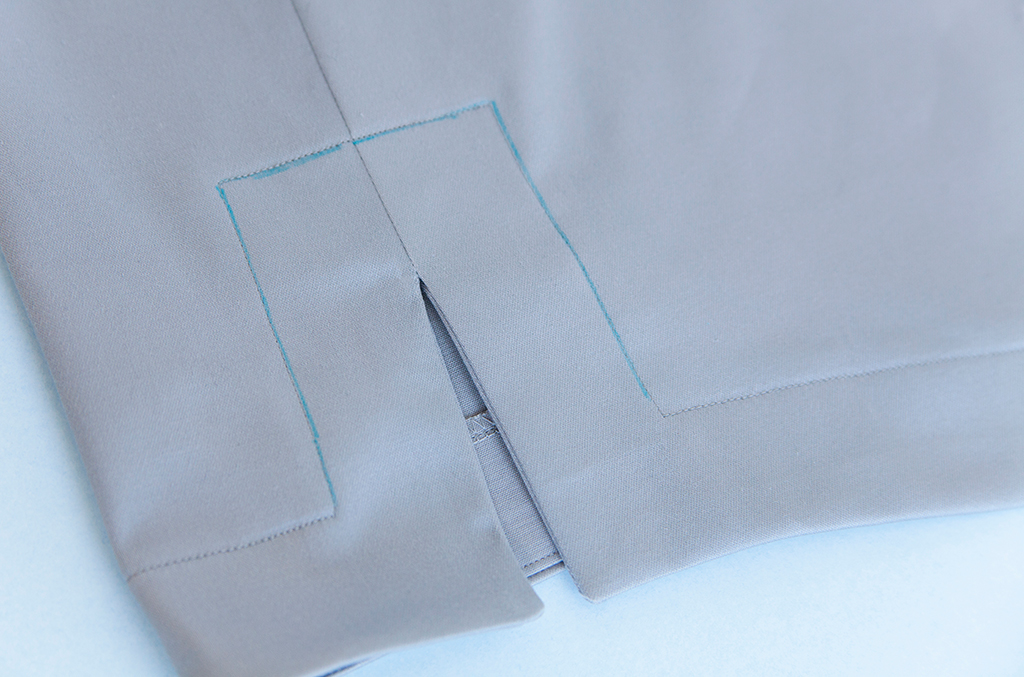
STEP 04 | Fold the hem facing unit to the inside of the dress, using a point turner for the corners. Press. Topstitch along the top edge of the hem facing unit, through all layers. Press.
STEP 05 | Finish sewing your garment according to the pattern instructions.

About the Author
Five years ago, Haley left the apparel industry to join the world of home sewing. She has been empowering women to sew ever since —first through years of in-person teaching at Sew LA, and now through her writing at Colette. Haley writes tutorials and articles on our blog, and writes and edits for our magazine, Seamwork.
 Related Articles
 Best Articles