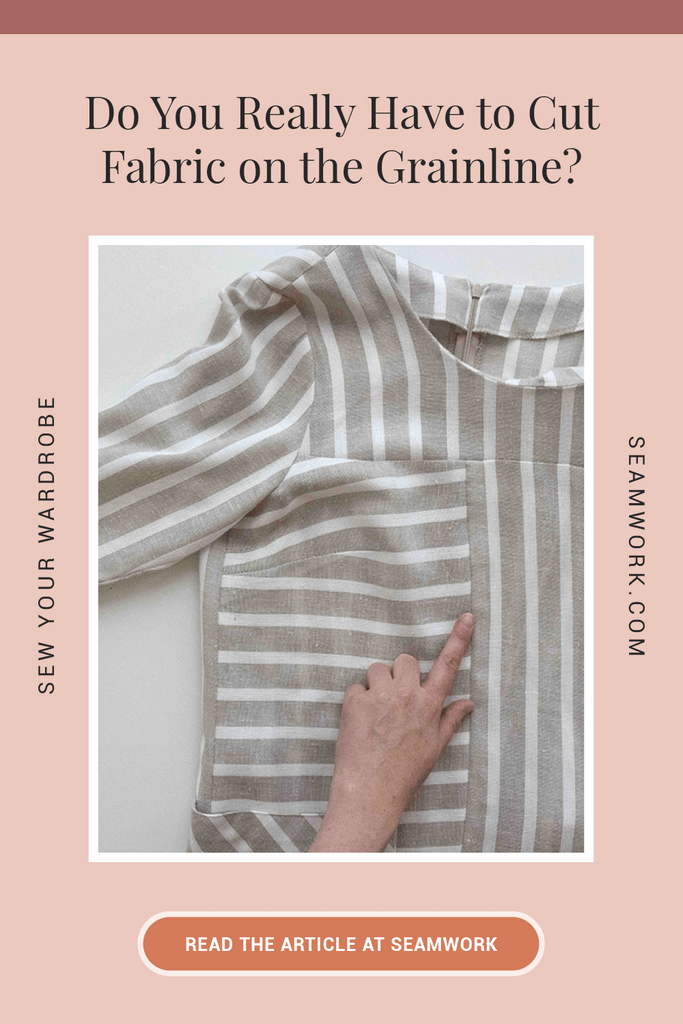
It’s hard to miss those double-headed arrows on your pattern pieces, but what do they really mean? And what happens if you ignore them?
You likely heard the word grainline as soon as you started working with fabric. Maybe you immediately researched the grainline, and you’ve been following it ever since. But perhaps you haven’t explored the grainline on fabric. So, do you really have to cut fabric on the grainline? What happens if you sort of ignore the grainline? Oh, and if you aren’t sure, what even is the grainline?
If you’re new to working with fabric or you’ve always been curious about how dire the straight of grain really is, watch this video on our YouTube channel.
In this video, Meg explains the grainline, shows you how to find the three grainlines on a piece of woven fabric, and demonstrates what happens when you don’t cut on the grainline. Then you’ll know definitively when you must cut on the grainline and when you might be able to wing it.
What is the grainline?
First, what is the grainline? The grainline is the direction that fibers are woven in your fabric. You use the grainline to align your pattern pieces and cut your fabric, so it hangs nicely on your body.
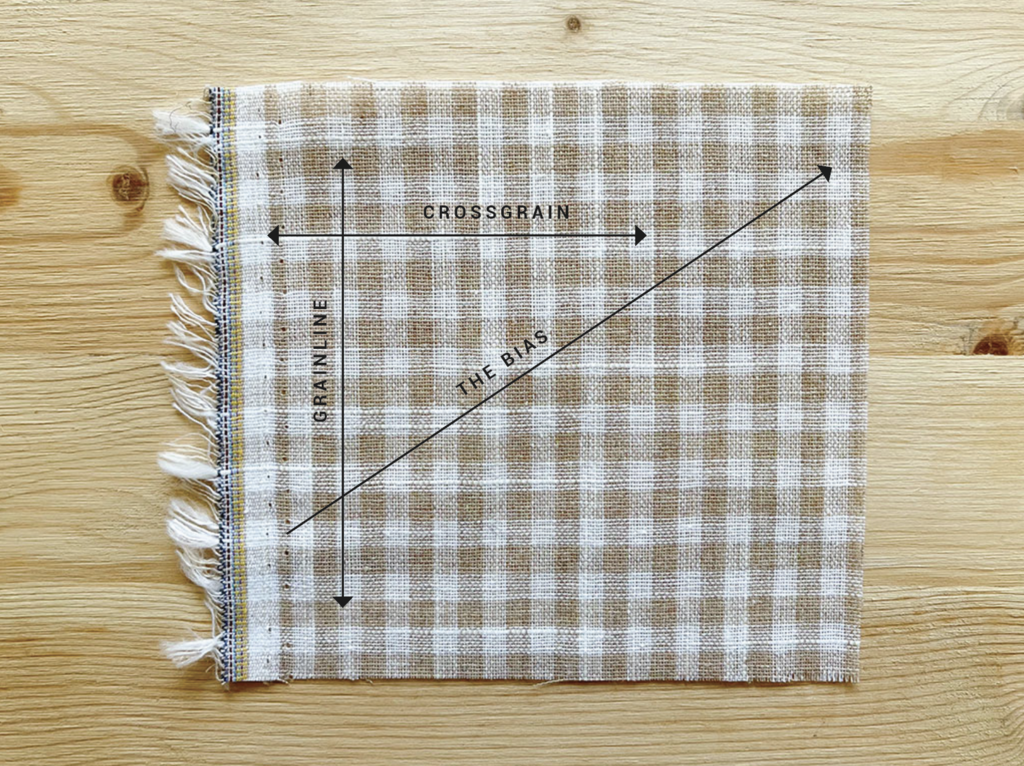
It’s best to illustrate this on some gingham because these cute little checks make it easy for you to see what's happening. There are three grainlines to be aware of: the lengthwise grainline (this is the one grainline to rule them all), the crossgrain, and the bias.
The lengthwise grain. Your fabric has two finished edges, which are the selvages. On woven fabrics, the threads that run parallel to the selvages are called warp threads. This is your lengthwise or straight grain, the line you’ll most commonly use to orient your pattern pieces as you cut them out. When fabric is “on-grain” or you are supposed to cut “on the grainline,” this is the line you want to follow.
The crossgrain. The threads that run from selvage to selvage are called weft threads. This is the crossgrain of your fabric. And guess what? It’s ok to cut fabric on the crossgrain! It might have a bit more mechanical stretch than the lengthwise grain, but you can play with stripes and plaids for fun.
The bias. Next is the bias, which runs diagonally between the selvages. This is the stretchiest grain of your fabric, which is why we use it for bias tape so that it can stretch around curves. It’s ok to cut on the bias too! Some patterns specifically call for the bias because it wraps so lovely around your body. If you want to see examples of bias-cut garments, check out Savannah, Everly, Dezi, and Grace.
Do knit fabrics have a grainline?
Ok, those are the three grains of woven fabric—but what about knits?
Knits don’t technically have a grainline the same way that wovens do, because the fibers are not woven together, they’re knit together. However, we still refer to knits as being on-grain or off-grain.
You can tell if your knit is straight by looking really closely at a cotton jersey. There’s tiny little ribs—like the wales on corduroy—that run parallel to the selvages. That’s your straight grain on a knit.
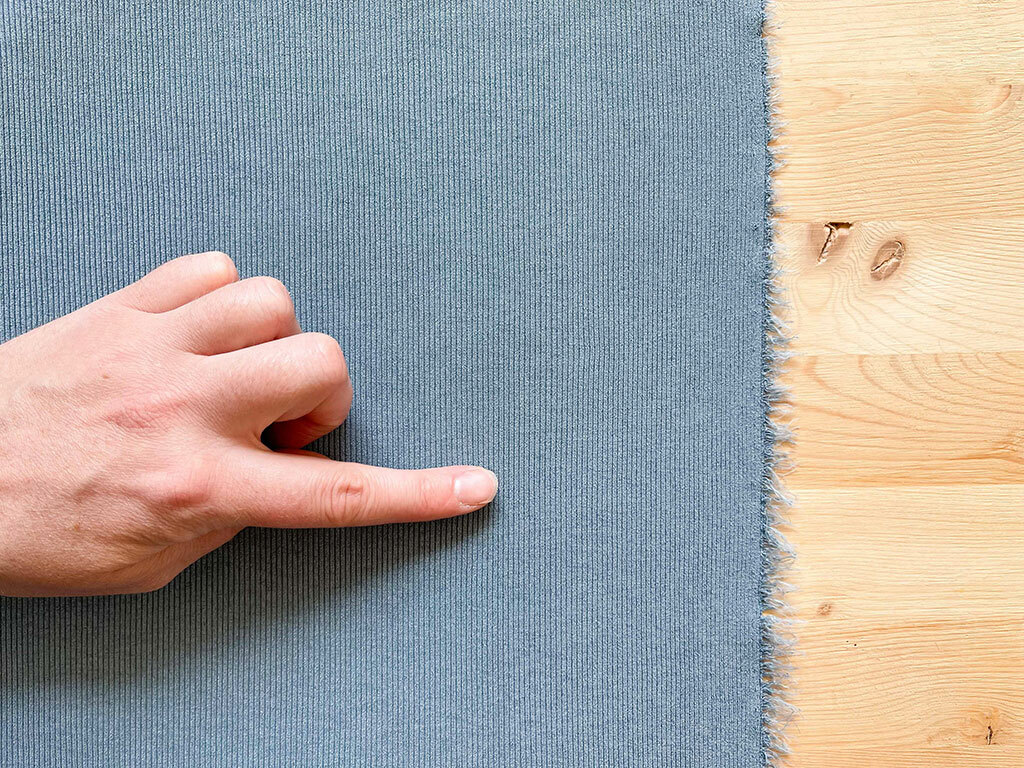
The tricky thing with knits is the direction of the greatest stretch. Knits often have the most stretch on the crossgrain, so you can line up your pattern pieces on the grainline, and then the fabric will stretch around your body. However, sometimes the fabric plays a trick on you, and it has more stretch on the actual grainline, also called vertical stretch. This means the fabric stretches the most up and down, so you want to orient that direction of greatest stretch according to your pattern’s instructions.
You found the grainline. Now what?
After you establish the grainline on your fabric, what comes next?
Once you’ve found the grainline on your fabric, just match it to the grainline on your pattern piece—those double-headed arrows. Ensure that the pattern piece’s grainline marking is parallel to the grainline on the fabric. You can use your ruler on either end of the arrow to make sure it’s straight.
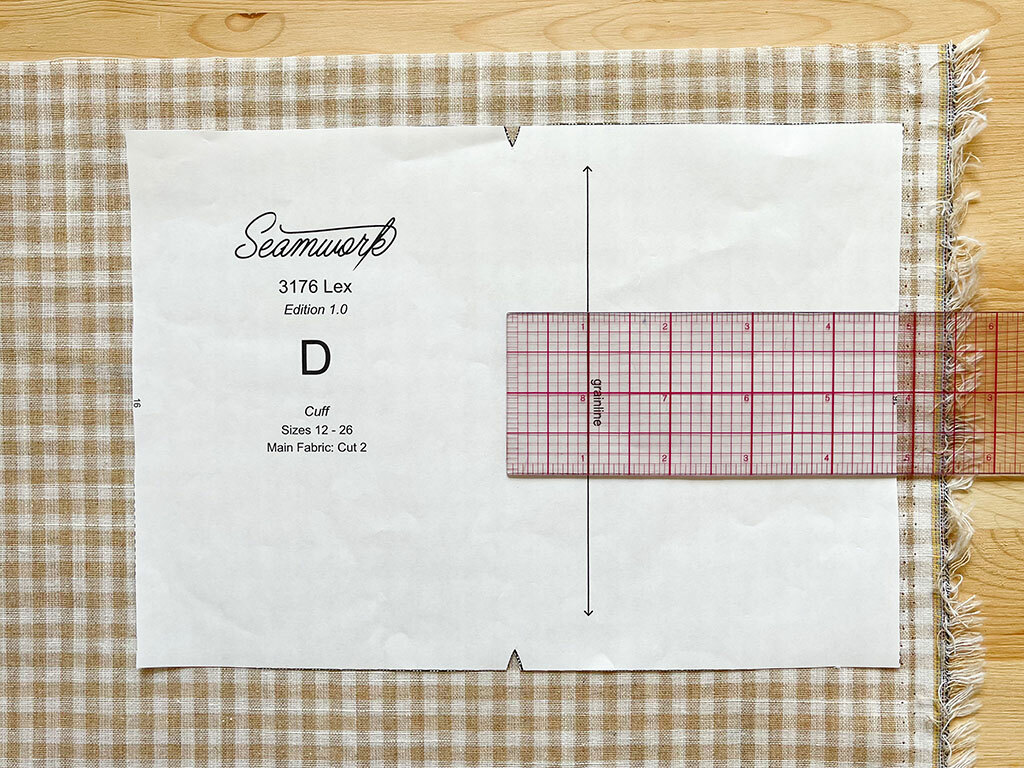
This is also when you can decide to cut on the crossgrain. Again, just line up the arrow perpendicular to the fabric’s grainline. And if it’s a bias-cut garment, your arrows will likely already be diagonal. If not, just align them 45 degrees to the straight grain.
That’s it! So now the big question: What happens when you don’t cut on grain?
What happens if you ignore the grainline?
Have you ever bought a shirt from a store that twists around your body while you wear it, and you have to keep pulling it to sit straight? This is because that shirt was not cut on the grain of the fabric.
Here are two things that might happen if you cut your fabric off grain:
-
Your fabric will twist around your body. If it’s off-grain, you're cutting closer to the bias, which increases stretch. In drastic cases, if your pattern pieces are not cut on grain, your fabric really will stretch and grow as you wear it -
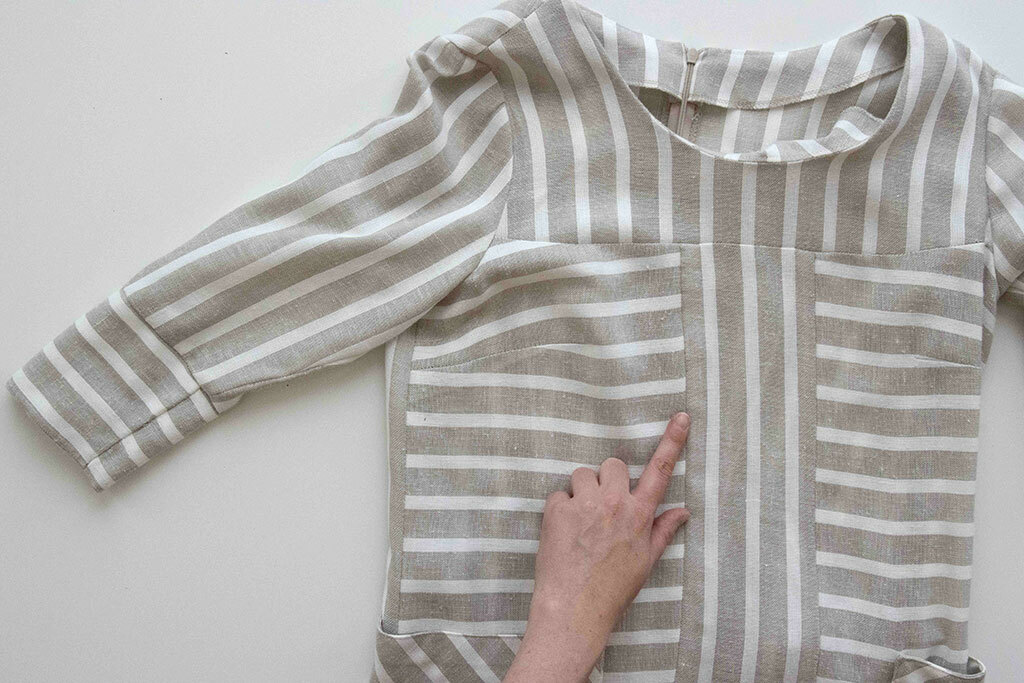
Your fabric will appear visually off. It will look askew, especially if you use a print like gingham or stripes.
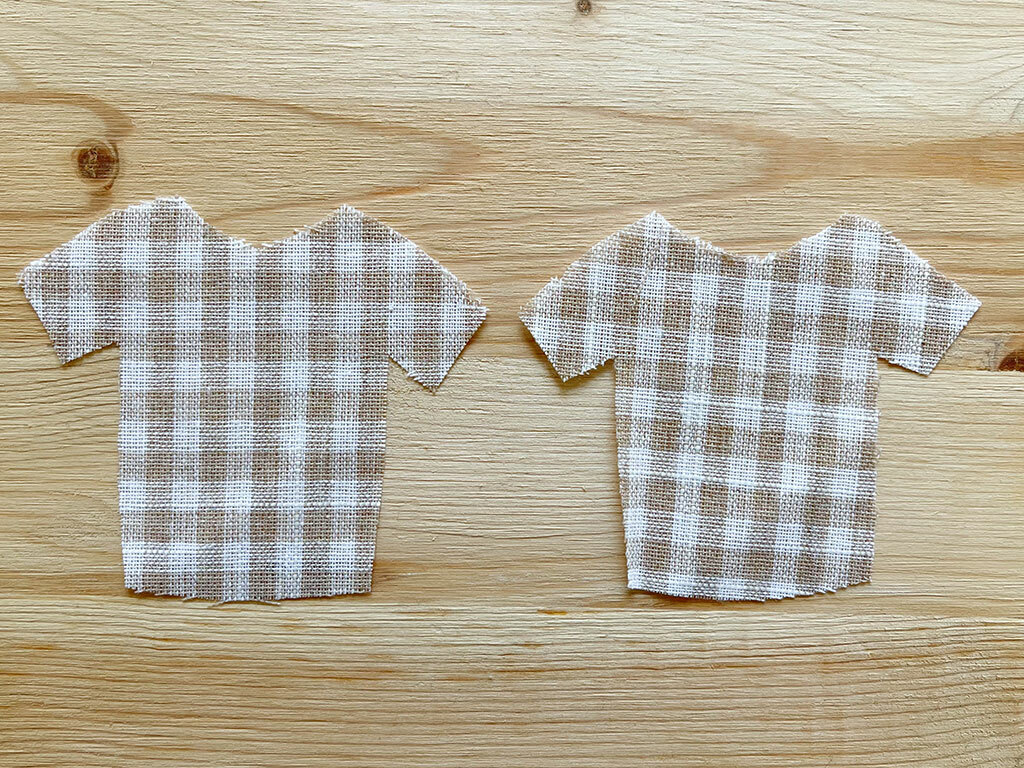
As you can see on these tiny shirts, the grainline can be visible. The shirt on the left is cut on-grain and the shirt on the right is cut slightly off-grain. See how the shirt on the right appears askew?
So can you ever take a risk with your grainline, or do you always, under no circumstances, have to get the grainline exactly right?
Here are two times when you might not cut exactly on grain:
-
Your fabric is printed off-grain. Fabric can sometimes be printed off-grain, which means if you cut it on the grainline, it will look crooked no matter what you do. If this is going to distort your fabric's appearance, it’s your call if you want to disregard the grainline and cut your fabric, so it appears visually straight. -
You can’t find the wales. If you can’t see the ribs on your knit, and you’ve spent an hour trying to get it on grain, you have permission to take a risk and do your best.
Remember, with some things in life, it’s fun to be a little off-grain, but when cutting fabric, try your best to follow the lines.
Love the article? Pin it for later.
