Sign In
Have you ever wondered how to add shirring to your sewing project?
In case you aren't familiar with shirring, it’s rows of machine stitching that cinch your fabric to add texture and shaping to your clothes. You can shirr on waistlines, across the chest, and at any hems (especially sleeves).
No pattern alterations are required to create this breezy blouson effect.
Watch the video or keep reading to discover how to add shirring to your sewing projects. Here's what you'll learn:
- What is shirring? Is it the same as smocking?
- What patterns and fabric work for shirring?
- How do you shirr?
- Troubleshooting tips
What is shirring?
When you shirr on your machine, you’re essentially just sewing rows of stitches that are 1/2” (12 mm) apart. The trick is that you’re using elastic thread in your bobbin and all-purpose thread in your needle.
The elastic thread evenly gathers the fabric between the rows of stitches, creating texture and elasticity and cinching your garment in after you give it a quick burst of steam with your iron.
You can add shirring to any part of a garment. It’s most commonly used to create shaping at the neckline, bust, or waist, like here on the Carter dress.

Is shirring the same as smocking?
Shirring and smocking aren't quite the same thing.
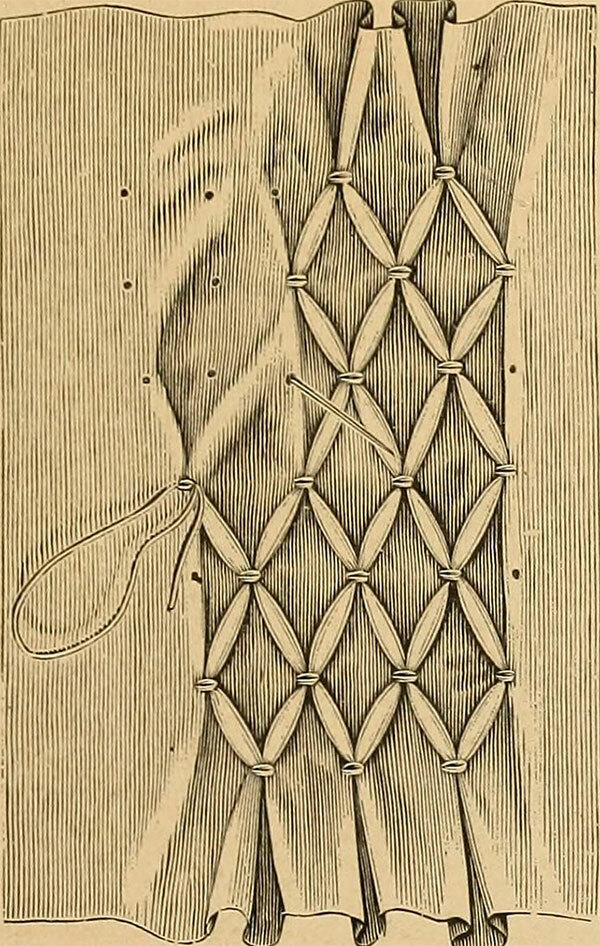
Smocking uses embroidery stitches to gather fabric to help create stretch and add decorative patterns—without using elastic thread. Smocking is often done by hand, using pleats to create intricate designs and manipulate the appearance and fit of a garment. You can see the difference in this illustrated example of smocking.
What patterns and fabrics work for shirring?
When picking out a pattern, look for ample ease—at least 10" of ease in the area you will be shirring.
The lighter the fabric, the more effective the shirring. It can reduce the garment's width by about half. Great fabrics to shirr include voile, double gauze, lawn, and rayon challis. Avoid heavier fabrics such as flannel, canvas, and wool suiting.
You can add shirring to an entire length of fabric before you sew, but it might be easier and more accurate to add it to your cut pieces, so you control exactly where the shirring gathers.
How to shirr
You’ll Need:
- Elastic thread (for your bobbin)
- Regular thread (for your top thread)
- A water-soluble marking tool
- A clear ruler
- (Optional) A walking foot to help keep your stitches consistent
Heads up—most of the work for shirring is in set-up and experimentation. Once you get your settings right, all you have to do is stitch. So focus on testing on a swatch before moving on to your finished project.
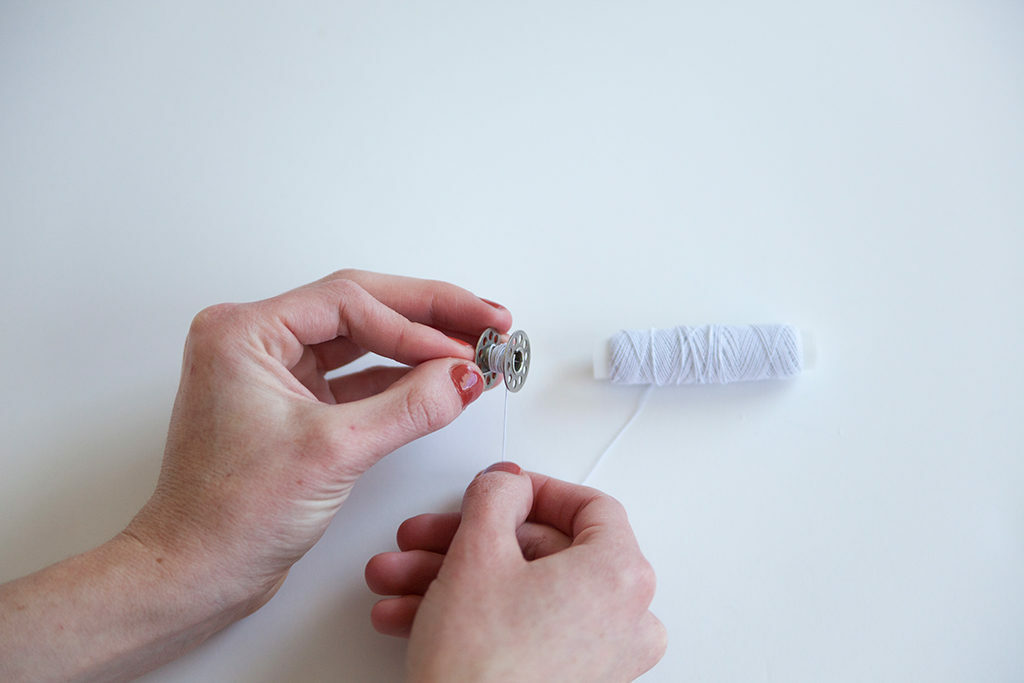
First, get your bobbin all ready. To do this, wind the bobbin by hand with the elastic thread. Should you stretch as you wind? Maybe just a little, but it really depends on your machine’s tension. You might not know until you start sewing test stitches.
Tip: If you’re doing a lot of shirring, wind more than one bobbin so you don’t have to interrupt your sewing flow to refill another one by hand.
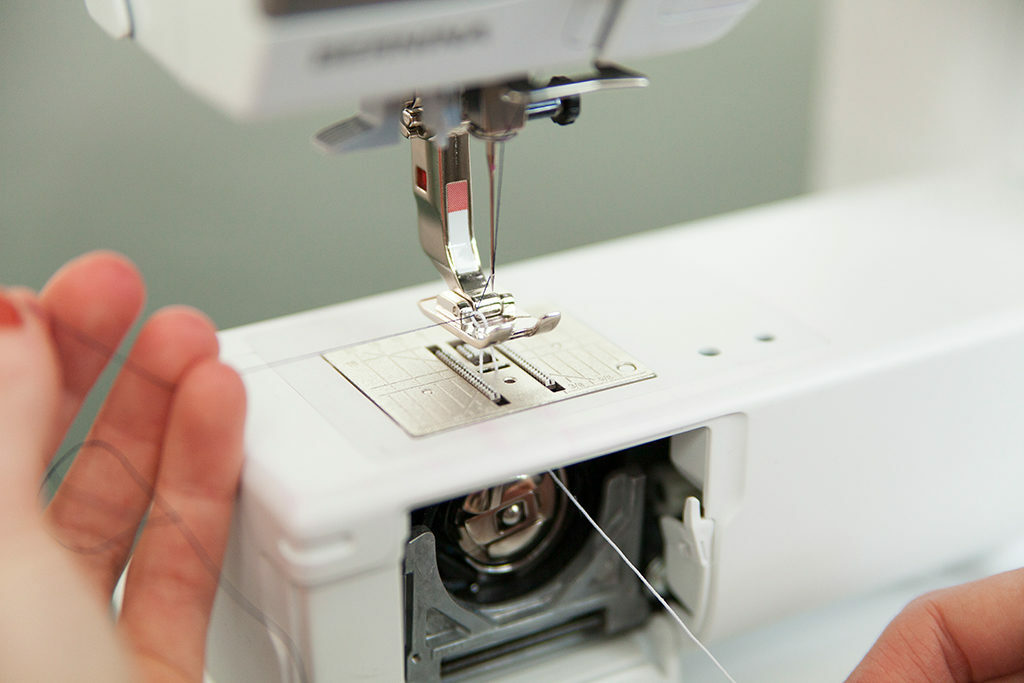
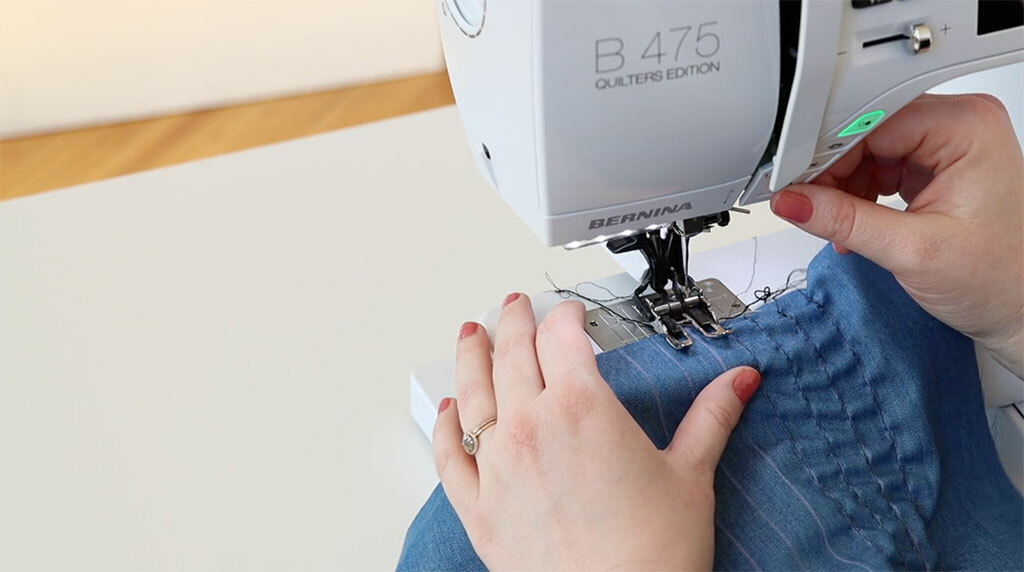
Once your bobbin is in your machine, thread the needle with all-purpose thread. Pull up the elastic thread and then pull both threads away from your machine to leave a long tail. Why the tail? Your machine will want to suck that elastic thread back in as it sews. Leaving a thread tail ensures you won’t get nesting as you start stitching.
Next, select a long straight stitch on your machine, about 3-4 mm. Why the long stitches? The fabric gathers between each stitch as you shirr, so a longer stitch length creates more shirring.
Now it’s time to stop and troubleshoot
Once you have your machine set up, sew a few lines of test stitches on a swatch of the fabric you’ll use for your project.
If your shirring is still not turning out quite as you’d like, here are some troubleshooting tips.
- Adjust the stitch length:
- Re-wind your bobbin. If your shirring is tight, you might need less tension while you wind it by hand.
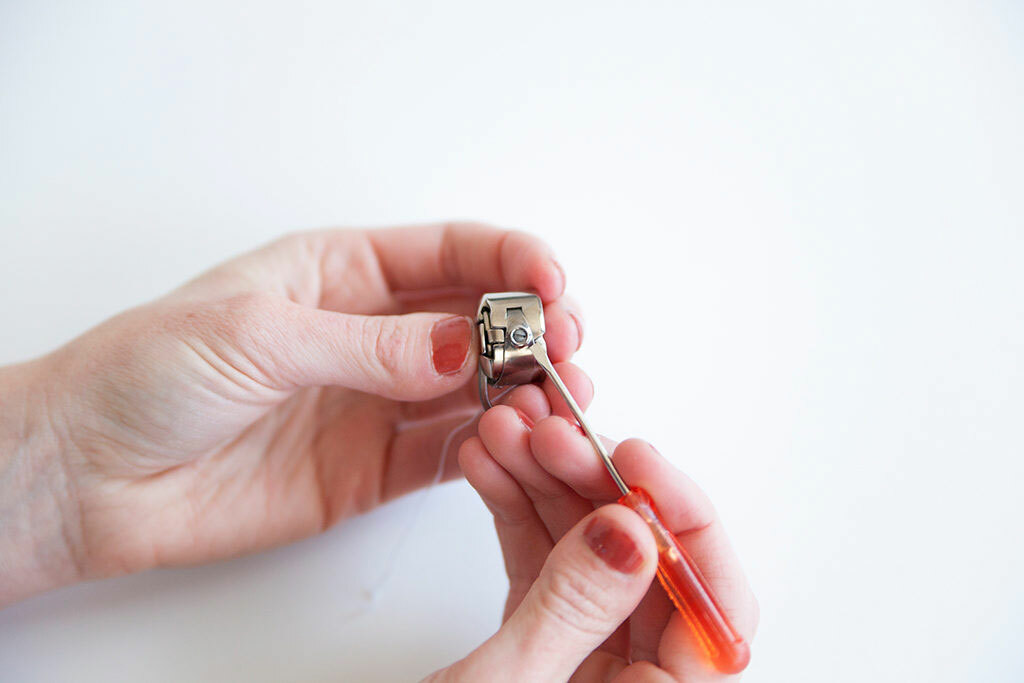
- Increasing the bobbin tension. If your shirring is loose, this can help tighten it up. To do this, use a small screwdriver to turn the screw on the bobbin case to the right. Start with one full turn. Make note of this so you can reset the bobbin tension when you’re done.
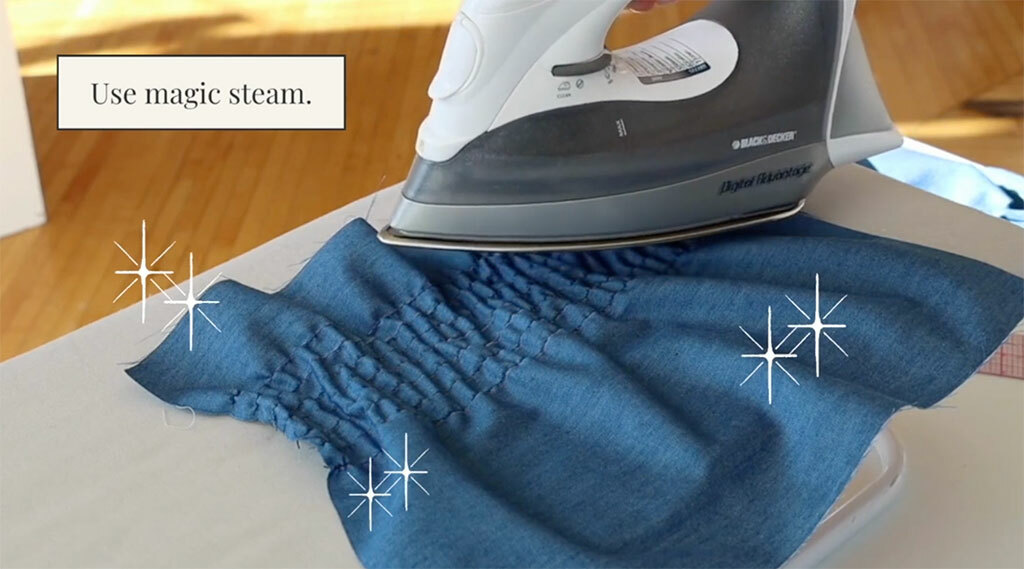
- Give your stitches a blast of steam. When you’re done shirring, the magic trick is to hover your iron over your stitches, so they tighten up and pull the fabric in. If your stitches look okay but not perfect, try doing this on your test swatch. You might be surprised at how much better it looks!
Once your test swatch looks good, you’re ready for the easy part—the actual shirring!
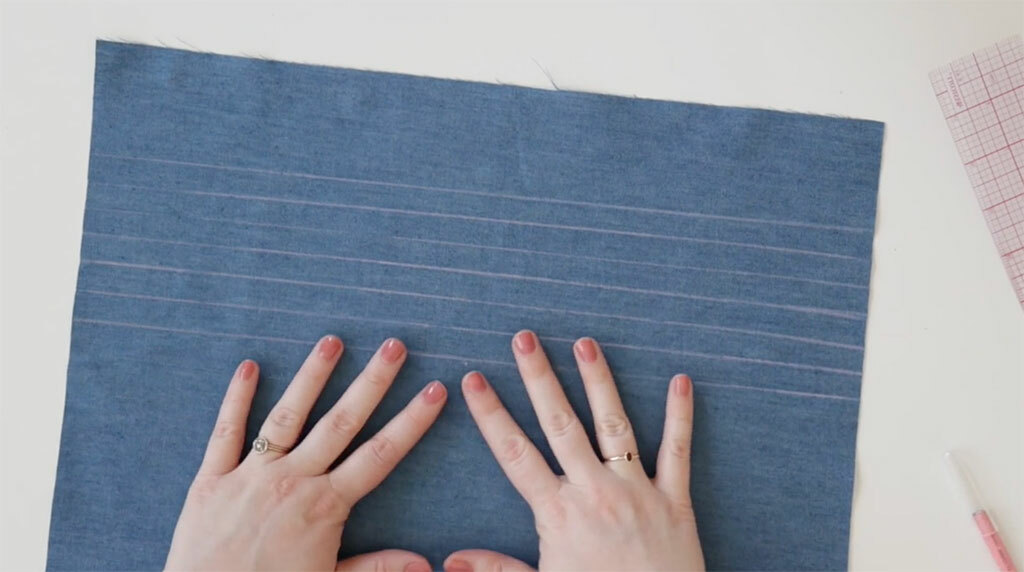
Use a water-soluble marking tool and a clear ruler to draw shirring lines 1/2” away from each other.
Tip: If you’re sewing shirring on the front and back bodice pieces, draw the lines equal distances away from each other and the marking at the armhole. Then your shirring will line up at the side seams.
Sew each with a generous backstitch at the beginning and end. Why a generous backstitch? Your elastic thread might want to snap back into place, which will undo the stitches. Backstitching secures it.
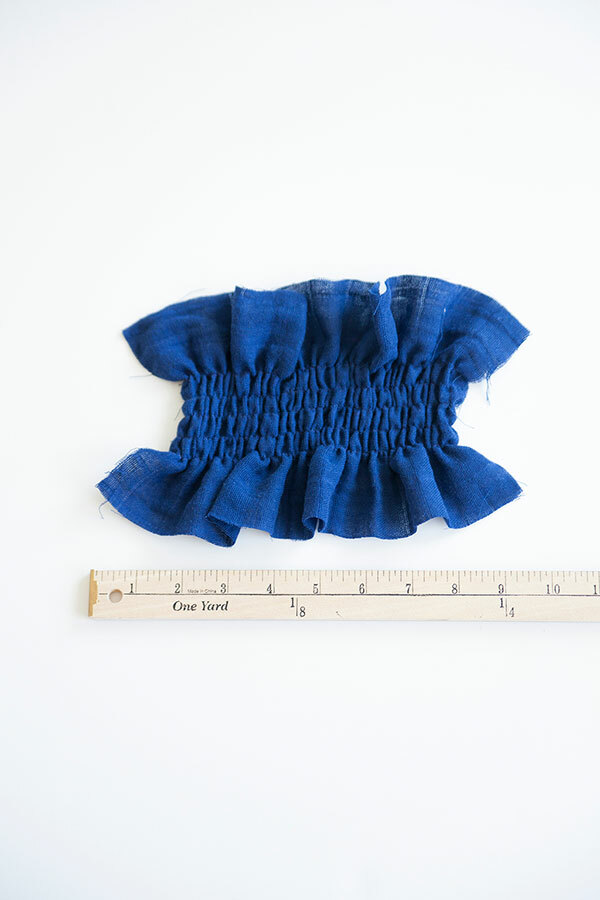
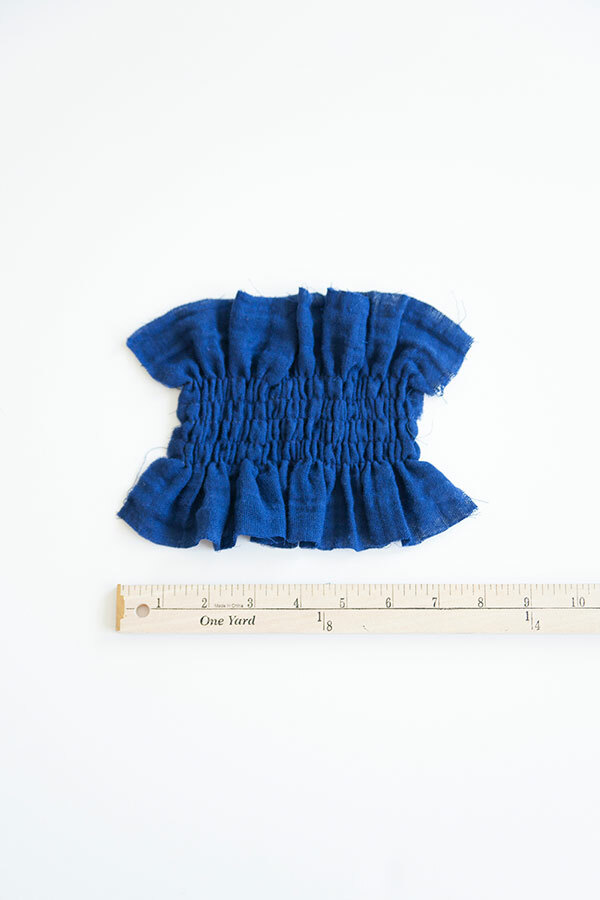
After a few rows of stitching, you should start to see your shirring go into effect. But there’s one more trick when you’re all done!
Hover a hot steam iron slightly above your shirring and give it a few blasts of steam. The gathers will magically condense, creating tight rows of shirring and transforming the fabric’s silhouette.
Watch the video to see a piece of fabric cinch up in real time. It’s so satisfying.
Now you’re ready to sew all your pattern pieces together to get the full effect.
Have any questions about shirring? Or have you made any cool projects with shirring? Post a picture in the comments!