Sign In
The burrito method is a little bit of sewing magic when sewing certain kinds of linings.
What’s the burrito method? It’s a technique to get a clean finish inside your garment when you have a lining or a facing. You'll neatly enclose your seam allowances in the lining, and you won’t see any raw edges. It’s a moment of total sewing satisfaction.
The first time you try this technique, you might feel like you’ve created a giant twisted pretzel with your fabric. So we made a video for our YouTube channel to show the burrito method up close. This tutorial will make it so easy!
Part 1 of this video series will show you the burrito method on a garment with a lined yoke. You’ll see how it works step by step, and get tips for doing it right the very first time. In part 2, you’ll learn how to do this on a sleeveless garment.
When to use the Burrito Method
In this tutorial, we're going to demonstrate the burrito method on a lined yoke.
This technique also works on sleeveless garments that are lined or feature an all-in-one facing. Unfortunately, it won’t work for garments with sleeves (unless it has a yoke). Next week, we'll show you how to do the burrito method on a sleeveless garment.
The Burrito Method Demystified
Start by attaching the yoke pieces to the shirt back.
With right sides together, pin your outer yoke to your back shirt. Baste in place.
Place the inner yoke with the right side facing the wrong side of the shirt.
Pin and sew. No need to finish the seam allowance here, but you do want to grade the seams—watch this video if you want to learn how to grade a seam.
Press everything up toward the shoulders.
Next, sew the shoulder. To do this, fold the inner yoke down, so you are just working with the outer yoke. Then pin it right sides together to the front shirt at the shoulder seams.
Sew, making sure you are only catching two layers.
Now to make the burrito!
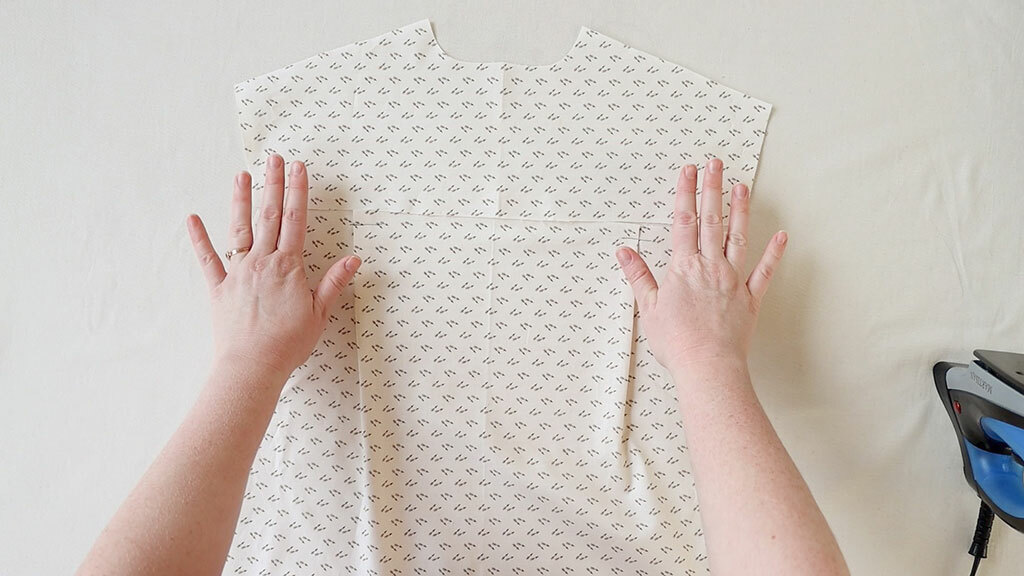
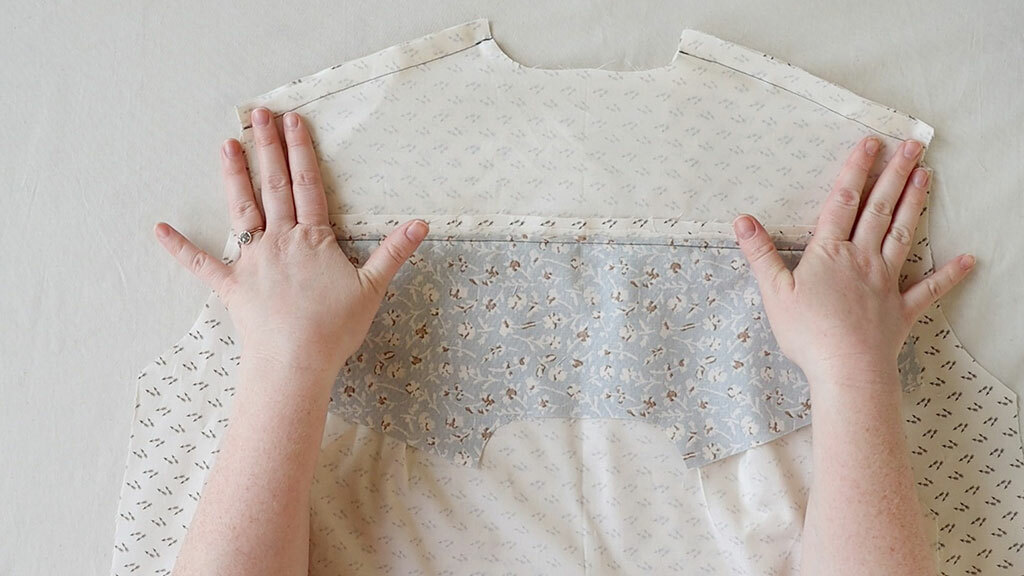
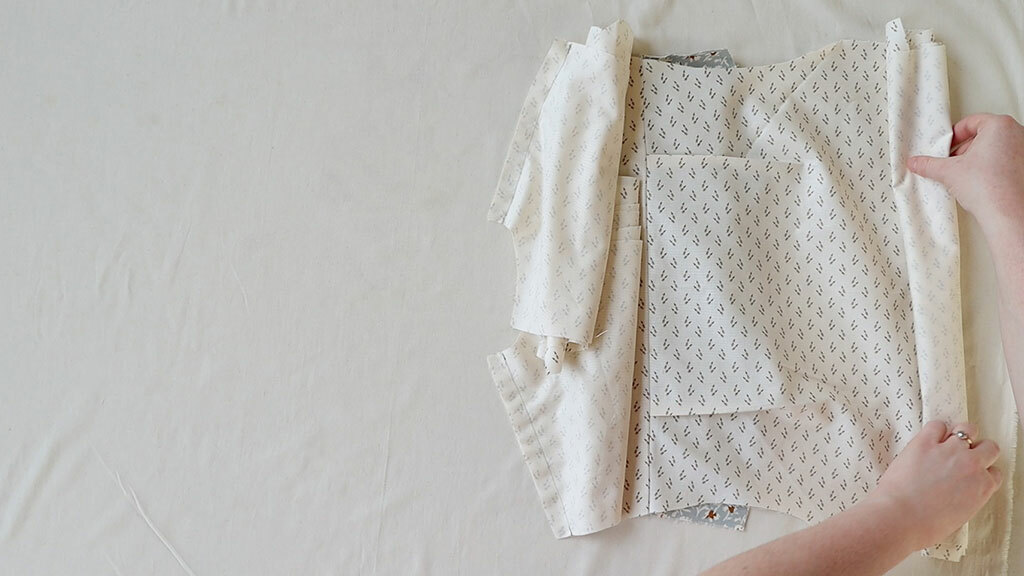
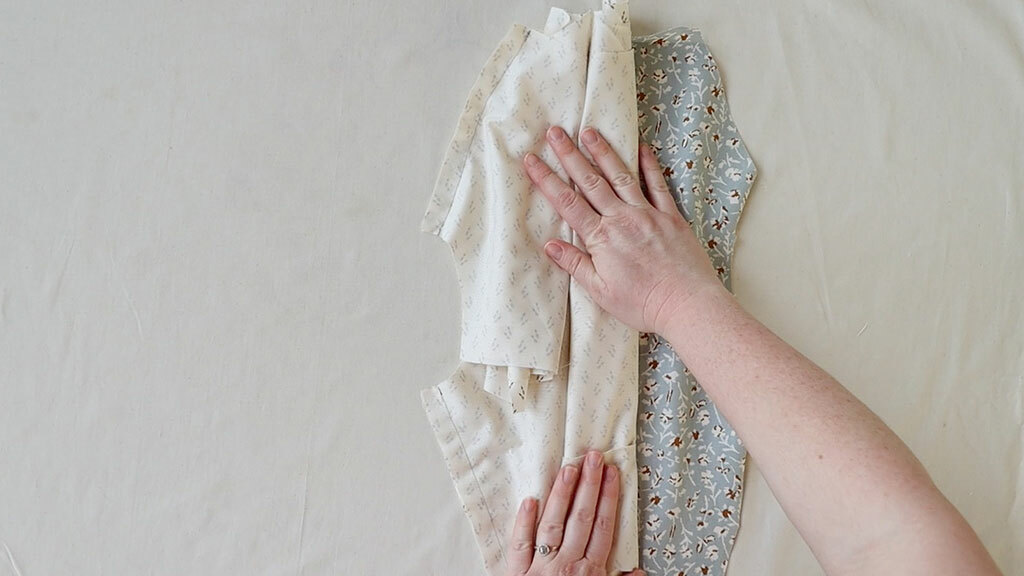
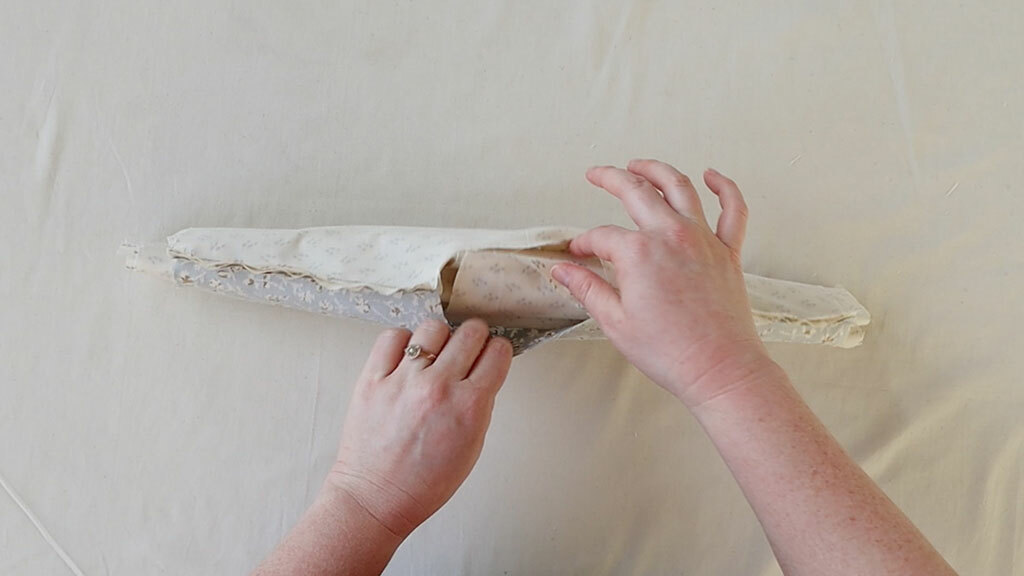
Lay the shirt back onto your work surface, right side up and open at the shoulder seams so that the bodice back and the bodice front pieces are laying out flat, not on top of each other.

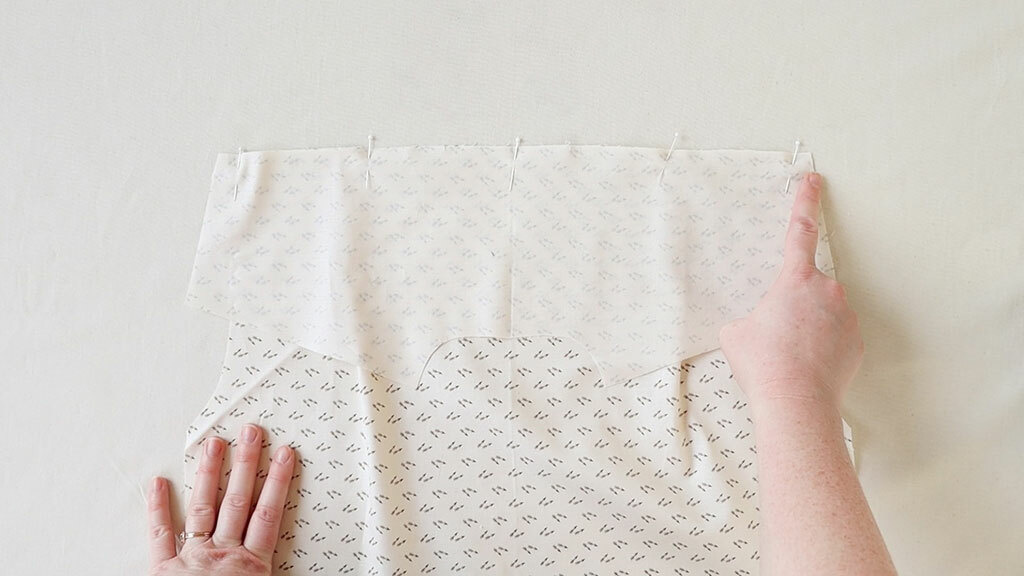
Roll up the fronts of the shirt until you reveal the shoulder seam
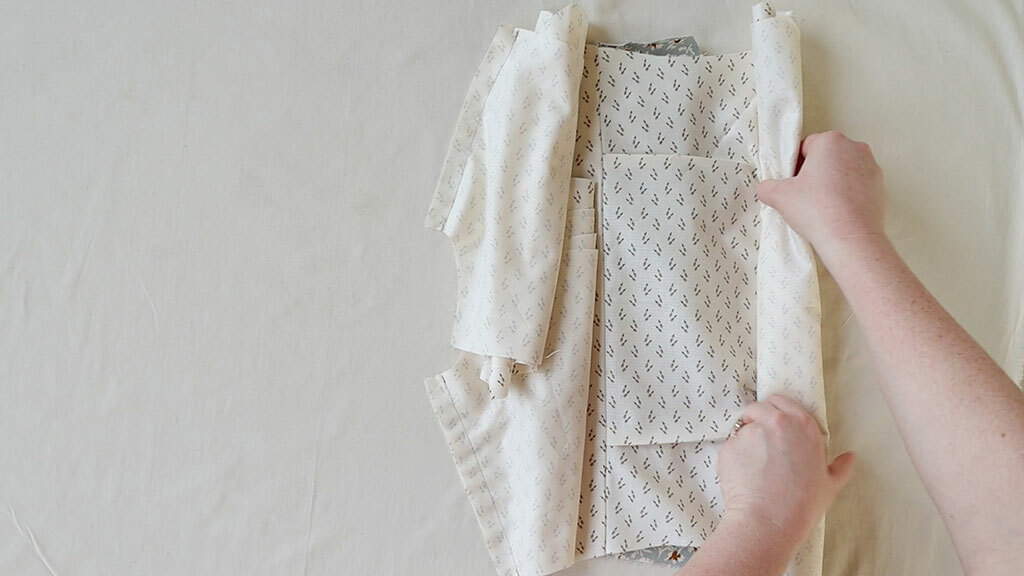
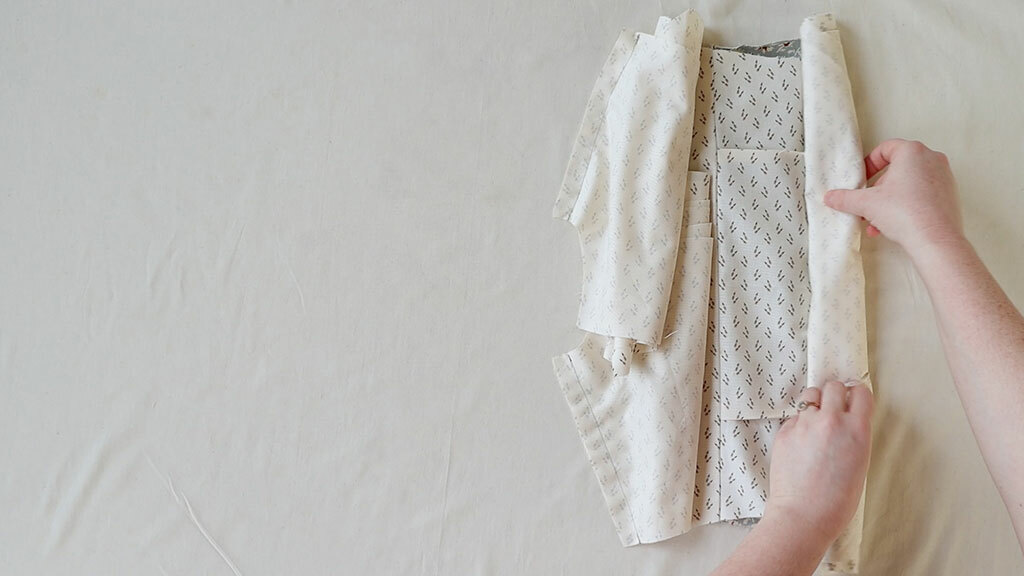
Then roll the back pieces of the shirt so that the other shoulder seam is exposed.
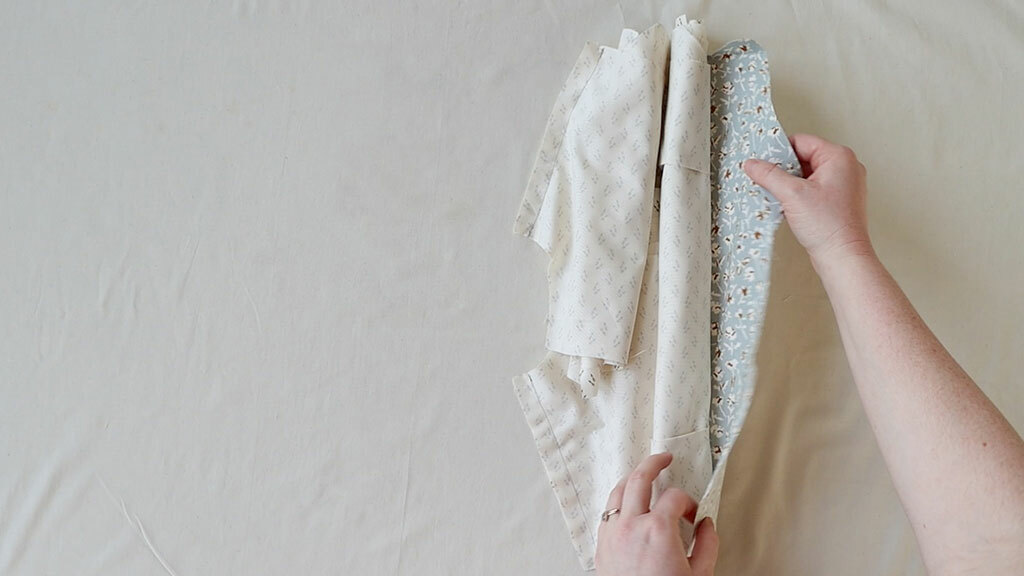
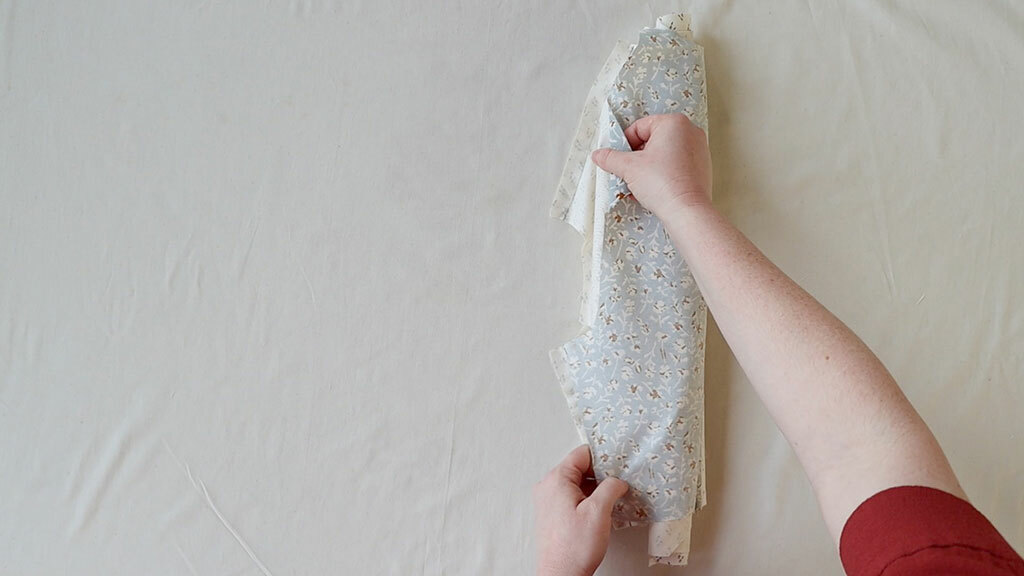
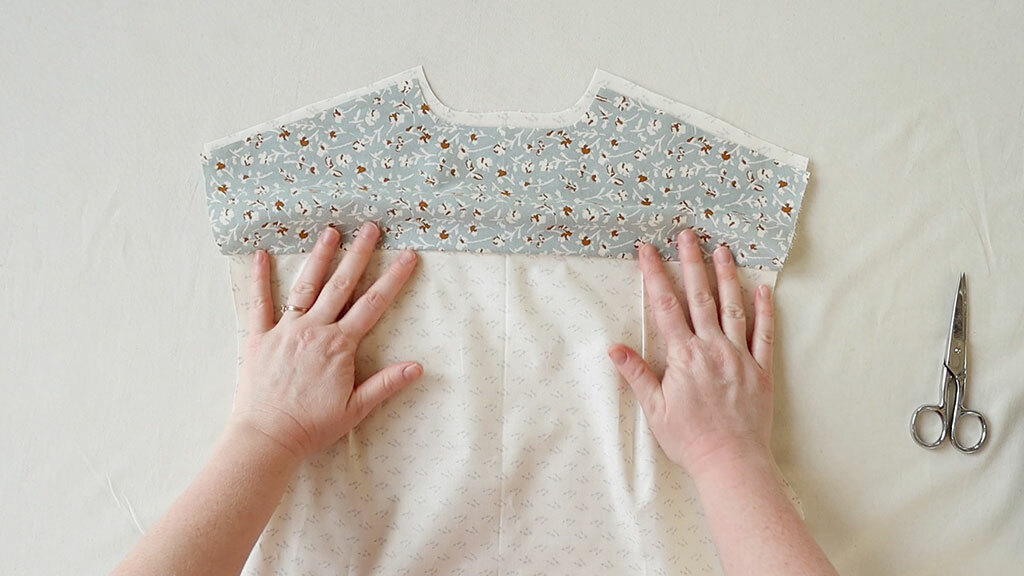
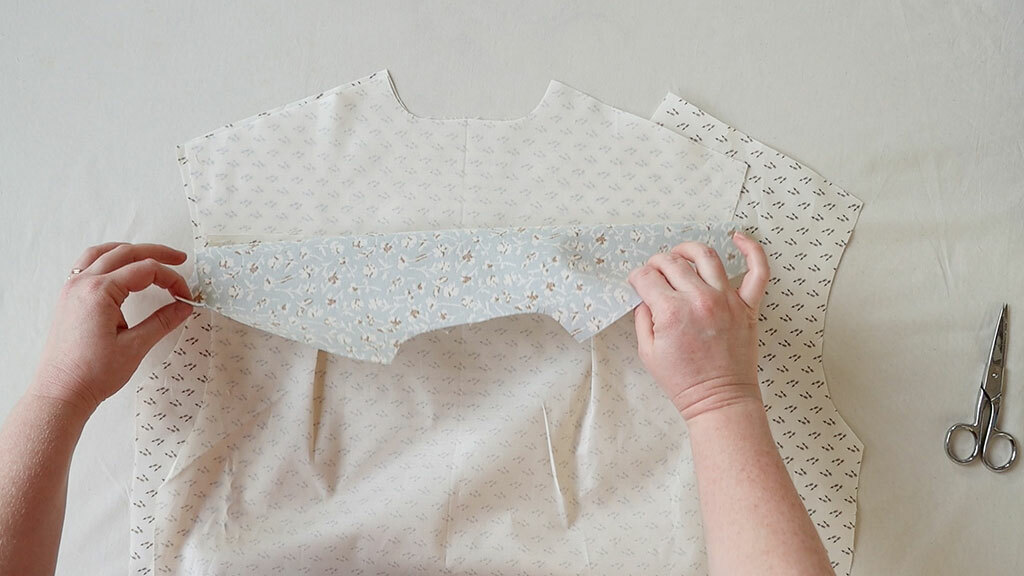
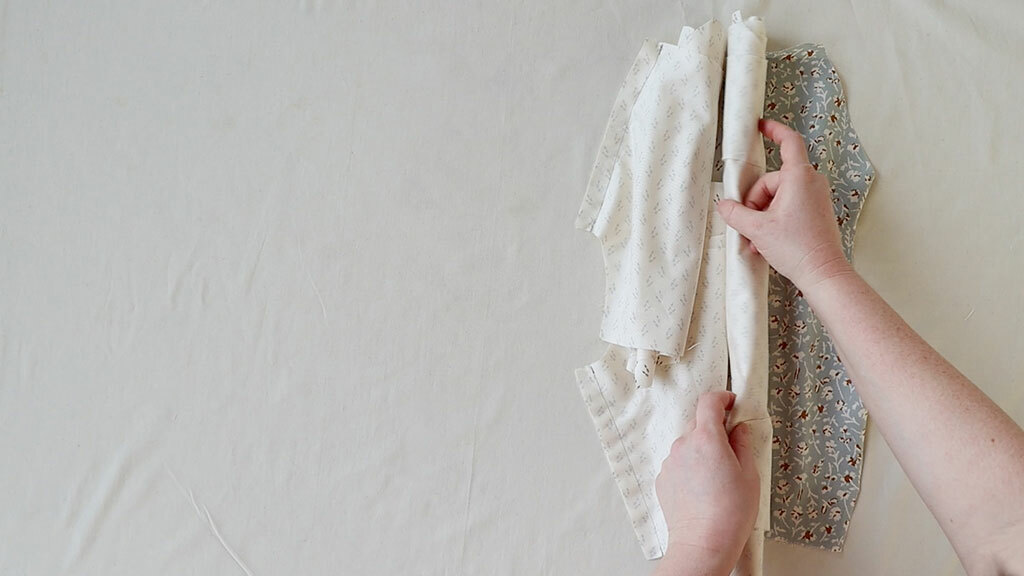
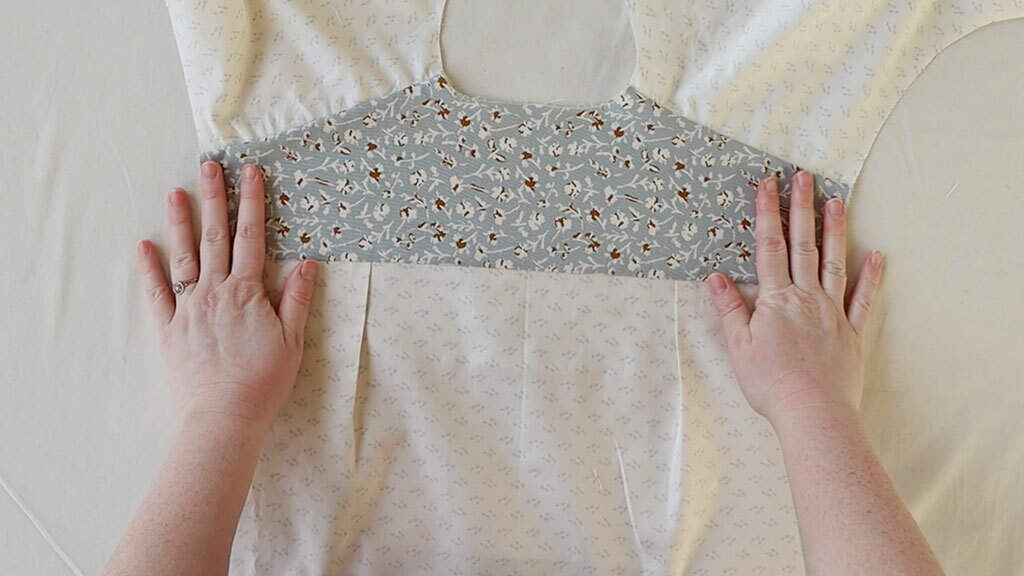
Grasp the inner yoke (the lining) and bring it up to meet the shoulder. The rolled-up shirt will be like the filling of your burrito, and the yokes are the tortillas.

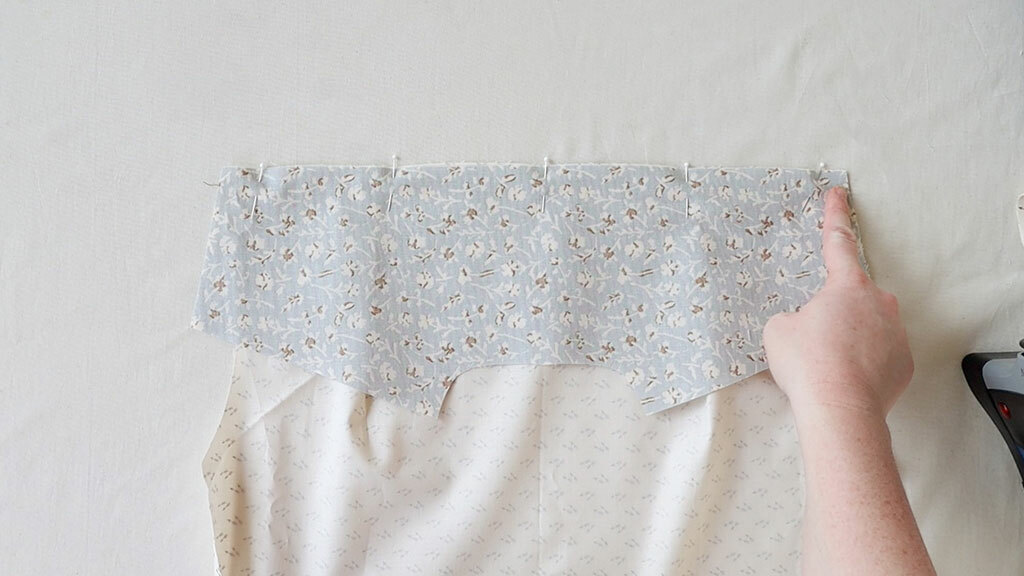
Pin the shoulders in place, ensuring you are not catching the fronts or back of the rolled-up shirt. Next, sew the shoulder seam again, being careful not to catch “the filling” of your burrito.
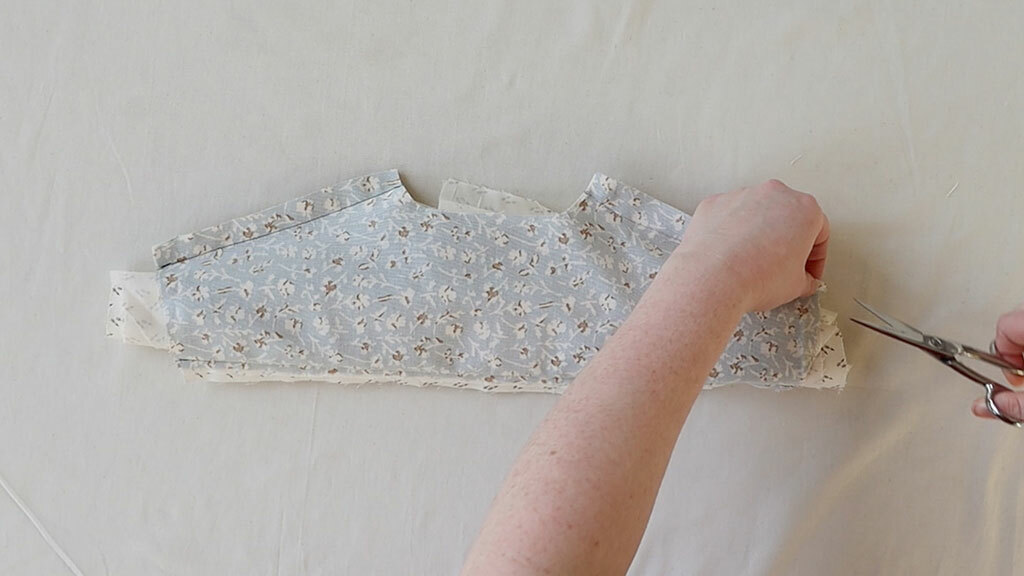
Then grade and trim the seam allowances.
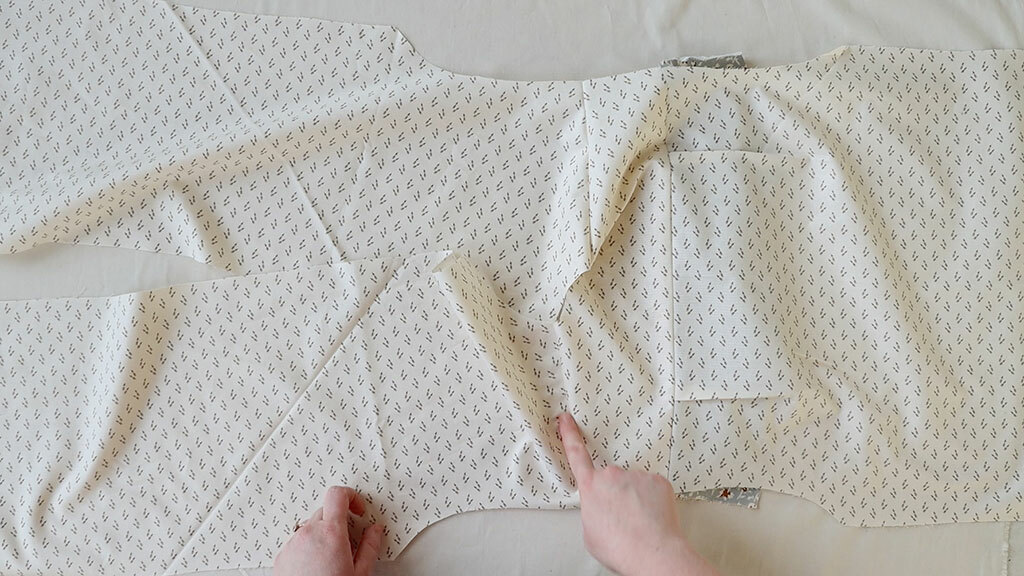
Pull the inside of your burrito (those rolled-up front and back bits) through the neckline to turn everything right side out.
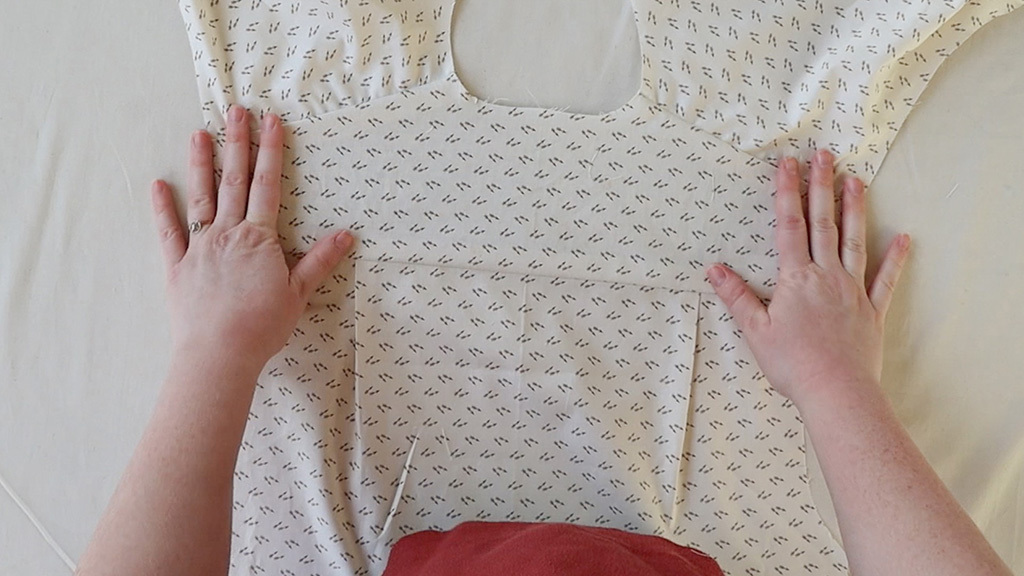
Give everything a good press and add any topstitching to those yoke seams.
That’s the burrito method! Our next tutorial will be the burrito method on a sleeveless garment. It’s the same technique, but it’s worth demonstrating on the different pattern pieces.
Love the article? Pin it for later.