Sign In
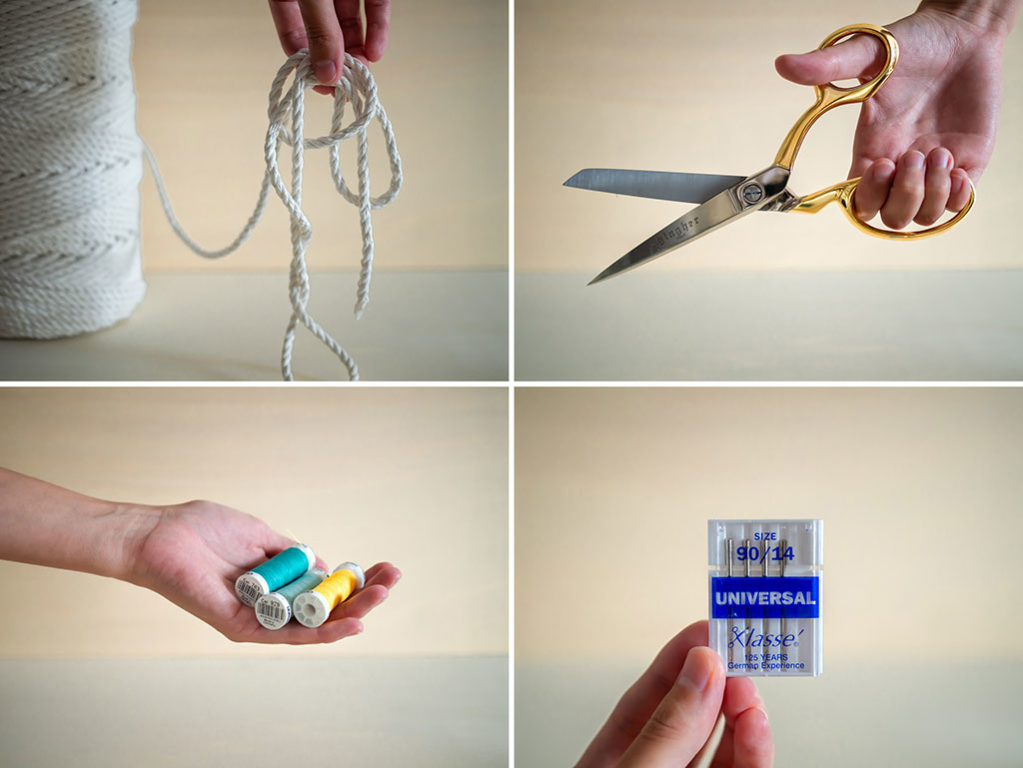
You’ll Need
- 10-25 Yards 5mm macramé rope or clothesline (the amount varies by size of bowl)
- Scissors
- Thread
- Sewing machine
- Size 90 or 100 machine needles
- Extra bobbins (optional)
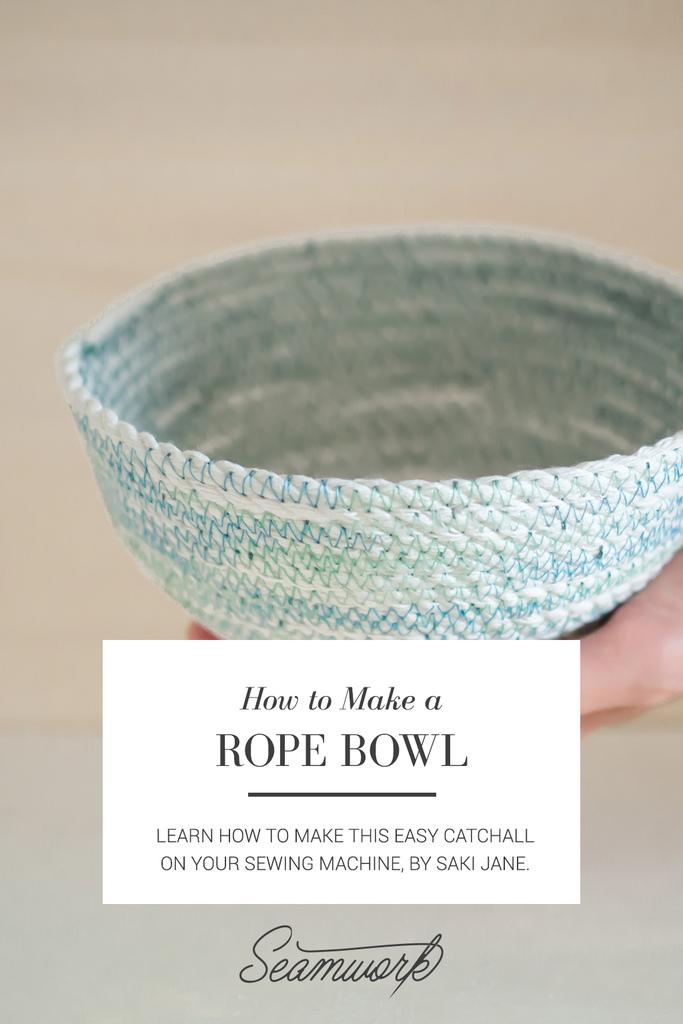
Making rope bowls is a little more like pottery than sewing garments; there’s a lot of nuance and shaping as you go along, and the curvature of the sides depends entirely on how you make it! That might sound intimidating at first, but it’s much easier than it seems. If you can sew a zigzag stitch, then you can sew a rope bowl. Plus, the trial and error is half the fun; it’s a low-investment/high-reward project that’s sure to get all your happy brain chemicals pumping.
With this zigzag method of construction, the possibilities are endless. You can make coasters with a shorter scrap of rope by stopping when the diameter reaches a few inches (and before you start to curve the bowl upward). You can use a length of braided fabric scraps instead of rope to create a colorful bowl. You can even make a larger bowl and add straps to use as a market bag. I’m excited to see what other variations you come up with. Use the hashtag #seamworkropebowl to share your finished project!
Some Tips Before We Start
Since it’s difficult to connect two ends of rope together, you’ll want one continuous length for this project. I recommend starting with at least 10 yards, which is enough for a small-sized bowl, but that’s not a hard and fast rule; the length of rope you start with will only determine when you’ll have to stop.
You can use any type of rope that’s soft enough to sew through, so it’s important to stay away from industrial ropes like those used for climbing or made of nylon. I’ve seen these rope bowls done with clothesline before, but I was able to find a cheap source for macramé and used that. Macramé also comes in fun colors if you’re looking to make something colorful!
Depending on the size of bowl you want to make, it’s helpful to pre-wind several bobbins before you start. For the small bowl, I only used one bobbin, but in the past for larger baskets, I’ve used three or more. Keep in mind that the bobbin thread is what will actually be visible on the outside of the bowls, while the upper thread is what will be on the inside. That said, it’s fun to play around with different bobbin colors for a color-blocking effect. In my sample, I used a variegated thread to add more texture.
Preparing the Base
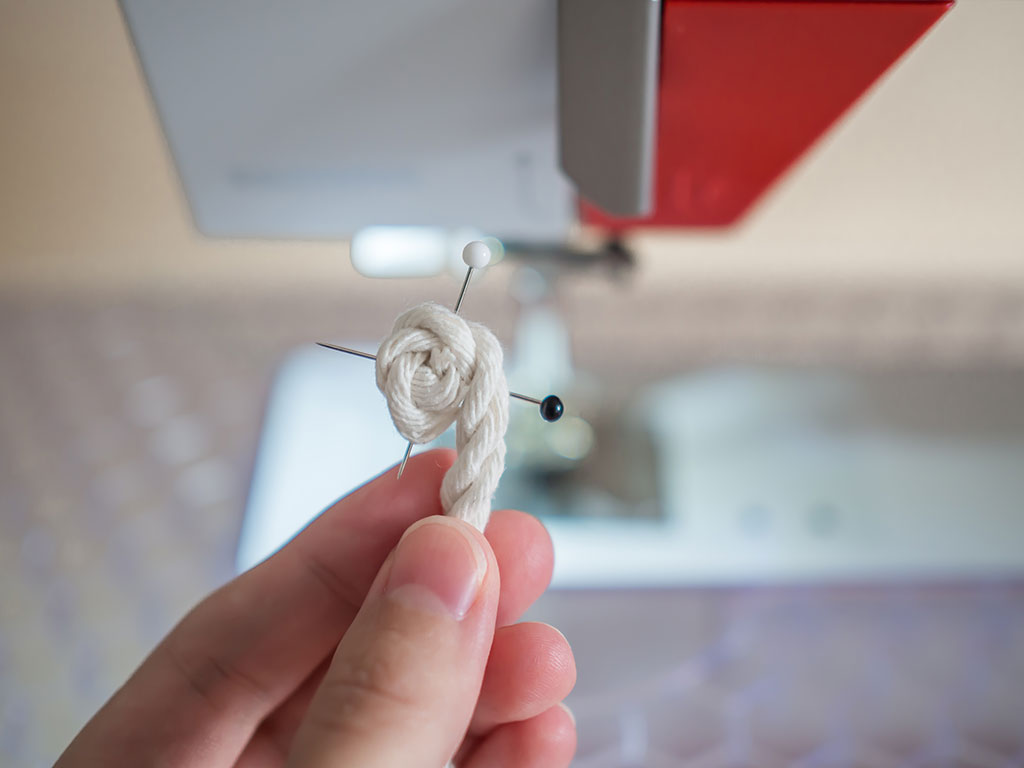
Create a pinwheel with your rope, so it wraps around itself one time. You can hold this in place by stabbing a couple of pins through the center.
Sewing the Bowl
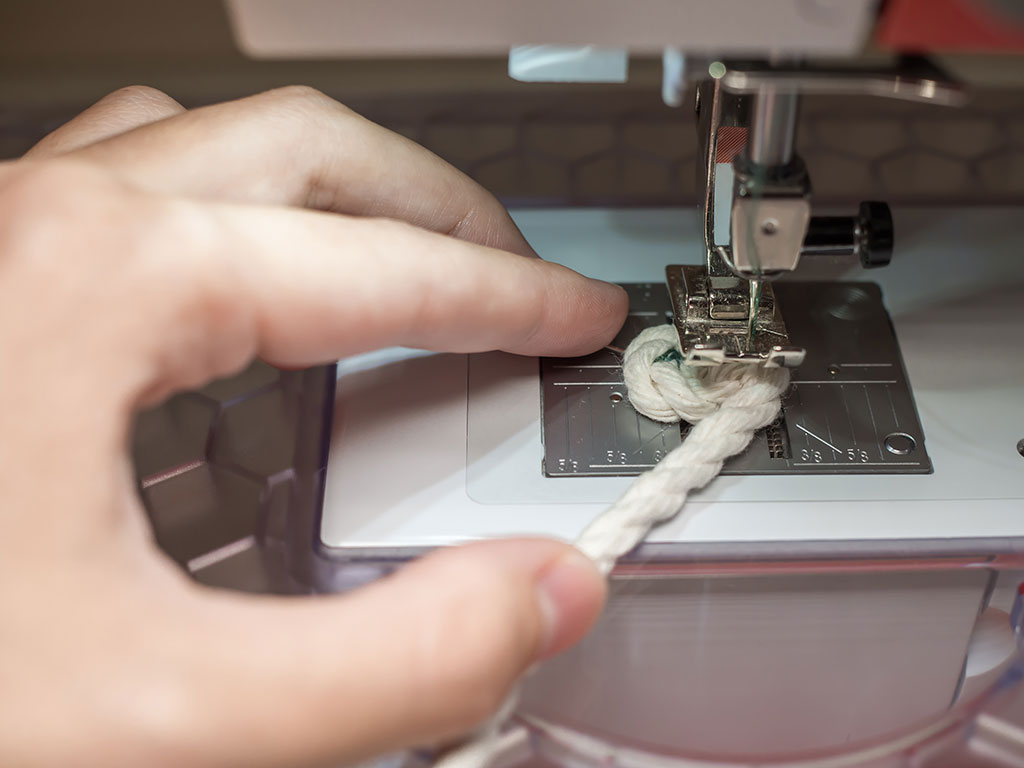
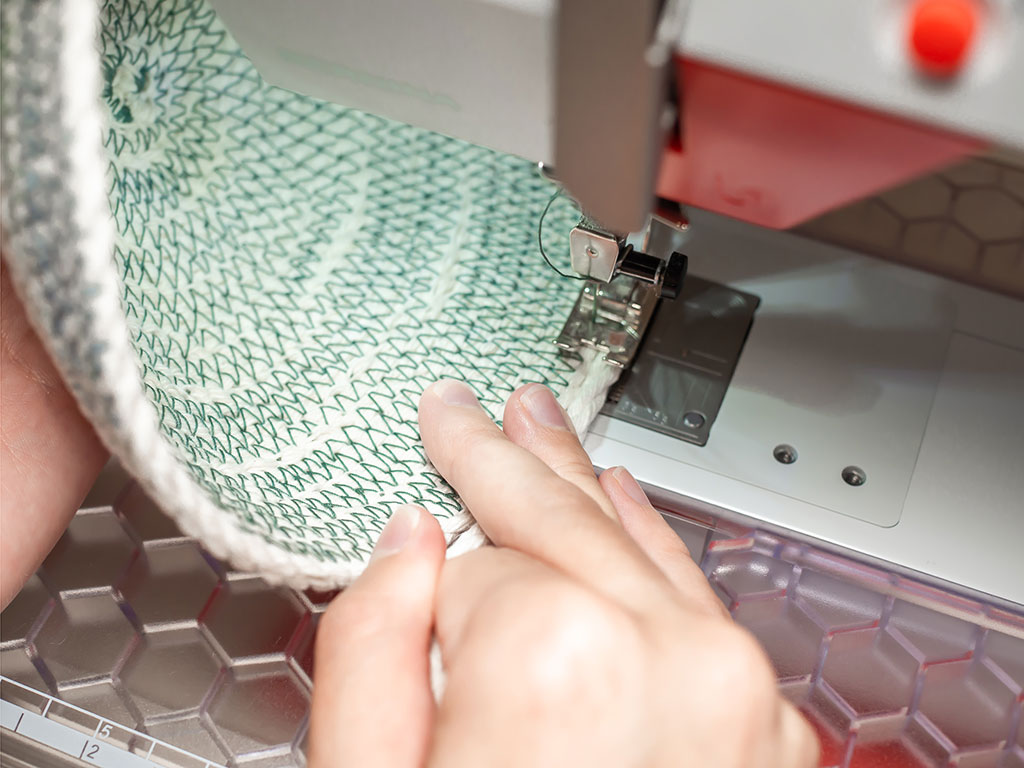
01 | Set your machine to a zigzag stitch with the width of 5 and stitch length of 3. The wider the stitches, the easier it will be to catch both sides of the rope. Starting at the center of the pinwheel, anchor your stitches with a couple of reverse stitches as you would with a garment seam. If your machine has the option, set the needle to finish in the down position. Otherwise, you may find it easier to hand crank the first several stitches in the next step.
02 | With the needle down, lift the foot and slightly rotate the pinwheel counter-clockwise. At this point, it can be helpful to maneuver with the pins you used to secure the pinwheel. Make a couple more zigzags, and repeat this step until your pinwheel is large enough to turn without having to lift the foot. Remove the pins when they start to get in your way, and continue sewing.
03 | It’s important to feed the new rope under the needle as close to the pinwheel as possible. You can achieve this by holding the pinwheel steady with your left hand and using your right hand as a tension guide as it feeds the rope together. Continue sewing until your circle is as large as you’d like the base of your bowl to be.
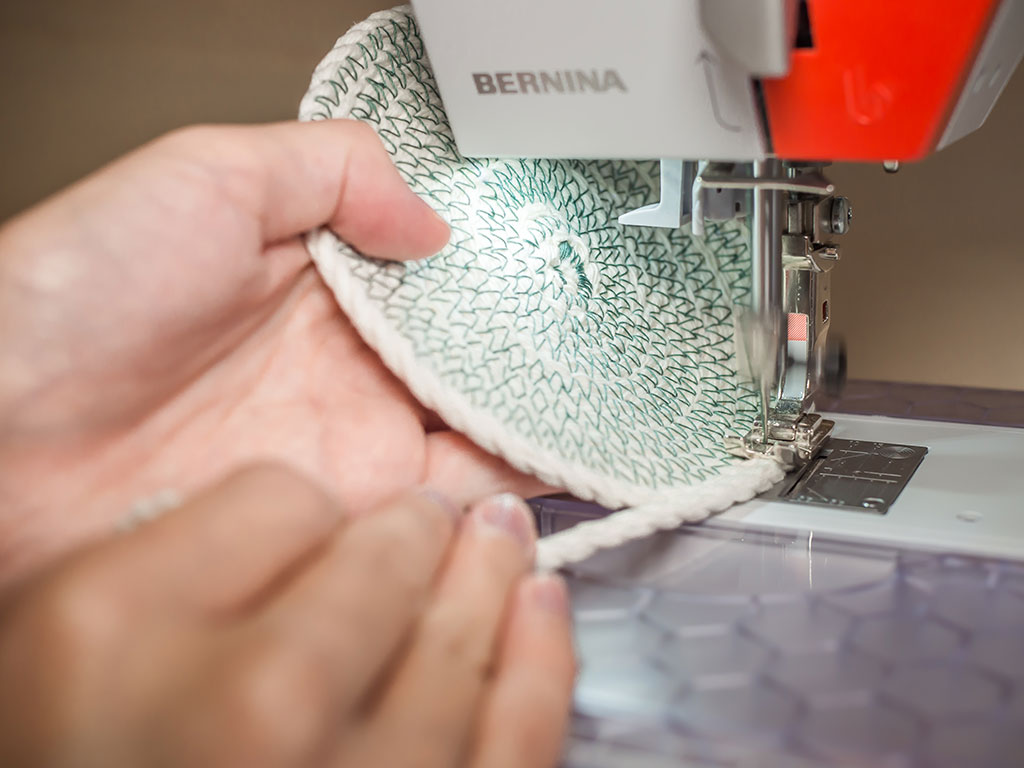
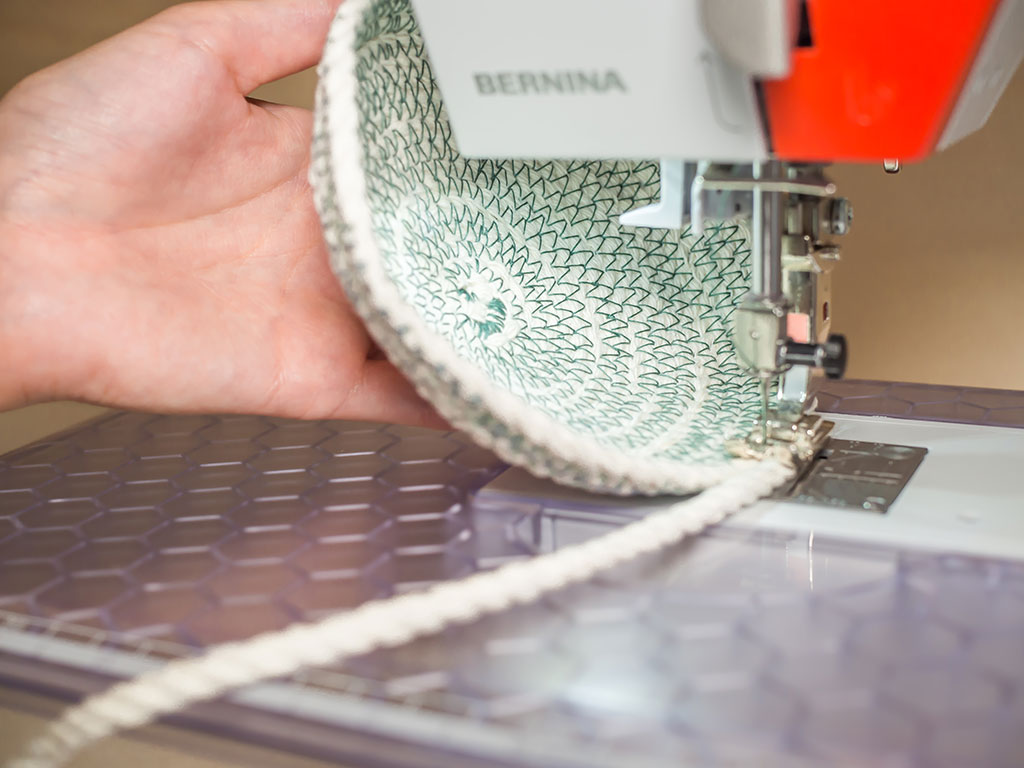
04 | Once your pinwheel is as large enough, it’s time to start making the walls. While keeping the foot and needle down, lift the base of the bowl so it’s as vertical as you can comfortably make it, and continue zigzagging. Keep holding the base of the bowl in place with your left hand and the length of rope with the right. You’ll almost immediately start to see your bowl forming!
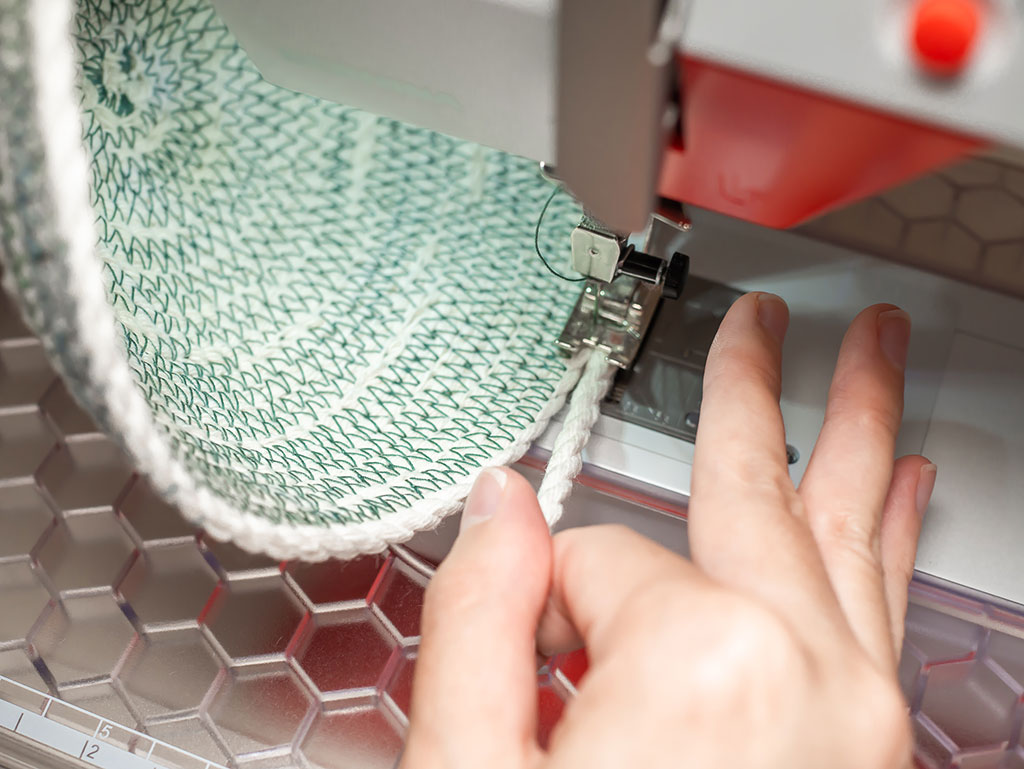
05 | At this point, it’s fun to play with the tension of the rope to create deeper or shallower bowls. If you’d like your bowl to be shallower, continue to hold the same tension on the rope as you were when you were creating the base. Alternatively, if you’d like to create a deeper bowl, increase the tension. The tighter the tension, the more vertical the walls will become. As the bowl gets bigger, it can become a little unwieldy, but I’ve found the position shown above to be the most efficient in continuous sewing.
Finishing Your Bowl
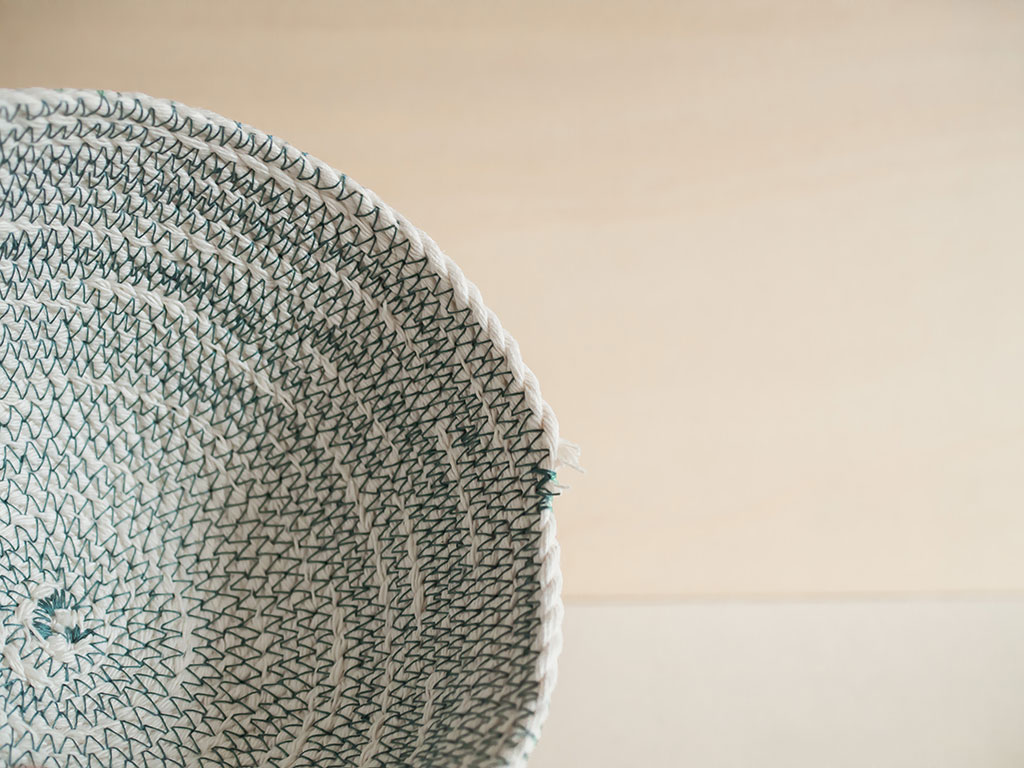
01 | When your bowl has reached the desirable size, you can finish your bowl by simply snipping the rope at an angle and continuing to sew until the end. Reverse stitch as you would with a garment seam, and clean up the finish by snipping off errant strings. Alternatively, you can loop the tail back into itself and finish with a reverse stitch.
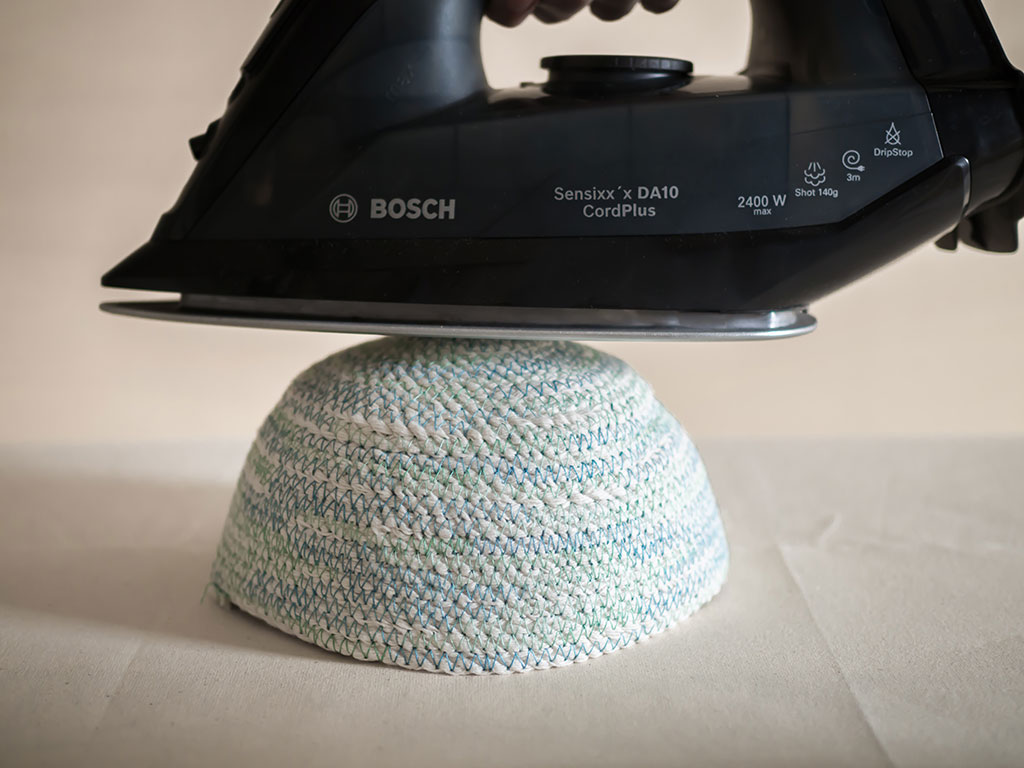
02 | You can adjust the shape of the bowl slightly by steam ironing at whatever temperature is appropriate for the fiber content of your rope. My macramé rope is 100% cotton, so I was able to steam at the highest setting to help create a flat bottom. If the walls are a bit wavy, this can also be easily steamed out.
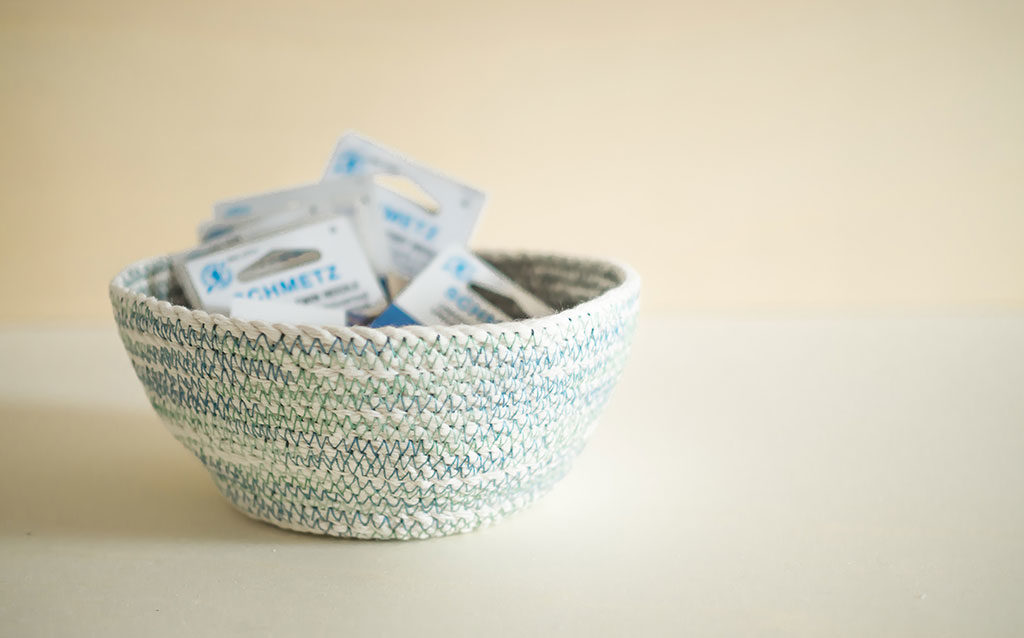
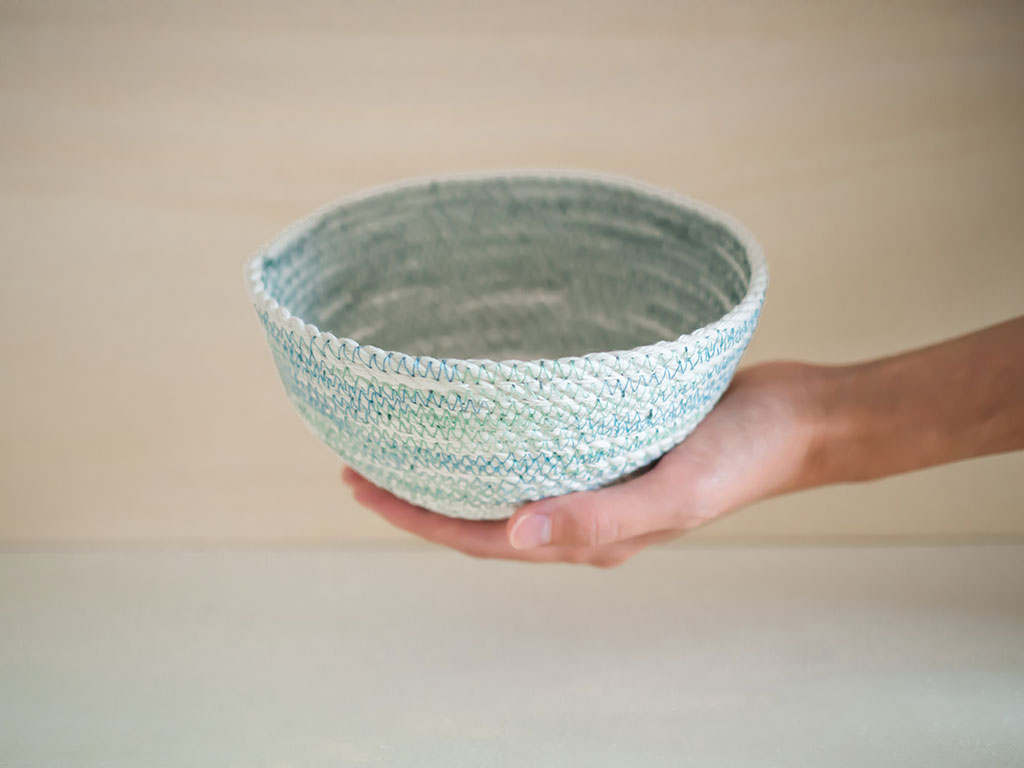
Fill it with sewing notions, keys, or as a tabletop bin for sewing scraps or threads, and enjoy!

About the Author
Saki Jane has been sewing for over two decades, with a background in fashion and bridal design. Now, she finds pleasure in crafting her own wardrobe and sharing the joy of sewing with others through workshops and tutorials. You can find her work on Instagram and at her blog at www.sakijane.com.