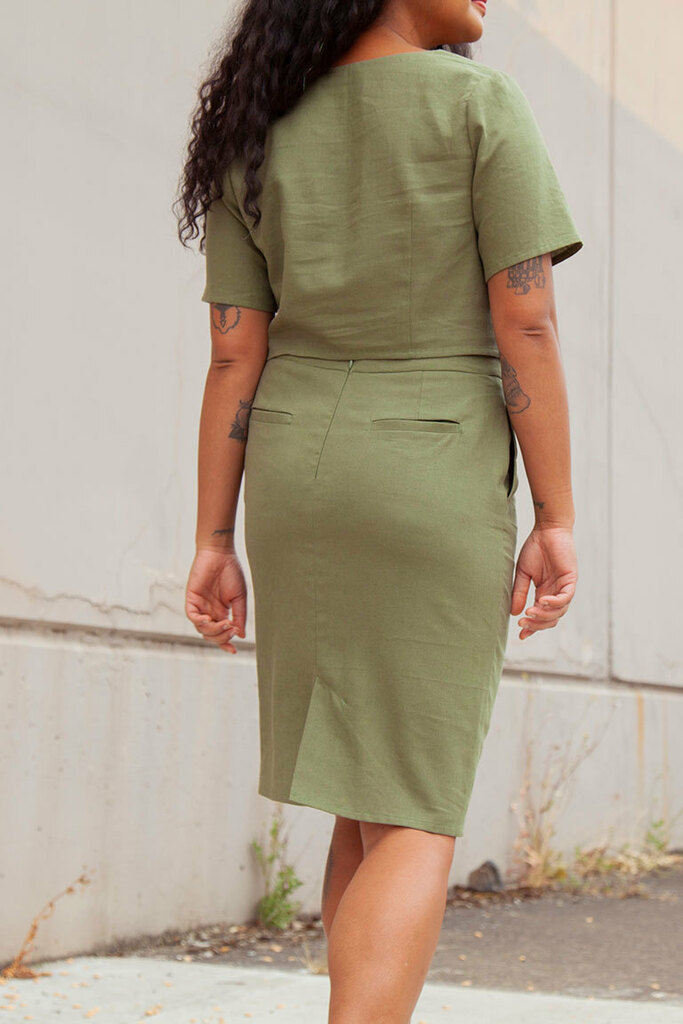
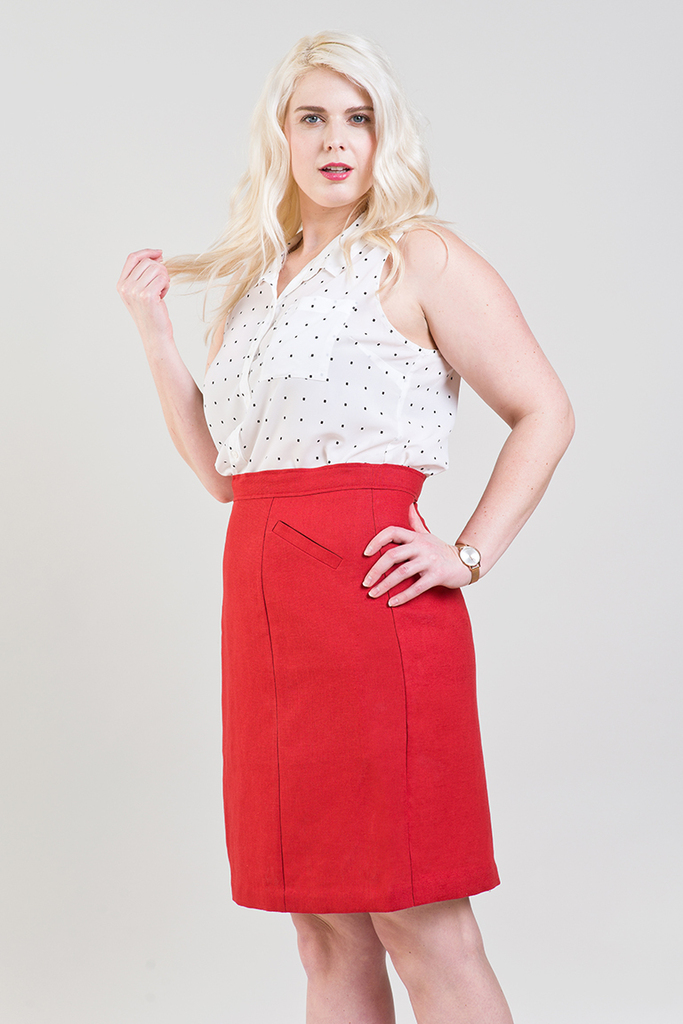
Welt pockets can feel intimidating, but Haley will walk you through each step.
Recommended Materials:
- Seamwork pattern with a welt pocket
- Fusible interfacing
- Water soluble marker or chalk
- Sharp snips
- Ruler
Video Transcript
Some people might say that welt pockets are one of the most professional and satisfying sewing achievements, but that doesn't mean it has to be intimidating. In this tutorial you'll learn how to install a welt pocket and at the end of it you'll want to add them to all of your me made jackets and pants. My name's Haley and I'm the pattern designer here at Seamwork. Follow along as I show you how to sew a stress free welt pocket.
First up, let's assemble the welts. With wrong sides together, fold one welt in half aligning the long edges. Pin and baste at 3/8 of an inch, then press again. If you haven't already, be sure to mark all components of the welt including the bounding box and the inside cut lines with a water soluble marking tool. On the wrong side of the welt bag, fuse a one inch strip of fusible interfacing along the welt markings. This will help everything stay stable as we sew. Then as an extra precaution go ahead and staystitch the outside bounding box of the welt on the back leg and the pocket bag.
With right sides together match the welt to one back piece at the welt pocket marking. Align the raw edges of the welt to the center cut line of the welt pocket marking. The short edges of the welt will extend 5/8 of an inch past the short edge of the welt pocket marking. Stitch along the basting stitches following the lower outermost stitching line of the welt pocket markings beginning and ending at the short edges of the marking. Repeat these steps for the remaining welt and back pieces.
With right sides together, match the welt pocket bag to the back aligning the markings and sandwiching the welt between the two pieces. Stitch around the outer welt pocket
marking and through all layers, then cut along the center and angled cut lines of the welt pocket markings. Cut the angled lines all the way to the stitch
line but don't cut through those stitch lines.
Fold the welt and the welt pocket bag through the cut lines to the wrong side of the back, neatly positioning the welt in place and press the pocket opening. On the right side of the back, fold away the back to expose the pocket opening and triangles. Carefully stitch the triangles to the welt pocket bag and the welt following the stitch lines. Repeat for the other side of the welt pocket. Position the back to be the wrong side up. Neatly press the welt pocket's opening once more.
With right sides together, match the welt facing to the welt pocket bag. Pin. Stitch around the whole pocket catching the welt ends in the seam line. Finish the seam allowances together and then press. Position the back right side up. Fold the top of the back down exposing the upper seam allowance of the pocket opening. Stitch the seam allowance to the welt pocket bag being careful not to catch the welt in the stitching. Optionally, bar tack each short end of the welt.
On the right side of the back, baste the welt pocket bag to the waistline at a quarter inch.
Trim the excess of the welt pocket bag that extends past the waistline of the back. Repeat these steps for the second welt pocket on the second back piece and you're done.
All you have to do is finish sewing your garment and then wear it with pride. See? Even the most complicated sewing techniques are all done in simple steps. If you start to feel intimidated, just take it step by step. To watch the entire sewalong for the Ani trousers, head over to see the full class in the Seamwork Classroom. Happy sewing!


