Sign In
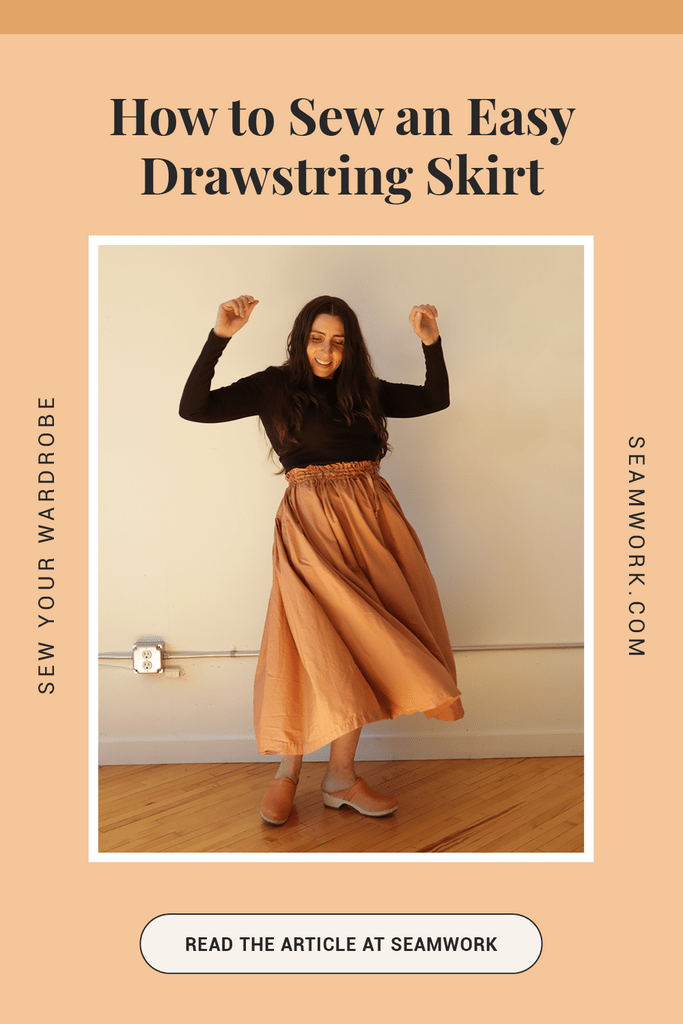
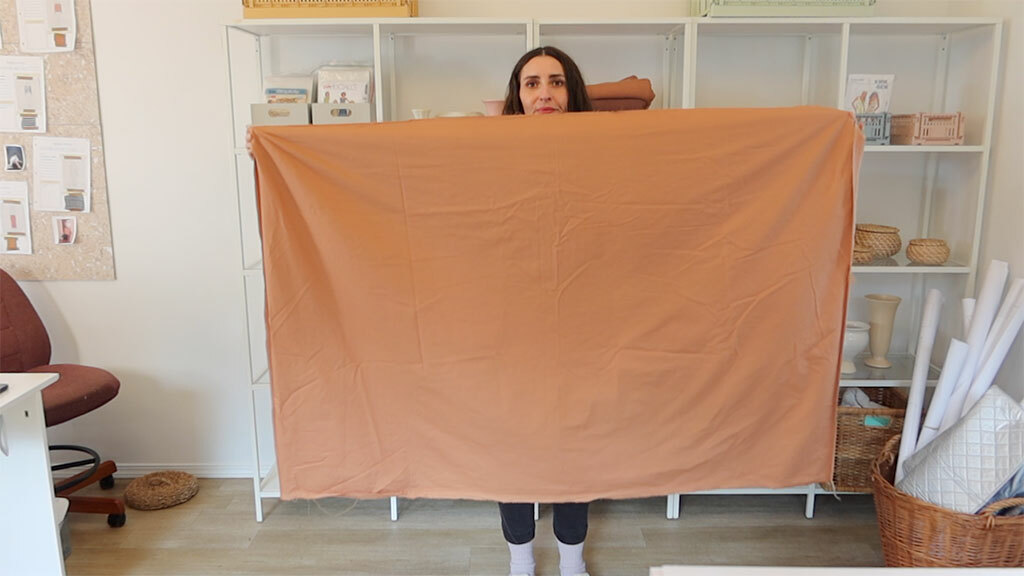
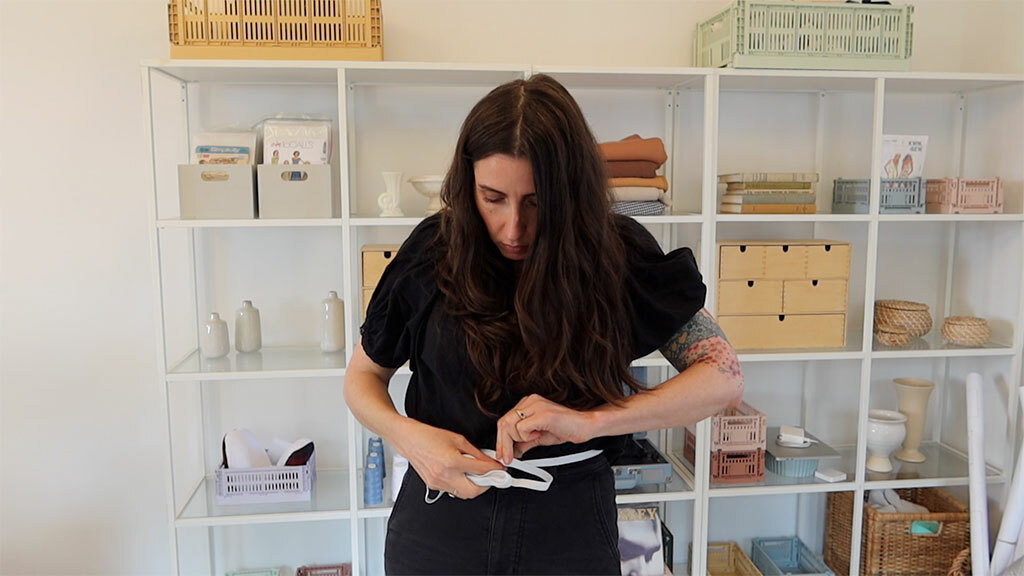
I just sewed an easy drawstring skirt out of a few yards of fabric from my stash, and I love it so much that I decided to make a video tutorial to show you how to make one just like it. You don’t even need a pattern!

This skirt can be a breezy staple in the summer or a layering piece in the fall and winter—it pairs well with tights or sweaters, especially if you make it in a year-round shade like this copper color I used.
Watch the video and read the instructions below to make your own DIY drawstring skirt!
Cut 2 panels from the fabric for the front and back.
To determine the length to cut, pick your finished skirt's length. Measure a skirt you already own, or measure from your waist to where you want it to fall.
Once you have the length you want, add 6 5/8” (16.8 cm) to account for the waistband and hem. You'll fold the waistband at 5 5/8” (14.2 cm) and the hem at 1” (2.6 cm).
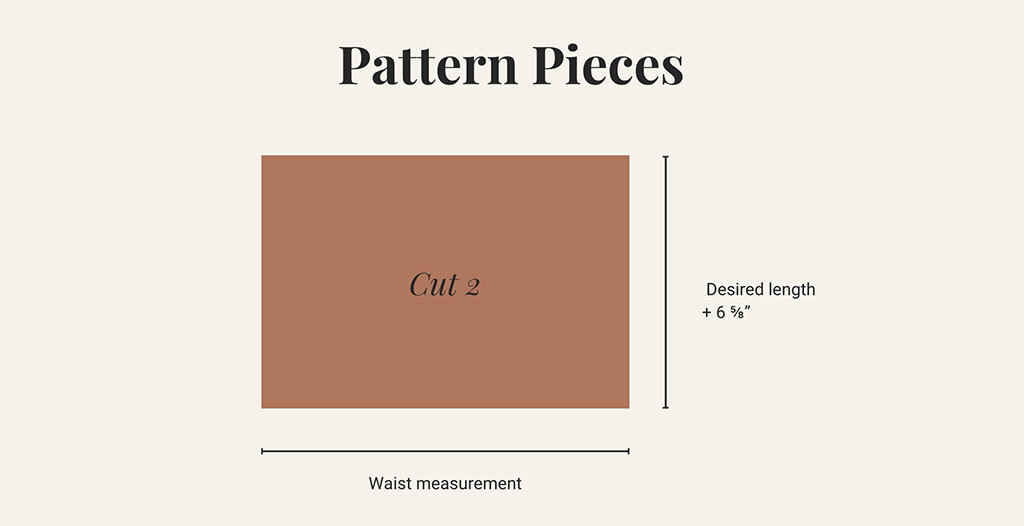
To determine the width of fabric to cut, measure your waist. That will be the width of the front and the back. You want the entire skirt to be at least twice the circumference of your waist.
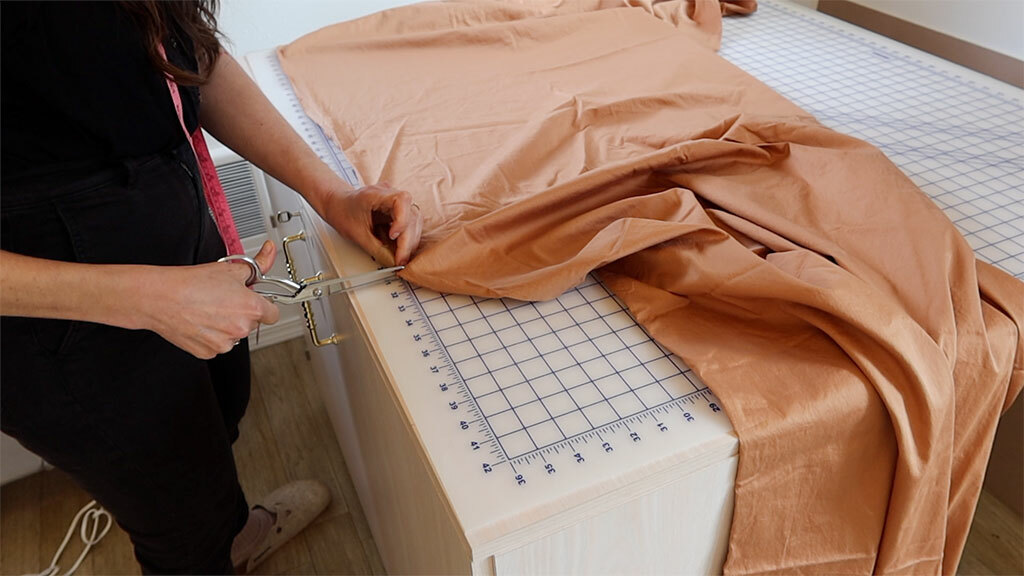
Once you have your measurements, cut out two rectangles. These will be the front and back.
For example, my skirt was 40” (101.6 cm) long and 62” (157.5 cm) wide for each rectangle.
With right sides together, sew the front to back at the side seams and finish as desired. Now, you have a big tube of fabric 2-3 times your waist size.
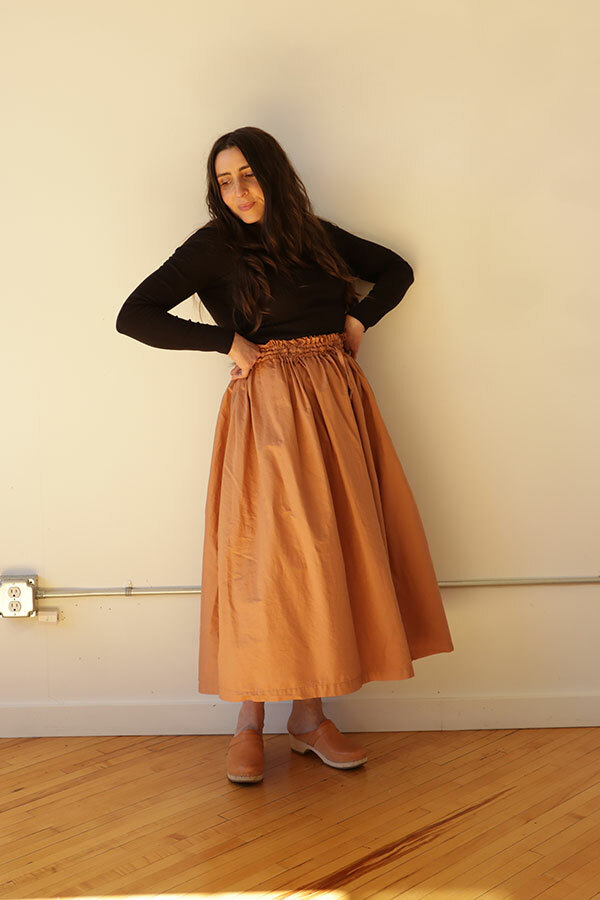
Next, start on the waistband. Finish the top edge of your skirt as desired.
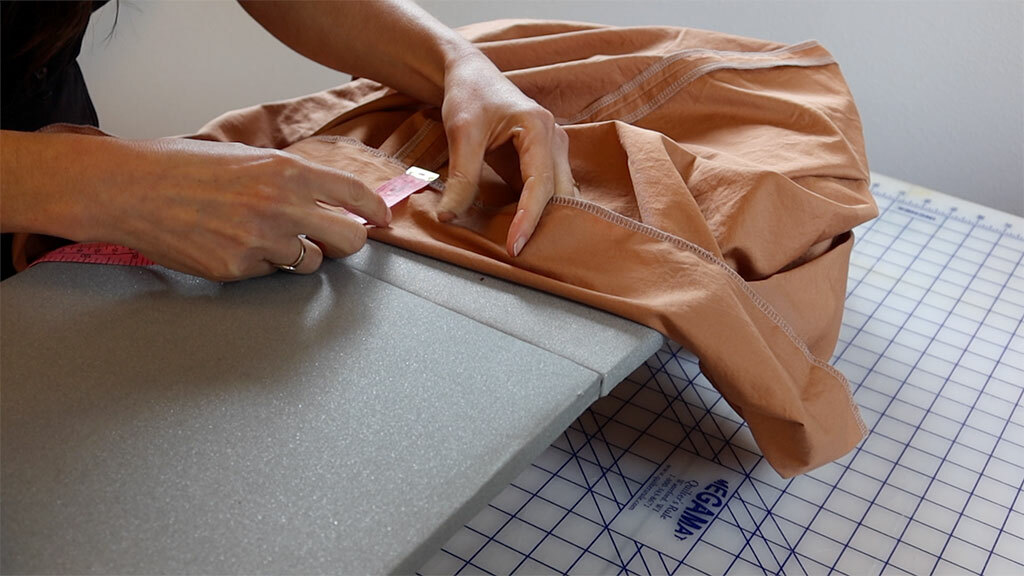
Then, press your waistband under towards the wrong side at 3 1/8” (8 cm). The pressed crease will be the top of your finished skirt.
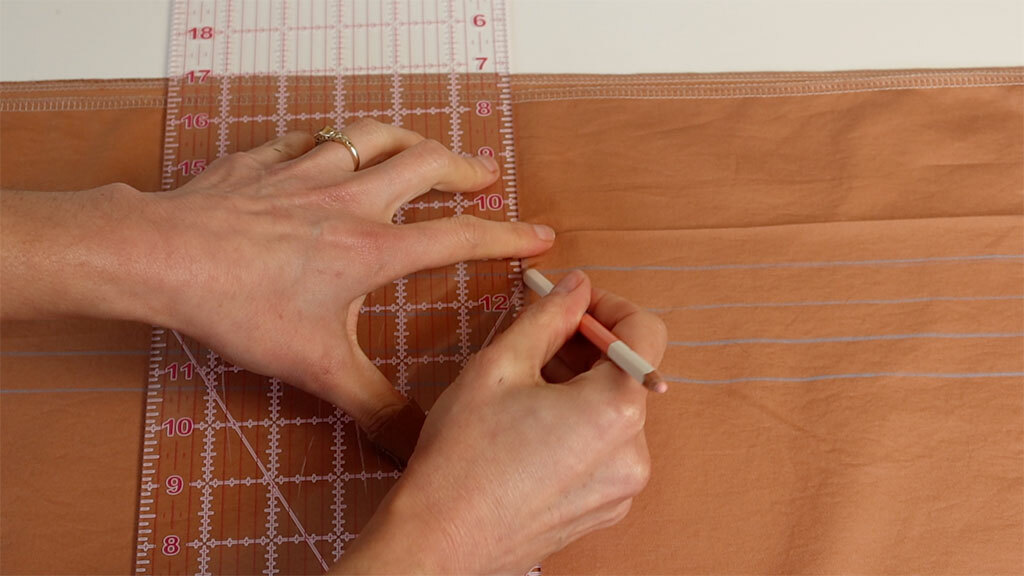
Unfold the crease and mark parallel lines 5/8” (16 mm) apart around your skirt. You want to end up with 4 channels, each 5/8” apart.
Measure and mark the center front of your skirt.
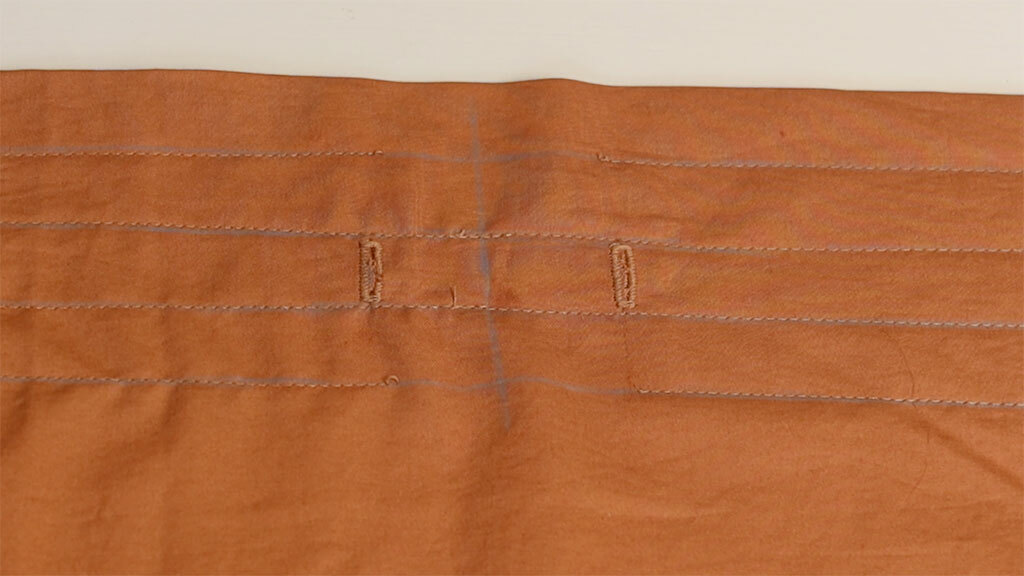
Stitch a buttonhole on each side of the center mark in the third channel from the top. This is where your drawstring will go. Make them a few inches apart.
Fold the waistband to the inside and stitch along each of those lines. Leave a gap at the center front of each.
Measure out two pieces of elastic to fit comfortably at your waist. Add 1/2” (12 mm) overlap.
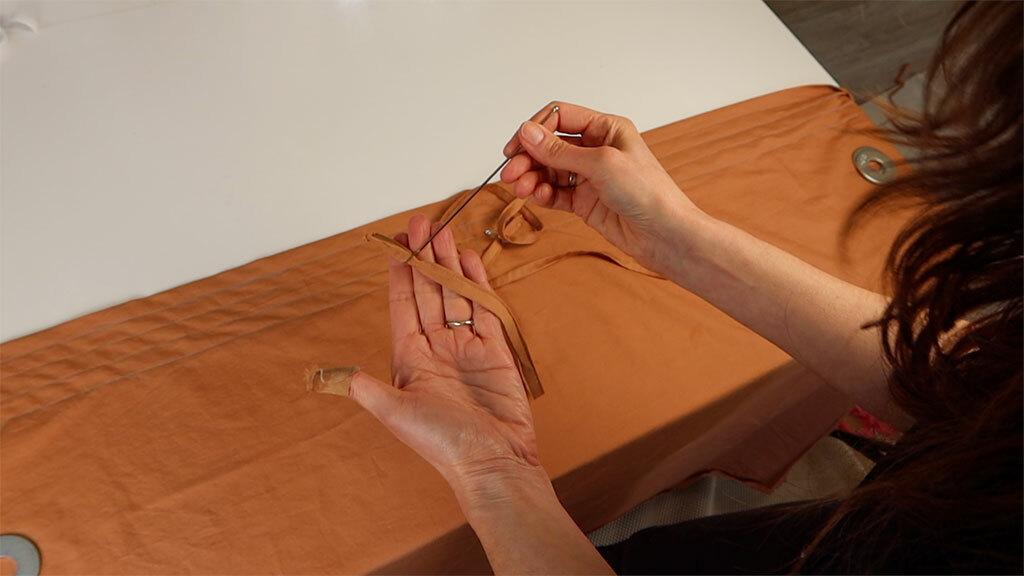
Thread the drawstring into the third channel. It helps to start with the drawstring so you don’t get bunchiness from the elastic.
Next, thread the first piece of elastic into the second channel from the top. You can use a bodkin if it helps, but a safety pin also works.
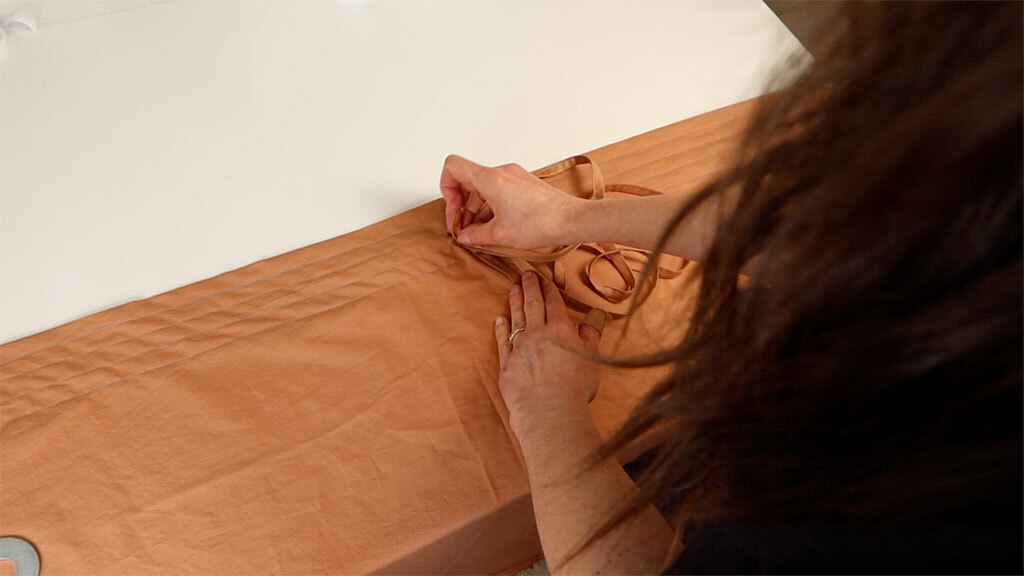
Then, thread the second piece of elastic into the fourth channel.
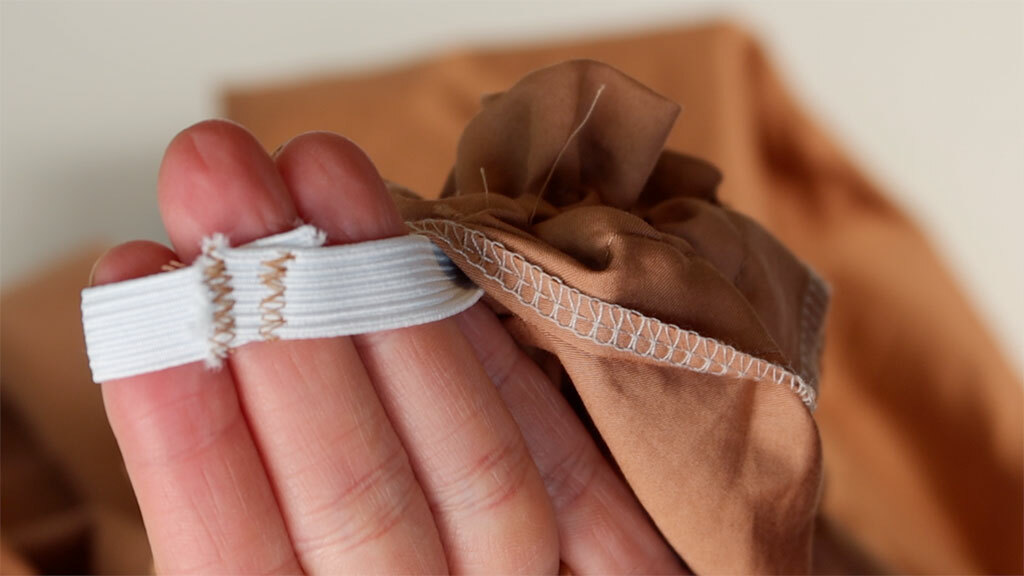
For each piece of elastic, stitch together using a zigzag stitch.
Finish sewing the gap you left to finish threading the elastic.
Now your waistband is done!
Turn your hem up 1/4” (6 mm) inch and press. Then turn it another 3/4” (19 mm) and press. Then stitch in place to hem.

And that’s it! You can wear this skirt right away. If you follow this tutorial, I’d love to see what you make. Post a picture below!

Sarai Mitnick
Founder
Sarai is the founder of Seamwork. She's been sewing for over 20 years and publishing patterns and writing for over a decade. Sarai believes that sewing is a powerful way to bring creativity into everyday life.