
 Sign In
At my local fabric store, they often display their most eye-catching fabrics by draping and pinning them on dress forms, creating glamorous looks reminiscent of evening gowns. Recently, I was standing at the cutting table with my fabric when I noticed two gorgeous floral examples from across the room, one in soft green and one in pale yellow. They looked so ethereal that I had to walk across the store to take a closer look.
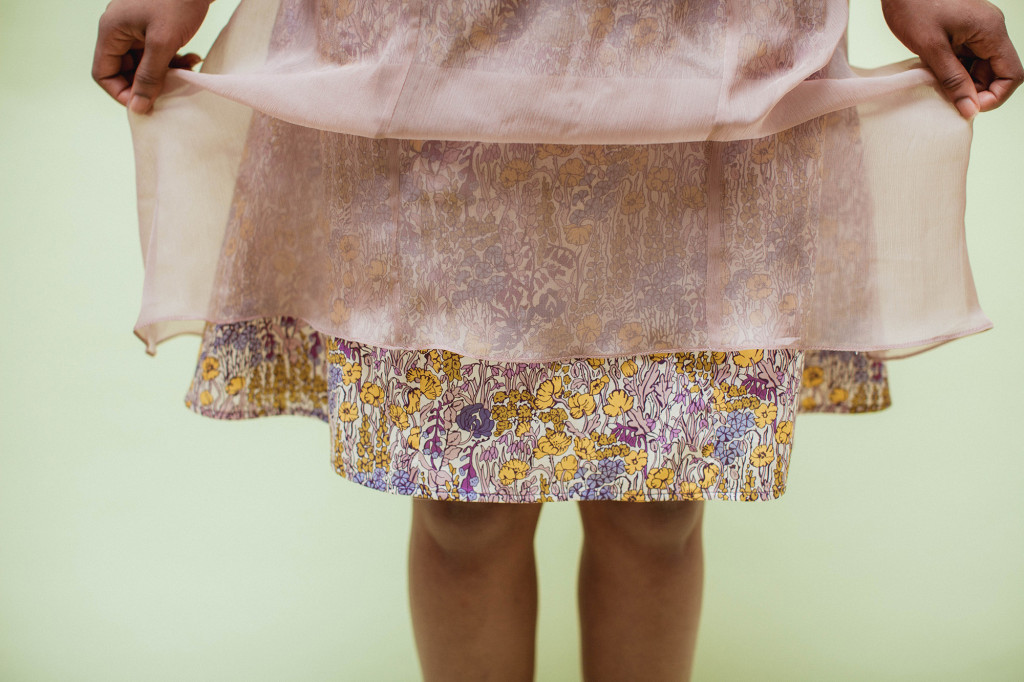
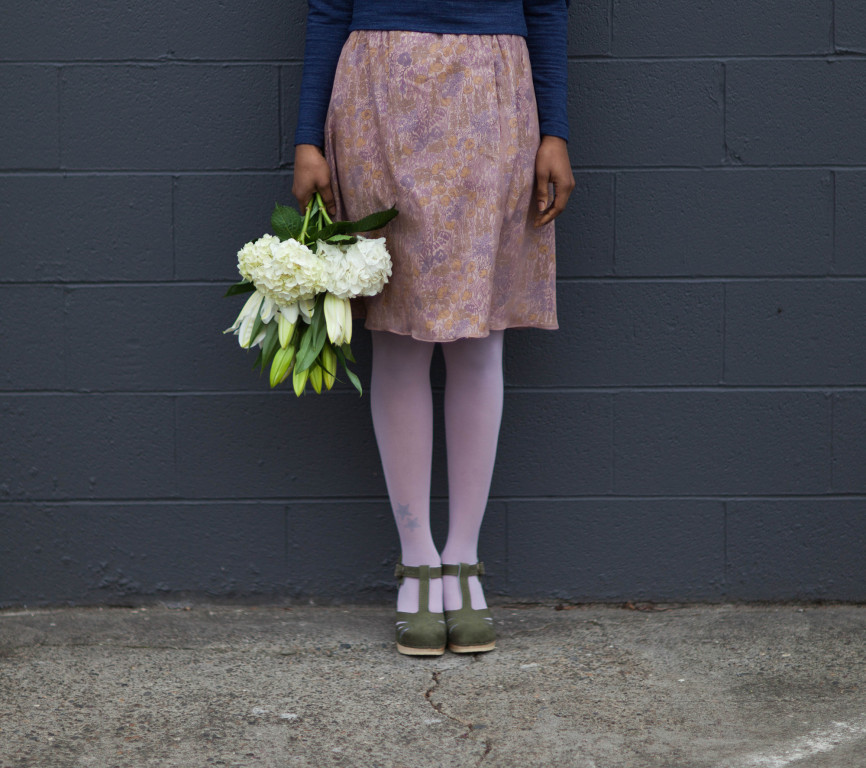
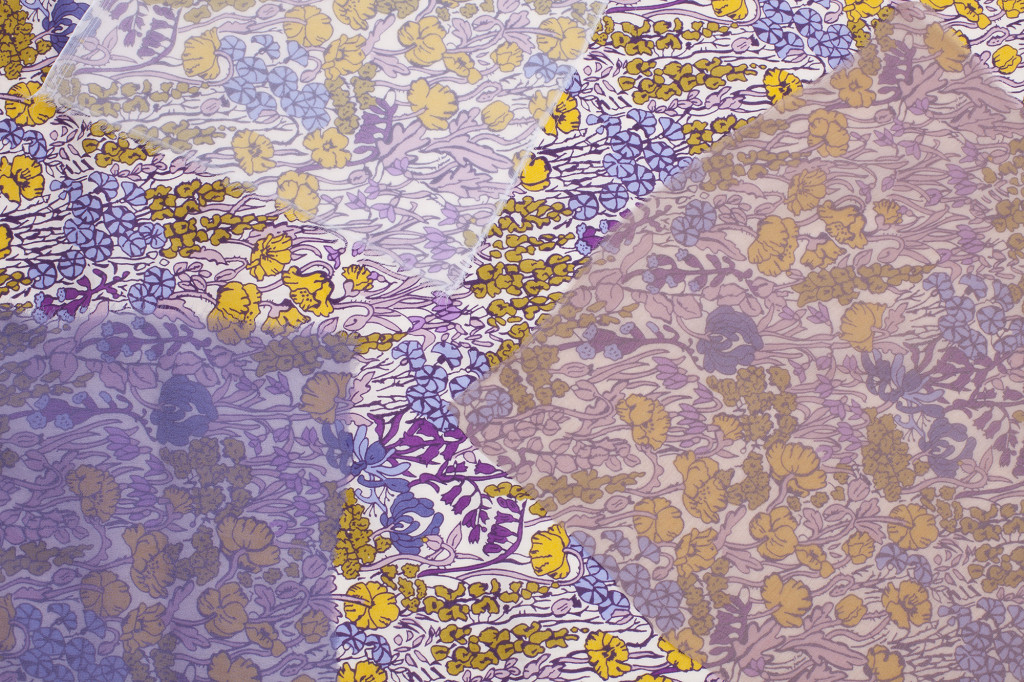
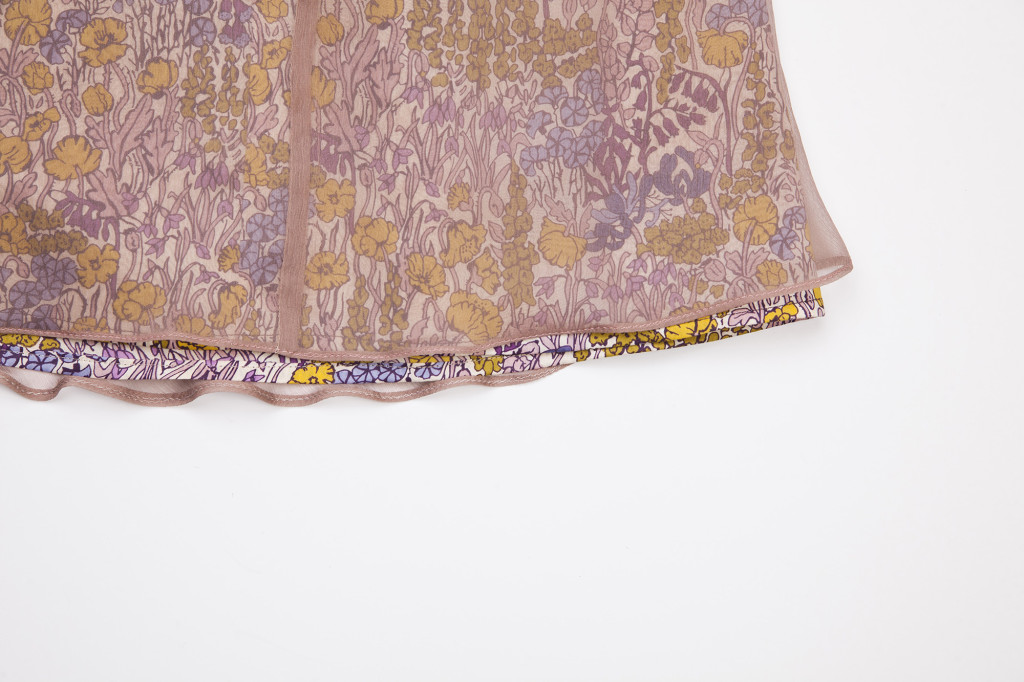
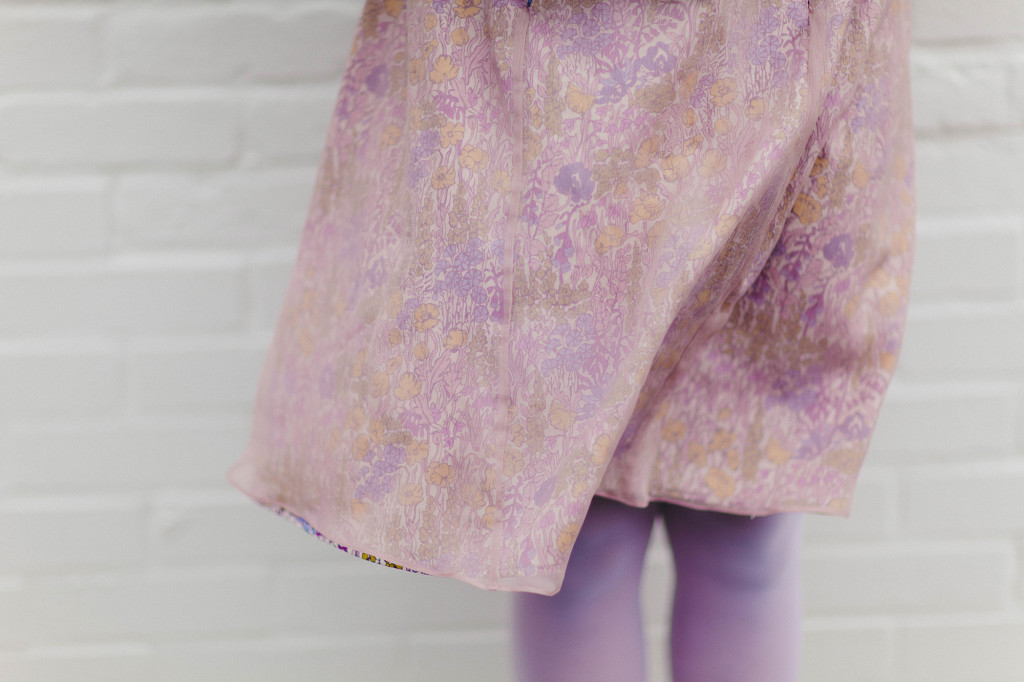
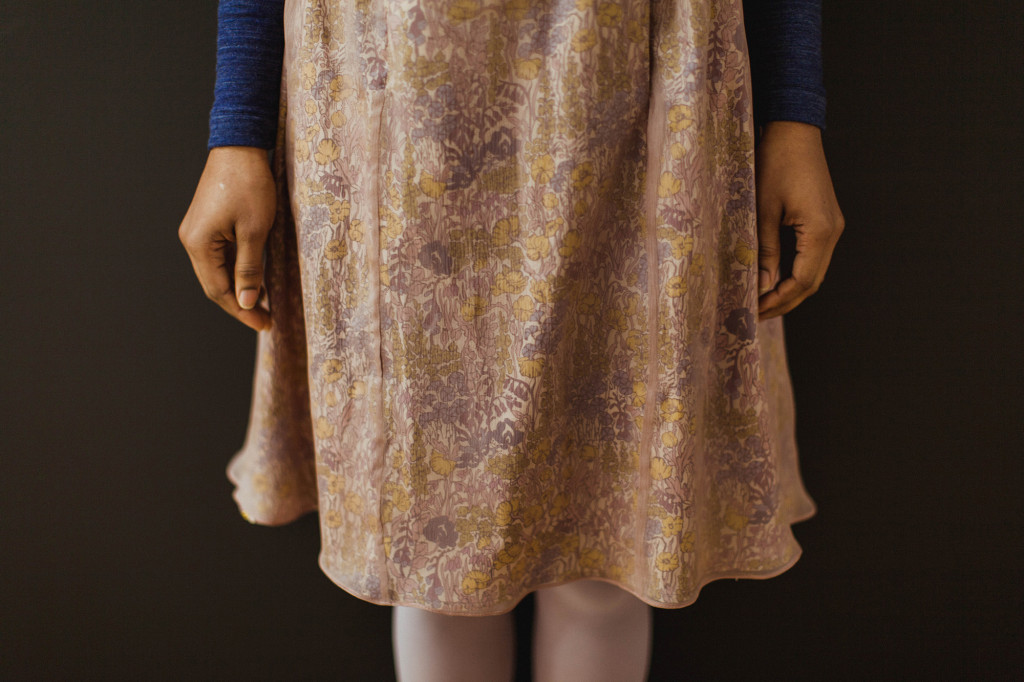
Tone down a bright print with a sheer color. The Bristol skirt is shown in Liberty tana lawn with a silk chiffon overlay.
When I approached, what I found was that these two looks were actually created from a single floral fabric, but each was overlaid in a different shade of pastel chiffon. The resulting look was multi-dimensional, taking on different shades when viewed from various angles. The colors were also beautifully subdued, with the overlay lending a single tone to all the vibrant floral underneath.
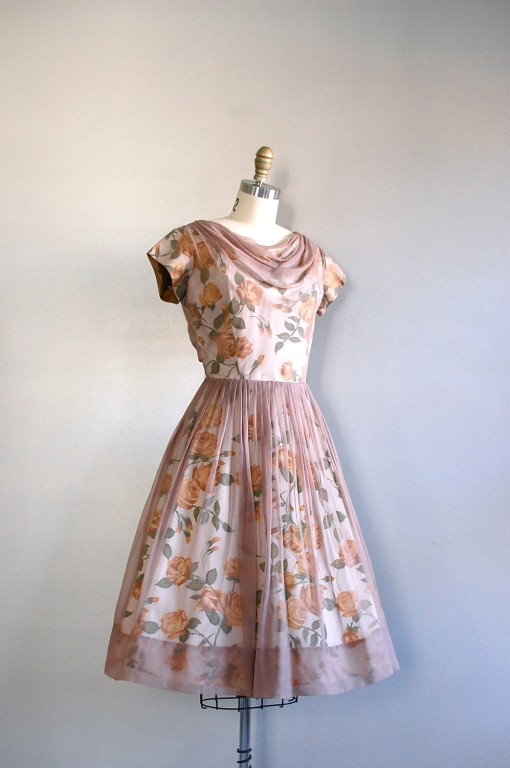
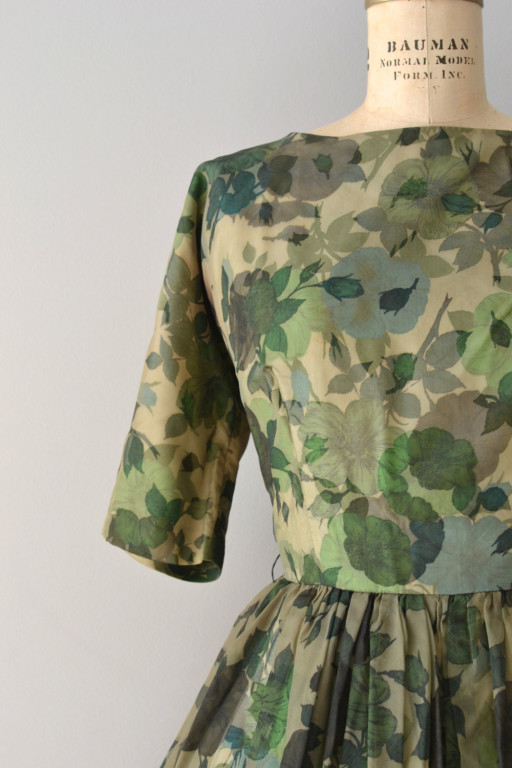
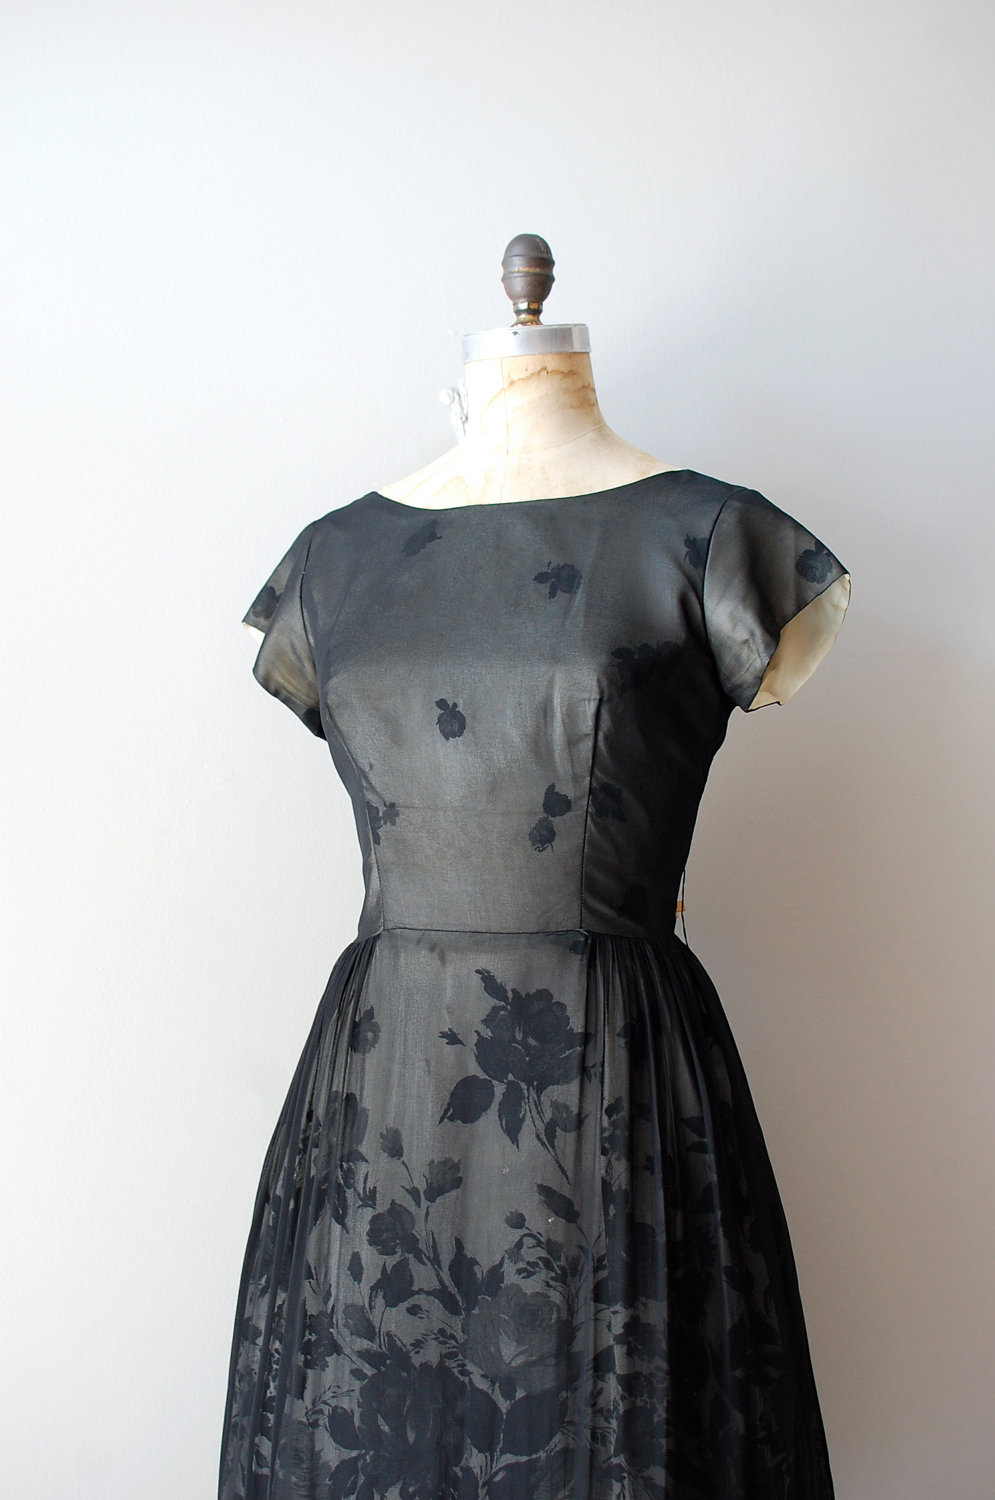
This 1950s vintage dress is a beautiful example of an overlaid
floral look. Courtesy of Dear Golden Vintage.
You can sometimes find similar looks on vintage gowns from the late 1950s and early 1960s, when sheer overlays on cocktail dresses were extremely popular. Though overlays are mostly used over solid fabrics, when placed over bold floral prints, the result is floaty, dreamy, and feminine. They look particularly stunning with designs that incorporate folds and gathers, such as full skirts or draped cowl necks.
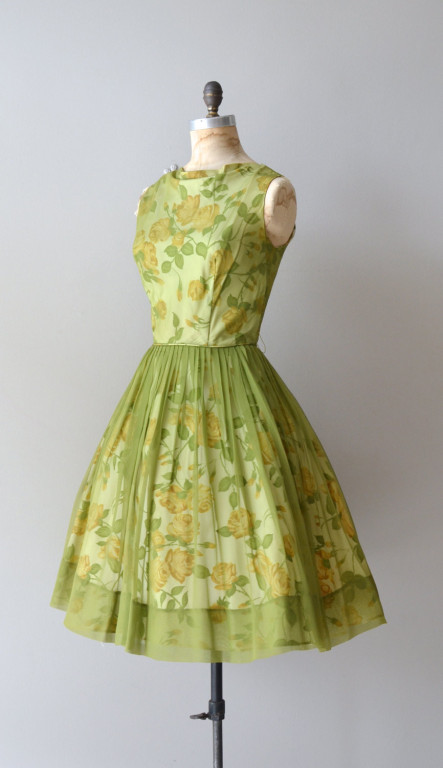
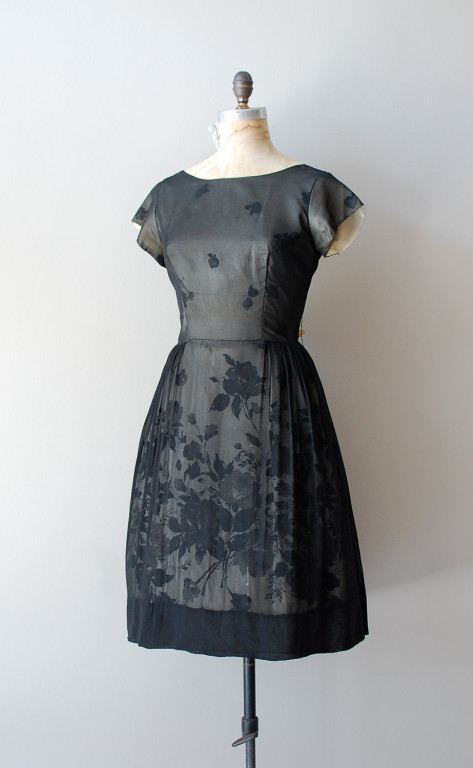
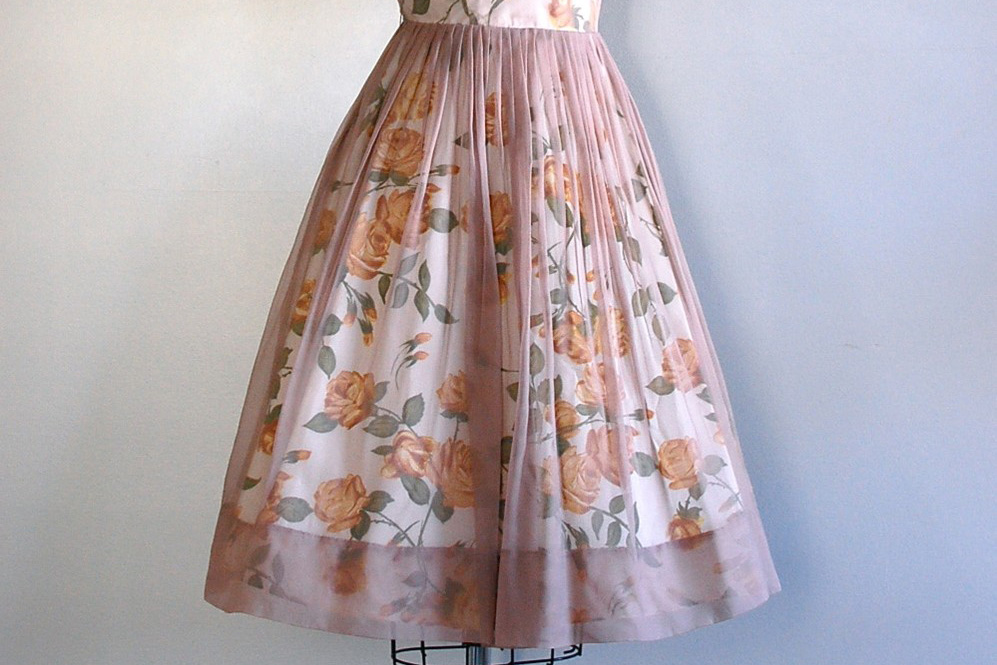
Both the overlay and main fabrics are printed on this vintage dress. Courtesy of Dear Golden Vintage.
Choosing your fabric
To add an overlay to a floral print, choose, colors, prints, and textures that work well together. To try out combinations, it's easiest to either do this in person at a fabric store, or use swatches. A colored overlay can transform the look of the print underneath in unexpected ways, muting certain colors and brightening or deepening others. You may find your print looks nothing like you first imagined once you try it out.
Audition prints and overlay fabrics together with swatches before you begin to cut.
For the floral print beneath, use a large, bold floral, which can stand up to the layering. Muted or small prints can appear muddy when layered. Bright colors will inevitably be tamed by an overlay, so don't be afraid to go a little bolder than you're used to. Prints with a great deal of negative space between motifs also translate well for this look.
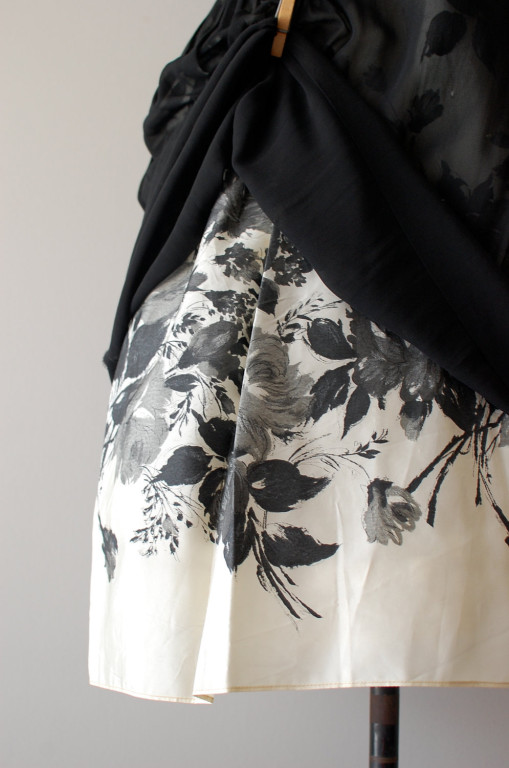
The high contrast black and white print works well beneath the black layer on this vintage dress. Courtesy of Dear Golden Vintage.
Even with sheer fabrics, a dark color will block more detail than a light color.
For the overlay, look for very sheer fabrics that will not block your print. Chiffon, lighter voiles, and organza are all suitable choices. Light colors will allow the print to show through more, while dark colors will give it a shadowed look. If you are working with a knit, try a light mesh fabric from the fabric store’s lingerie section. These fabrics are quite sheer but will still give you the stretch you need to work with a knit fabric beneath.
Sewing with sheers
The biggest challenge in creating this look is undoubtedly sewing the sheer top layer. Sheer fabrics are notoriously tricky due to their lightness and tendency to float on the cutting table and shift in the sewing machine. They can also be subject to pulled threads and puckering if you aren't careful.
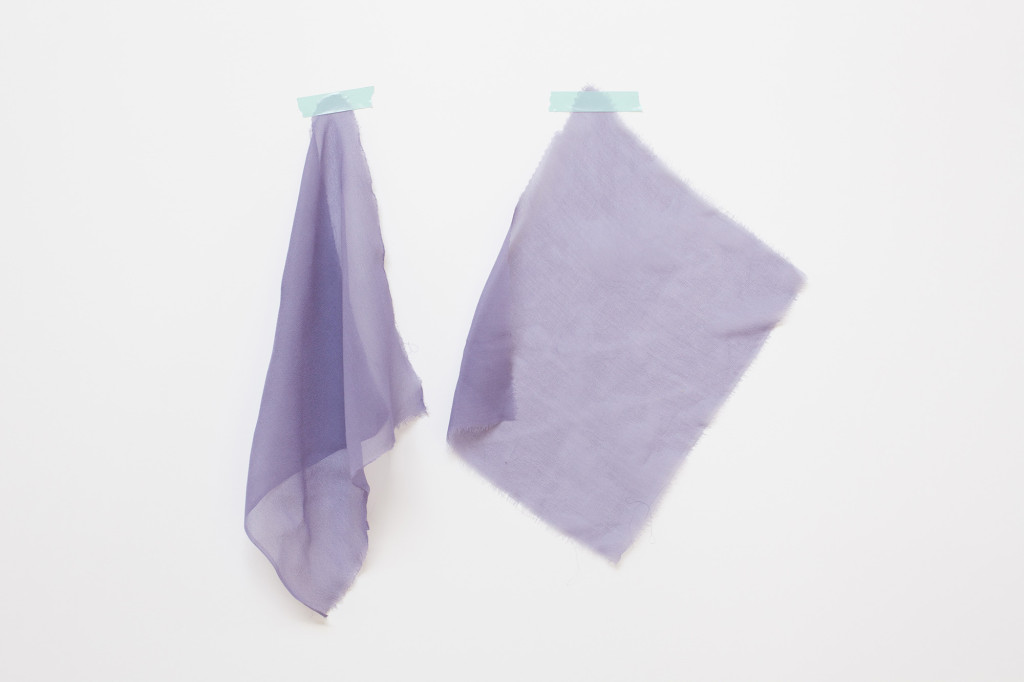
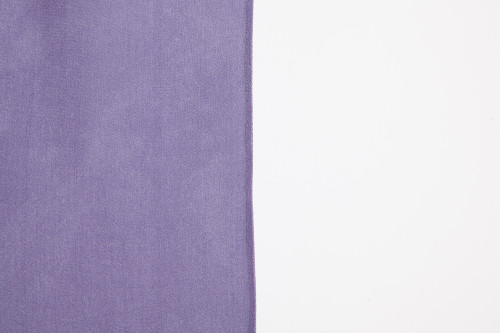
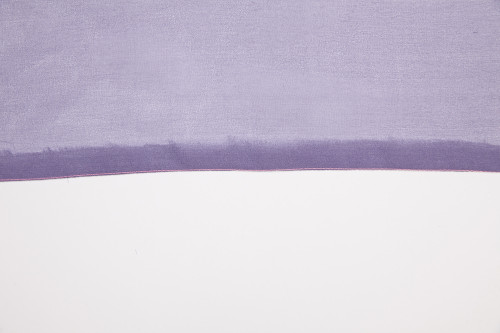
Spray stabilizer will give more crispness to sheer fabrics. The chiffon on the right has been treated with stabilizer.
Stabilize the fabric before cutting to make this process easier. Pre-wash all fabric and then apply a spray stabilizer such as Sullivans to the sheer layer. Once the stabilizer dries, the fabric will feel crisp and papery and will be less prone to shifting during both the cutting and sewing process. Stabilizer washes out after sewing, returning your fabric to its original pre-washed condition.
Use a sharp needle when sewing sheer fabrics, in size 60/8, 65/9, or 70/10. Sheer fabrics can be sewn with either high-quality all-purpose polyester thread or a lightweight silk thread. Avoid heavier silk thread or low quality polyester thread, which is prone to tangling and fraying.
Narrow Seams
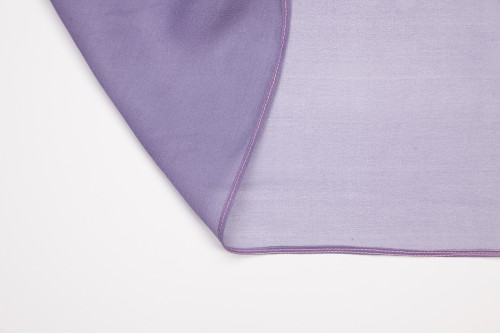
For seams, the goal is to make them as invisible as possible. Large, bulky seams with obvious stitching should be avoided. The best choice for sheer fabrics is a narrow French seam. These are very small, enclosed seams within the garment, which work best on lightweight fabrics.
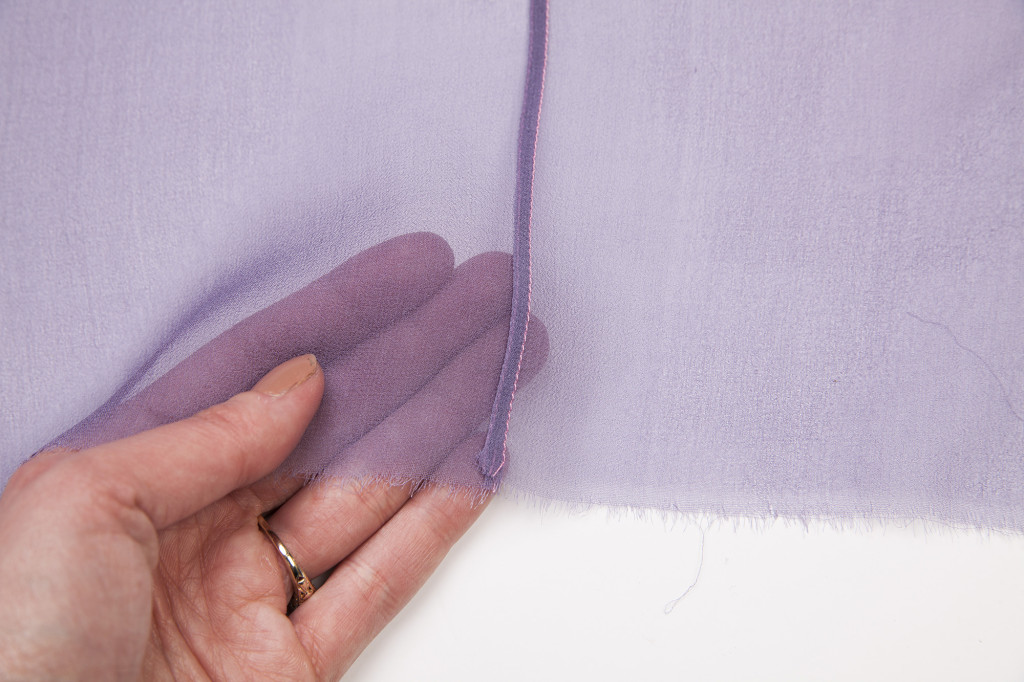
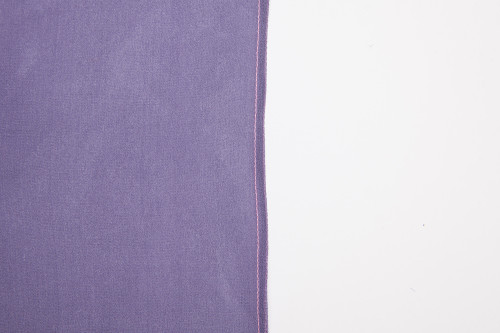
A narrow French seam blends into sheer fabric.
Narrow French seam
Step | 01
With wrong sides together, stitch the seam using a 1/2 inch seam allowance.
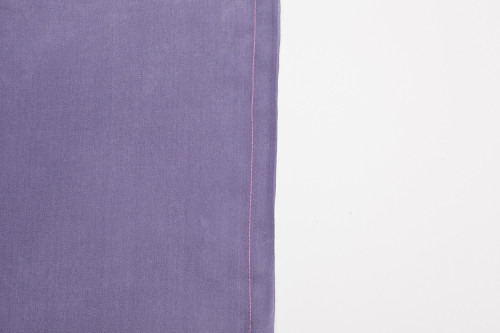
Step | 02
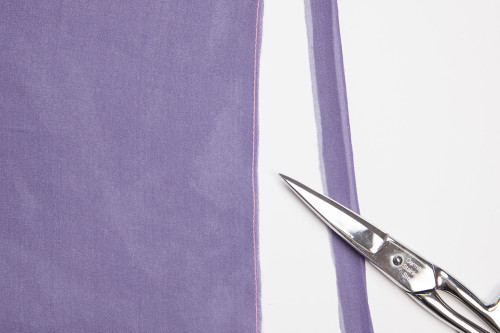
Trim the seam to a scant 1/8 inch.
Step | 03
Press the seam allowance to the side. Turn the fabric with right sides together and press to form a crisp edge along the seam.
Step | 04
Stitch with right sides together, using a 1/8 inch seam allowance.
Inconspicuous hems
Hems are another important consideration when sewing sheer fabrics. Wide hems can detract from the look of a sheer garment, but they are particularly noticeable when used on an overlay because they block the pattern beneath. To prevent this, use one of the narrow hem techniques shown here. The rolled hem requires a specialty rolled hem foot, while the baby hem has a similar look without the need for the foot.
Rolled hem
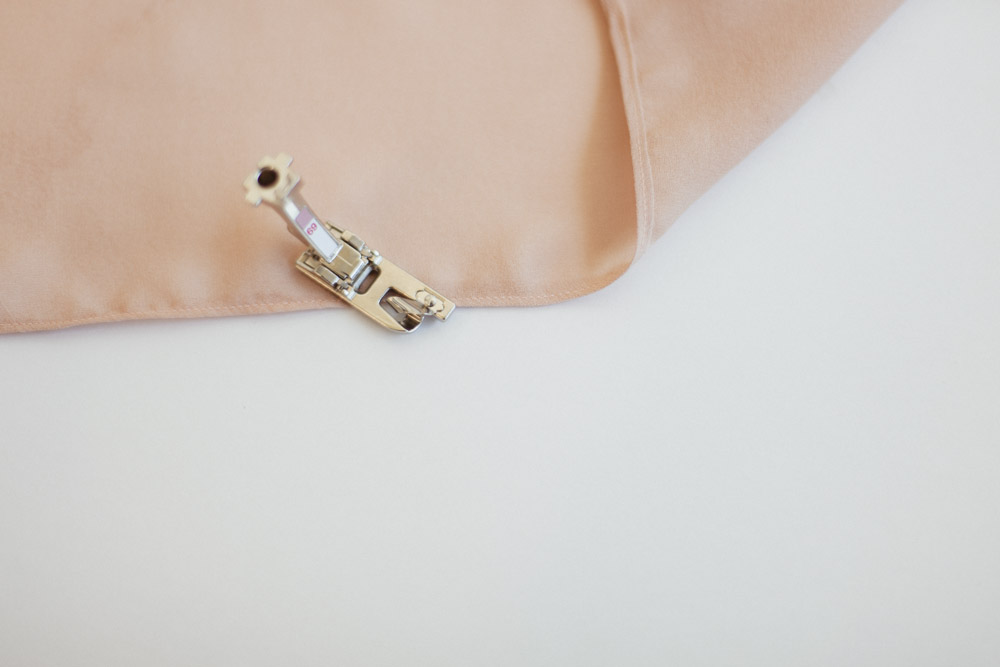
The rolled hem is a classic choice for sheer fabrics but requires a specialty foot.
Step | 01
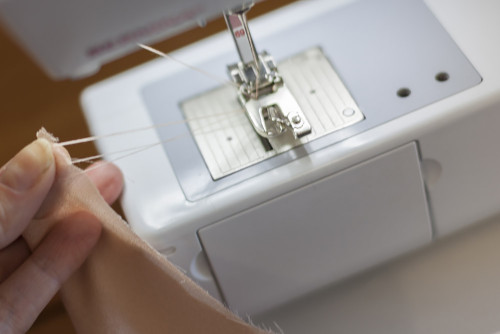
Attach a rolled hem presser foot to your sewing machine. Align the raw edge of the hem with the outer edge of the foot.
Step | 02
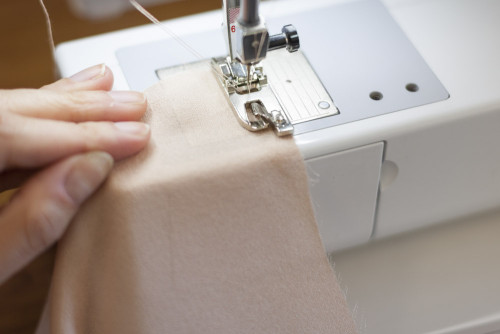
Sew 4–5 stitches, then lift the presser foot and pull the garment away from the machine.
Step | 03
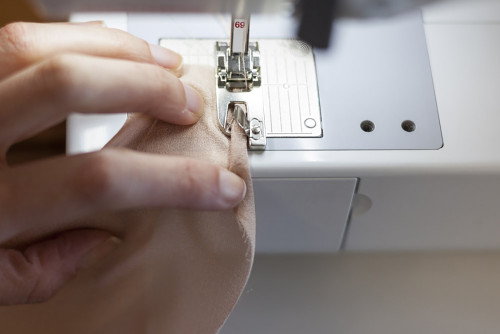
Pull the threads to the back and place the hem beneath the foot again. Hold the threads at back and use them to guide the edge into the rolled section of the foot. Stitch the remainder of the hem, allowing the foot to guide the fabric into the crevice and roll it as you sew.
Baby Hem
A baby hem looks similar to a finished rolled hem but can be created without a rolled hem foot.
Step | 01
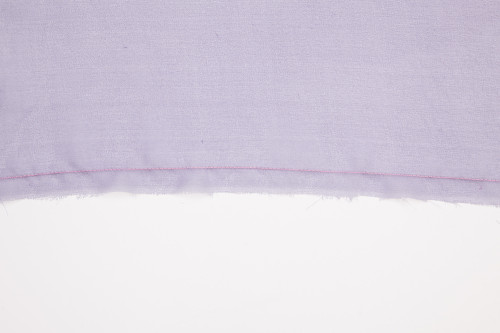
Stitch a line around your hem, 1/2 inch from the raw edge.
Step | 02
Fold the raw edge under along the stitching line and press.
Step | 03
Stitch a scant 1/8 inch from the fold. Trim the fabric right up to the stitching line.
Step | 04
Fold again to form a tiny hem and press. Stitch through the center of this fold to complete your narrow hem.
If you have a serger, use the rolled hem feature to create an easy narrow hem that works well for all lightweight fabrics. Remove the left needle on your serger and the stitch finger, and stitch using a short and narrow stitch setting. Try it first on scrap fabric, then raise the upper looper tension and decrease the lower looper tension until you see the fabric rolling to the back when stitched.
Create an overlay
To create an overlay for a skirt or any other garment, follow these easy steps. Shown here is the Bristol skirt from this month's issue.
Cutting
Cut each of the main pattern pieces from both the overlay fabric as well as the main fabric. Use only the main fabric to cut interior pieces such as pockets and facings from the main fabric. For a skirt such as the Bristol shown here, cut the waistband, front, and back pieces.
Floating or fitted?
Before deciding how you'd like to construct your garment, consider the overall design lines. Do you intend for your garment to be fitted with an overlay that just lends texture or tone to the fabric? Or do you want an overlay that floats away from the body, such as on a full skirt?
This will determine the order of sewing. If your intent is to have the overlay float atop the main fabric, it's important that the overlay and main fabric are sewn together in as few places as possible. On the other hand, if your garment is worn close to the body, this is not a concern, and you can place the overlay on top of the main fabric before constructing your seams.
You may even want to use different methods for various parts of the same garment. For example, if you are making a dress with a fitted top and full skirt, you may want to use one overlay technique for the bodice and a different one for the bottom.
Fitted garments
For fitted garments with darts, place the sheer fabric on top, then baste and treat the two pieces as one. Note that the dart overlap is not visible in the finished dress.
Fitted garments often have multiple seams and darts. When adding a sheer top layer to such a garment, hide these seams and darts as much as possible. To do this, place an individual overlay piece on top of each individual main fabric piece. Place with the wrong side of the overlay fabric facing the right side of the main fabric. Baste them together along the edges.
Once they are basted together, stitch any darts. Continue constructing the garment as if each piece is one. This is a very simple way to add a sheer layer that requires almost no special handling once the pieces are basted together. However, it is most suitable for fitted garments such as pencil skirts or sheath dresses.
Floating garments
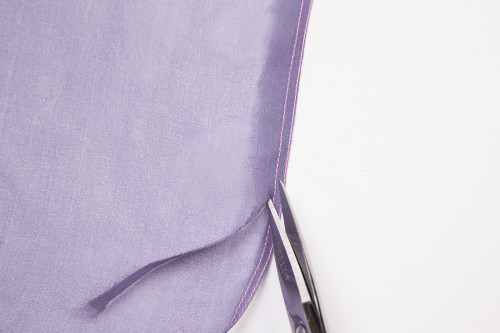
For floaty garments, keep the background fabric and overlay fabric as separate as possible. Note that the skirt and overlay are not sewn together at the side seams.
If you want your overlay to float, sew the pieces for each main section of the garment separately from each fabric. For example, if you are making a simple skirt, sew the skirt side seams together in the main fabric and then sew the skirt side seams in the overlay fabric. Construct the waistband from the main fabric and a separate waistband from the overlay fabric.
If your garment has details such as in-seam pockets, the easiest solution is to omit them. This type of pocket can interfere with the look of an overlay, because the overlay will need to be sewn to the main fabric along the seams that contain the pockets, preventing the floaty look you want.

If your garment has in-seam pockets, sew the layers together only along the pocket openings.
If you’d like to keep the pockets, cut the pocket bags from the main fabric only. With the overlay and main fabric together, sew the pockets to the edge of the garment. Stitch the pocket bags together along the curved edge. Sew the seams above and below the pocket, stitching each layer separately. If you are using a French seam, clip the seam allowance carefully at the edge of the pocket to allow the seam to be turned.
Adding Zippers
If you are sewing a fitted garment with a zipper, install the zipper with the main fabric and overlay fabric as one. Do not sew the layers together below the zipper. Complete each of the seams below the zipper separately, keeping the overlay and main fabric detached below the closure.
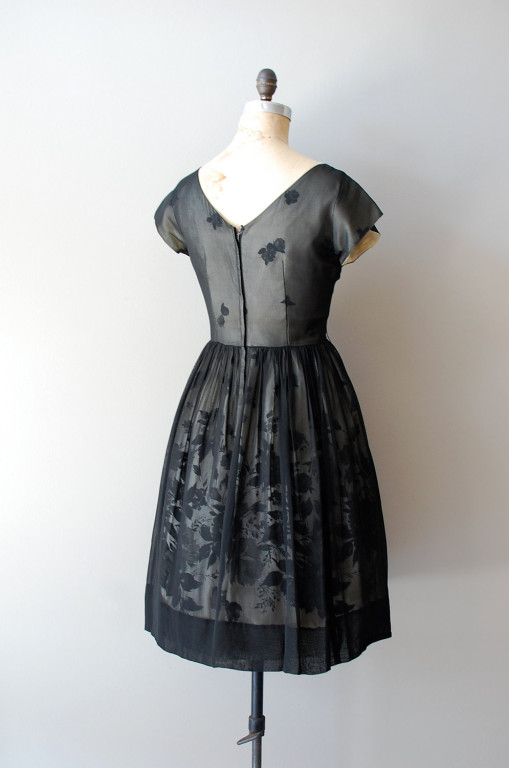
Note that the zipper is sewn with both layers together at the top,
but the layers are separate below the zipper opening.
Courtesy of Dear Golden Vintage.
If you are making a full skirt with a waistband, leave an opening for the zipper on the main pieces, as you usually would. On the overlay, do not sew the seam that holds the zipper. Instead, finish each side of the seam separately with a rolled hem or a baby hem. For example, if you are making a skirt with a left side seam zipper, finish each raw edge of the left side seam separately with a tiny hem.
Install the zipper in the opening you left in the main fabric. Sew the overlay seam closed below the zipper opening. This leaves a gap in the overlay, allowing the zipper to be opened and closed, but allows the overlay to hang loose from the zipper.
Baste layers together
Place the overlay over the main fabric units. The wrong side of the overlay should face the right side of the main skirt. Baste the overlay to the main fabric along the remaining seams. For example, for a skirt, baste the pieces along the waistline. At this point, sew any gathers, tucks, pleats, or other details that add fullness. Finish sewing the garment together.
Hem the overlay and main skirt separately. Choose an appropriate hem for the main skirt. For the overlay, use a rolled hem or a baby hem (see above).
Resources
How to sew a rolled hem: This complete tutorial with step-by-step photos shows you how to create a rolled hem using the specially designed presser foot.
How to sew a baby hem: Clear and detailed instructions on sewing a small hem without a rolled hem foot.
5 tips for sewing delicate fabric: Follow these tips to prevent your fabric from being eaten by a hungry machine.
How to sew a narrow rolled hem with a serger: A quick tutorial from Sew Mama Sew.

