Sign In
A lot of people are scared of sewing buttonholes. You get to the very end of your project, and you can’t wait to try it on, but first, you have to sew buttonholes. This can make even the most seasoned sewist freeze.
Here are some helpful tricks so you'll never get frustrated by thick, slippery, or stretchy fabric.
Where do you encounter tricky buttonholes?
Some buttonholes are just a little tricker than others. For example, you might have trouble if a fabric is particularly heavyweight, lightweight, stretchy or slippery.
Once in a while, you’ll encounter a buttonhole that seems easy but gives you trouble. That’s the beautiful mystery of buttonholes!
All of the tips below will help with any buttonhole that’s giving you trouble, whether it’s puckering, snagging, or just not sewing.
Use Helpful Notions
There are a handful of notions that will ease your buttonhole stress.
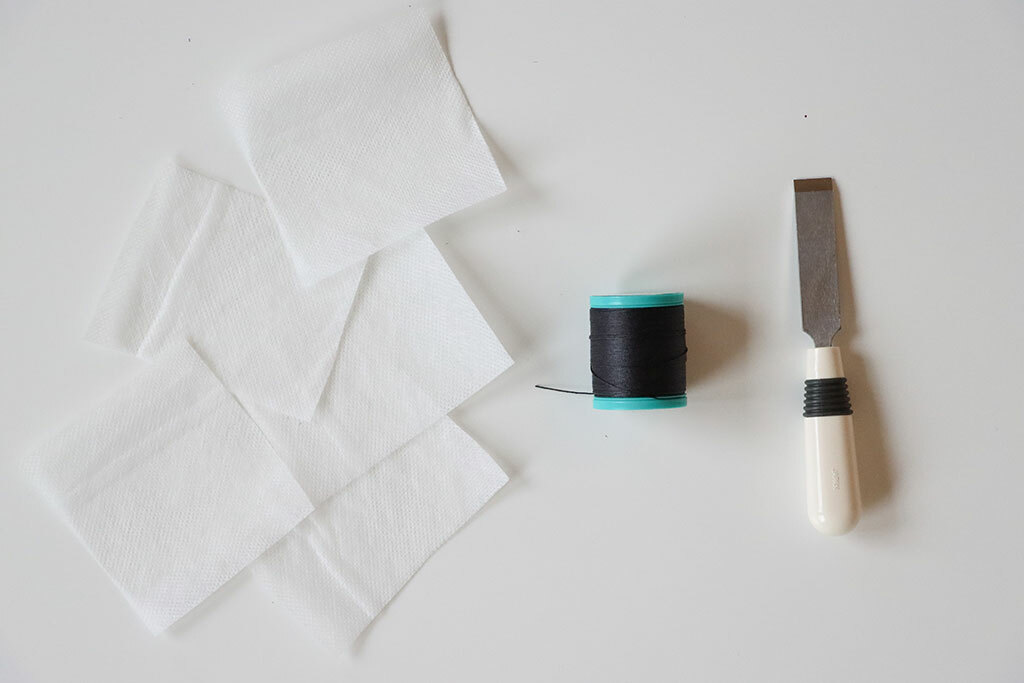
Tear-away stabilizer (or tissue paper): Placing a square of tear-away stabilizer behind your buttonhole before you sew will give your feed dogs something to grab onto. Then when you are done, you just rip the stabilizer off. If you’ve ever found your needle sewing in the same spot over and over, you need some more grip. If you’re sewing a single layer of fabric, tear-away stabilizer is essential. And tear-away stabilizer prevents your fabric from stretching while your machine makes the buttonhole, so definitely use it for knits and stretch wovens. If you need something in a pinch, tissue paper will do the same thing.
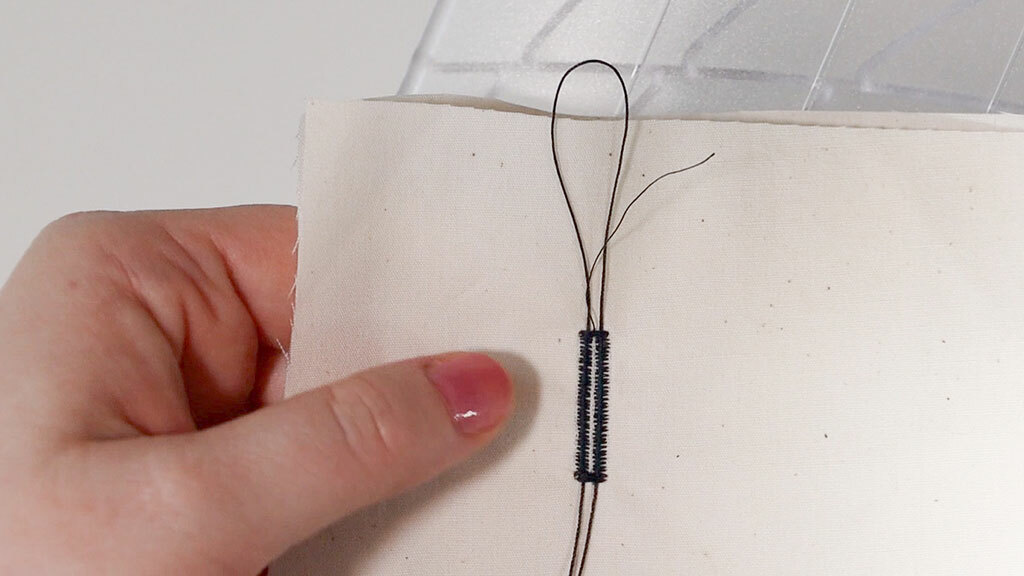
Buttonhole gimps: Gimps are another way to stabilize buttonholes. What’s a buttonhole gimp? It’s a thicker thread, kind of like waxed cording. You can hand-sew a buttonhole with it. Or, you can hook a loop of the gimp to your buttonholer on your machine, which will zigzag over the gimp as it sews. The gimp adds stability and makes your buttonholes look very sharp and defined. This is a helpful tool for tailored garments that you want to look precise and knits if they stretch out too much.
If you want to see how to do this, watch the video accompanying this article on our YouTube channel.
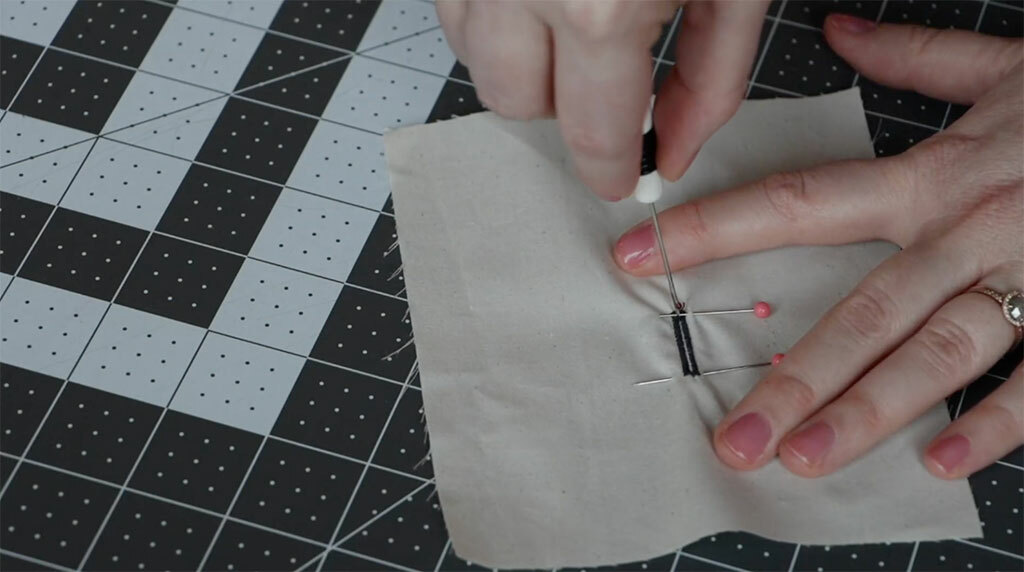
Buttonhole punch: Have you ever sewn the perfect buttonhole and then ruined it by slicing through it? When opening up your buttonholes, use a buttonhole punch instead of your scissors, so you don't rip your fabric. A buttonhole punch is a little chisel you can use to cut through your fabric with one punch.
If you don't want to buy a special notion, put a pin at either end of your buttonhole and use your seam ripper at each end, ripping from the end toward the center. The pins will act as little bumpers to keep you from slicing through your buttonhole.
Choose the Right Buttonhole for the Job
Check your machine’s manual to see if you can sew different buttonholes. Here are some of the buttonholes out there.
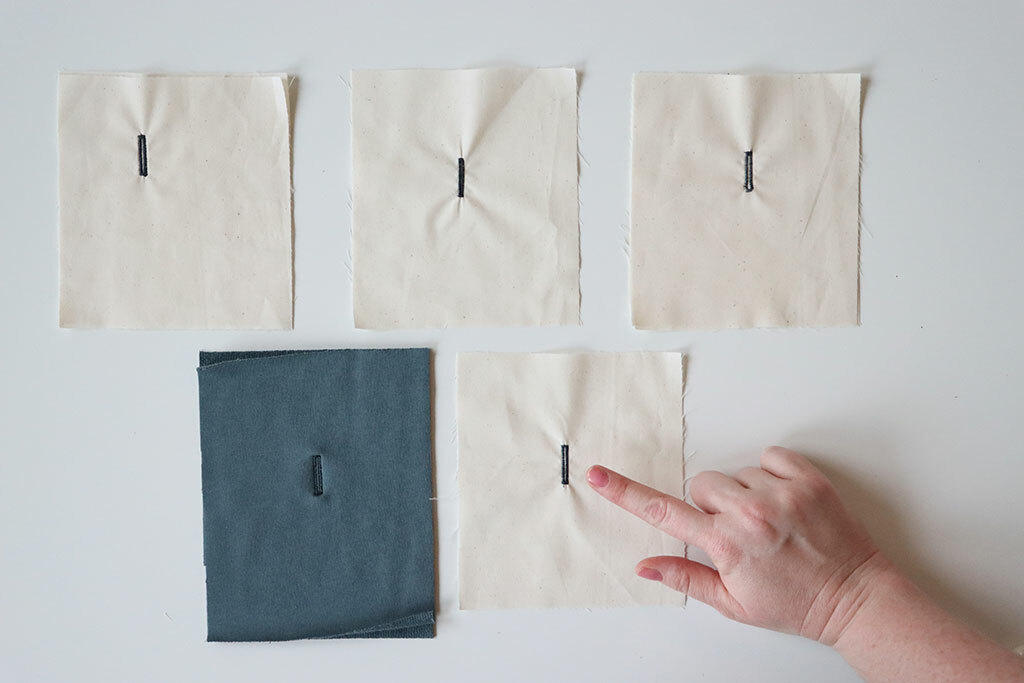
Classic rectangular buttonhole: This is the buttonhole you often see. Use it for medium-weight, woven garments.
Classic narrow buttonhole: If you are sewing lightweight fabric, dial your stitch width down and create a narrow buttonhole.
Keyhole buttonhole: Use a keyhole for heavyweight fabric on bottoms, jackets, and coats.
Stretch buttonhole: Some machines have buttonholes specifically for knits and stretchy fabric. Check your manual. You can fake this by using a slightly longer stitch length so that your buttonhole has more give to move with the fabric.
Corded buttonhole: Like a gimp, a corded buttonhole adds stability. A gimp doesn’t add much 3-dimensionality to your buttonhole, so if you want your buttonhole to pop, try adding cording.
Always Test Your Buttonholes
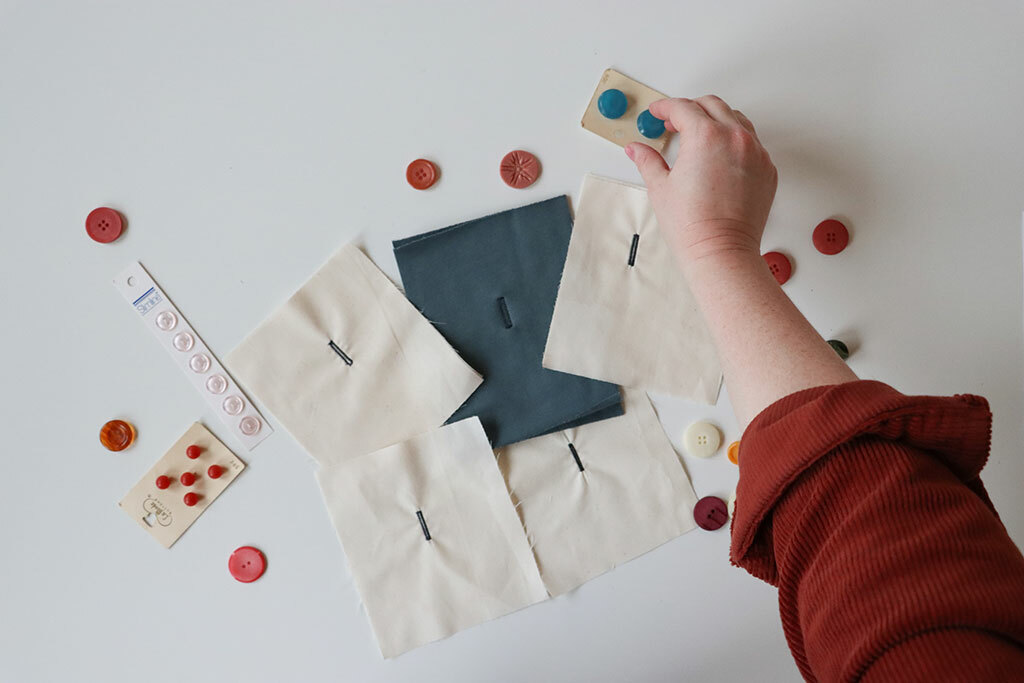
And finally, the number one thing you can do to make your buttonholes look great is to test them. Every single time.
- Sew a sample in your actual fashion fabric to ensure it will work with your buttonholer. Use the same interfacing, stabilizer, and number of layers you plan to use for your project.
- Check the length and width. Cut it open to see if your button fits without effort and stays securely closed. Ensure the stitch length and width are appropriate, and it’s nicely binding the edge of your fabric but not so close that it’s jamming your machine.
If you’re still struggling, there is another option, and there’s no shame in asking for help. Unfortunately, the buttonholers on domestic machines might just not cut it. Instead, you can take your garments to a professional tailor to insert the buttonhole or see if your local fabric shop has machines you can use. If you've tried all these tricks and it's still not working, it's not you, it's probably your machine.
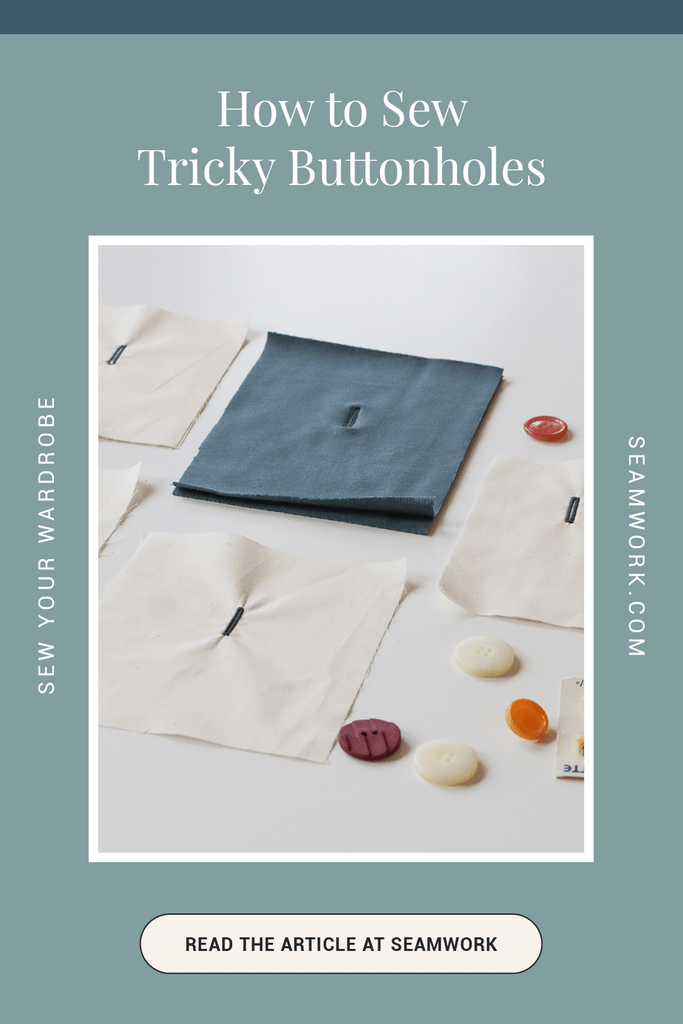
Love the article? Pin it for later.