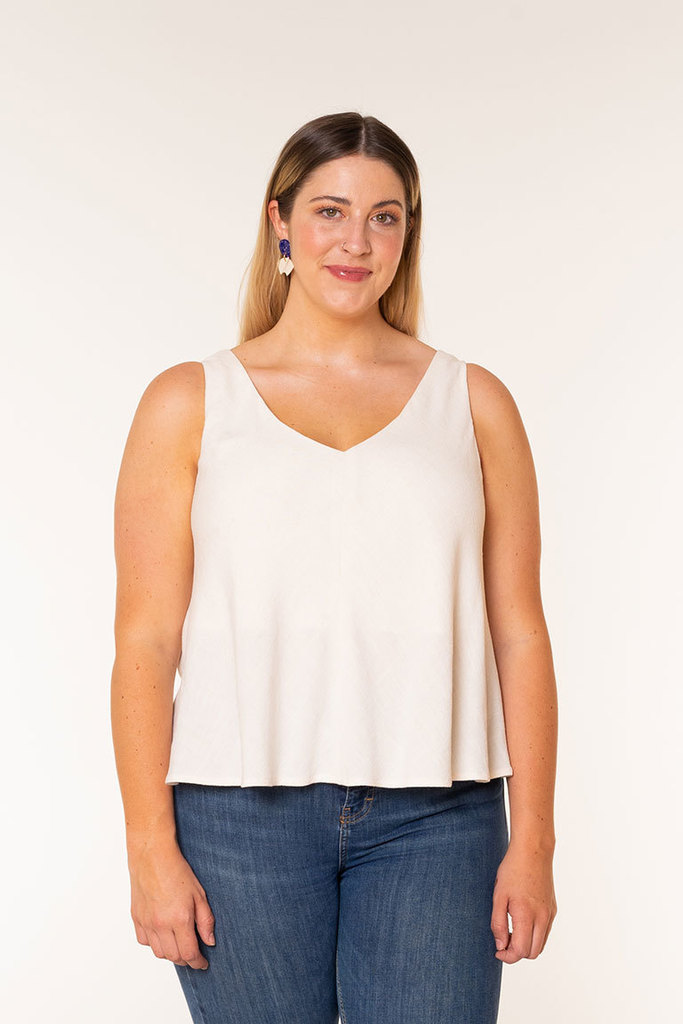
In this video: Haley shows you how to use the slash and spread method to change the silhouette of your sewing patterns. Slashing and spreading is a really fun pattern hack that you can use in a whole bunch of different ways!
Recommended Materials:
- Clear ruler
- Paper scissors
- Pencil
- Pattern paper
- Tape
- Pattern weights
Video Transcript
Have you ever wanted to change the silhouette of an existing pattern? Today I'm gonna share a super simple pattern making technique that'll show you how to change the shape of a garment. Hi, I'm Haley and I'm the designer here at Seamwork. You can find us at Seamwork.com. We're a community of sewists that are all about designing and sewing our own wardrobes, so be sure to check us out at Seamwork.com
I am seriously obsessed with pattern hacking! Rarely do I make a pattern without some kind of modification to the design, and one technique that everyone should have in their pattern-hacking bag of tricks is slashing and spreading. Slashing and spreading is a cornerstone of patternmaking and by learning this technique, you're gonna open up a whole new bag of tricks when it comes to pattern hacking. Today, I'm gonna be making a simple trapeze top, but we'll be learning all the basics like what is slashing and spreading, how to choose a pattern, how to slash and spread, plus I'll give you some ideas on how you can take this technique and apply it in a bunch of different ways.
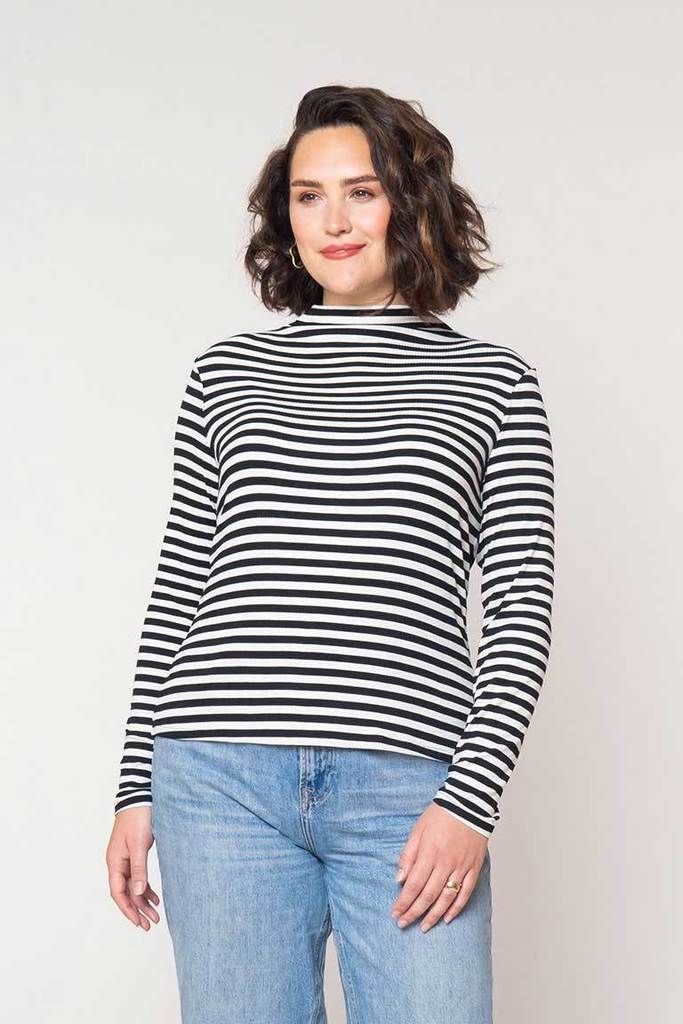
So, what is slashing and spreading? slashing and spreading is a patternmaking technique used to add more volume to a garment. You can use it to add pleats, gathers. or even sweep. With this technique, you're gonna strategically slash your paper pattern to create more volume, so you can change the shape of a sleeve, a bodice, or even a dress. I'm going to show you how to use the slash and spread technique to add more sweep to a garment. Sweep is just a fancy word for the circumference of a hem. We'll be using the Elli henley to create a trapeze style top, but before we get started I want to give you a little preview of the hack and give you some customization ideas. This is what the Le Henley looks like straight out of the envelope. You can see that it's a pretty fitted-style henley tee with a center front placket and fitted long sleeves. And this is what the original pattern piece looks like. You can see how fitted this pattern really is here. And once we're done with our hack today, we're gonna end up with something that looks a little bit like this. You can already start to see how drastically the shape of this pattern is changed.
I want to show you a couple of examples of how you can take this technique and apply it to different patterns. In this example here, I used the same bodice but started the volume at the waistline instead of at the bustline, to create more of a fit-and-flare style silhouette. You could also used this same technique on pattern pieces like sleeves. I have two examples here. In this first sleeve, I added volume beginning at the elbow and then continuing down towards the sleeve hem to create a bell shaped sleeve. And in the second example, I created a flutter sleeve. To do this, I just slashed and spread up to the cap of the sleeve to create this silhouette. These are just a few examples of how you can use the slash and spread method but you can already start to see how versatile it is.
While pattern hacking allows you to break the rules, some patterns are just going to work better than others. If you're new to pattern hacking, you might want to stick to knit garments just because they tend to be a little bit more forgiving. But, if you're more of a wovens type of person, you can do that too you'll just want to stick to things that are simpler in design with fewer pattern pieces and less shaping. I'm gonna pop some links below to our favorite hackable patterns so be sure to check those out.
Once you've chosen your pattern, you are ready to get started we're gonna start by tracing our pattern onto a fresh piece of paper. This is because we want to maintain the integrity of the original pattern, just in case we want to sew the original again in the future. When you're tracing, make sure that you transfer all of your essential marks such as notches, labels and grainlines. Next, we're going to determine where we'd like the volume to begin increasing. This is essentially where your garment is going to start flaring out. For the purpose of this tutorial we're gonna call this the baseline. And since I'm making a trapeze-style top, I want the volume to begin increasing at my bust line. So, I'm going to take a clear ruler and a pencil, and I'm going to draw a line perpendicular to the center front right along the bust line. On the Elli, this is going to be approximately—like about an inch—below your placket. Clear rulers are a really essential patternmaking tool. In patternmaking, we use them to mark parallel and perpendicular lines and to add things like seam and hem allowances. They come in a bunch of different materials and dimensions, but what I really like is a 2 inch by 18 inch clear ruler. I just find it more useful and it's really great for being able to navigate around curves and measure things like that. Once we've established our baseline, we can start marking our slash lines. You're going to take your clear ruler, and you were going to start by marking a series of parallel line, parallel to the center front, right below the baseline that you just marked. We are going to start by cutting along our basline. We're going to take some paper scissors, and we're going to cut along the baseline, starting at the center front, and then moving towards the side seam. Stopping just short of the side seam, leaving a small paper hinge.
Once we've cut that, we can cut our slash lines. For the slash lines, we're gonna cut from the hem up towards the base line, again leaving a small paper hinge. Once you're done cutting, you can really start to see your future pattern take place. While the slash lines allow you to open up the pattern and create volume, the baseline controls precisely where that volume begins. Now that our pattern is all slashed, we're ready to start finalizing it. We're first going to start by taping things down. So, I've placed a piece of pattern paper underneath my slashed pattern, and I'm gonna start by securing the upper portion of the bodice— the unslashed part—to that piece of paper. I'm just gonna use some scotch tape to do that.
Once that's taped into place, I can start messing around with the slashed portion of my pattern to play with volume and create the shape that I want to make. This is where I really like to use pattern weights. I just bought some oversized washers from the hardware store, and I use these to help me hold everything in place and visualize the pattern before I tape anything down and finalize it. This is where you can really start to have fun and start visualizing what your finished garment is going to look like. If you're trying to create more of a subtle shape, you'll just want to open up between your slash lines a little bit, but if you want something more dramatic, you can definitely create a whole lot of volume by using this technique. I'm adding between 1 and 2 inches between each slash line to create that swingy trapeze kind of shape.
Once I'm happy with the shape, I can start taping everything in place. Once you have everything taped in place you can start to finalize your shape. I'm going to use my clear ruler again and I'm gonna redraw the center front—just following that original center front line of the upper bodice. Once I have that, I'm gonna use a curved ruler to redraw my hemline and also to reshape my side seam just a little bit. If you've created a more dramatic sweep, you might have a little bit of a wonky side seam and you'll just want to soften that curve a little bit. When you are redrawing your hem, you're gonna want to follow the same line of your original pattern piece. It'll be pretty obvious, and the clear ruler will help a lot, you just want to smooth it out a little bit.
Once you're done redrawing those lines you can go ahead and cut out your completed pattern hack, and then go ahead and apply those same changes to the back of your garment as well. After cutting and sewing, this is the garment that I ended up with. I love that with just a little bit of pattern paper or tape and some scissors that I can create something that I really love. If you like this pattern hack, be sure to check out a feature we do every month in Seamwork called "Pattern Hackers." We share three hacks for that month's featured pattern. Be sure to subscribe to our channel for more tutorials, techniques, and tips, and follow us on Instagram to stay up to date on all things Seamwork. Have any pattern hack requests? Comment below and tell me what you want to see. Thanks for joining me and happy hacking!


