
 Sign In
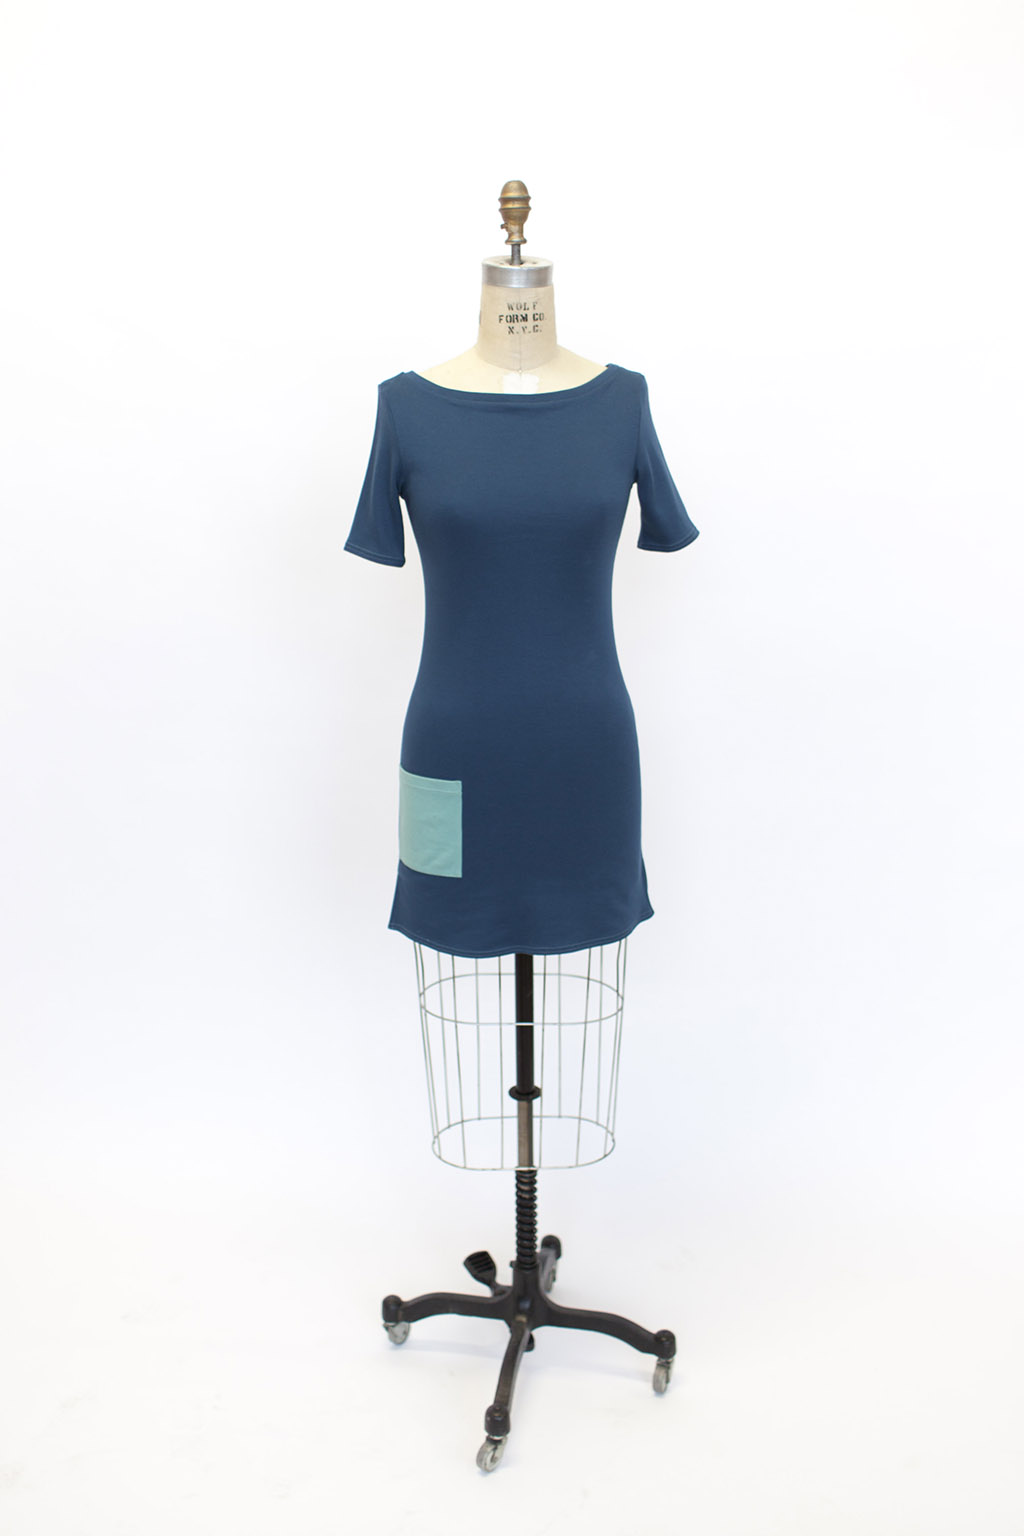
Pockets are an excellent addition to many garments, instantly making a garment more practical. I love patch pockets in particular. They are a playful, graphic, and useful detail. They can also make the perfect addition to your knit garments. Add one to the chest of a t-shirt to create a relaxed look, or add a large contrast pocket to the skirt of a dress to make it the focal point of the piece.
You Will Need:
- A knit project of your choice—cut but not sewn
- Additional fabric for pocket, either self or contrast
- Paper and pencil
- Clear sewing ruler
- Water soluble marking tool
- 1/4" Washaway Wonder Tape
- Tear-away stabilizer
Draft your pocket
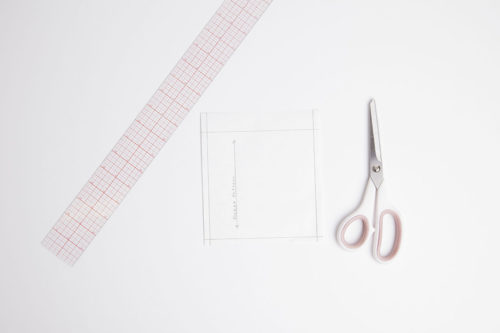
Begin by drafting a paper pattern, measuring and drawing to desired shape and size. Add 1/4" seam allowance to the bottom and sides, and 1" on the top of the pocket. On small pockets, use a 1/2" seam allowance at the top to avoid unneeded bulk.
Cut out your pocket fabric using the drafted pattern piece. When cutting a printed fabric, keep print placement in mind; if you are using stripes be sure to match them.
Patch Pocket Ideas
- Use a contrasting fabric.
- Use a woven fabric for the pocket.
- Pocket shapes do not need to be limited to squares. Rounded edges can be a thoughtful detail that will make your project more one of a kind.
- Play with the scale and shape of the pocket.
- Use a contrasting thread to stitch pockets and hems.
- If using striped fabric, cut the pocket so the stripes run perpendicular to those on the garment.
Mark and Prep
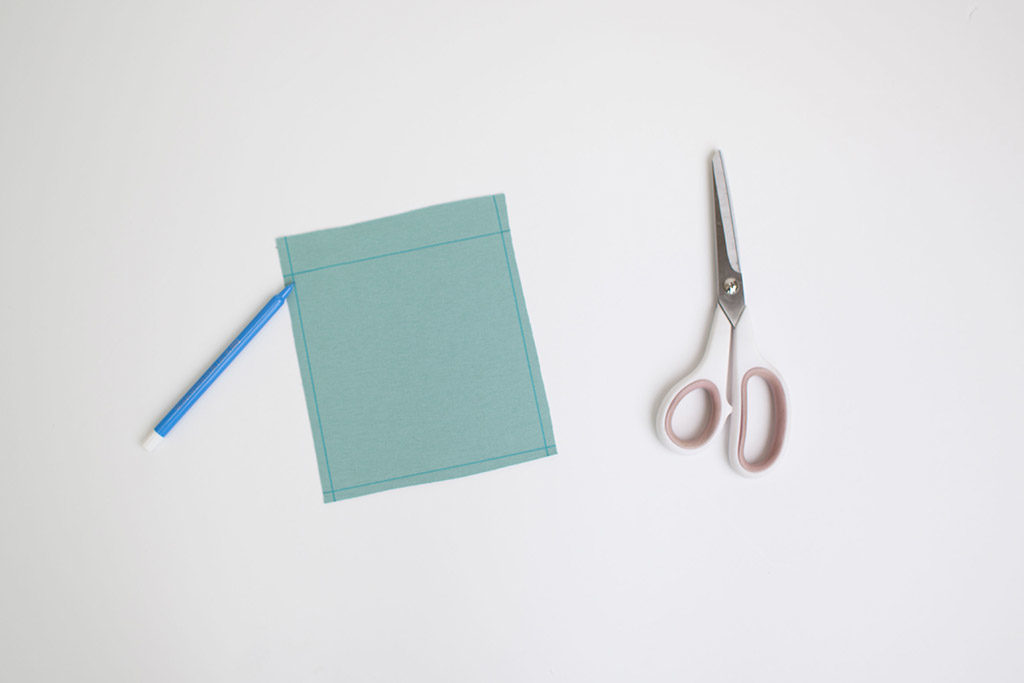
Mark the hem allowance along the edges of the pocket. Use a water soluble marking tool to avoid leaving permanent marks on your garment.
Press the side and bottom edges of the pocket toward the wrong side of the fabric, trimming the corners to eliminate bulk. Washaway Wonder Tape can be used to help create perfect edges. Start by sticking tape along the side and bottom edge of the pocket, being sure to perfectly align the edge of the tape with the cut edge of the fabric. Next, turn the raw edges toward the wrong side of the pocket using both the marked hem allowance, as well as the 1/4" Wonder Tape to make a perfectly uniform edge. Finger press firmly in place, and trim any bulk created in the corners of the pocket.
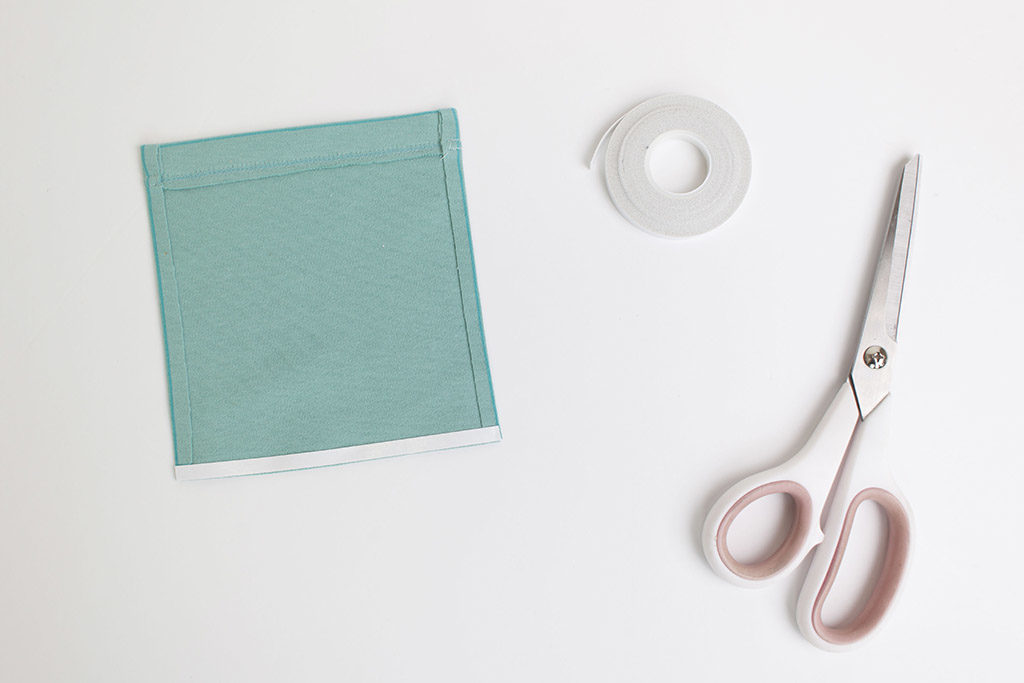
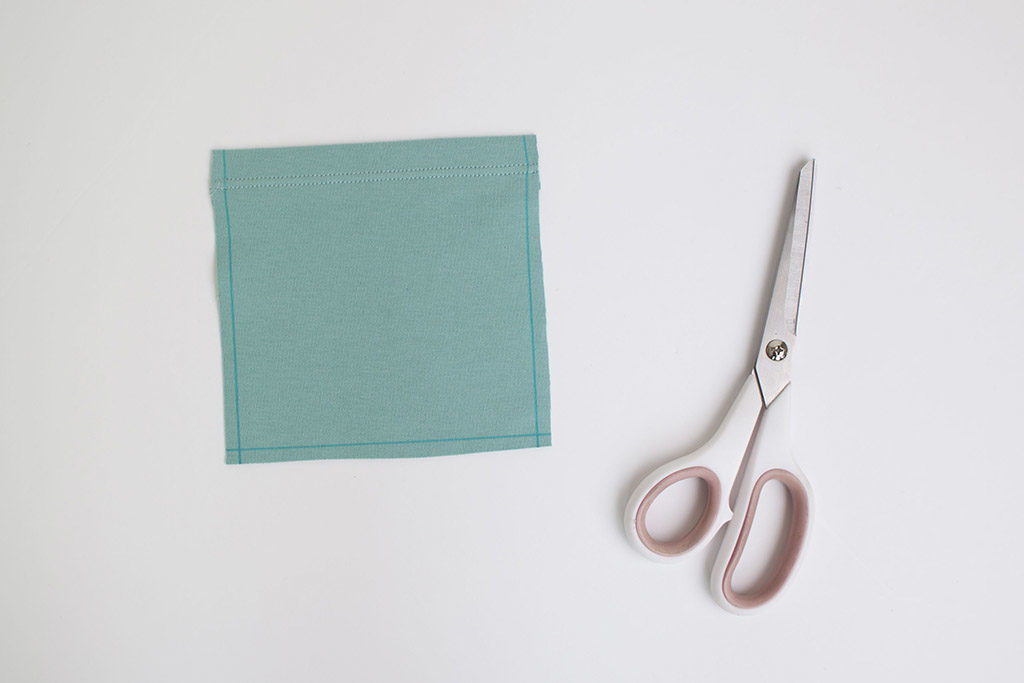
Use a single fold hem to finish the top edge of the pocket using desired stitch. For a garment that is professional and uniform in appearance, use the same stitch for finishing both the pocket and the hem. To hem, turn the top edge of the pocket toward the wrong side, pinning into place. Sew and press the hem to finish.
Pocket Placement
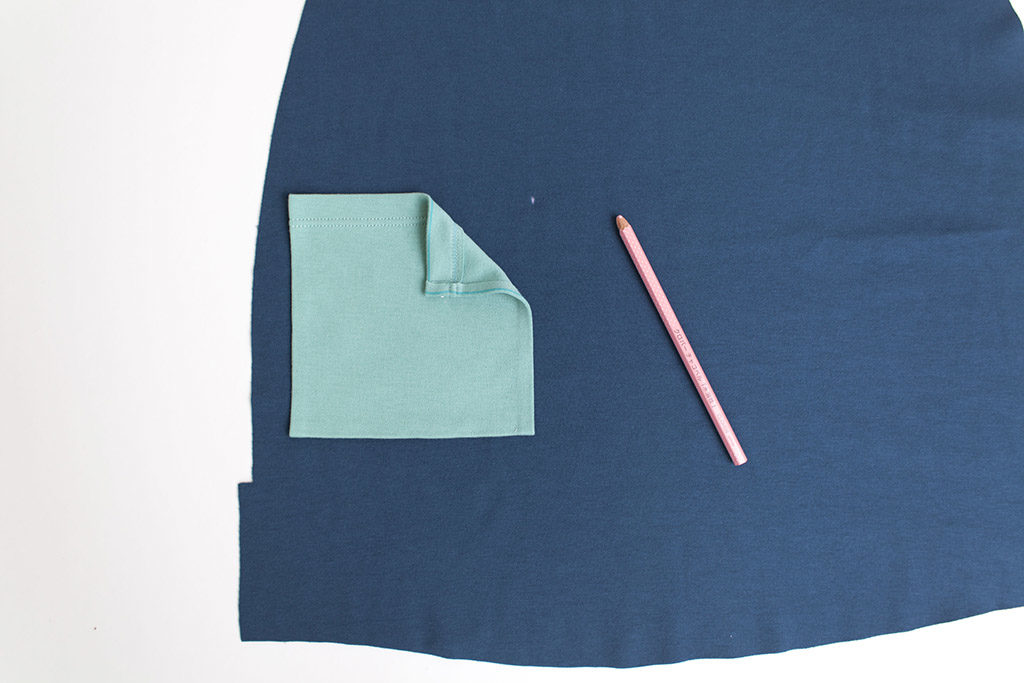
It is always best to apply a patch pocket to a garment before assembling, especially for knits. Working on a flat piece will ensure that fabric does not get stretched or distorted in the pinning and sewing process. Select where you would like your pocket to be on the garment. Put this piece right side up on your work surface and choose the exact location. Mark the placement with a water soluble marking tool.
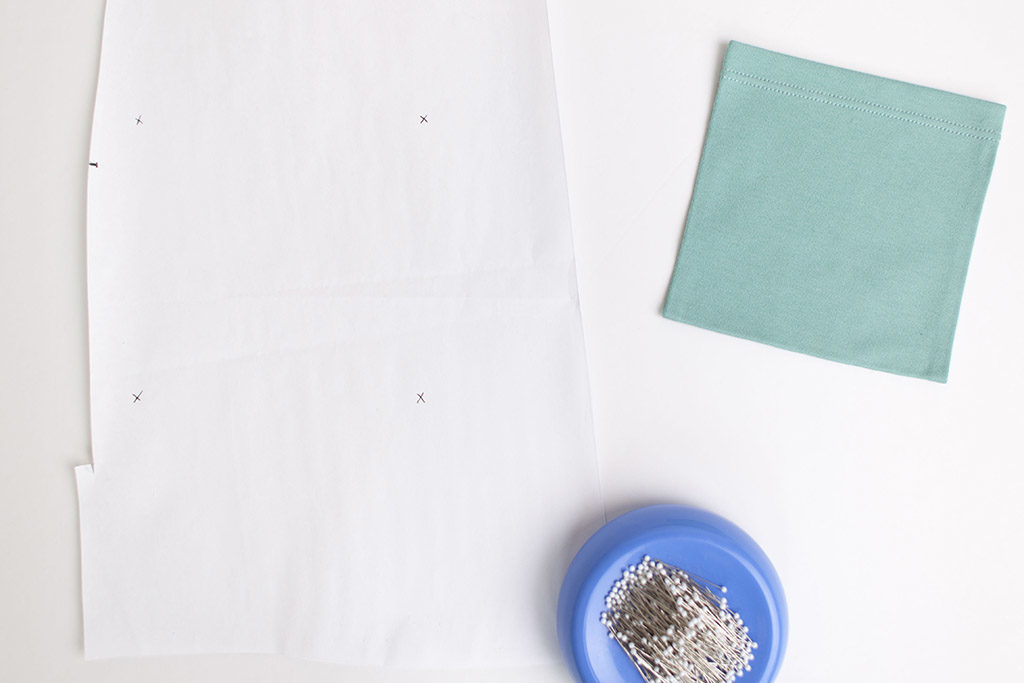
It is helpful to mark this placement on your paper pattern. That way, your future projects can yield the same consistent results. To do this, place your fabric with marked placement over the paper pattern piece. Use a pin to pierce through the fabric and paper at key points. You can then remove the fabric and mark the holes created by the pin with a marker so they are more visible.
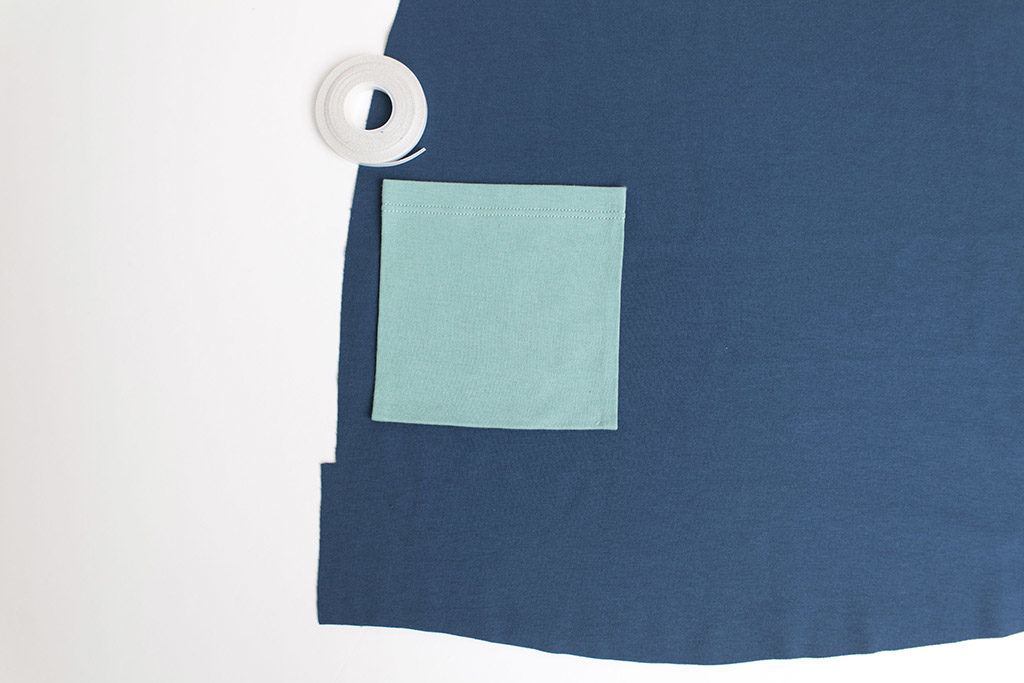
On the wrong side of the pocket, apply Wonder Tape to the side and bottom edges. Carefully place this piece wrong side down on the garment aligning with pocket placement marks. Press firmly to temporarily bond both pieces.
Stabilize
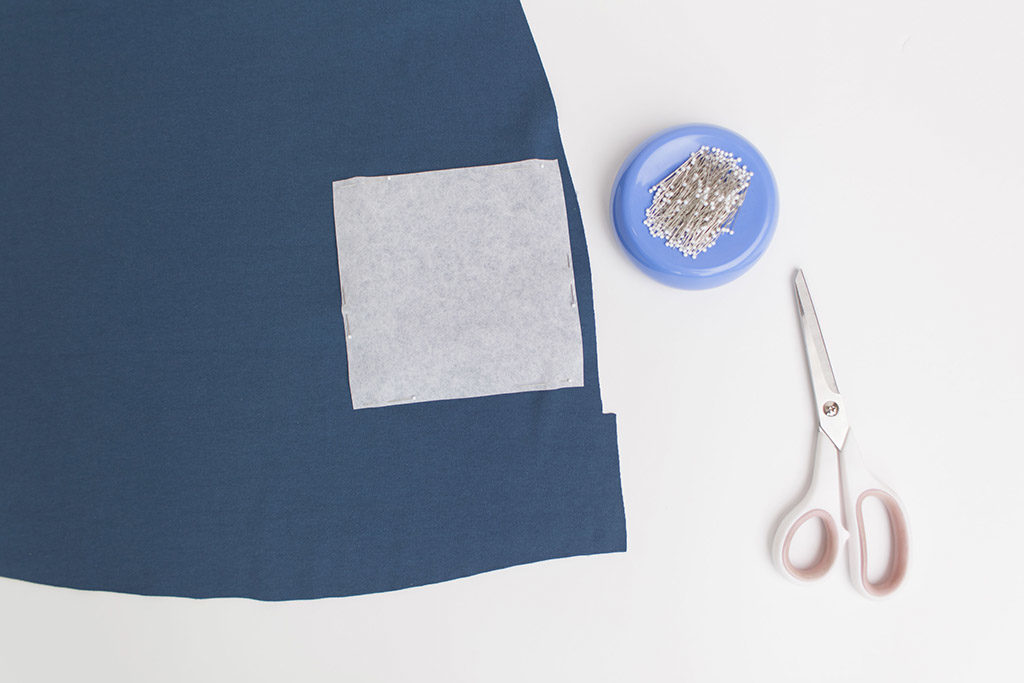
Cut a piece of tear-away stabilizer approximately 1" wider and longer than the pocket shape. Pin this piece to the wrong side of the garment directly behind your pocket. Make sure that the tear-away stabilizer is centered and coincides with all areas that you intend to stitch. This prevents the feed dogs from stretching the garment as it passes through the sewing machine. Without the use of this stabilizing agent, pocket results can be warped and have inconsistent stitch length. When working with lightweight knit fabrics, try using tissue paper instead of tear away stabilizer. This lighter weight stabilizing agent provides just enough control for fine knits.
Sew
Prepare your sewing machine for a straight stitch with a stitch length of 3mm. Adjust the presser foot pressure to 1 or lower to prevent distorting your fabric. Test your machine settings by sewing through three layers of fabric. A walking foot will help all layers to evenly feed through your sewing machine.

Use a water soluble marking tool to draw a small right triangle on the upper two corners of your pocket. These triangles should be approximately 1/8" away from the edge of pocket and directly relate to the edge stitching that will attach the pocket to the garment. This reinforcement technique will more evenly distribute the weight of the pocket (and its contents) to help avoid any tearing.
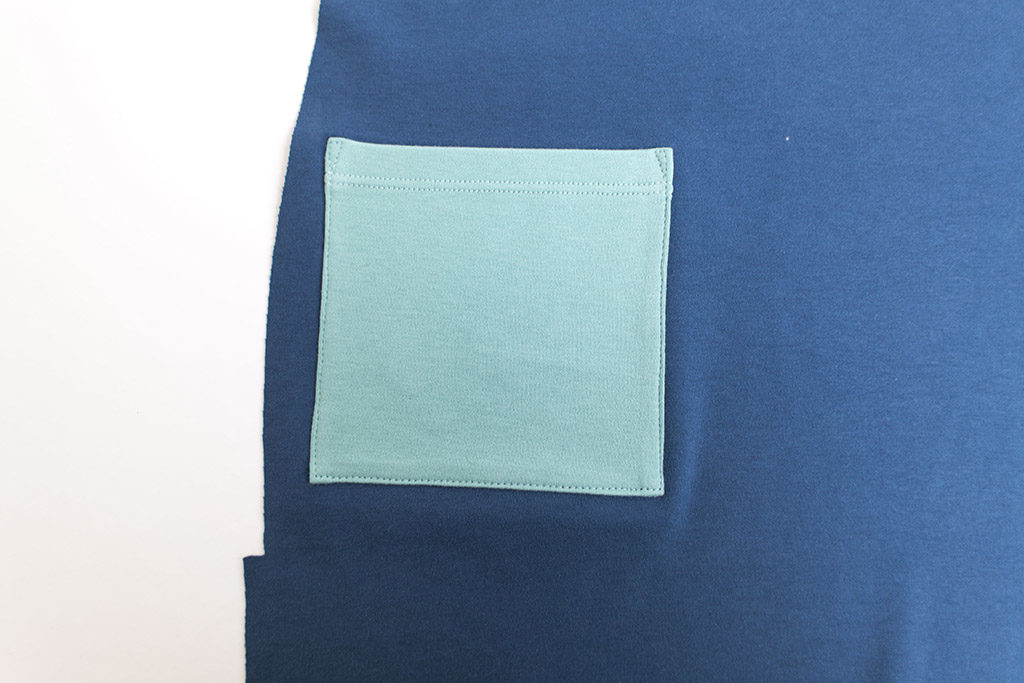
Begin sewing at the lower-most point of the upper-right pocket triangle. Sew toward the top of the pocket, backstitching to secure. Pivot at the marked corners to complete the triangles. Continue sewing down the side of the pocket across the bottom and back up to the top, staying a consistent 1/8" away from the edge of the pocket. Complete the pocket with the second triangle and a backstitch to secure.
Trim threads and gently remove the tear-away interfacing. Washaway Wonder Tape will dissolve from your garment when washed. Continue sewing the garment according to the pattern instructions.
This technique of applying patch pockets will yield perfect results every time. Add a pocket to your Aurora or Mesa to make a one of a kind piece that is as practical as it is cute!

About the Author
Haley Glenn is a staff writer for Seamwork. She is a professional sewing writer and teacher based in Portland, Oregon.


