Sign In
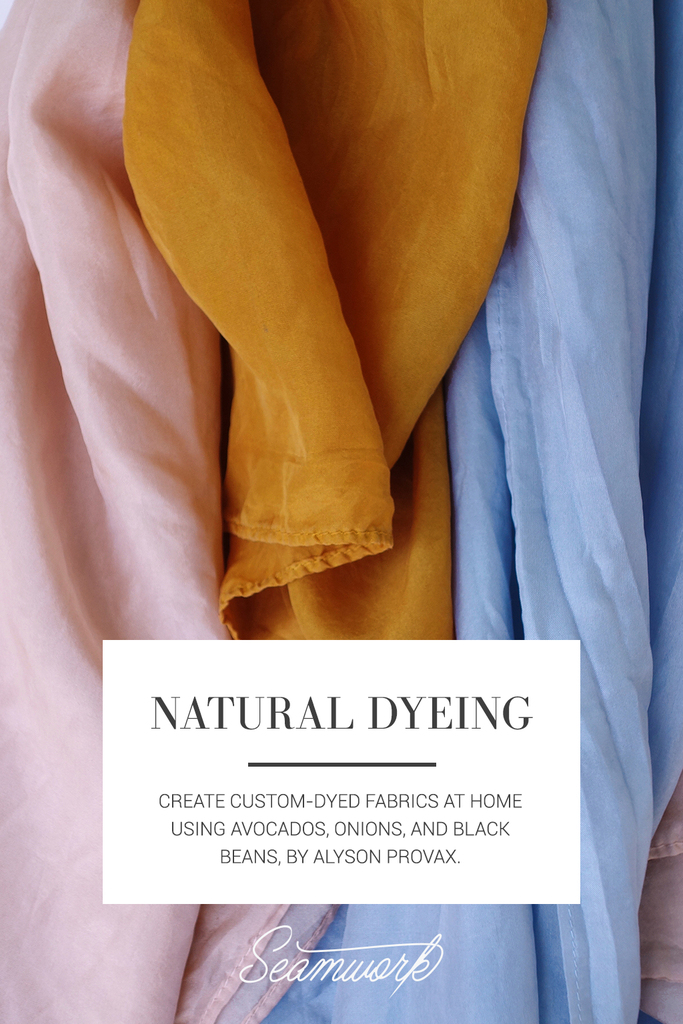
Before the use of synthetic dyes, textiles were only dyed with natural materials. Today, we can simply visit the produce department to put together fabric dyeing supplies. In this article, I’ll walk you through dyeing fabric with avocados, onions, and black beans.
The parts of the food used in our dyebaths are not the same parts that we eat, so don’t worry, you won’t have to give up that avocado in service of your fabric. To the contrary, get ready to eat a lot of avocados to prepare gorgeous textiles. And if you try all three of the following dyes at once, you’ll be halfway to a homemade burrito bowl!
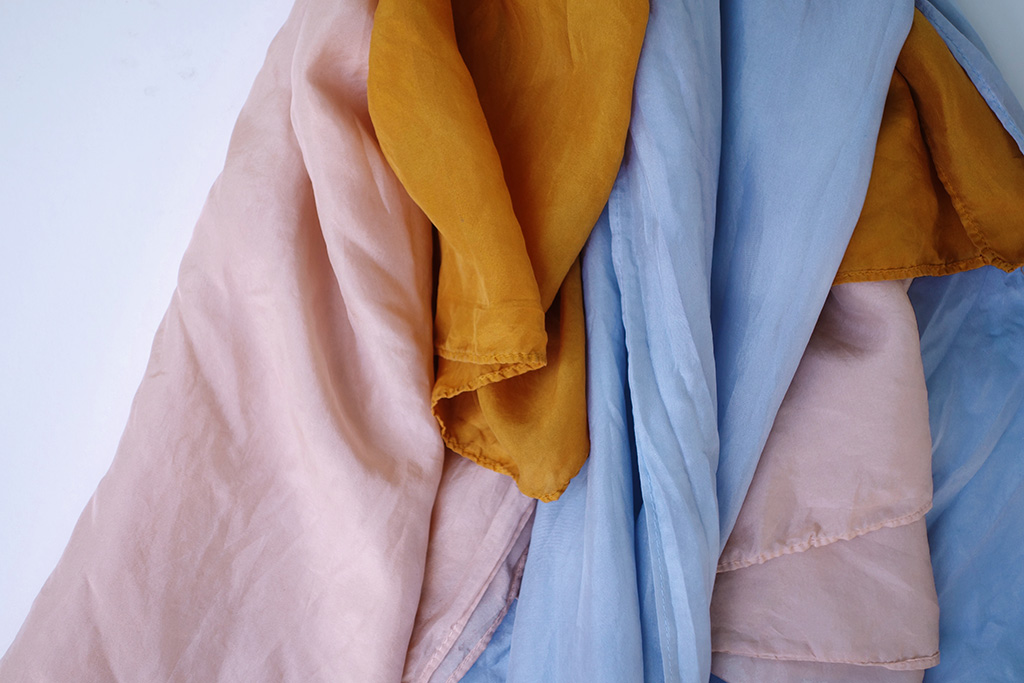
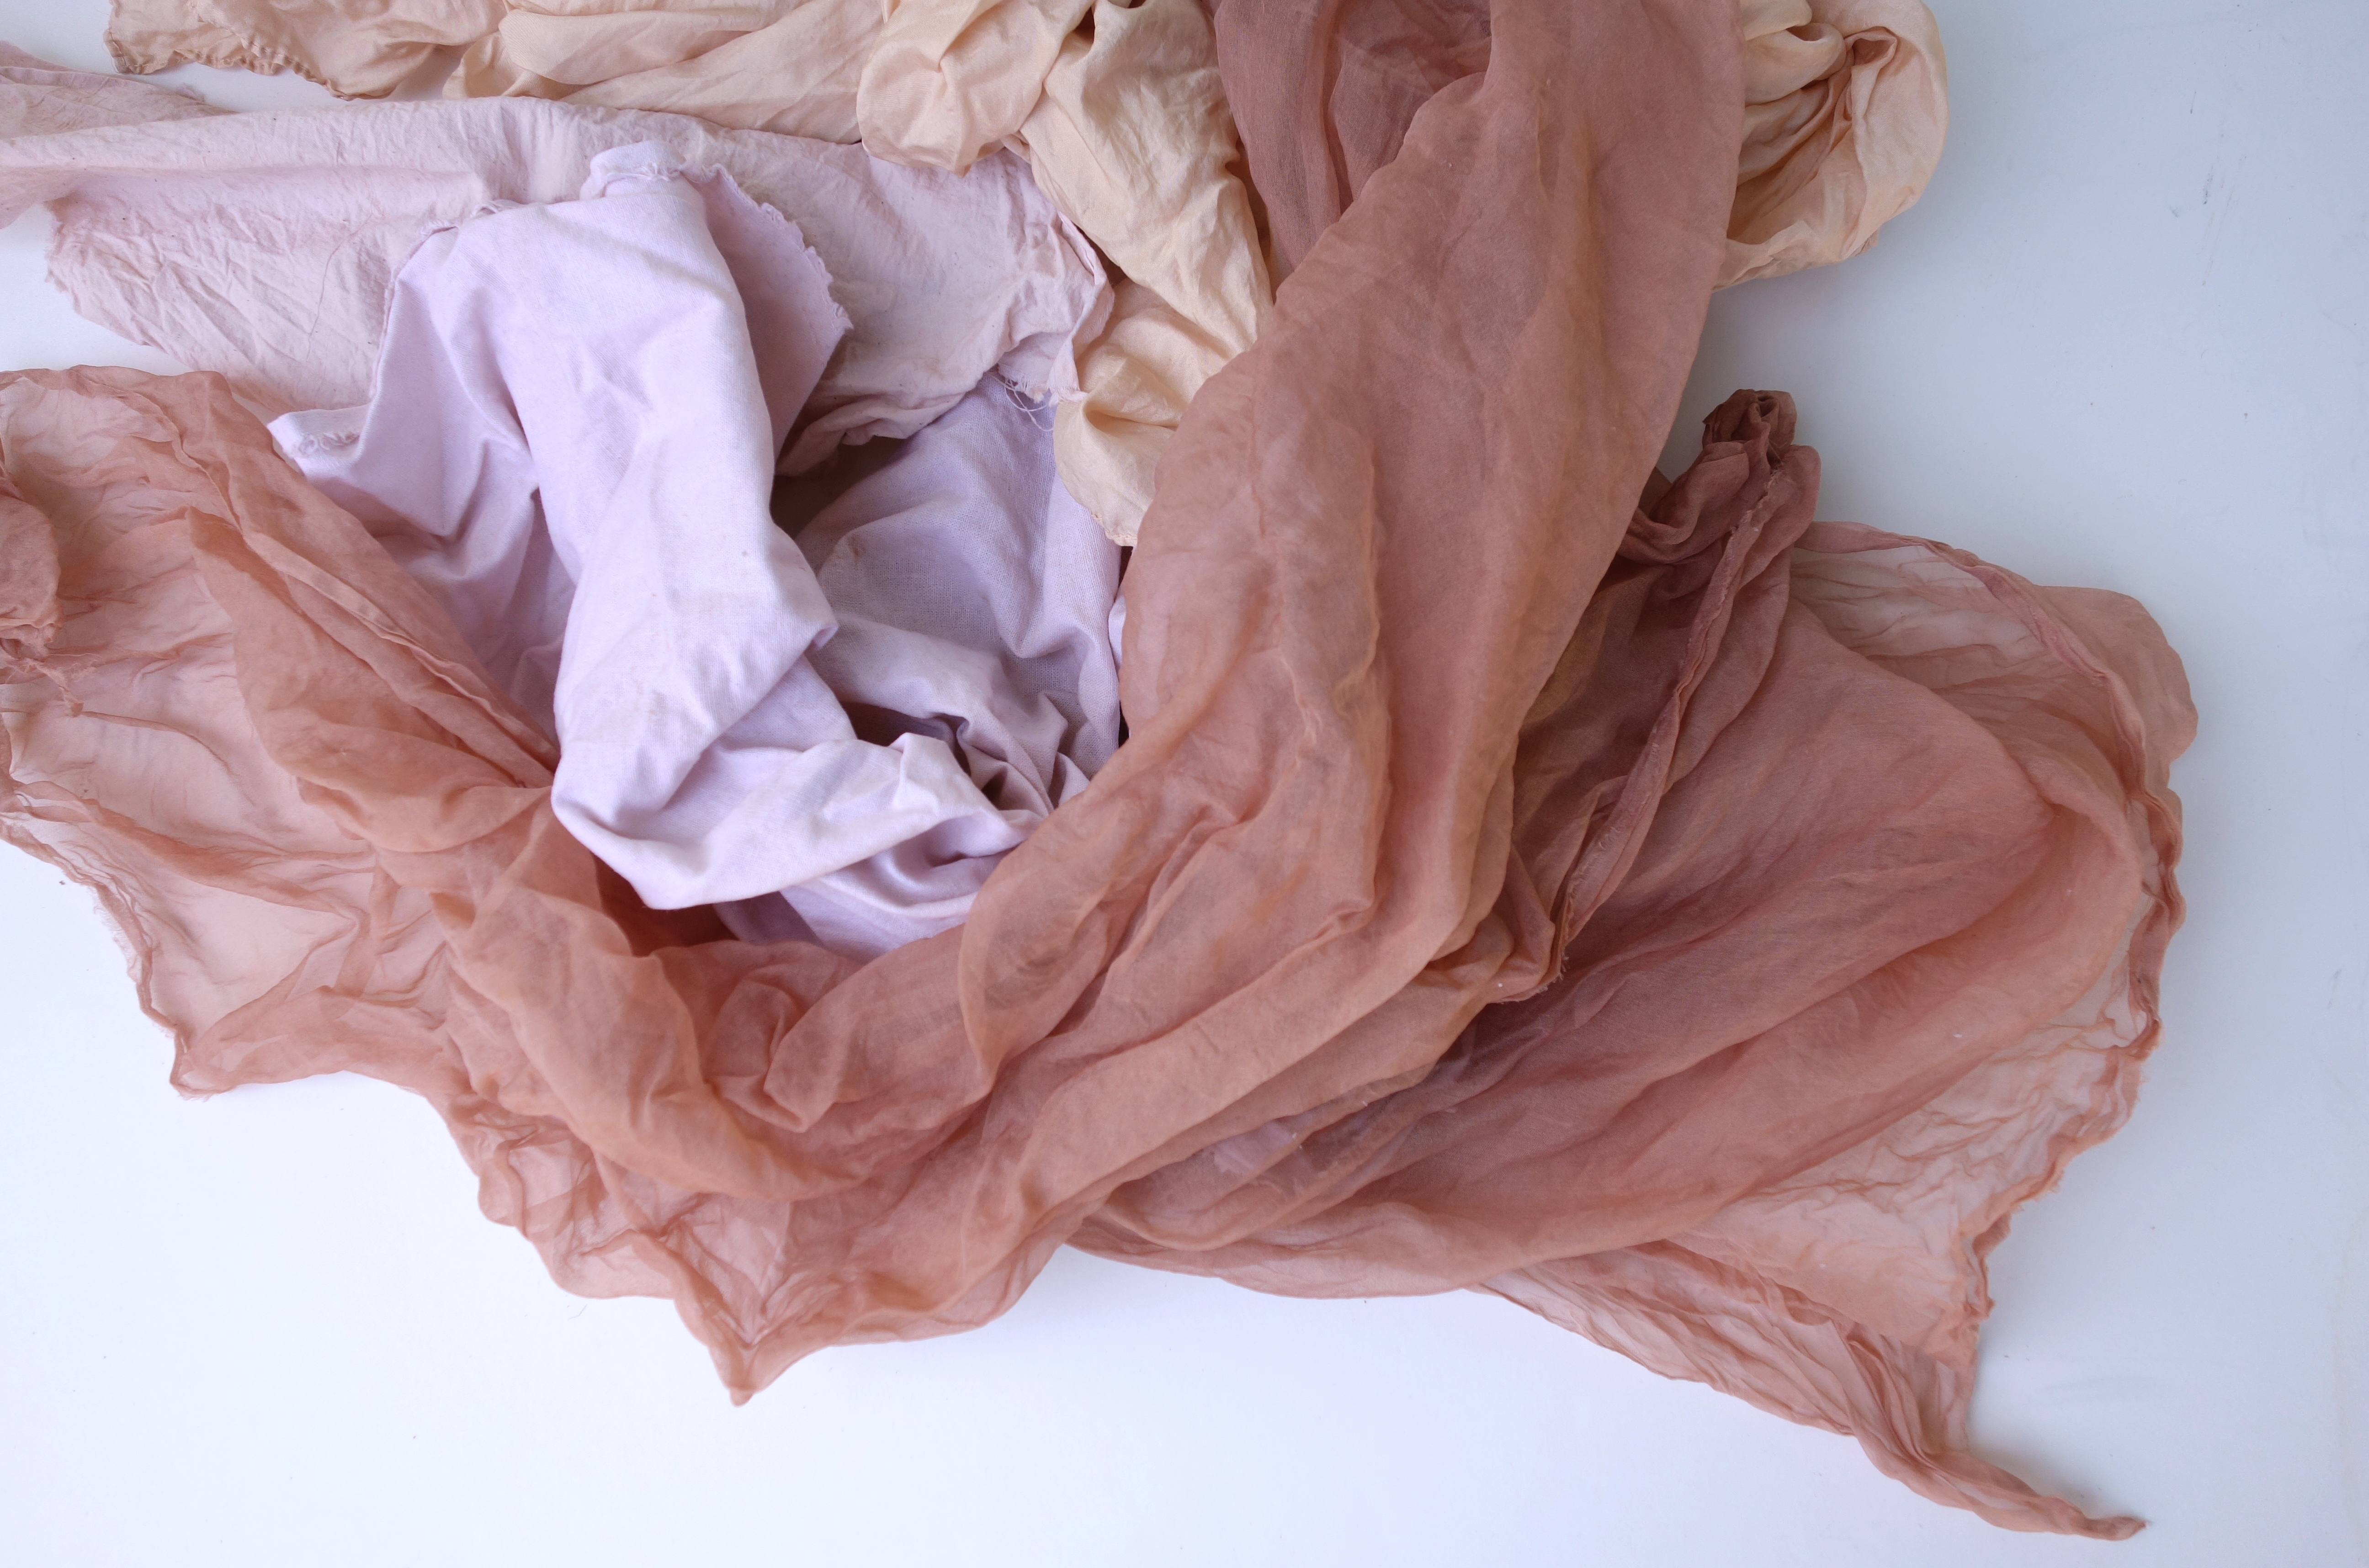
Keep in mind that these food-based dyes will color natural fibers, but not synthetics. Wool, silk, linen, cotton, and rayon can all share a dyebath, and each will respond a little differently. I’ve found that animal fibers such as silk tend to turn a darker shade, and plant fibers such as linen tend to be lighter. It’s fun to see all the beautiful variations in the same vat.
You may also find that each batch turns out a little different. Our plant materials will vary based on a number of factors, and you could consider plant dyeing as a representation of your local terroir—the resulting fabric feels personal and special.
Natural dyes also fade more quickly than chemical dyes, so expect some variation as the colors soften over time. It’s all part of the natural beauty of the process.
You’ll Need:
- Avocado skins and pits, washed
- Dried black beans
- Onion skins (separated by color—I used yellow onions)
- Natural fiber fabric, such as cotton, silk, linen, rayon, or wool, washed using synthrapol or another gentle detergent
- A large pot, not used for cooking (even though we are dyeing with edibles, best practices insist on keeping a distance between your dye baths and your food)
- Wooden stirring utensil, not used for cooking
- Alum (for black bean dye)
- Gloves (for black bean dye)
- Stovetop or another method of heating a pot of water (for avocado and onion dyes)
Avocado Dyebath
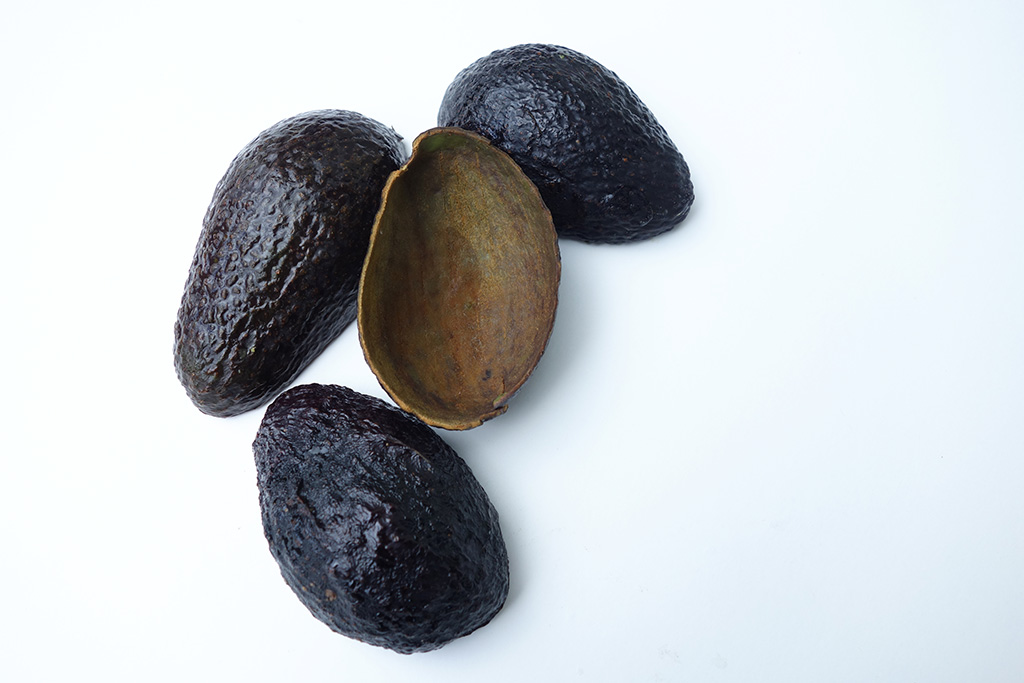
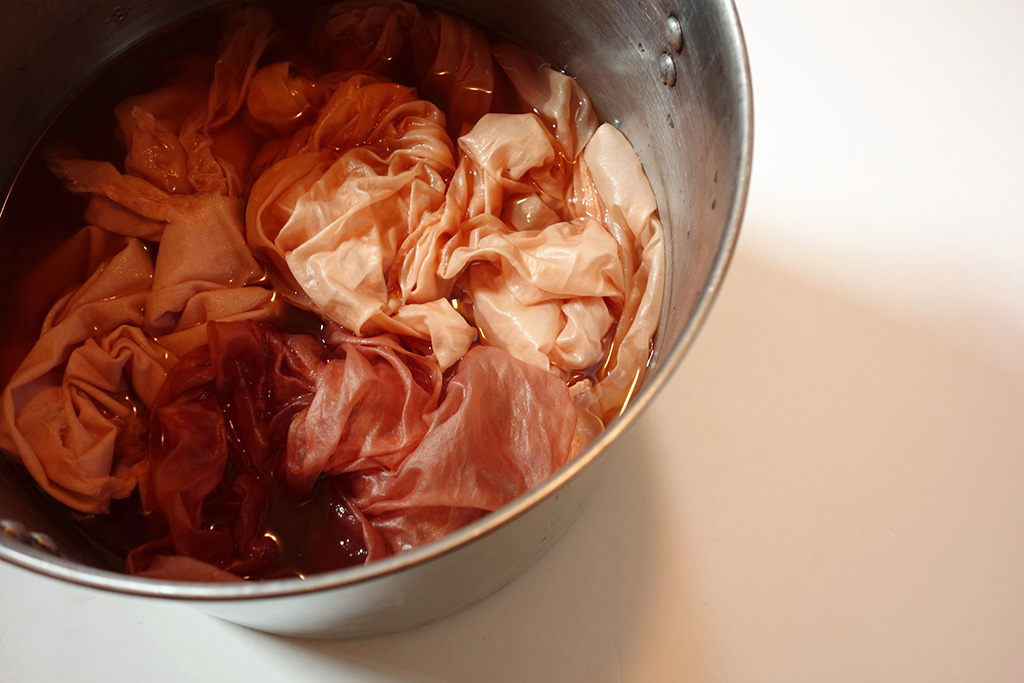
Create shades of rose and cream with avocado skins and pits.
Avocado pits and skins produce a dusty rose color. As with any fabric dyeing project, you will need to scale the size of your dyebath to the amount of fabric you are dyeing. Use enough water for your material to be completely submerged. The ratio of avocado pits and skins to water determines how dark your fabric will be at the end—more avocados lead to a darker color. The amount of time the fabric sits in the dyebath also contributes to its color. I used a ratio of 1 avocado pit and skin for every 1 quart of water for the soft color I achieved.
- Wash the avocado pits and skins to remove any remaining green.
- Add cool water and avocado pits and skins to dye pot, then bring to a simmer.
- While the dyebath is simmering, retrieve your washed and ready-to-dye fabric. Soak fabric in water or keep it damp from the wash.
- After 60-90 minutes, the dyebath water will be pink, and the pits will have split and softened.
- Remove the pot from the heat and remove the boiled avocado material, retaining the pigmented water in your dye pot.
- Add damp fabric, and soak fabric in the dyebath for several hours, stirring periodically using a wooden dye utensil.
- Remove fabric and gently rinse, then hand wash. Hang dry away from direct sunlight.
Onion Dyebath
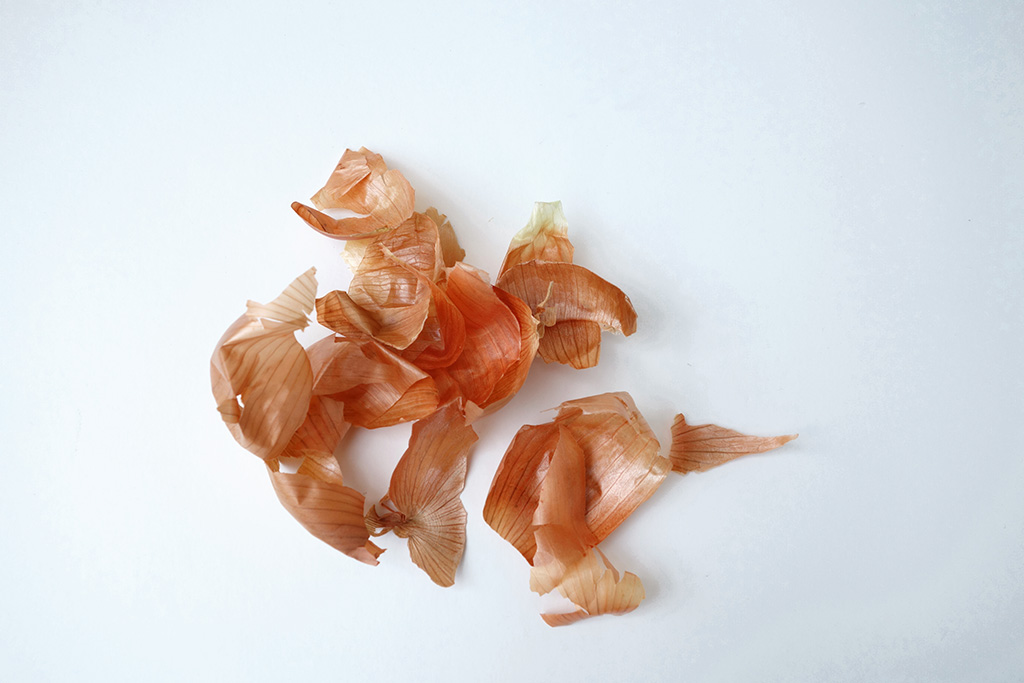
Create shades of mustard yellow with onion skins.
This dye uses the papery skins of yellow onions to create a mustard-yellow dye. It requires a lot of material, so plan on saving onion skins to prepare for future dye projects in advance (or ask your farmer or grocer friends for the leftover bits from the bottom of onion crates). I used an approximate 1:6 ratio of onion skins to water, measured by gently pressing dry skins into a measuring cup. It doesn’t need to be exact. Fewer onion skins or more water will simply result in a lighter color.
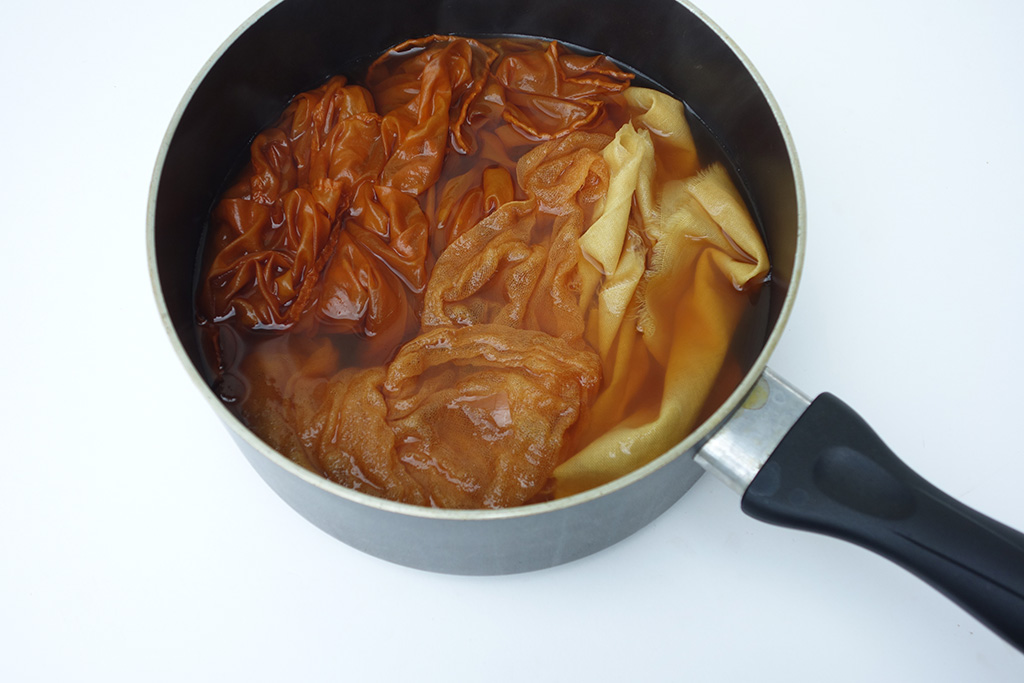
- Collect onion skins in a dye pot, then add water, bring to a boil, and simmer on medium-high heat for 45 minutes. The water will turn a rich yellow-brown.
- Remove onion skins from dyebath, then return dye liquid to a simmer.
- Wet fabric and add it to the dyebath. Simmer for 30 minutes, stirring periodically using a wooden dye utensil.
- Remove the pot from heat.
- Let dyebath cool with fabric still soaking in liquid.
- Remove fabric and gently rinse, then hand wash. Hang dry away from direct sunlight.
Black Bean Dyebath
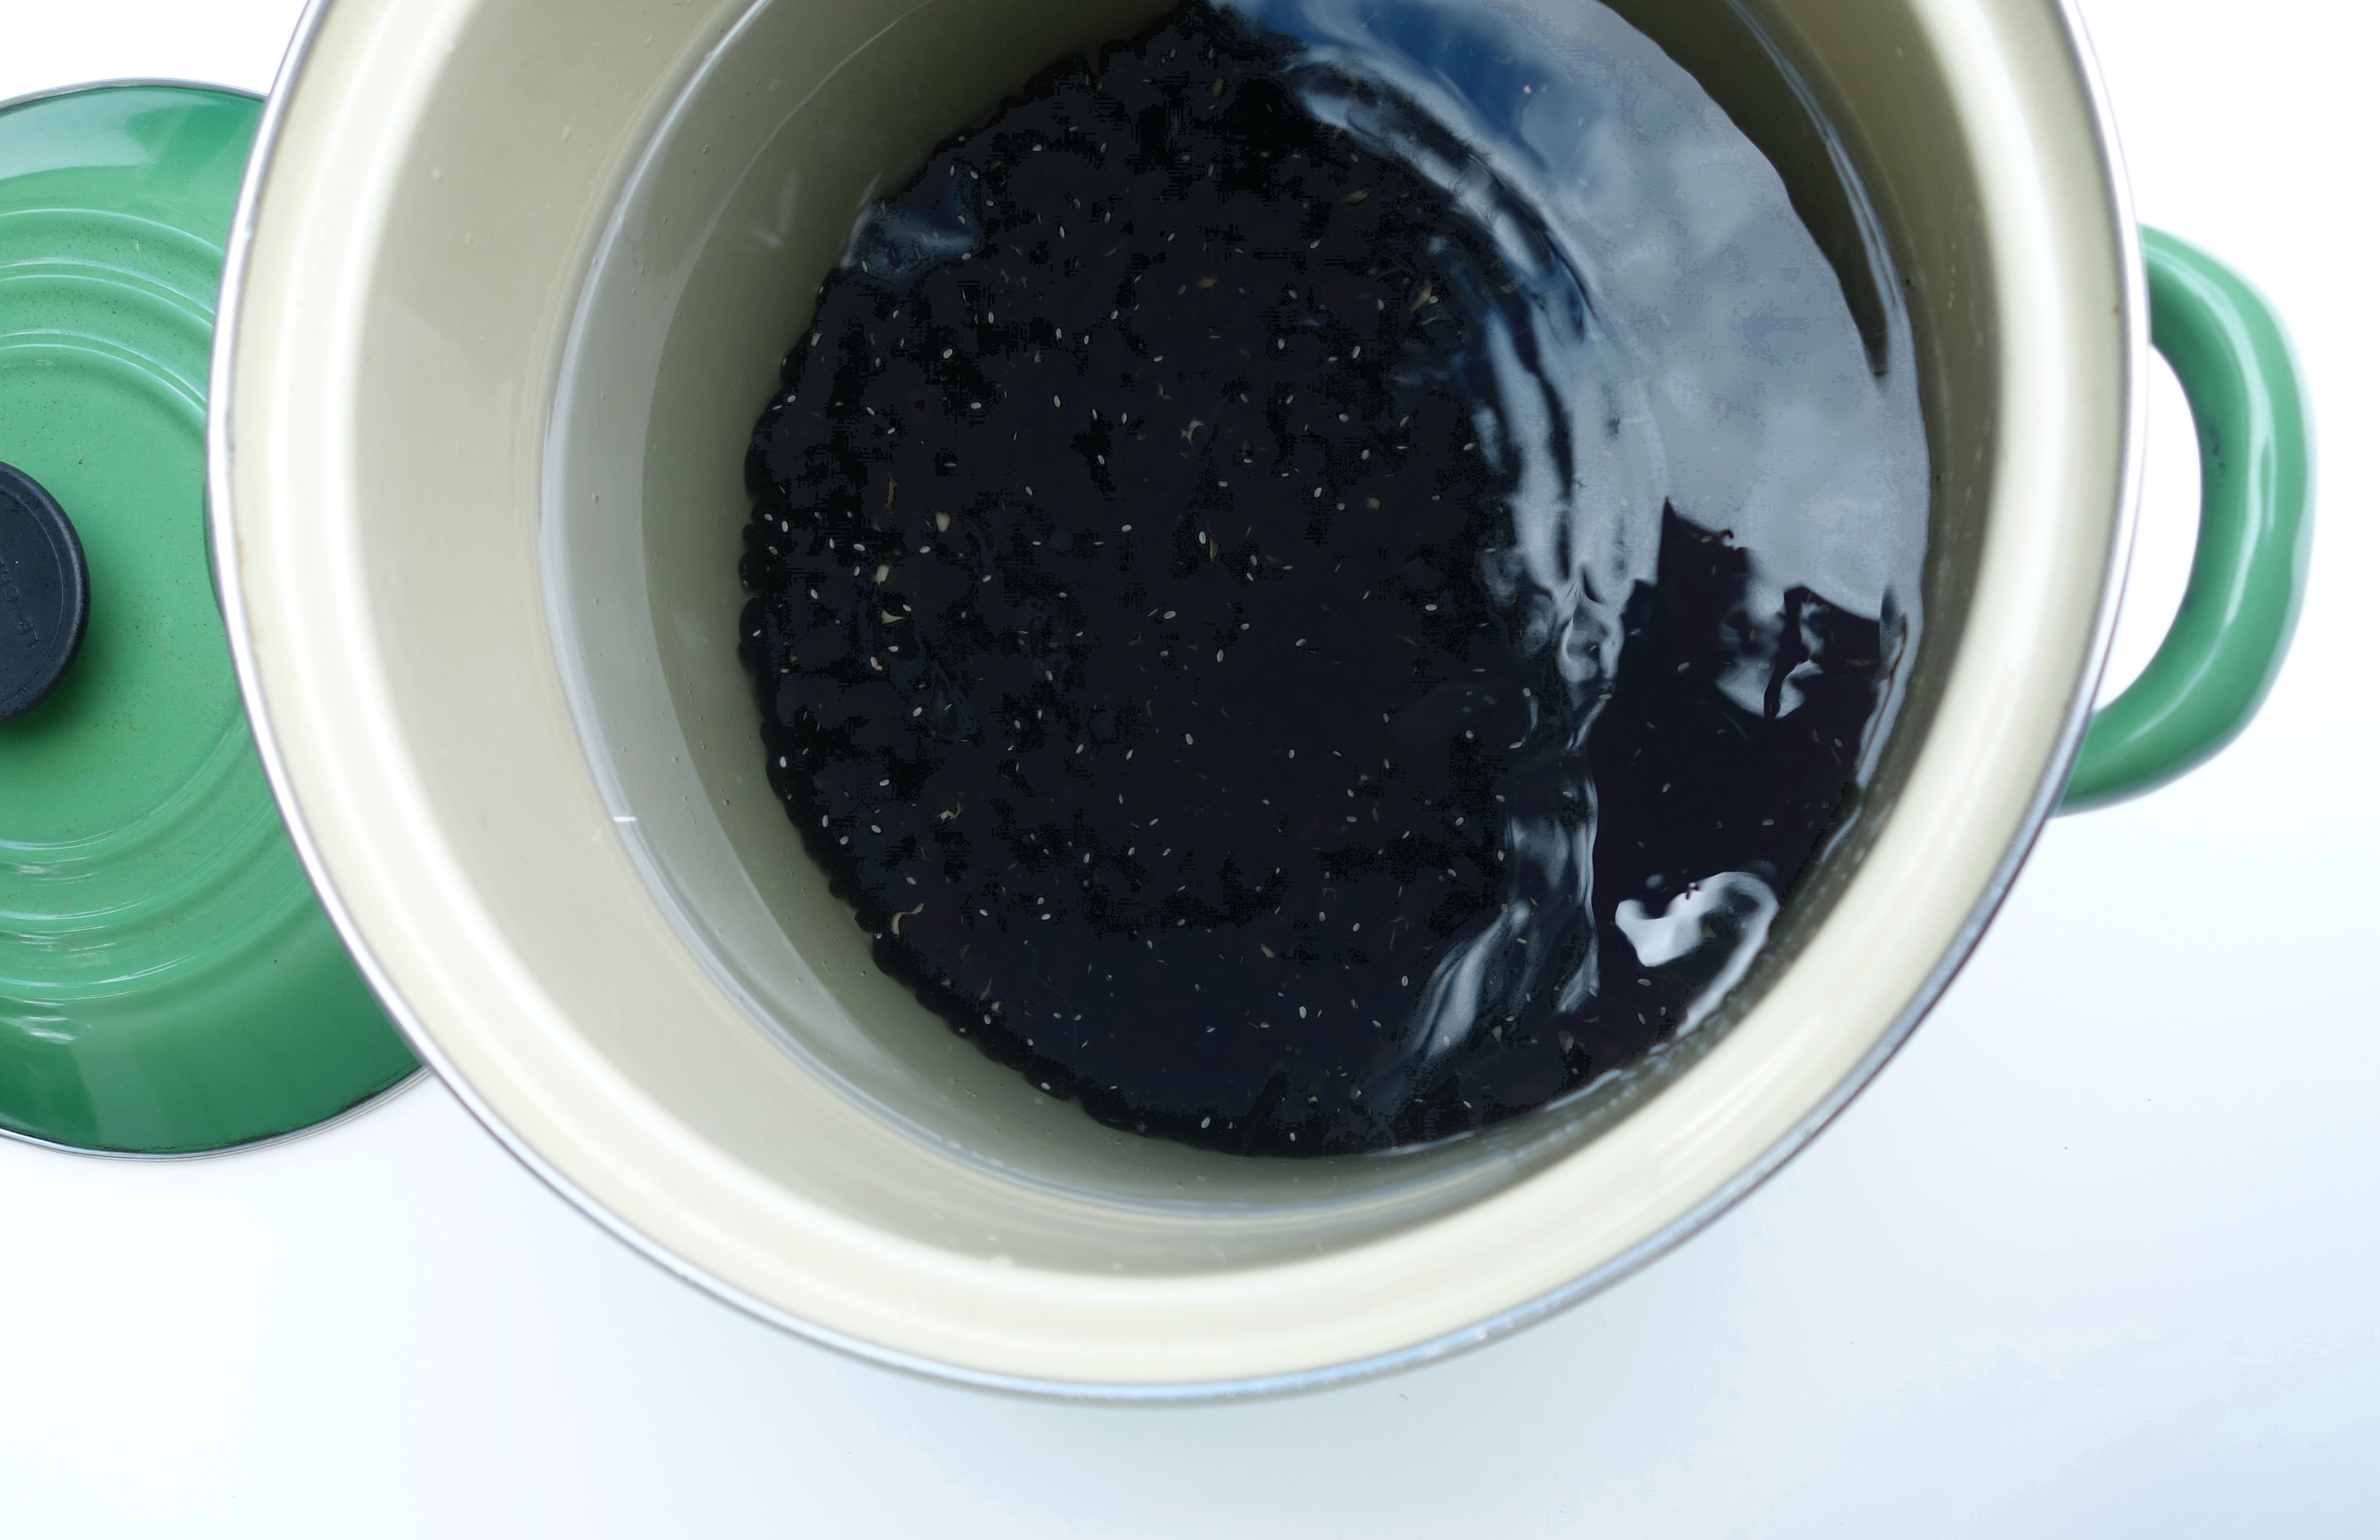
Create shades of blue with black beans.
The leftover water from soaking dried black beans will produce shades from blue-green to blue to lavender. If you’ve ever cooked dry black beans, you will recognize the first steps of this dyeing project.
The leftovers from this project are soaked black beans which are ready to cook and eat. If you plan on eating the black beans as well as dyeing with them (which I recommend!), you will want to do the first part of this project using food-safe containers that are not part of your dye kit. At stage 3, retain the soaked beans and simmer them in a food-use cookpot with water until tender (about 40 minutes).
- In a large pot or container (use something food-safe if you plan on eating the beans later), combine dried beans with water. I used a 1:10 ratio of beans to water. For a darker shade, use more beans and less water.
- Let the bean mixture sit for 22 hours in the fridge, stirring periodically. You will notice the water changes to a beautiful purple color.
- Then, two hours before you plan to separate the beans from the liquid (24 hours after stage 1), stop stirring. Use a ladle to remove the liquid at the top of the container, being careful not to disturb the beans below. The liquid is now ready to dye your fabric, and the beans can be strained and separately prepared to eat in a cookpot.
- Using gloves and a non-food container, mix 2 tablespoons alum with 5 cups warm (not hot) water, combine. This is your mordant bath. While wearing gloves, soak fabric in the mordant bath, then remove and gently squeeze dry.
- Transfer your bean dyebath from step 3 into a dye-only (non-food-use) container, then add your mordanted fabric.
- Let this mixture sit for 24 hours covered, gently stirring periodically.
- Remove fabric and gently rinse then hand wash. Hang dry away from direct sunlight.
I find it thrilling that there is such a wealth of potential in what I’ve been previously tossing into the compost. Sewists approach the world with a curiosity and interest. Now, not only will you ask, “what material is that?” or “how was this constructed?” but also, “can I use this as a dye?”

About the Author
Alyson Provax is a printmaker and experimental dyer in Portland, Oregon. Her prints are available through Uprise Art, and her work is showing at Wolff Gallery in Portland this May-June.