Sign In
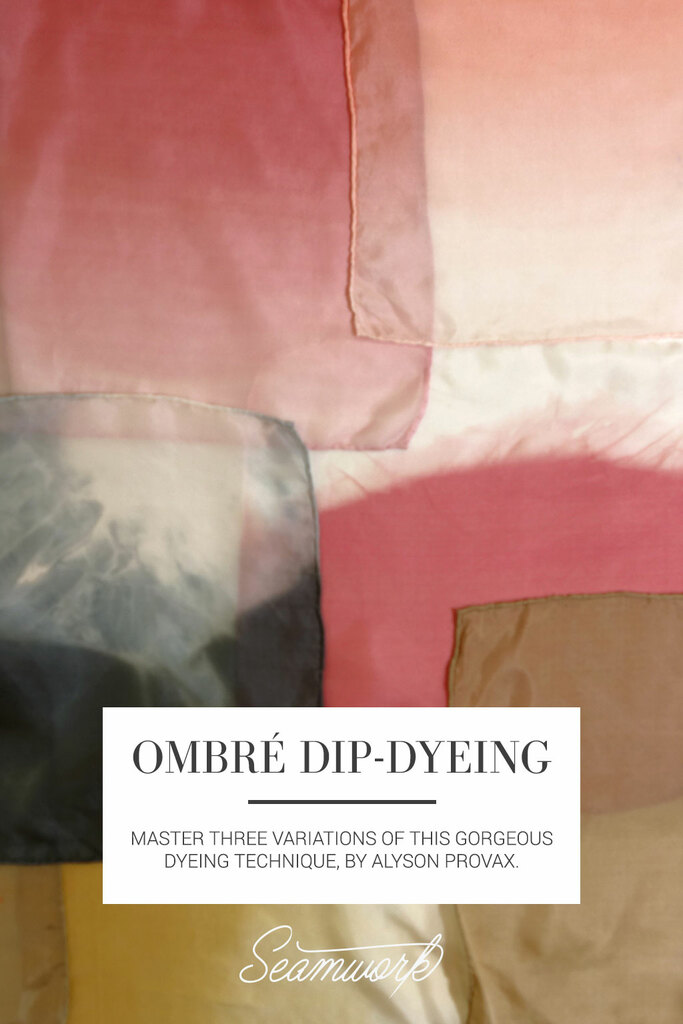
Ombré and dip-dye live in a beautiful, liminal category between patterns and solids. Ombré, or a gradient fade, encompasses many shades of a color all at once. Dip-dye allows for a solid color to fade away with a soft line.
Ombré and dip-dye also make for perfect DIY projects, as you will wield total control over the color and placement of the dyeline or ombré fade. I’ve seen many different ombré tutorials on the internet these days, but each tutorial takes a slightly different approach and ends up with a different result. In this article, I’ll show you three variations on ombré and dip-dyeing, each with different end results, so that you can choose what will work best for your project.
Ombré is a slowly increased dipping technique that I will describe in section one below. This slow process produces a sunrise effect that is soft and subtle. It is also the trickiest of all three of these techniques to master. Although it can be a bit more strenuous to achieve, it’s well worth the effort of doing it right. I advise you to give yourself some practice before jumping into a big project. I suggest starting by ombré dyeing something small for practice, like a scarf. After you get the hang of it, you will have a much easier time with larger projects.
Regarding Color Choice
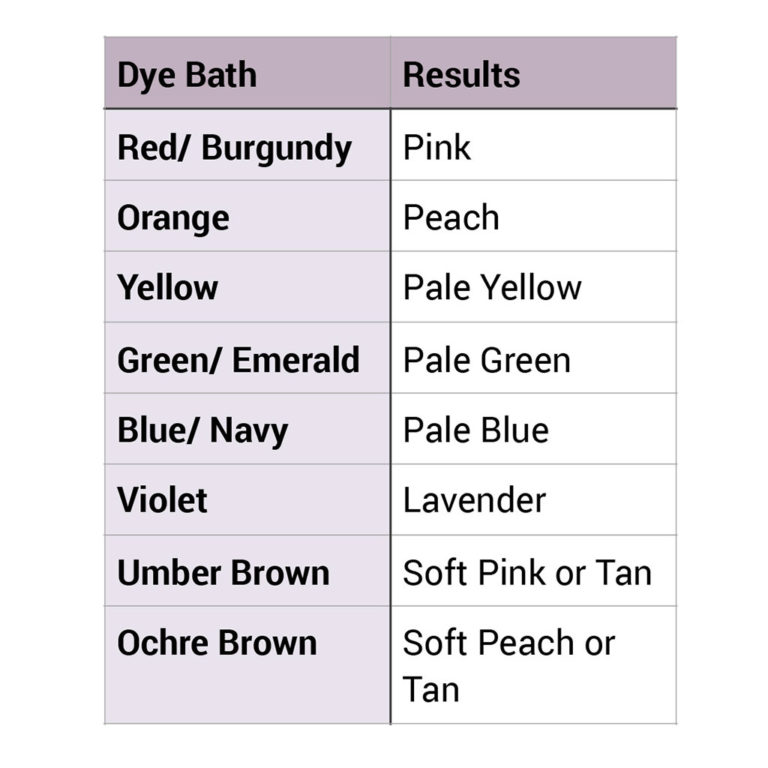
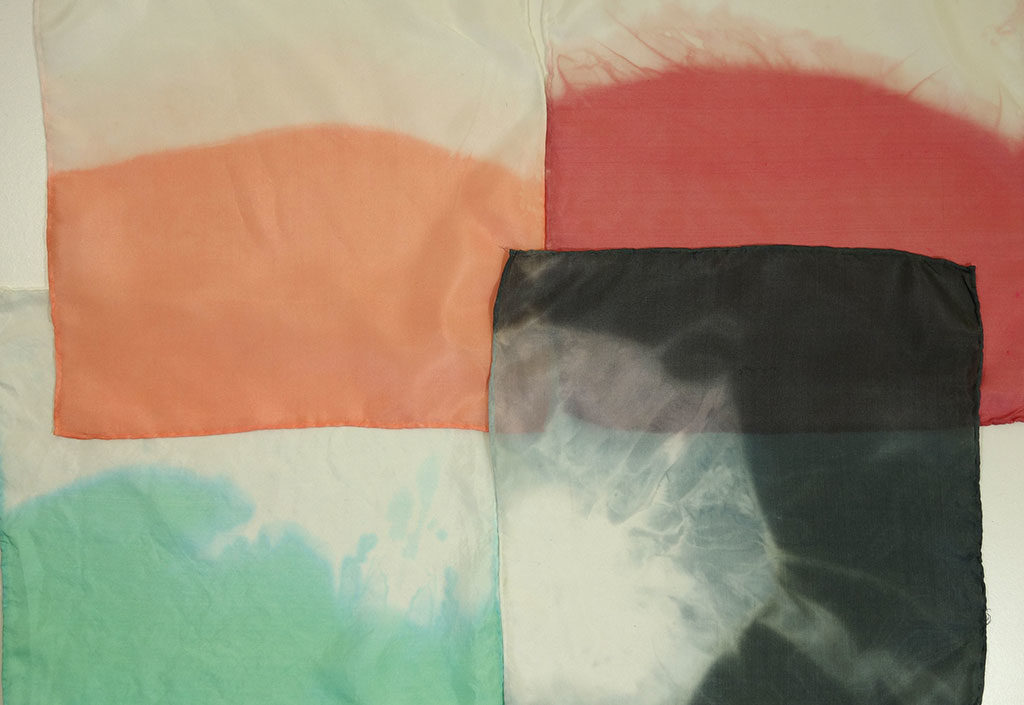
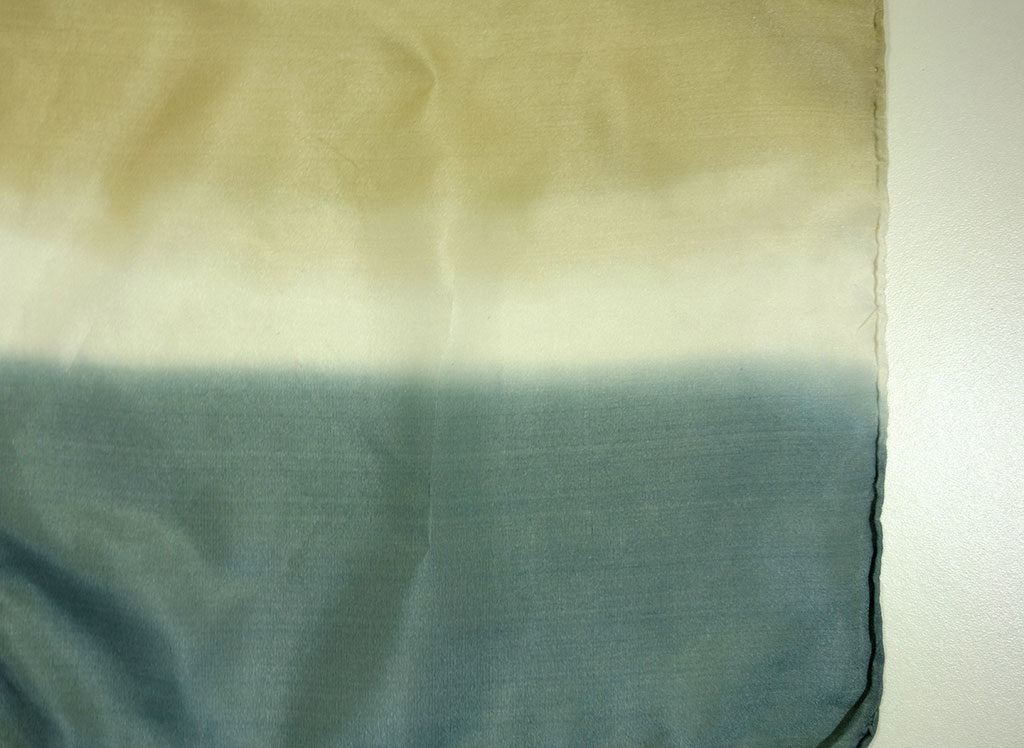
When you're choosing a color for your ombré piece, consider not only the full, darkest shade of the dye, but also the lightest edge. It sounds obvious—and in certain cases it really is—but certain colors created unexpected tints. Many shades of brown will tint pink, and black dye—which, unlike black ink, is made up of a variety of pigments—will often turn blue or purple instead of gray. If you're uncertain about the way a specific dye will fade into its tint, I’d suggest a quick sample on your chosen fabric: just make a mini dye bath and dye a scrap. Be sure to completely wash and dry the fabric to see the final color.
Supplies:
- Dye (I used procion dye)
- Dyer's salt
- Soda ash
- Gloves
- Dust mask
- Plastic spoons
- Fabric (I used silk for the samples, and have also used cotton and linen to great effect. Be sure that your dye matches your fabric content, as wool and polyester require entirely different dyes.)
- Plastic container for the dye bath (you will need a container as wide as your yardage or garment. For big projects, consider designating a large plastic storage bin as your dye bath.)
General Prep
Consider how you want the ombré or dip-dye to look on your finished project. For many projects, it will be easier to dye the finished garment than to dye the yardage. So if you want a dress with the bottom 4 inches dip-dyed or a top-to-bottom ombré shirt, you should construct the garment before dyeing, so that the dyeline will automatically be even across the garment. Of course, you may want to use these techniques to draw attention to an element in the garment (say an ombré patch pocket, or watercolor-dyed raglan sleeves). In that case, plan on dyeing yardage.
Preparing the Dye Bath
Now that you have a plan, wash your fabric or garment so that it is clean of any oils or starch and ready to evenly accept the color of the dye. Put on a dust mask and gloves, and prepare your dye bath according to its instructions. I use procion dyes (I find the colors to be truer to the swatch and often more intense than craft store dyes) but do note this requires mixing dyer's salt and soda ash into the dye bath, as well as the procion pigment (some procion instructions will have you mix the soda ash in at a later stage). Whatever dye you use, make sure to completely mix all of the elements into the dye bath thoroughly before dipping your fabric, for even results.
For this project, you will mix the dyer's salt, pigment, and soda ash into the bath before dipping your fabric. To do this, create a paste from the pigment and a small amount of water. In a separate clear container, mix the soda ash with a cup of water until it is completely dissolved. Then, in a large plastic container, mix the pigment paste, water, and soda ash mixture together.
Ombré Technique
Ombré is soft and ethereal. If you’re looking for a gradient fade, this technique is for you.
Stretch the fabric taut, then dip it into the dye bath slowly and evenly along the bottom edge, starting so that only a very short section of fabric contacts the dye. In order to make sure that you get that dramatic fade, you will be dipping the fabric very slowly—over the course of at least 20 minutes or so.
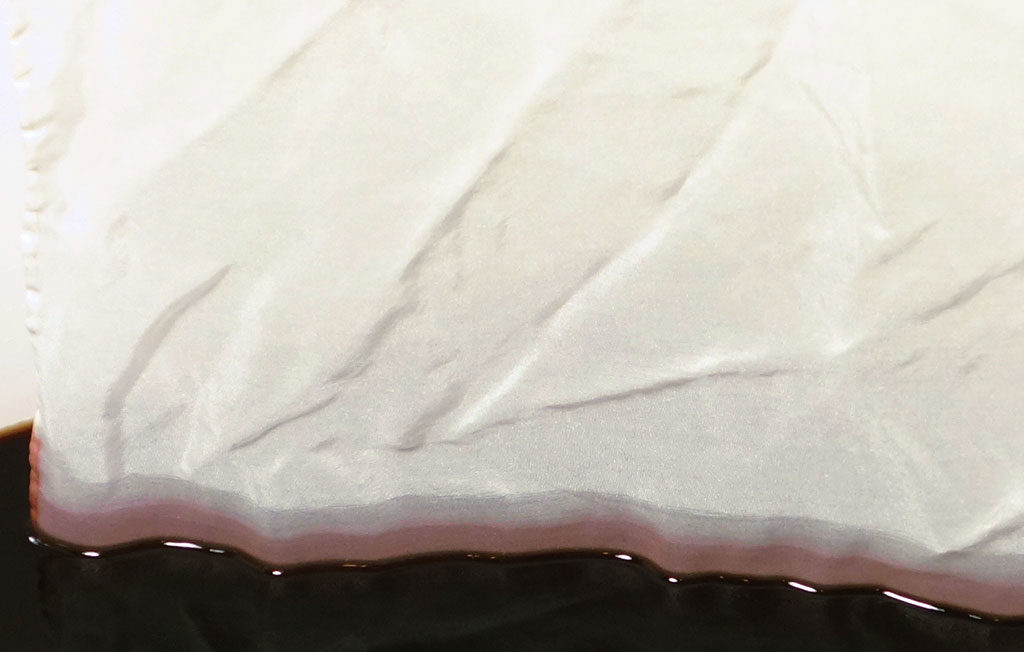
Dip your fabric slowly and evenly, keeping it parallel to the dye bath.
The total time spent dipping should be roughly the same as the total time recommended for a tub-dye to get the full color of the dye at the darkest edge. To get a smooth, line-less fade you must constantly move the fabric across the dye bath, while evenly and slowly adding more fabric into the bath, only a fraction of an inch at a time. The resulting ombré will be visually obvious as you go along, so pull the fabric all the way out of the dye bath occasionally to check on it, adjusting your speed or dip-line if need be.
Do note that once the fabric is fully washed and dried the color will be paler than it appears directly out of the dye bath. Be sure to keep the fabric moving (gently up and down, side to side), as it is stillness that creates lines or blotches within ombré. Of course an uneven look can be very beautiful, too, and if you’re looking to do that deliberately, try Option 2. At the very end of the process, when you have only a half-inch or inch of fabric outside the dye bath, finish by dipping that last edge of the fabric into the dye bath briefly before removing the fabric. Rinse out the dye, then wash and dry normally.
Watercolor Technique
A soft, watercolor-like version of dip-dye with many varied results.
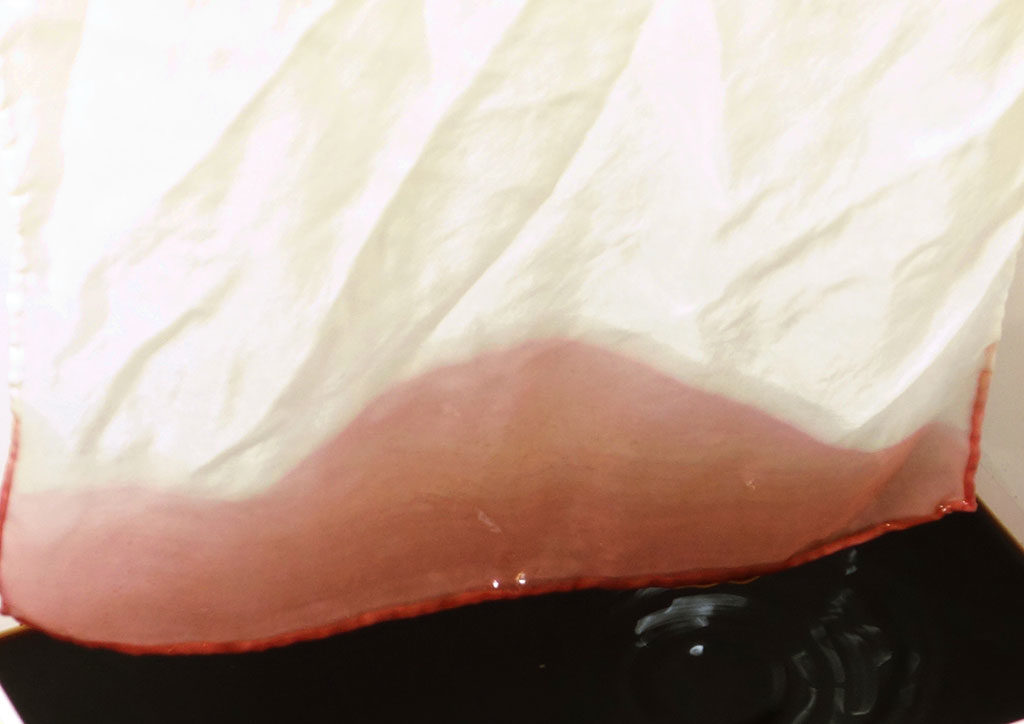
Wet your fabric, then submerge it into the dye bath only up to the point where you want the solid color to end, letting the remainder hang off the lip of the bath. If you feel inspired to splash a little dye from the bath onto the fabric, go for it—this will give the pattern even more erratic goodness.
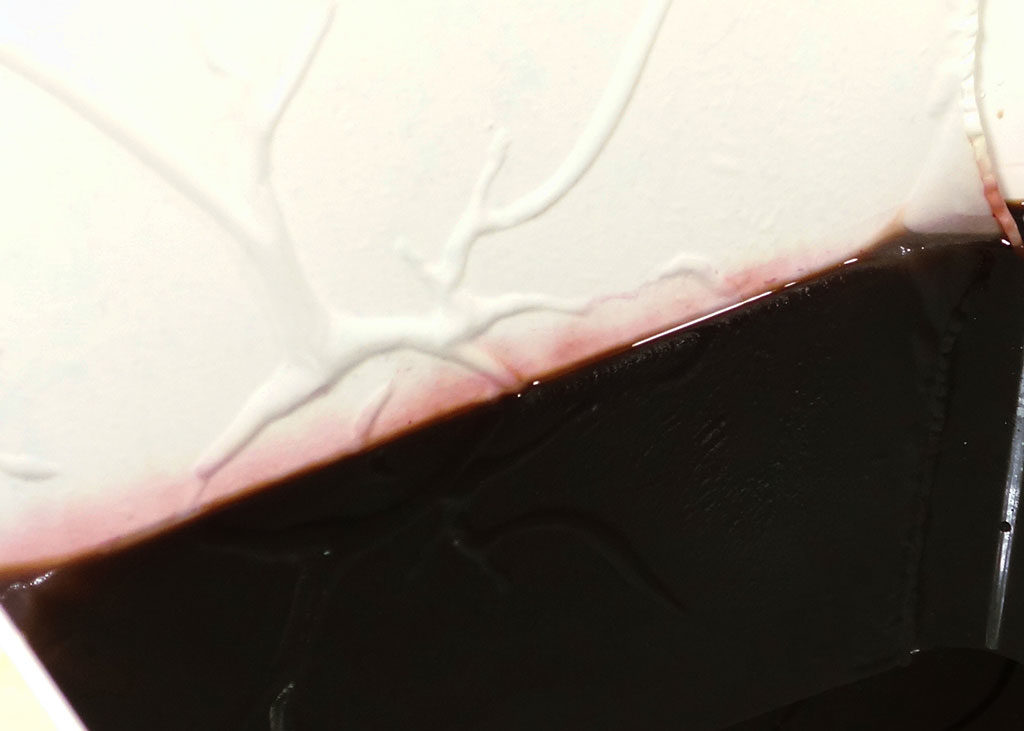
An example of the fabric flattened against the edge of the dyebath (left) and bunched up (right). These choices will result in entirely different patterns on your finished piece.
If you want your results to be more erratic, bunch up the fabric like a ponytail instead of dipping it along an even line. Alternatively, flattening the fabric against the edge of the dye bath container will also produce more irregularities in the finished yardage. Wait the specified time for a tub-dye (I usually wait 20 minutes or so). Periodically you should gently agitate the fabric in the dye bath to make sure the full-color portion dyes evenly.
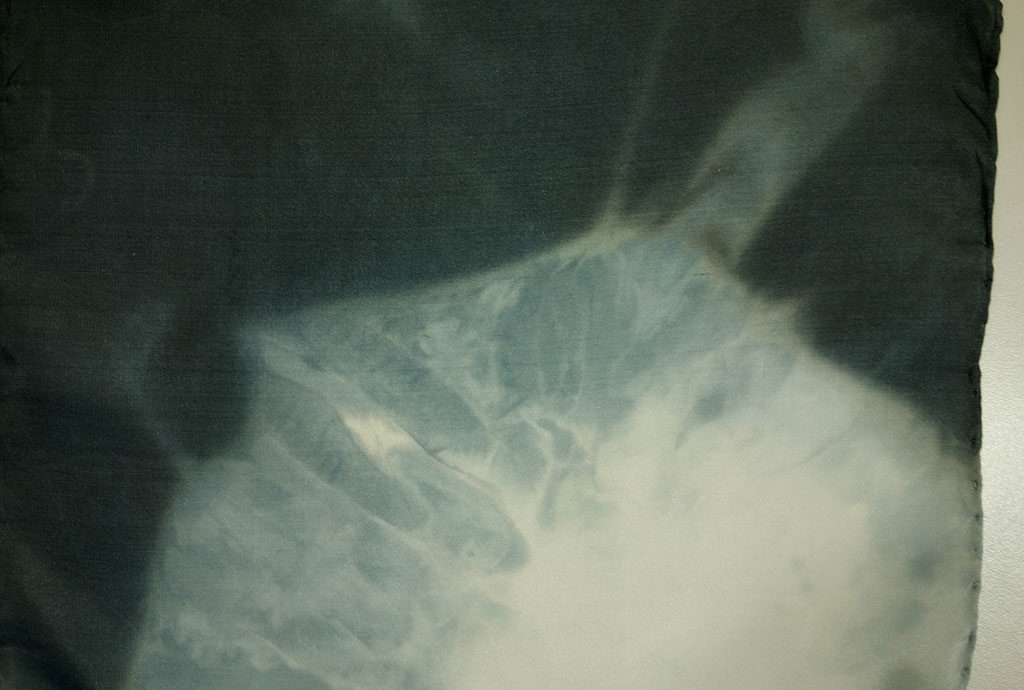
A closeup of a jellyfish-like variation.
Then remove the fabric by carefully pulling it out of the dye bath straight up, holding the un-dyed portion of the fabric up while you rinse it (i.e., rinse the dye down along the fabric that was dyed, not up through the un-dyed portion). This will help to avoid dye spots on the un-dyed portion of the fabric. After rinsing, wash and dry your fabric.
Dip-Dye Technique

Dip-dye creates a simple, two-tone look with a soft line where the dye color meets the un-dyed fabric. This detail looks lovely placed along the hems of blouses and dresses.
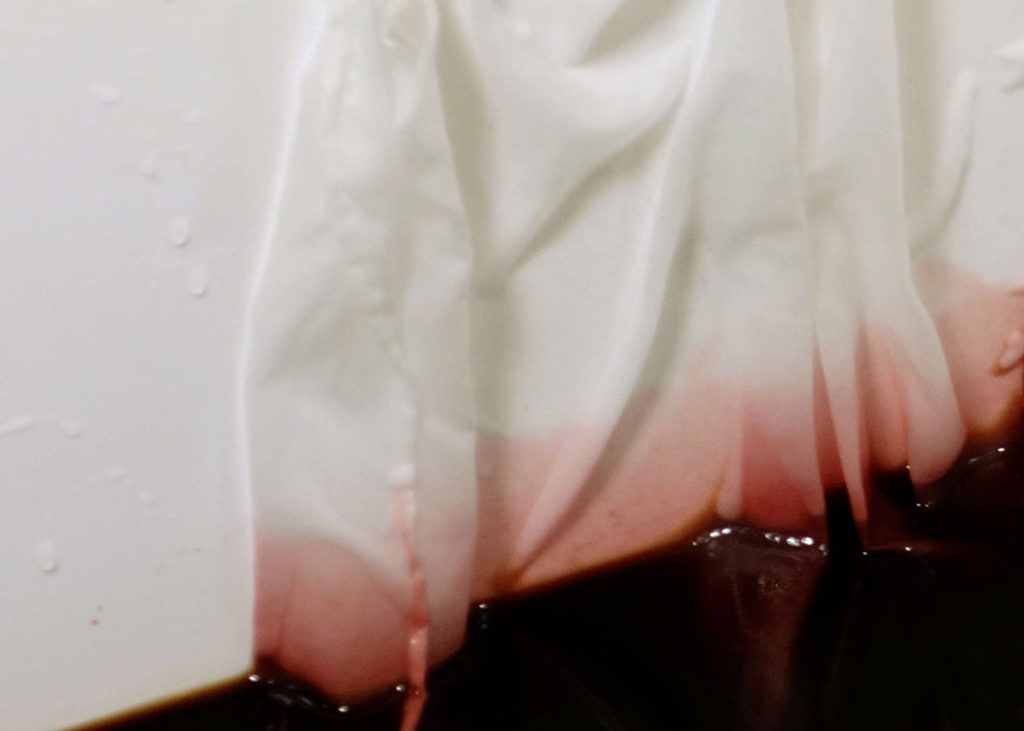
Using clean, dry fabric, submerge yardage into the dye bath only up to the line that will become your dye-edge. Suspend the remainder of the fabric vertically above the bath, not letting the undyed portion touch the edge of the dye bath. Keep in mind that the line of color will mirror how the fabric is contacting the dye bath. If you want a straight line, be sure the fabric is evenly stretched and meets the dye bath consistently in a straight line. If the fabric is bunched up and meets the dye bath in a sort of wiggle, your dye line will also wiggle.
Bunched fabric results in an uneven dye-line: beautiful if intentional, frustrating if unintentional.
Periodically you should gently agitate the dyeing fabric to prevent uneven color. Leave it in for the amount of time specified for a tub-dye. Next, carefully lift the fabric from the dye bath and rinse it by wetting from the top (un-dyed) area down, so as not to dye the un-dyed portion.
A variation on this technique is to repeat the instructions above with a different color dye on the un-dyed portion of the fabric, leaving a small line of un-dyed fabric between the two colors.
Like most fiber-based projects, the results and opportunity for customization are limitless. Play with placement when cutting your fabric. Ombré, watercolor, and dip-dye are simple, beautiful techniques that can be enhanced by details such as gathers and pleats. Garments like Ginger that feature a bias cut and a center front seam can be used to create a chevron-like effect. With a bit of planning and dye-mixing, you can create a completely unique garment with a couture touch.

About the Author
Alyson Provax is a printmaker and experimental dyer in Portland, OR. Her prints are available through Uprise Art. Find her at alysonprovax.com.