Sign In
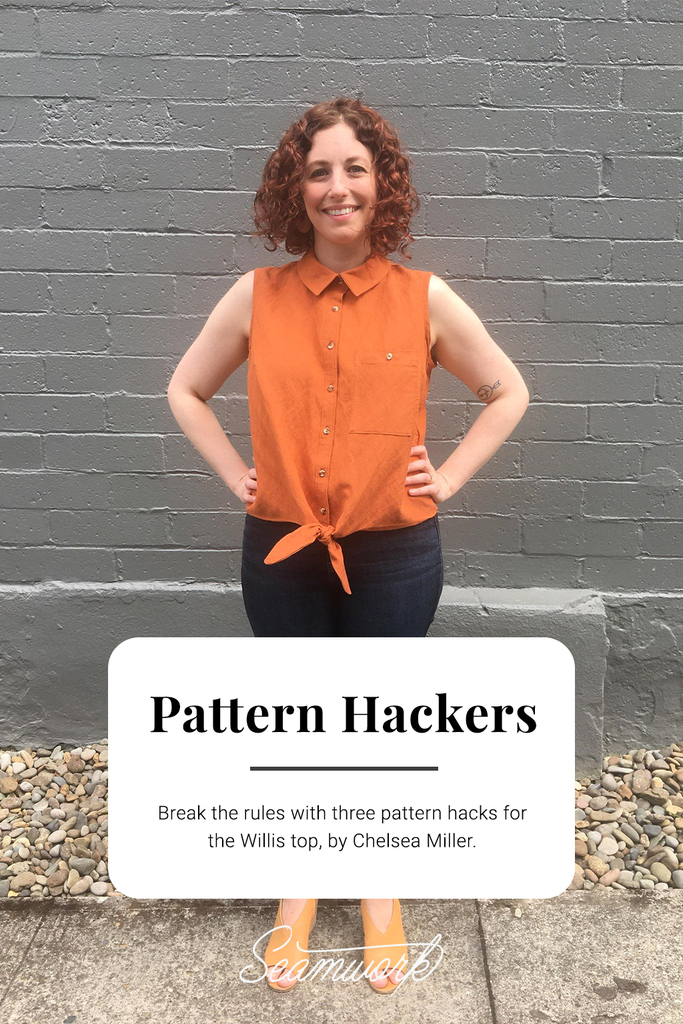
Everyone knows that sewing gives you superpowers. First on that long list is the ability to break the rules and make garments that represent you and your taste. We want to encourage you to think of our patterns as a blank canvas that you can customize to truly suit your style.
Our pattern hacks are designed to teach you hacking basics that help you customize patterns so that you can become a confident pattern hacker. Each month, we will show you how to draft and sew one new pattern hack, and we’ll share links to two additional pattern hacks from our pattern hacks library.
These hacks help you give your Seamwork patterns a custom spin—all you need is paper, a ruler, and a pencil!
This month our featured hack is a personal favorite of mine—a waist tie detail! I’ve been a big fan of front ties on my tops lately and can’t wait to show you how it’s done.
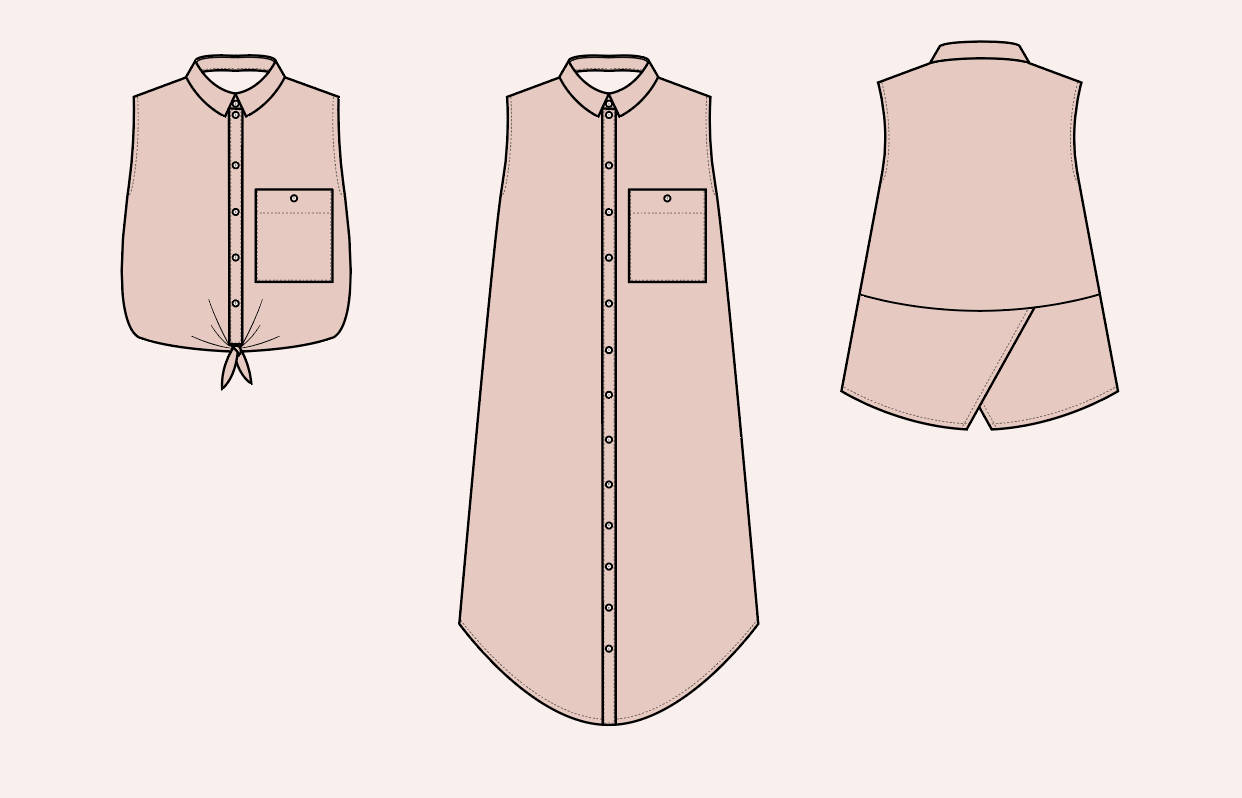
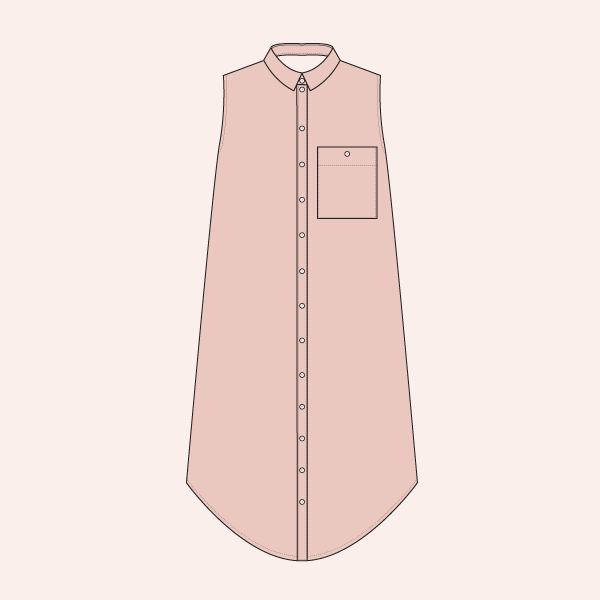
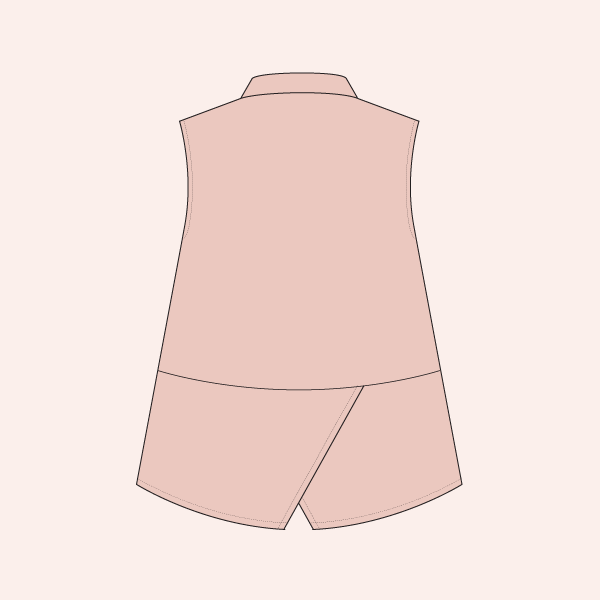
Our other hacks this month include lengthening the Willis top into a shirtdress and creating a cross-over peplum.
Note: For best results, be sure to make any necessary fit adjustments before hacking your pattern.
HACK ONE: Waist tie
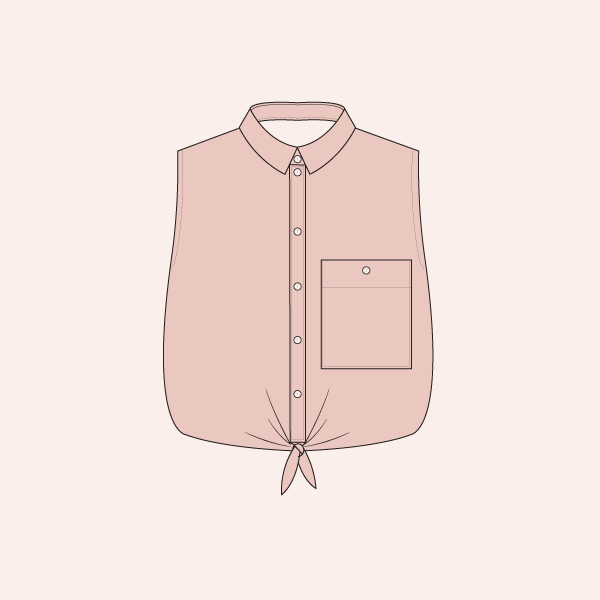

In this hack, learn to draft tie pieces with a facing that easily sews into the side seams and placket.
DRAFTING INSTRUCTIONS
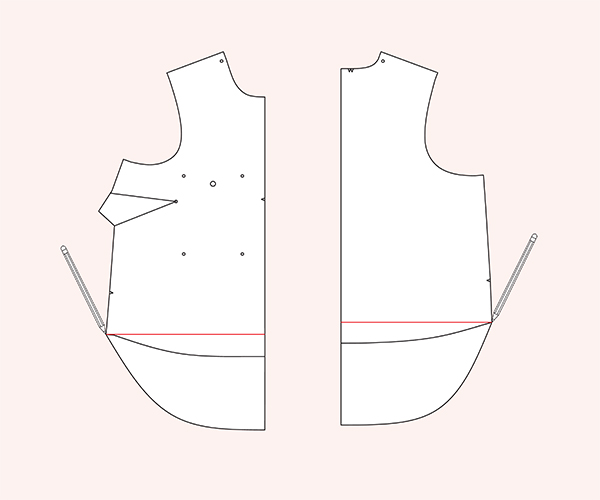
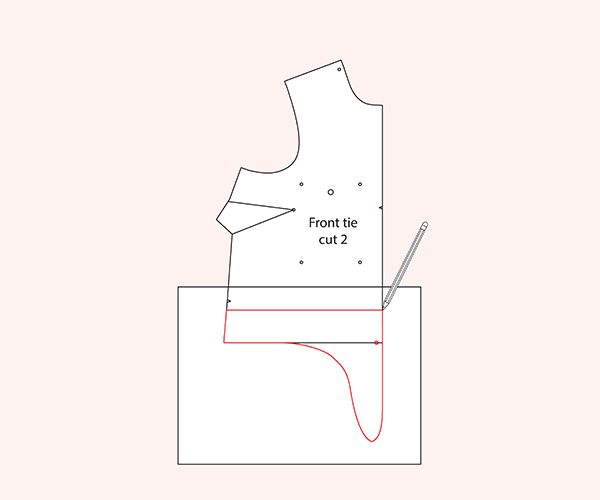
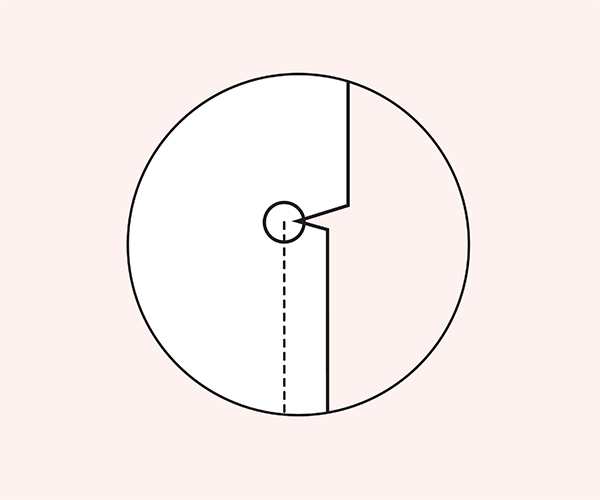
Use a ruler to draw a line from the side seam to the center of the front piece to create a straight hem. Cut off the portion of the piece under the line. Repeat for the back piece and set the back piece aside for now.
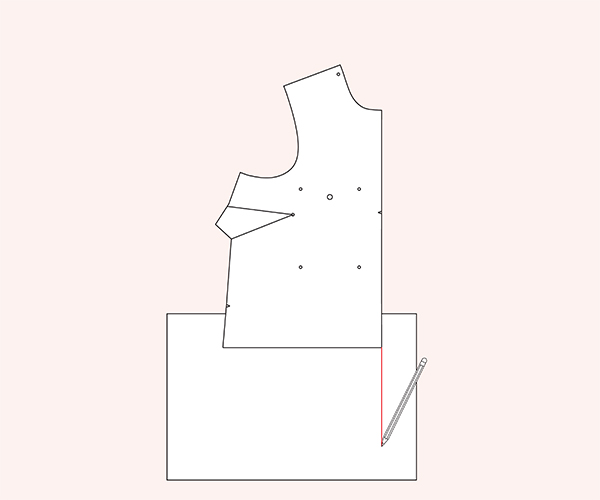
Tape a piece of pattern paper under the front piece. Draw a line extending down from the center front. This line will be the length of the tie. I drew 9” for my tie.
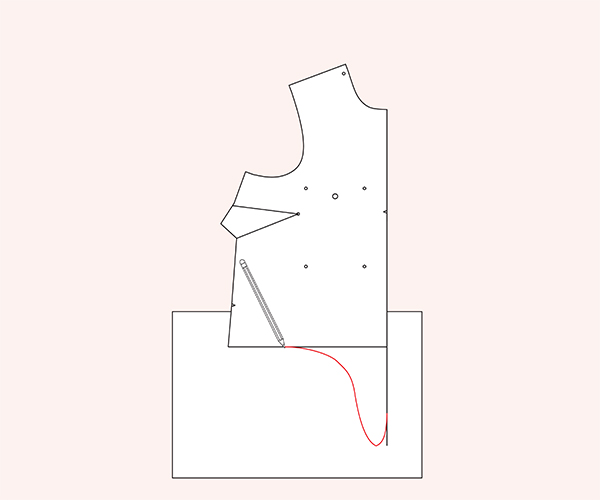
Draw the shape of your tie piece. I drew a slightly pointed cone shape, but you can make any shape you would like. Blend your tie shape into the hem of the front. You can gently blend with a curved ruler like I did, or you can draw a line straight up to the hem with your ruler. You can also blend the tie shape into the line you made in step 2, if you would like. The width measurement can also be for you to decide (mine was about 3”). The tie shape is truly up to you! You can even draw out a few different shapes and see what you like best. The seam allowance will already be included in your tie shape.
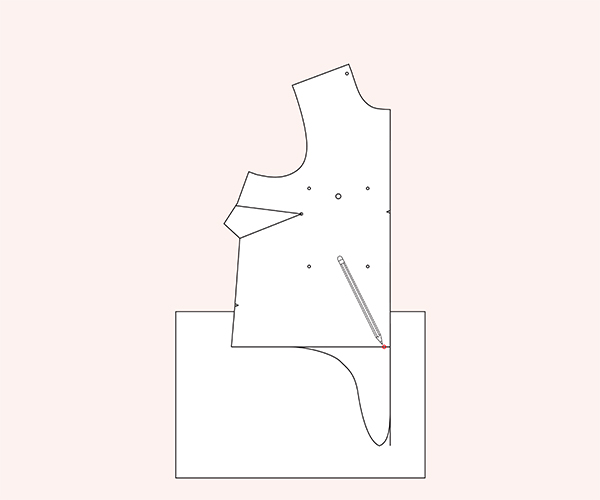
Make a circle marking at the top of the tie piece, 3/8” (10 mm) in from the center front.
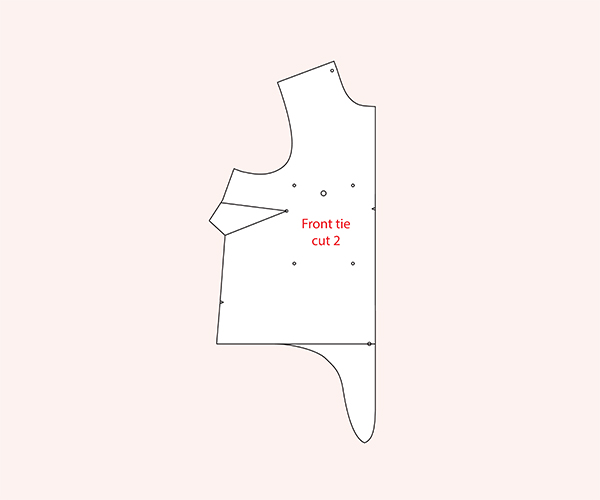
Cut out the new pattern piece. Label this piece as “Front tie, cut 2”.
Use some tracing paper to trace out the front tie facing. Place the tracing on top of the tie portion of the front tie piece. Trace the tie shape and a few inches above it. I recommend making the facing at least 2” (5 cm) – 3” (7.6 cm) tall from the top of the tie. Make sure to include the circle marking.
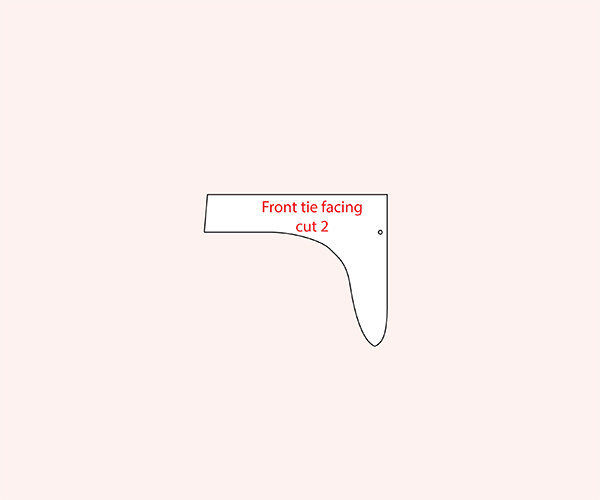
Cut out the front tie facing piece. Label this piece “Front tie facing, cut 2”. You can also add a note to include interfacing for the facing pieces if your fabric has a lighter weight.
SEWING INSTRUCTIONS
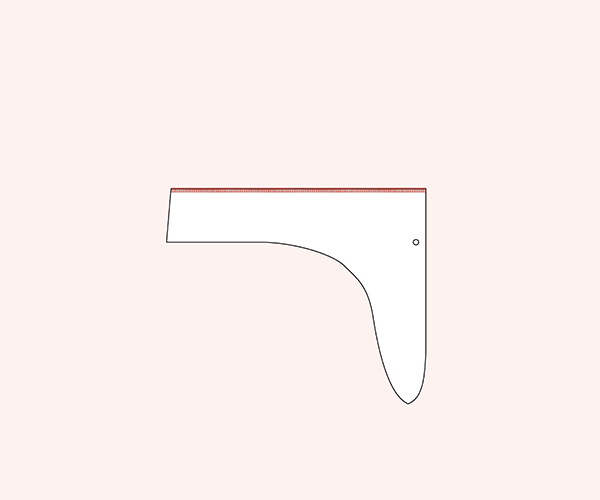
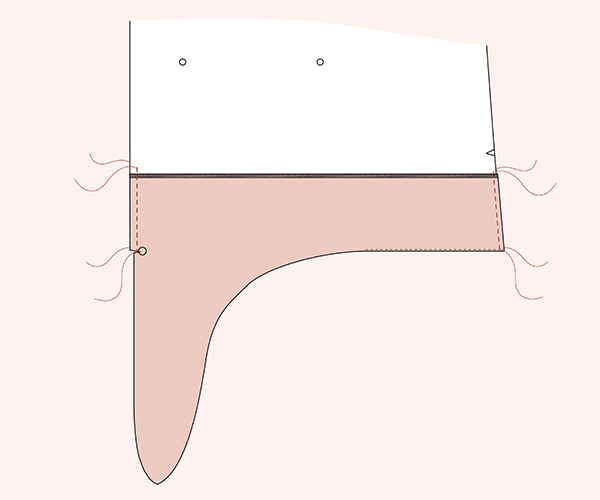
Finish the top, long edge of the front tie facing piece with a serged edge or folding the edge to the wrong side and topstitching in place. Repeat for the second front tie piece.
Hem the back piece according to the instructions (1/4” + ¼”).
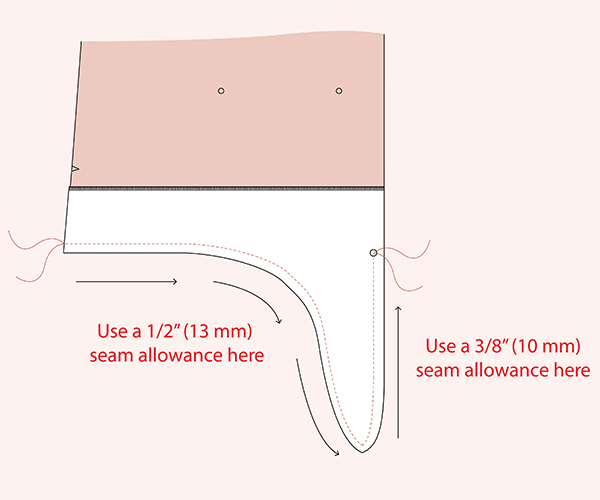
With right sides together, match one front tie facing piece to one front piece. Pin. Stitch the front tie facing to the front, using a 1/2” (13 mm) seam allowance along the long edge. Switch to a 3/8” seam allowance (10 mm) when sewing around the actual tie portion. End your stitching at the circle marking.
Trim and grade the seam allowances.
Clip to the circle marking, being careful not to clip past the stitching.
Turn the front right side out, pressing the front tie facing in place.
Understitch from the side seam to as close as you can to where your tie begins. This will help keep the facing in place.
Sew the side seams and assemble the plackets according to the instructions.
Baste the front tie facing at the side seam and above the clipping on the center front with a seam allowance of ½” (13 mm).
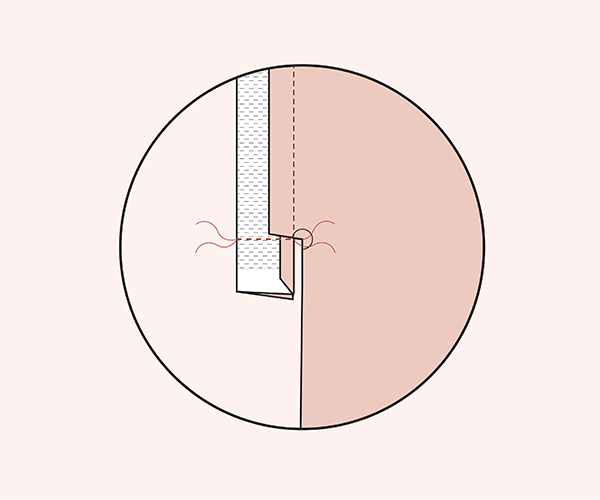
Sew the plackets to the front. When stitching the bottom of the placket together, make sure to stitch right across at the same level as the tie. Do not stitch onto the tie, just the placket.
Trim and grade the placket, turn right side out. Bring the fold of the placket to the inside to cover the seam line, including the front tie facing.
Finish constructing the top according to the instructions.
HACK TWO: Lengthen into a dress
HACK THREE: Cross-over peplum

Chelsea Miller
Technical Illustrator
When she isn't pattern hacking, Chelsea is drawing step-by-step pattern instructions in Illustrator. As the Technical Illustrator here at Seamwork, she loves to make our instructions easy to follow and fun to read.