
Patternmaking can seem like this really intimidating skillset. But you don’t have to draft an entire pattern from scratch to explore these techniques. Simple tweaks and adjustments can completely change the look of a pattern. You also don’t need to be a patternmaker to hack a pattern—they are supposed to be fun experiments that will help you create something unique to you!
Pattern hacking helps you get more out of a single sewing pattern. Think of the pattern as a roadmap—you can take more than one route to get to the destination, and the pattern is there to give you the lay of the land.
In this month's pattern hack, I will show you how to draft three functional and fashionable patch pockets. We’ll start with a simple rectangular patch pocket, and then I’ll show you how to transform its shape and add a pocket flap.
You can use this hack with almost any pattern. Patch pockets are a great way to add a pocket to an otherwise pocket-less pattern, and they’re an eye-catching design detail.
Drafting a Classic Patch Pocket
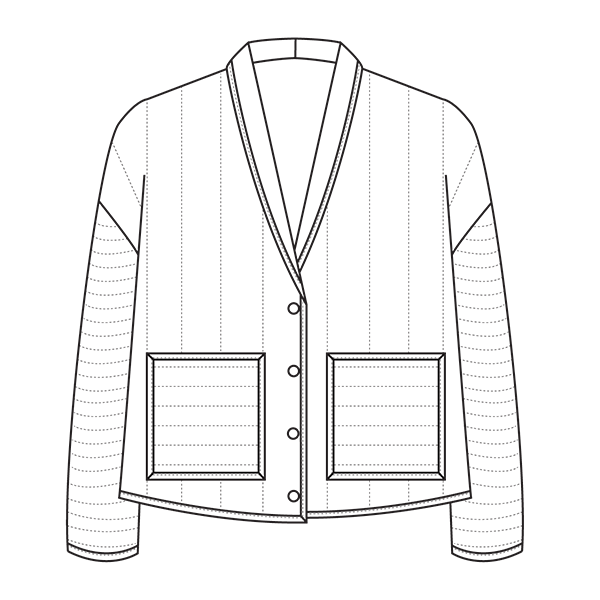

A functional patch pocket needs to consider two essential things—your hand plus whatever you’d like to store in your pocket, like a phone or wallet.
Begin by measuring the width of your hand and the dimensions of your phone (or another item).
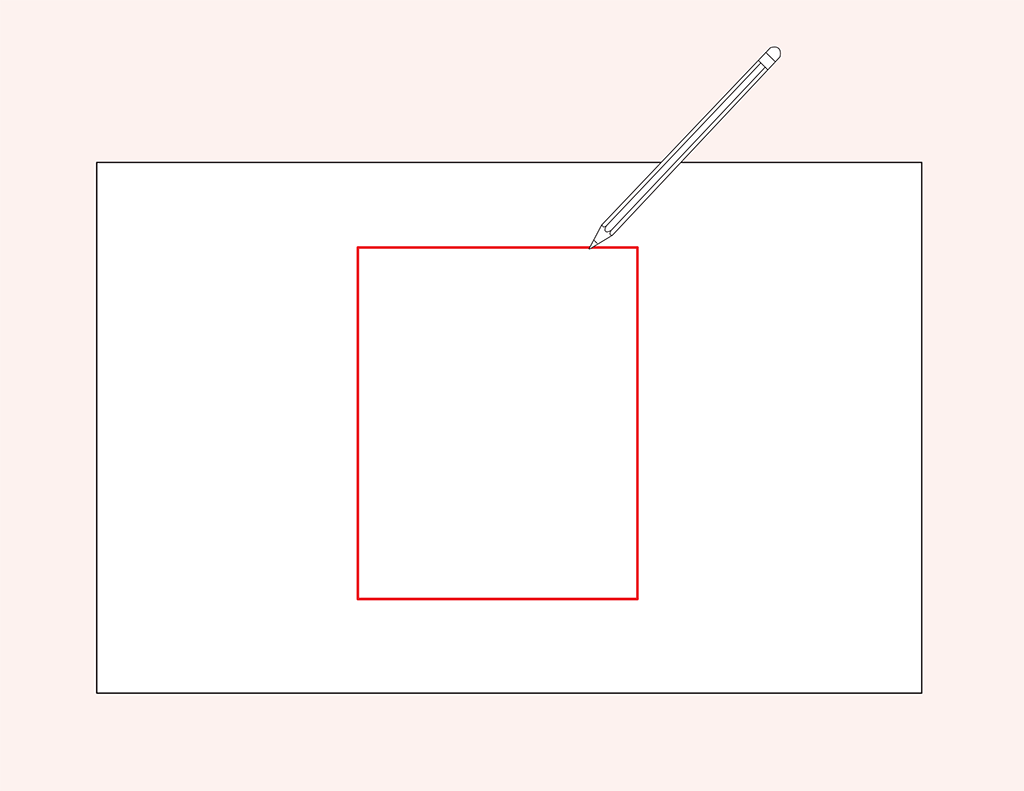
Draw a rectangle that is the width of your hand plus 1 inch by the length of your phone plus 2 inches. This shape represents the smallest finished measurement that would work for a functional pocket.
TIP: Use oak tag or cardstock to create a pocket template using these dimensions. It serves as the perfect jumping-off point for all patch pockets.
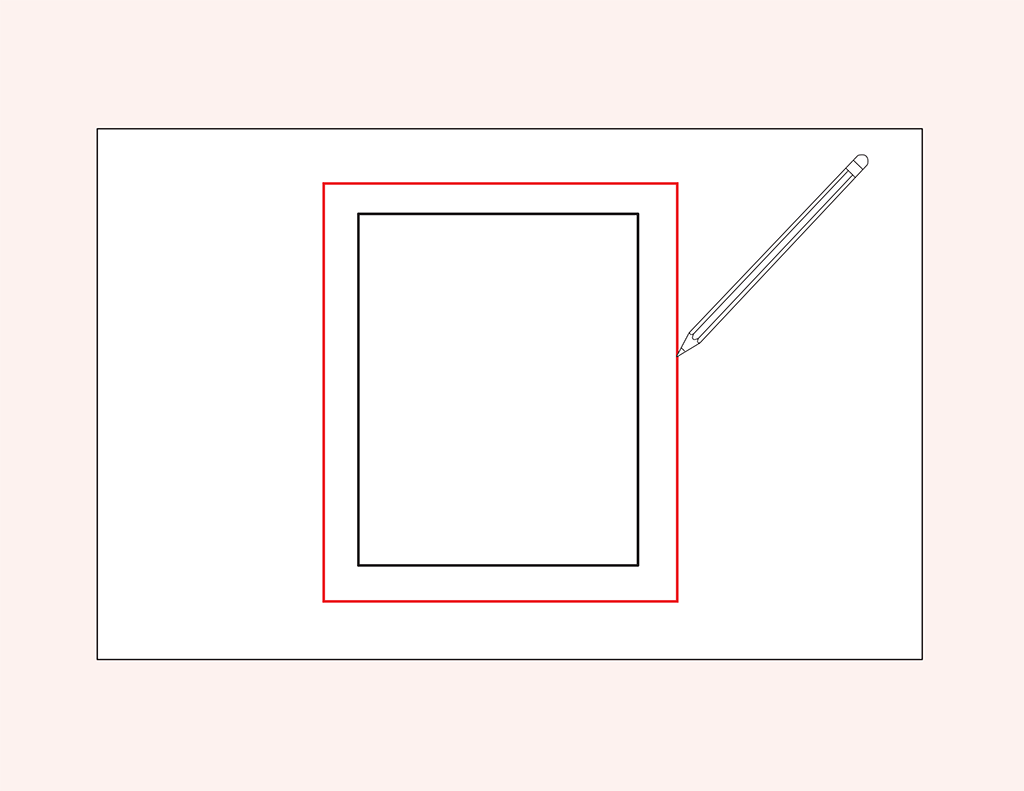
From here, you can add length and width to create the size rectangle that suits your project. You can cross-check the scale by cutting out the pocket shape and placing it on the corresponding pattern piece.
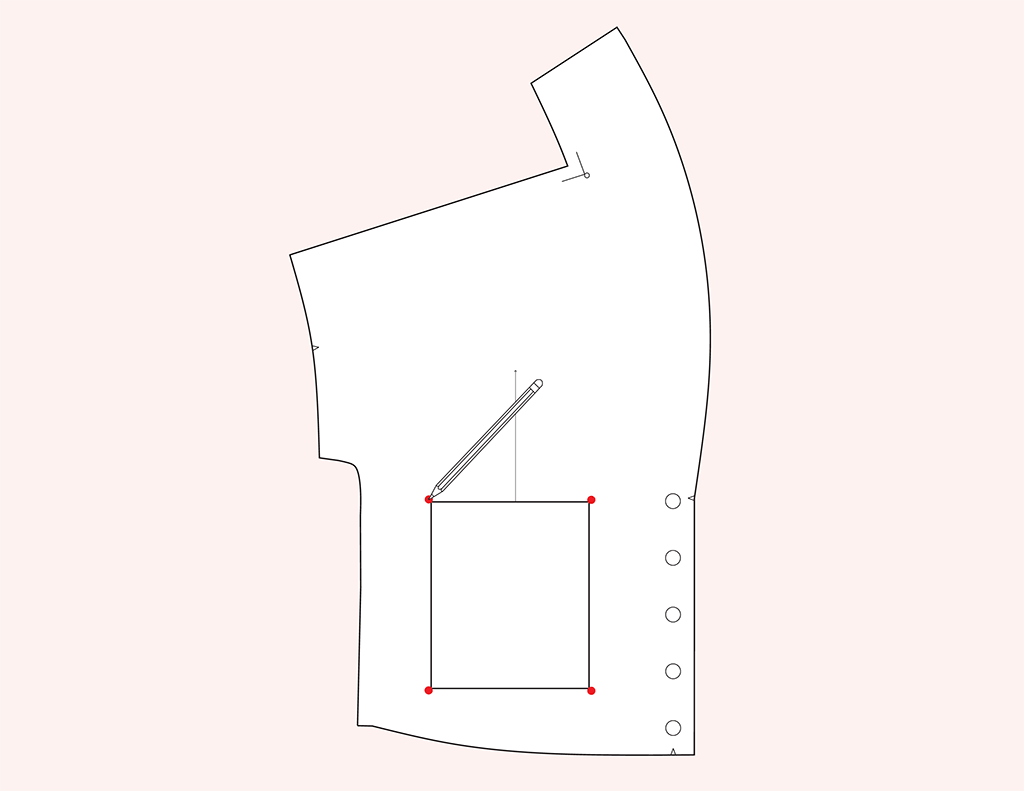
Once you are happy with the pocket size, place the pocket on the corresponding pattern piece and draw placement markings to help you position the pocket later on when you are sewing.
Next, add seam allowance to your pocket. For most projects, you can use 1 1/4 inch along the top edge and 1/2 inch along all others.
Drafting a Curved Patch Pocket
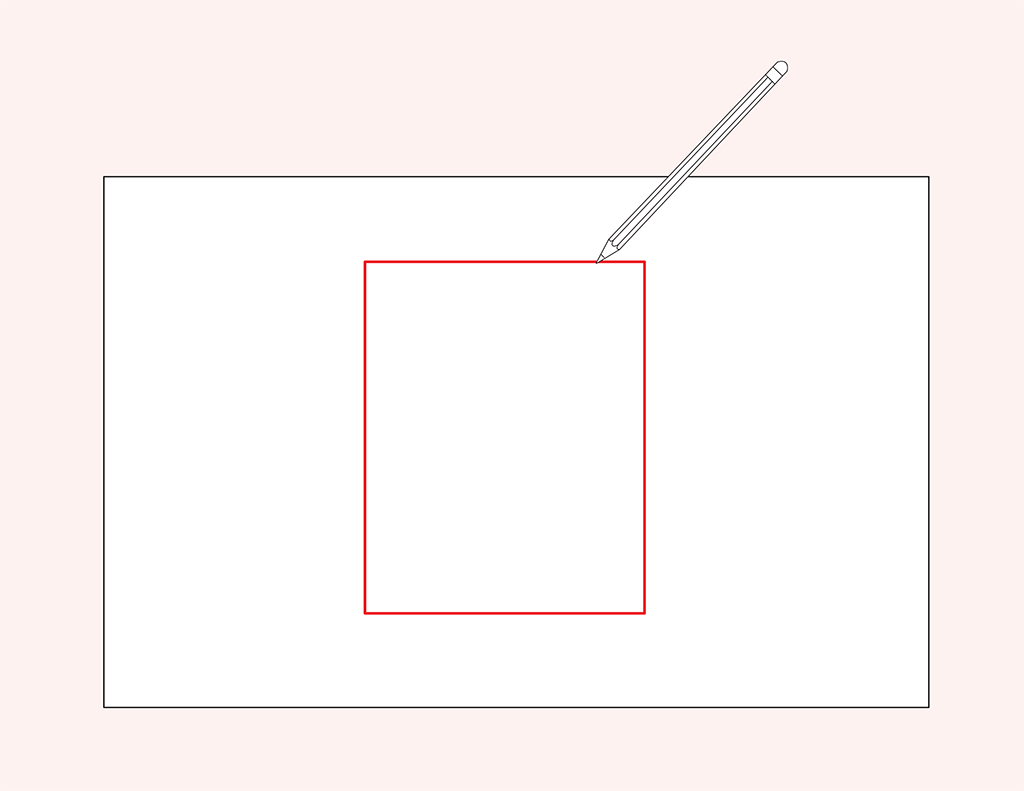
Trace your pocket template onto a fresh piece of pattern paper.
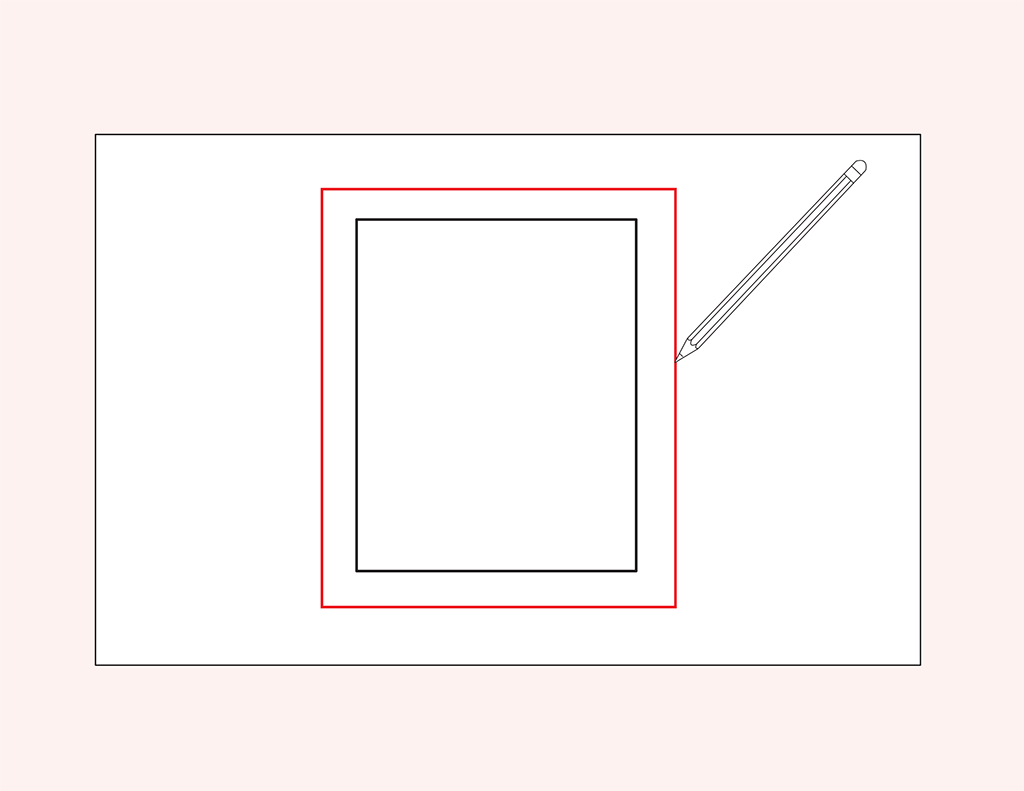
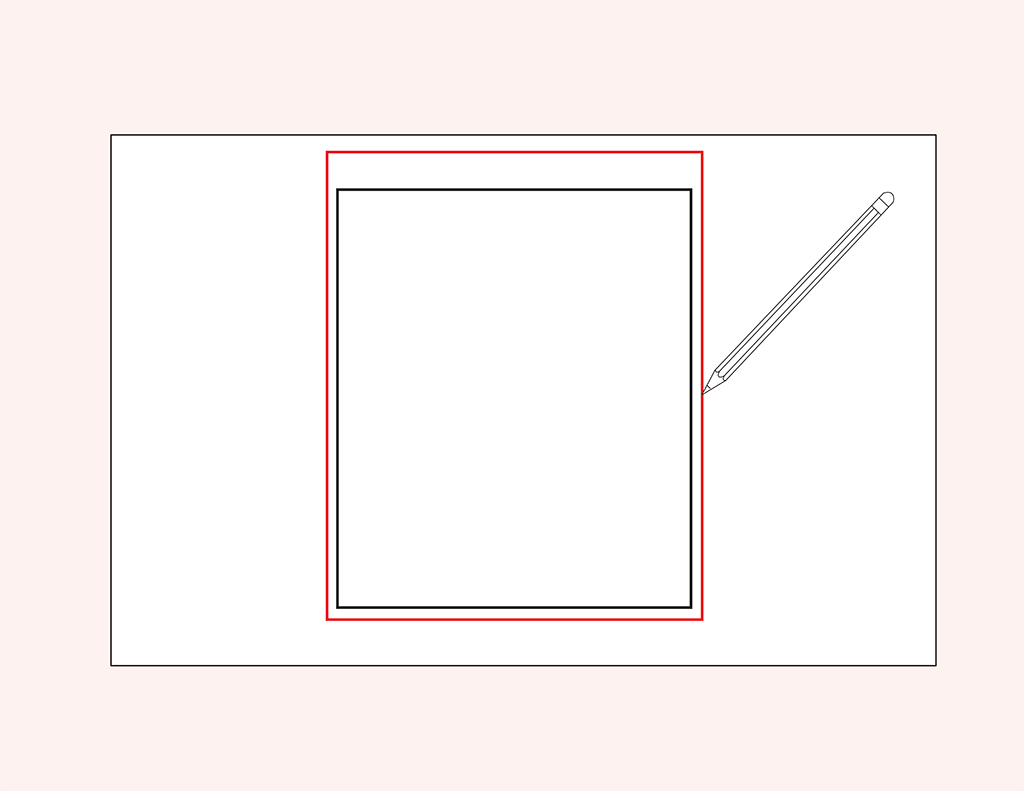
Centered over your template shape, draw a second rectangle that represents the outermost border of your pocket. Again, you can cut this shape out if you would like to check the scale against the corresponding pattern piece. These two rectangles will help ensure that your pocket is large enough to be functional and keep the scale fixed.
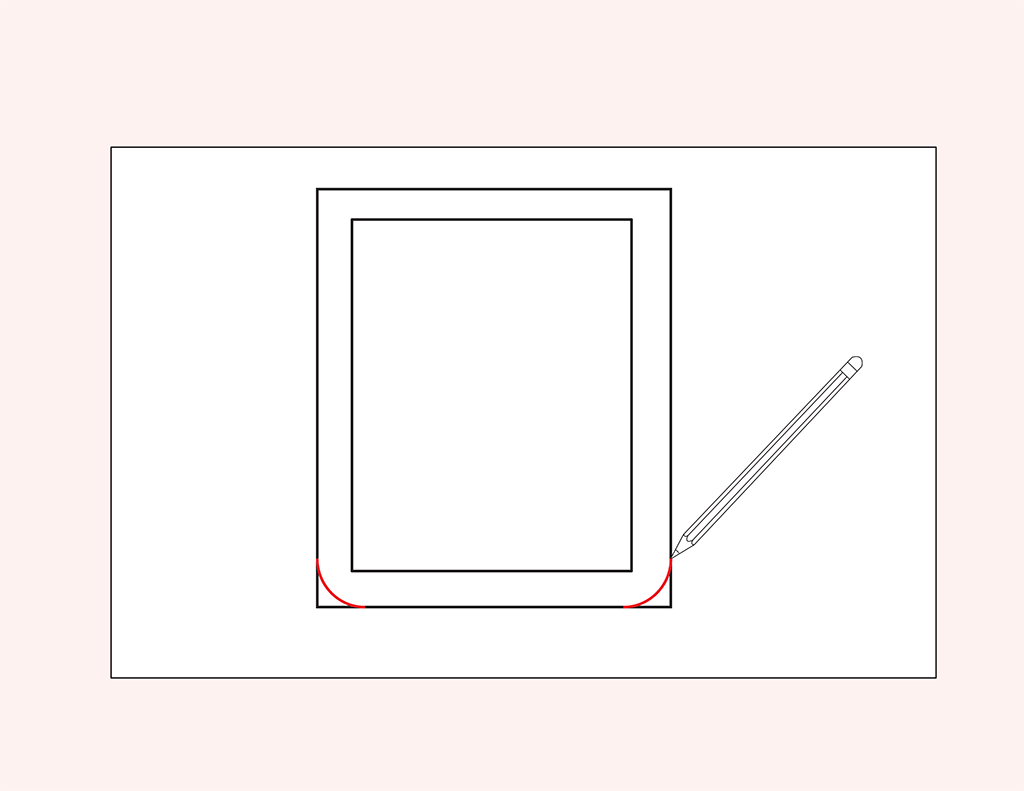
Next, use a ruler or curved ruler to adjust the pocket's shape, staying within the outermost rectangle but outside the innermost rectangle.
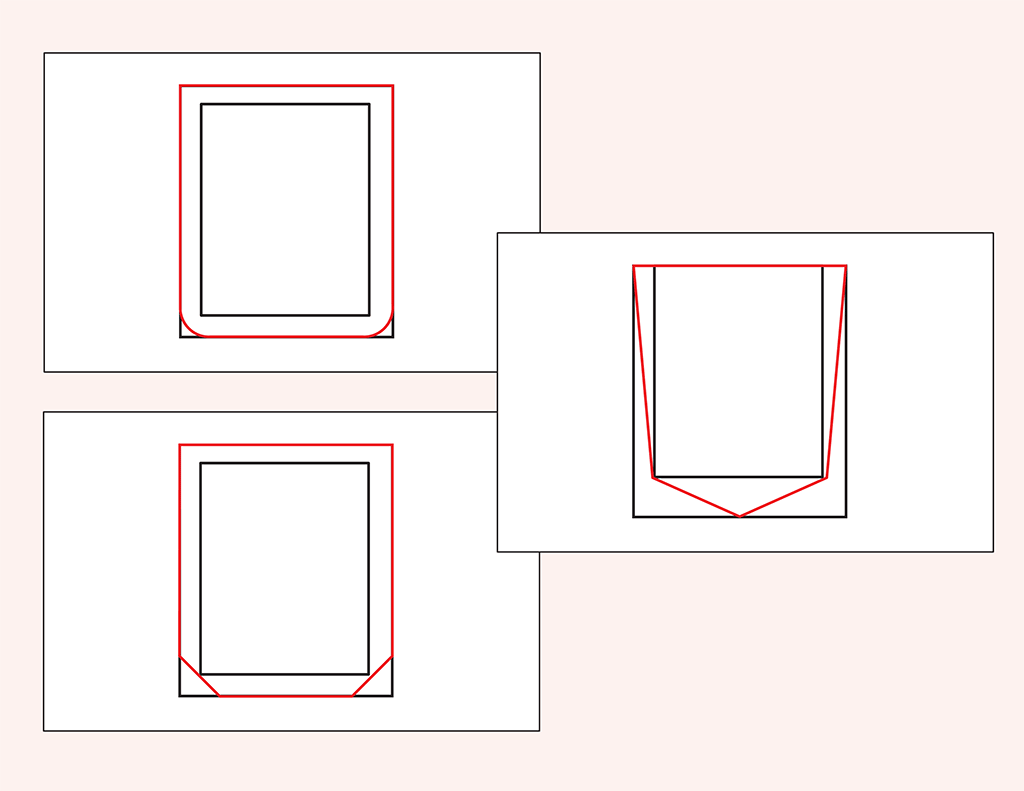
Here are just a few ideas for using this method to create tons of pocket styles.
Don’t forget to add seam allowance!
Drafting a Pocket Flap
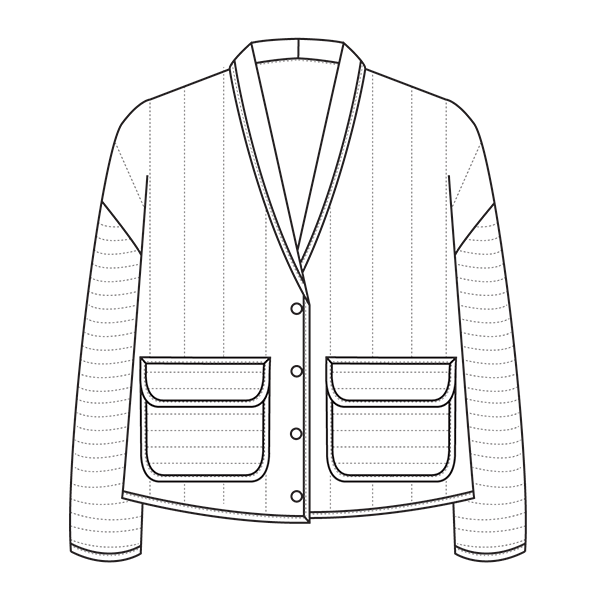
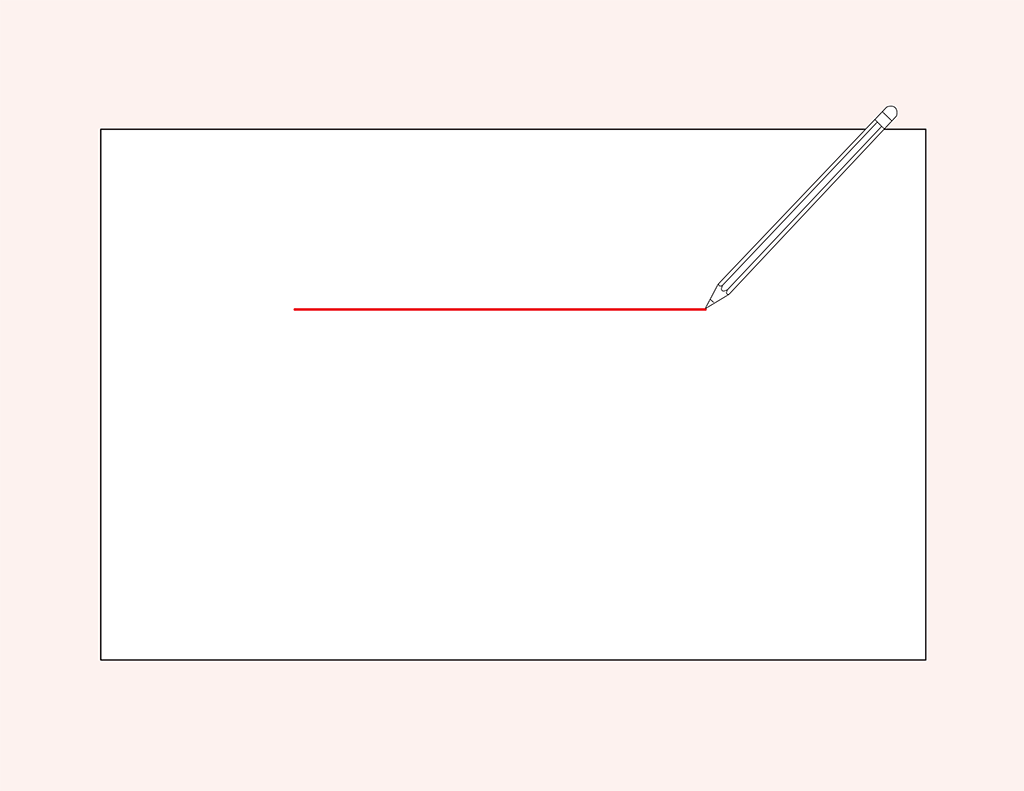
Measure the width of the pocket and draw a line this length.
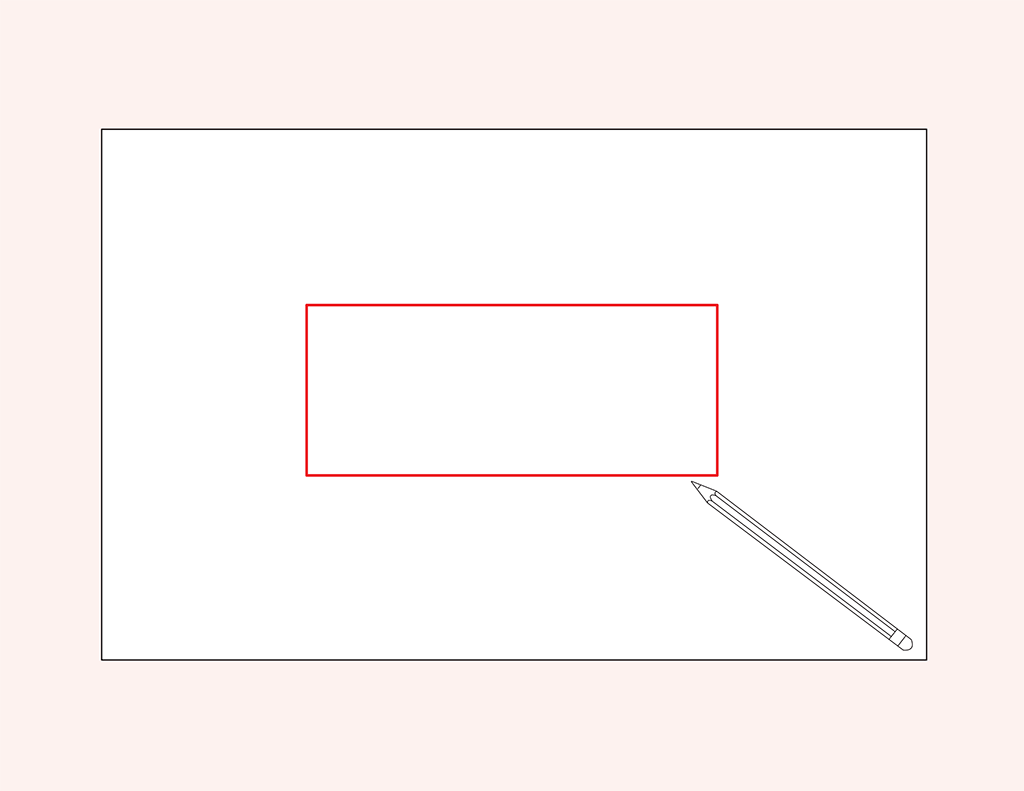
Determine the desired flap depth. I recommend nothing shallower than 1 inch. Then draw a rectangle this height.
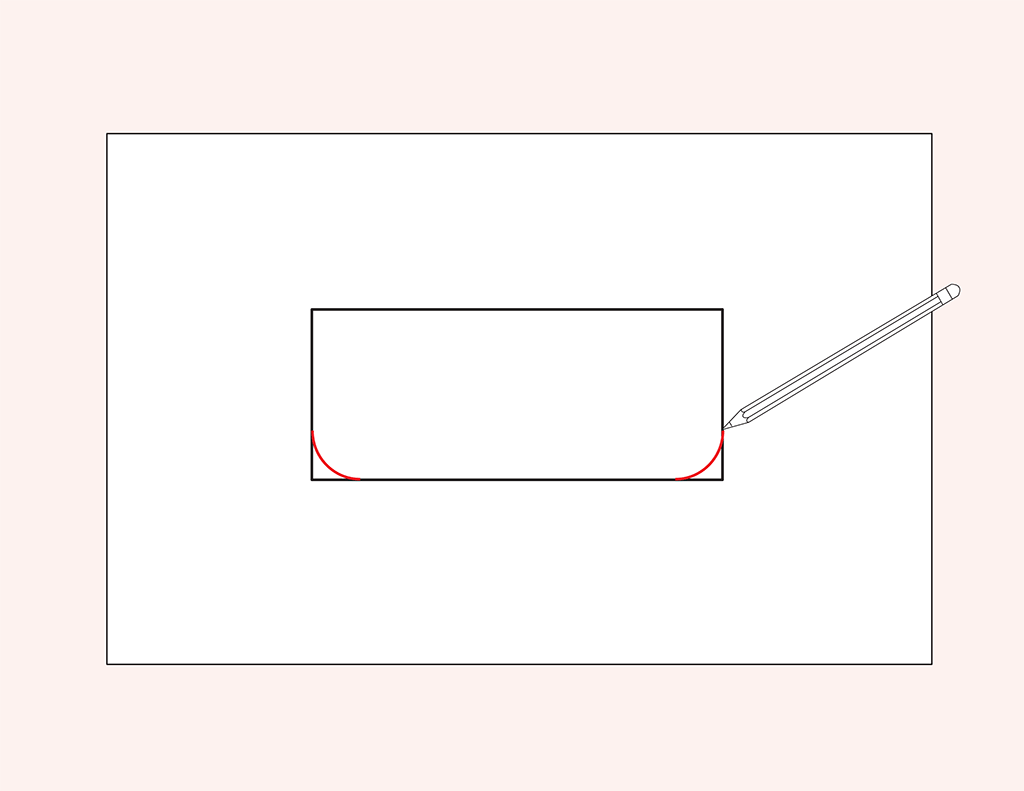
If you want to create a shaped pocket flap, you can use a ruler or curved ruler to adjust the shape. If you want to add a button or snap closure to your pocket, mark the placement.
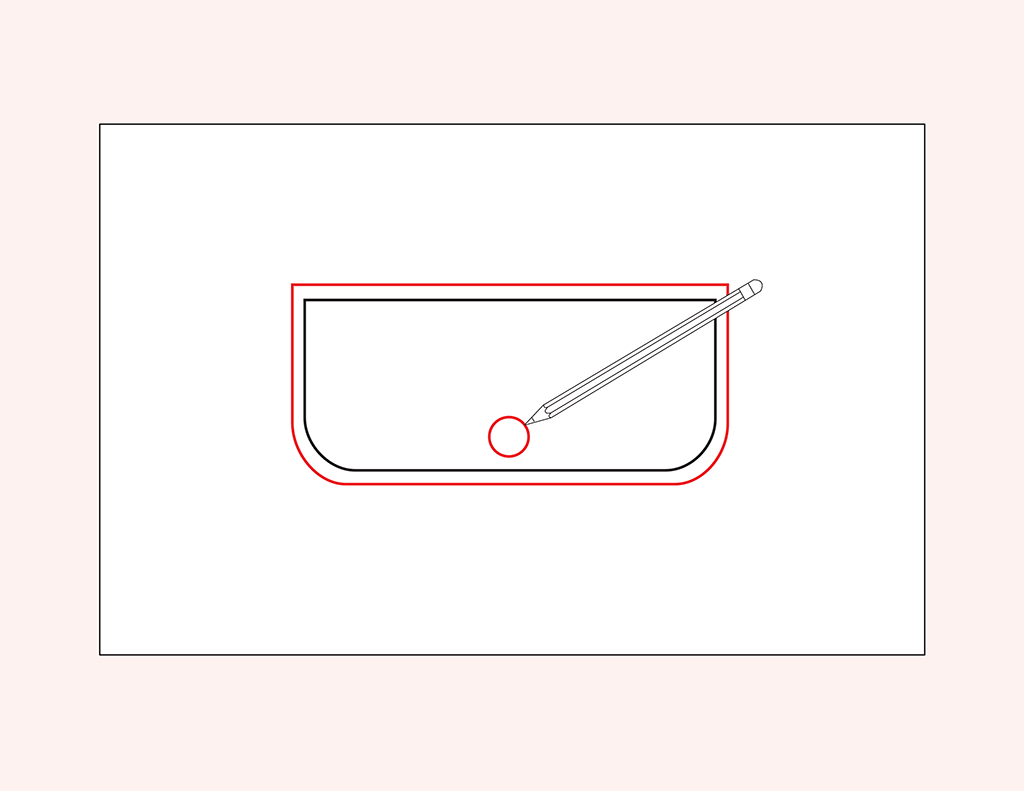
Next, add 1/4-inch seam allowance around the entire pocket flap.
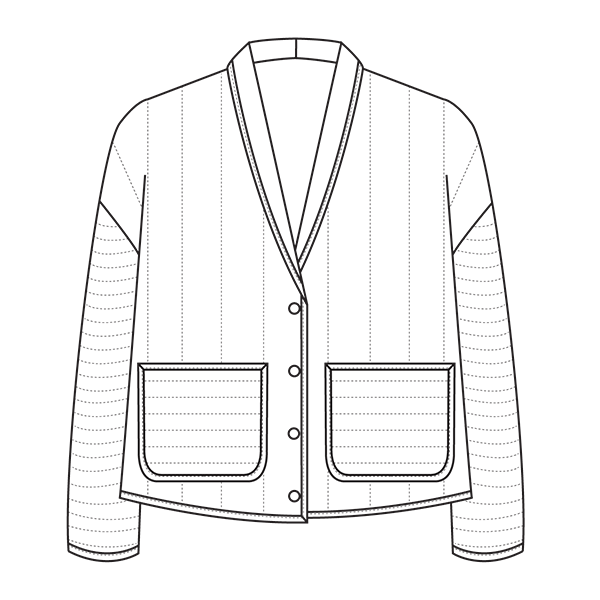
The best part about these pocket techniques is that they are easily adaptable. You can just as easily add a pocket to the Easton jacket as you can to the Finn T-shirt. So go on, add a bonus pocket to ALL your me-mades!


