Sign In
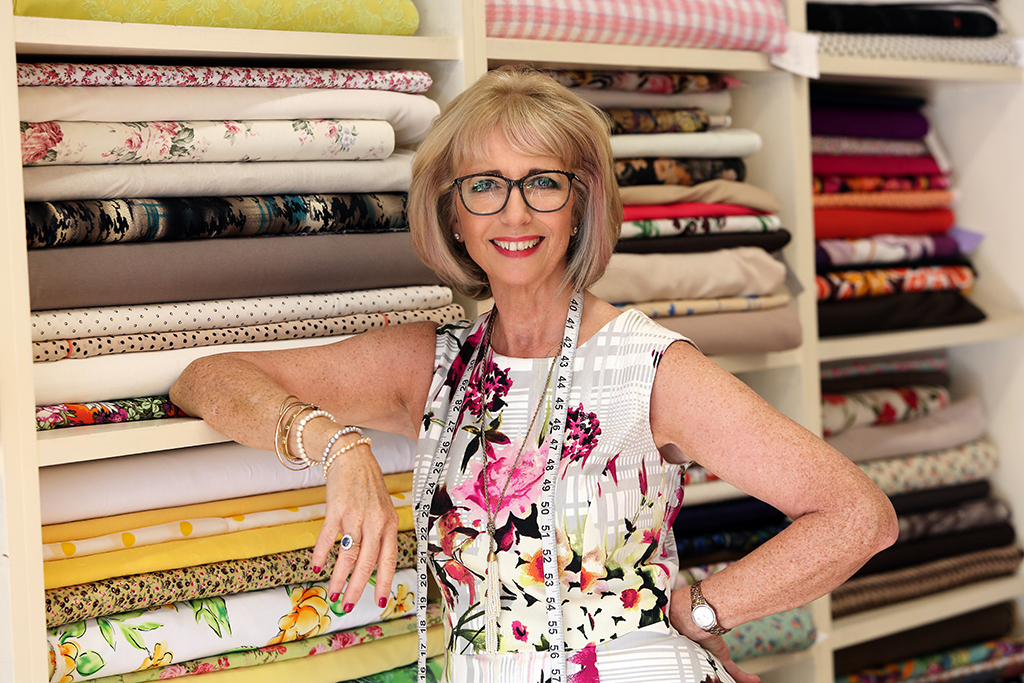
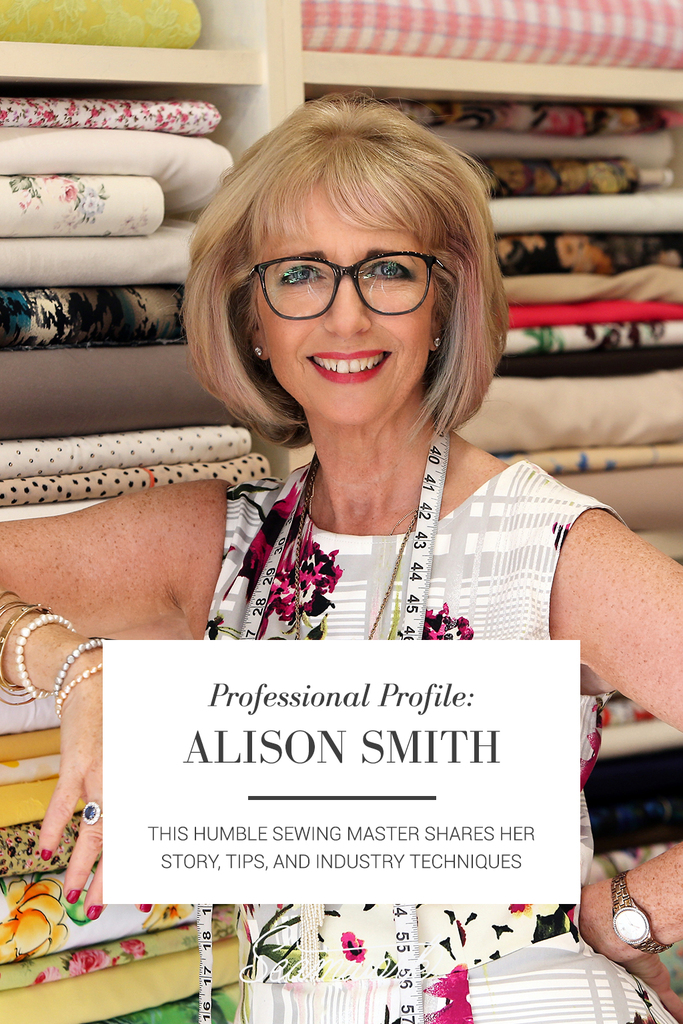
Designer and teacher Alison Smith is one of those characters straight from a modern-day Jane Austin book. She has class, poise, and a great sense of humor. When I met Alison about three years ago, she had cotton-candy-pink hair and was wearing a perfectly tailored tweed skirt suit. I knew that she was who I wanted to be when I grew up. A lifelong maker, Alison Smith is the founder of the School of Sewing, the United Kingdom's first independent sewing school. She has encouraged others to sew throughout her entire career.
Sewing was a normal activity during Alison's childhood. Her Grandma was an avid knitter and sewist, and her mother taught needlework at the nearby senior school. In her teenage years, she caught the knitting bug and spent her time mastering cable patterns and sewing clothes for her hand-knitted dolls.
After leaving school, Alison lasted a whole of two years in the traditional business world before she threw up her hands and enrolled in art and fashion courses at university to train to teach. In a few years' time, Alison was the head of fashion and textiles at a large senior school, teaching all aspects of the subject, such as embroidery, screen printing, batik, and of course, garment construction.
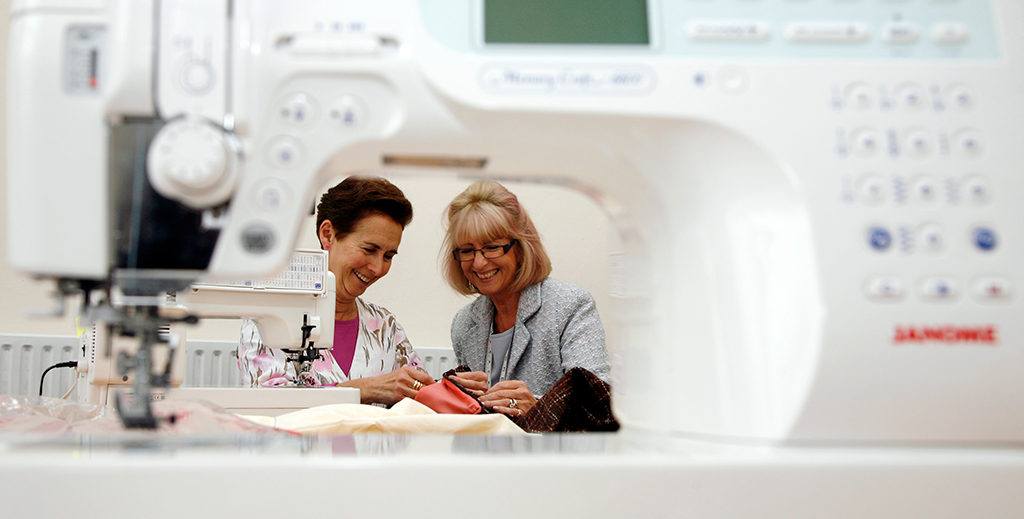
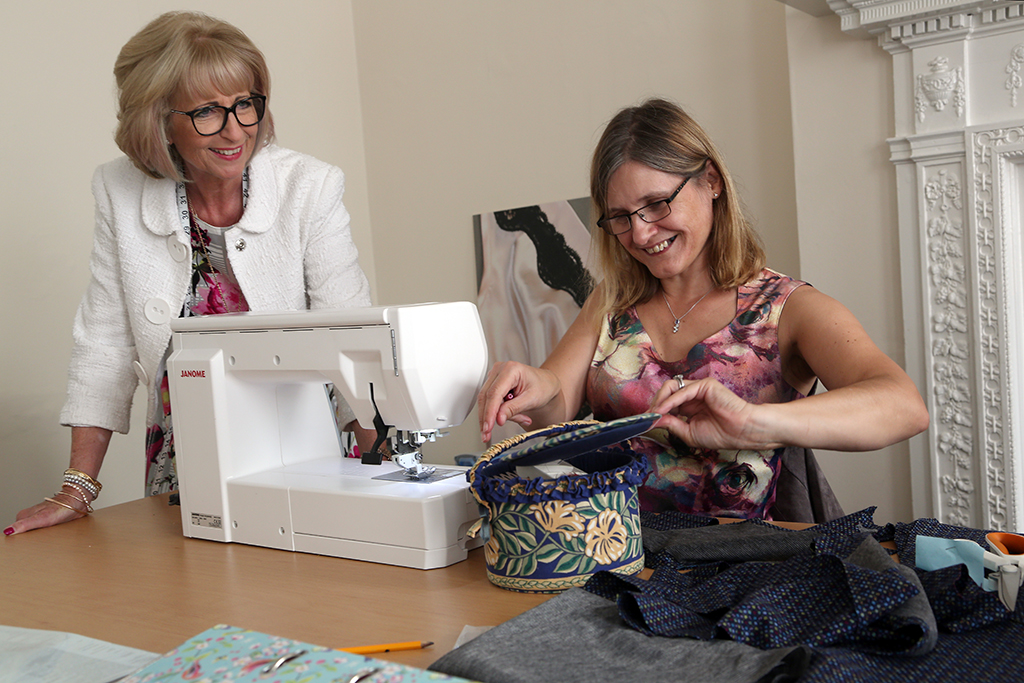
For Alison, teaching others and helping them create clothing they love has always been the best aspect of her fascination with sewing. In 1992, the School of Sewing opened its doors. At the time everyone thought she was "mad" but in no time, she was teaching at the sewing school at Liberty of London and in the head office of the Janome sewing school.
This leap of faith proved to be the best decision Alison ever made. So much so, that Queen Elizabeth II appointed her a Membership to the Most Excellent Order of the British Empire. She received this prestigious honor for services to sewing and corsetry and the people of North West Leicestershire—her hometown—for whom she raised thousands of pounds for charity. The school has continued to grow and her classes now concentrate on the fit of commercial patterns and on more and more advanced techniques. The School of Sewing was the first in the UK to teach corsetry, including brassieres, and a certificated City & Guilds course.
Most recently, Alison launched her own range of sewing patterns—Sew Wardrobe. All of these patterns are designed to work together to build a wardrobe, and are geared towards a professional audience who wish to advance their sewing skills.
There is no doubt that Alison Smith has rendered a huge service to the sewing community in the UK and abroad. I asked her what the next few years will be like for her. Her reply was simply, "A beach with a cocktail! Or a book, I can't decide!"
Alison Smith's Favorite Tools
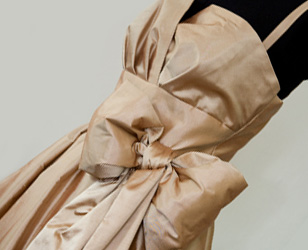
Tailor's Ham:
I could not live without my tailor's ham for pressing. I even use one when doing the household ironing!
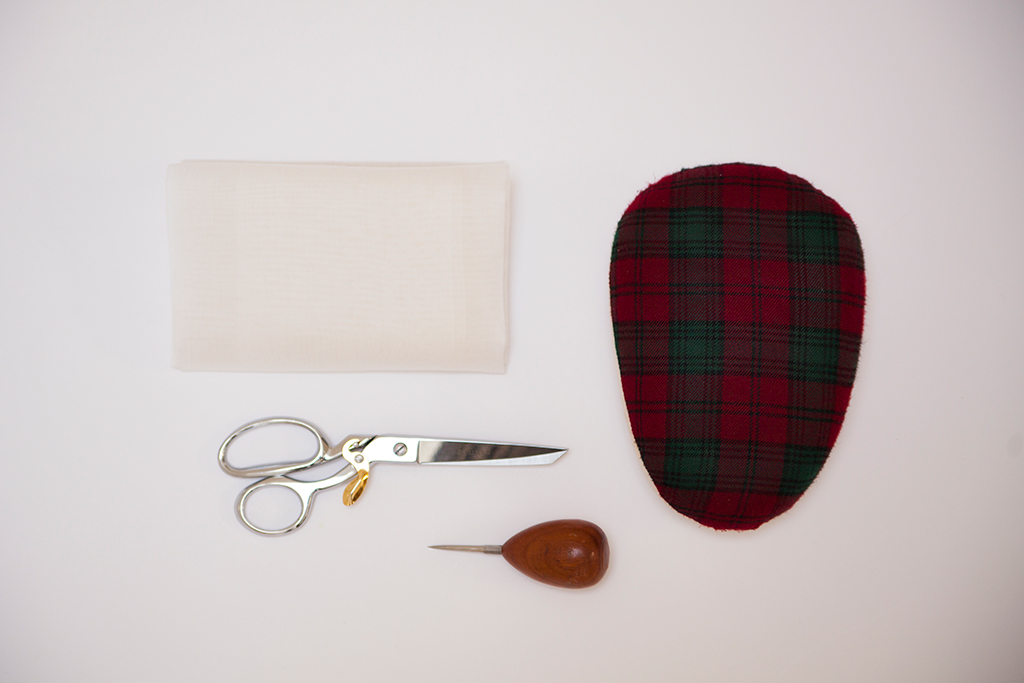
Scissors:
Everyone has them, but buy a really good quality pair and replace as soon as they go blunt.
Silk Organza Pressing Cloth:
You can see through it so that you know what you are pressing, and it stops shine on fabric.
Tailor's Awl:
I just love this. Not only to make holes when making corsets, but it is fantastic at pushing and holding fabric in place as it goes under the machine.
Triangular Bound Buttonholes
These buttonholes are not that difficult to do, but they require accurate stitching and patience.
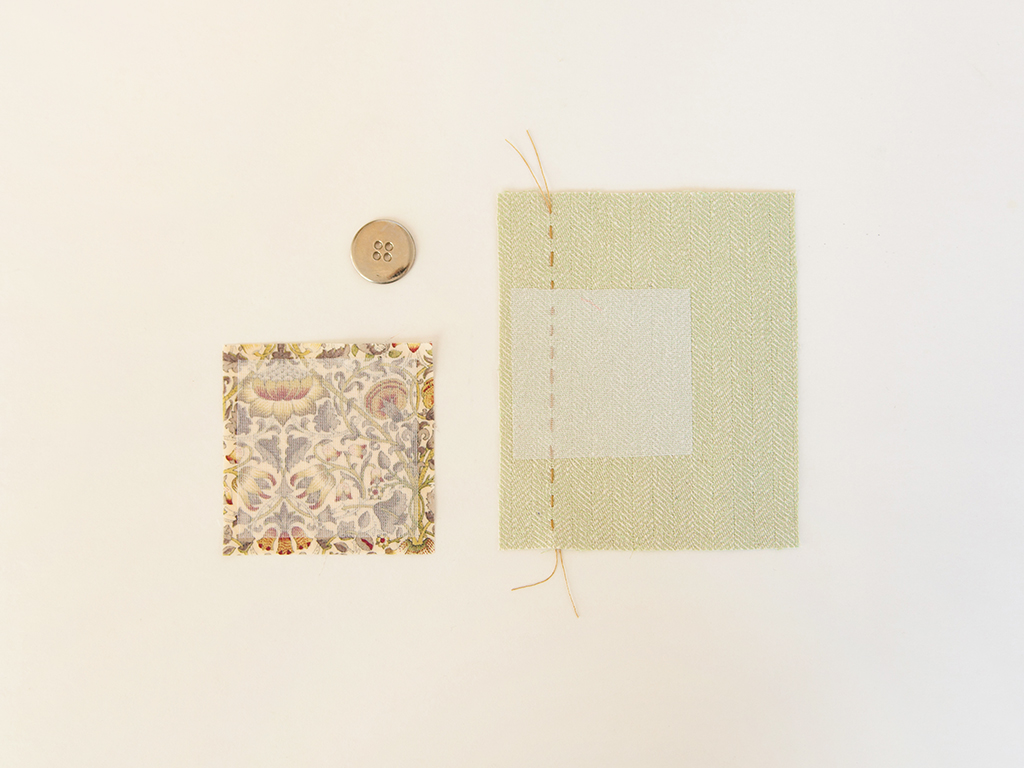
- Choose your button, this can be round or square. You also need some fabric that is finer than the main fabric to make the buttonhole from. Make sure the buttonhole area is interfaced and interface the extra buttonhole fabric. Mark the center front (CF) line as a reference.
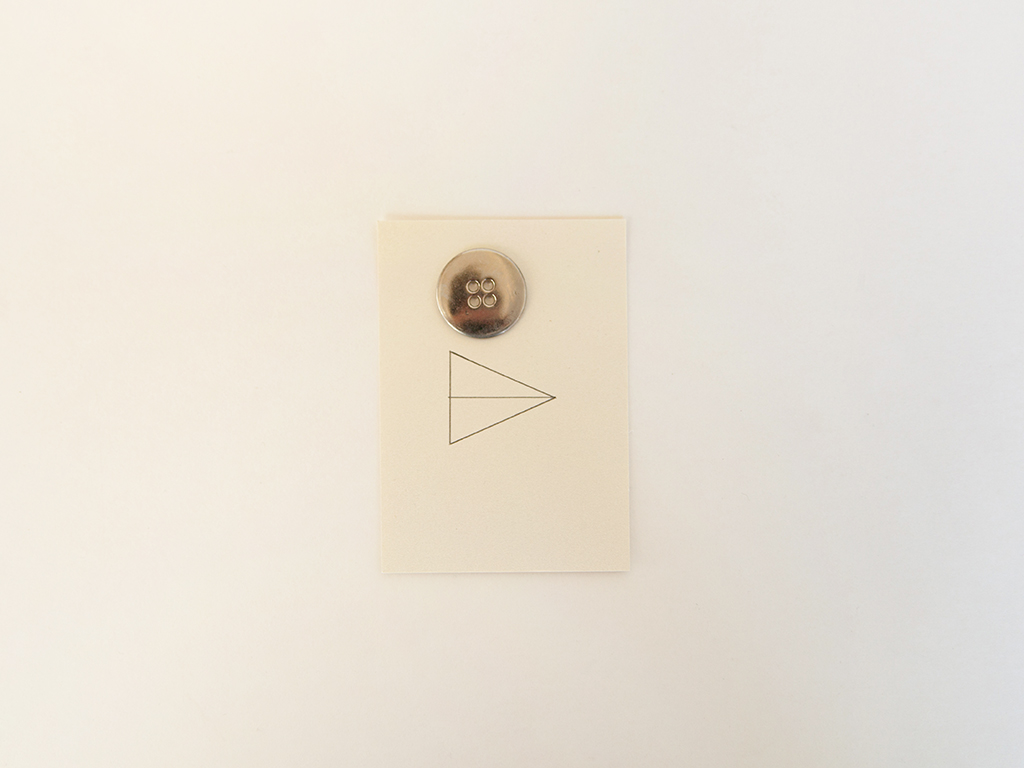
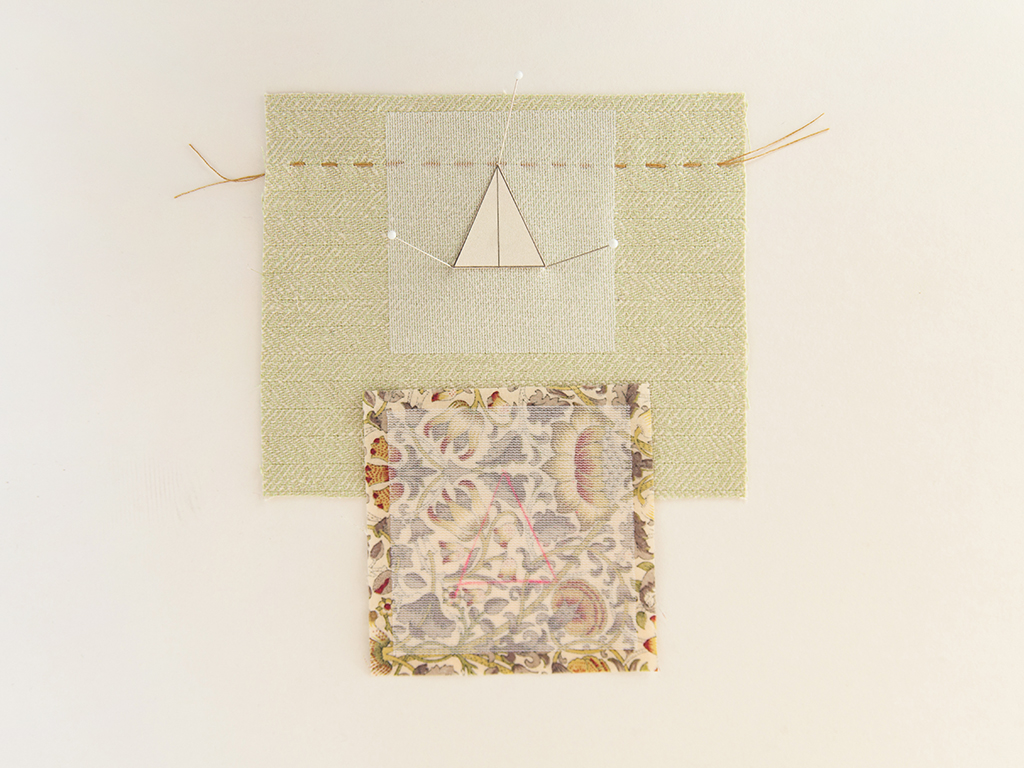
- Make a template of a triangle. The base should be the diameter of the button and the perpendicular lines slightly longer.
- Cut this shape out of card or stiff paper and position where you want the buttonhole. Mark the outline with either a thread or pin. The point should touch the CF line. Also, mark the outline of the triangular shape onto the center of the extra buttonhole fabric.
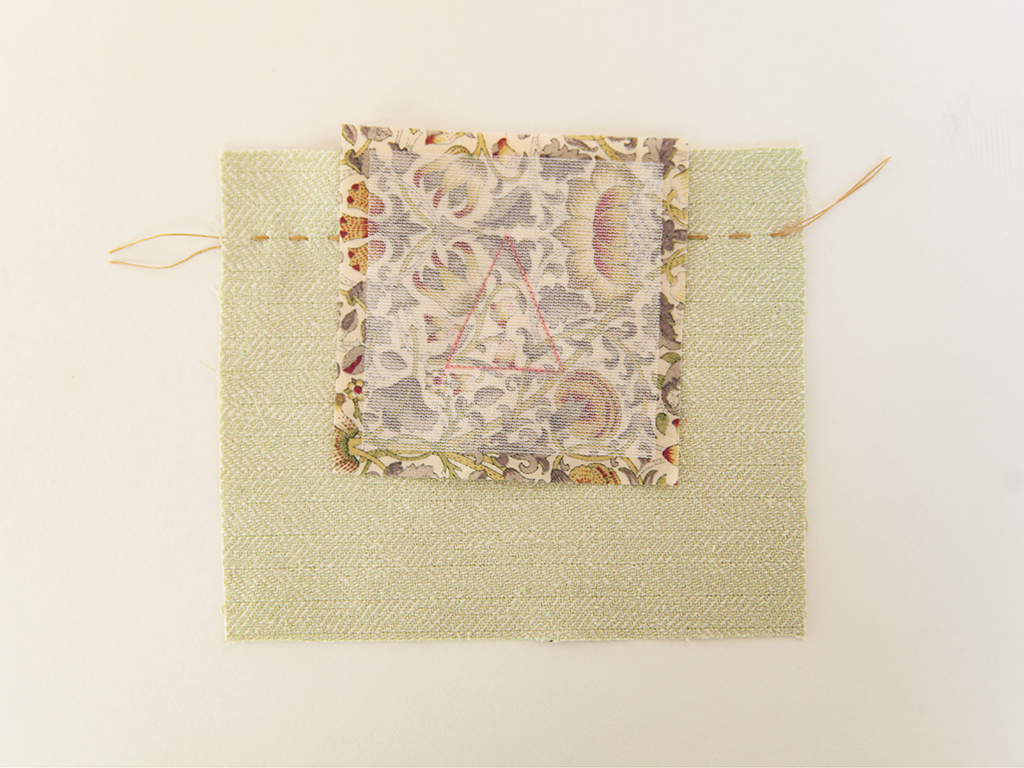
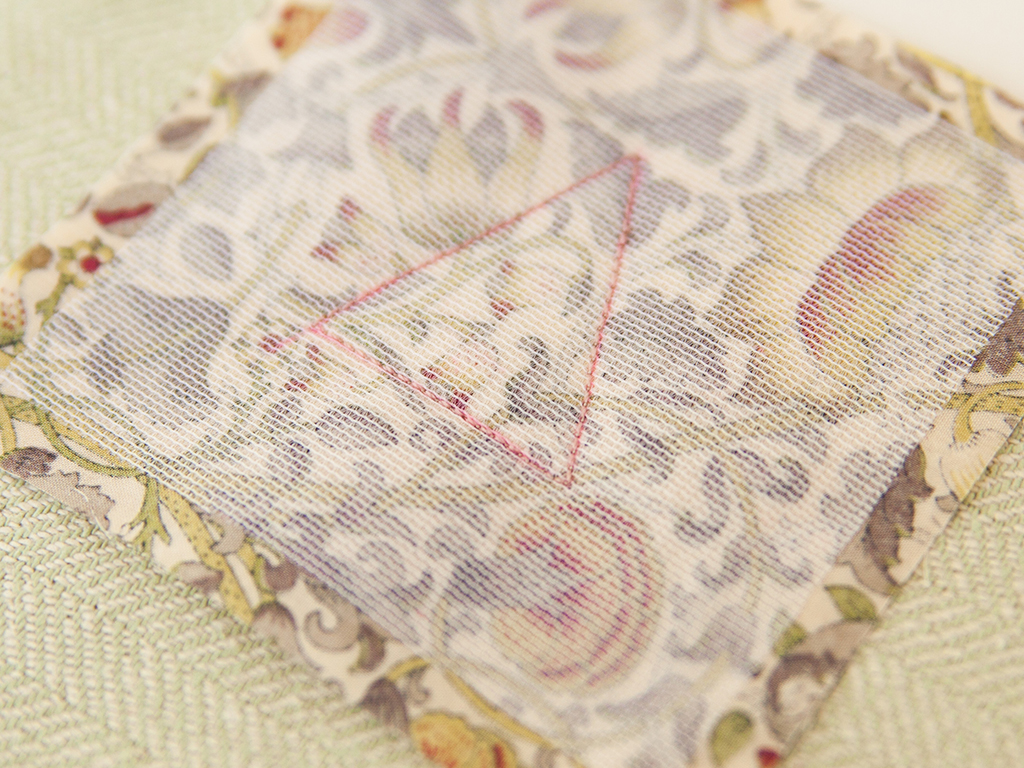
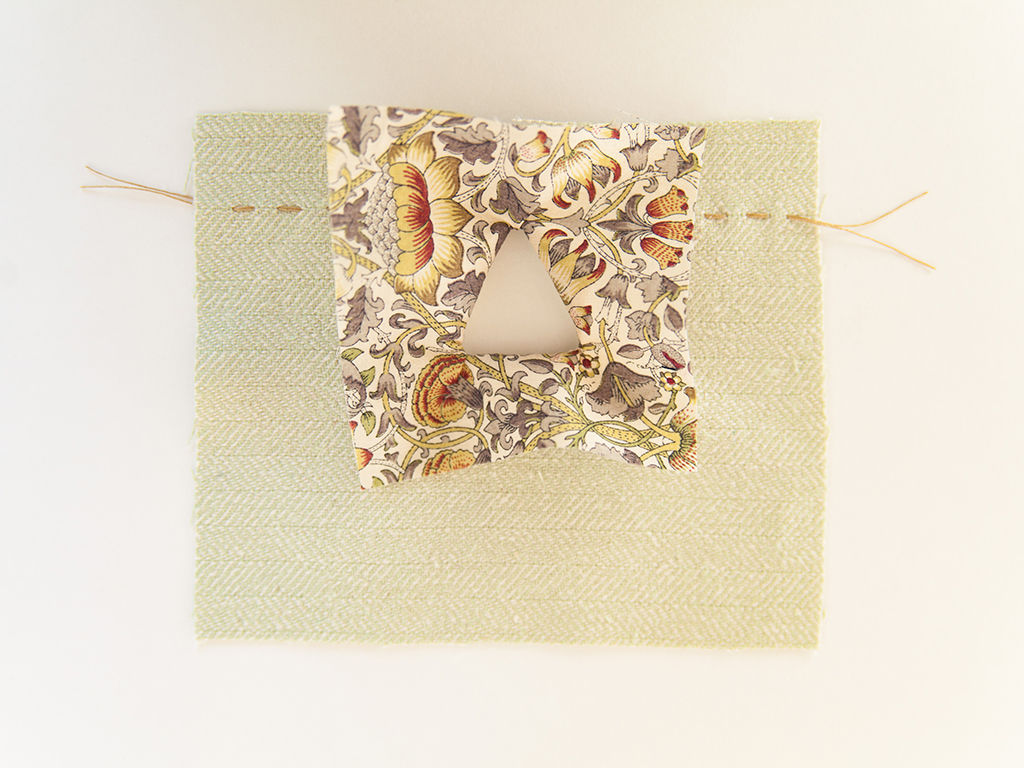
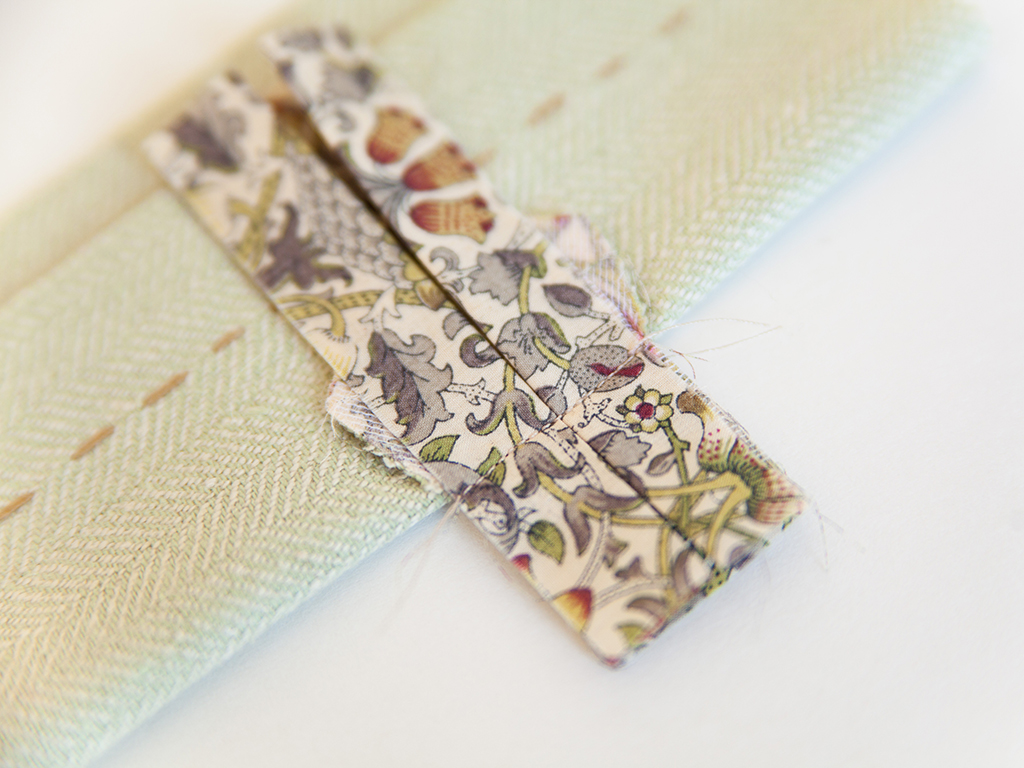
- Place the buttonhole fabric and main fabric right sides together on the front, matching the buttonhole outlines together. Stitch around your template of the triangle.
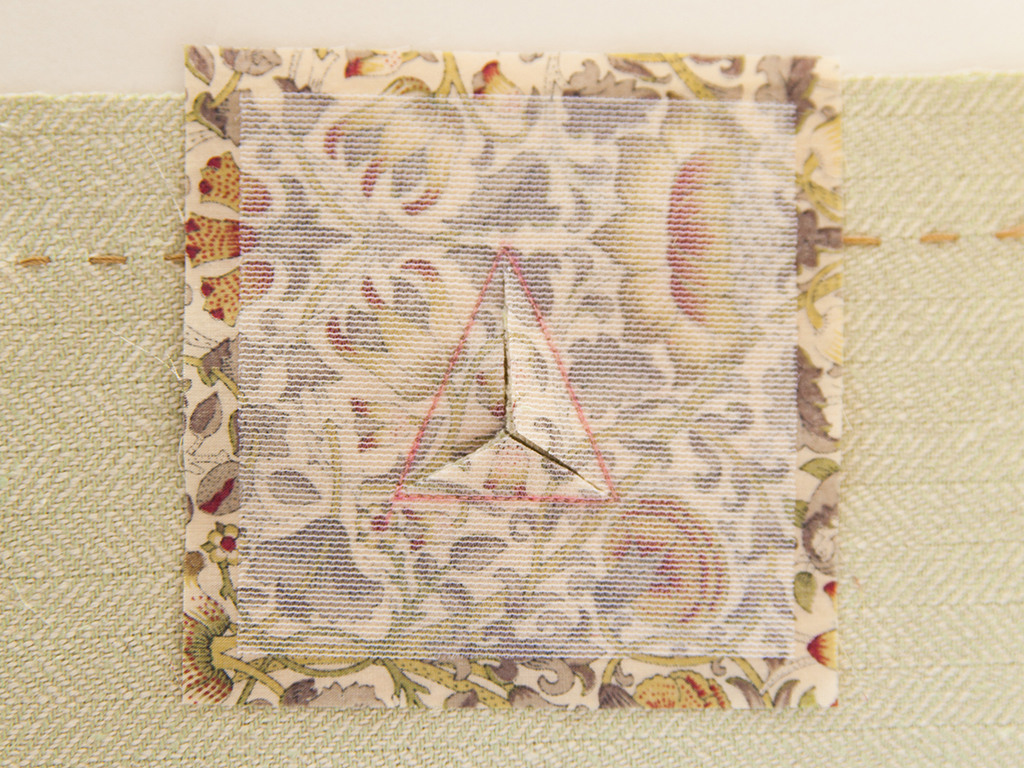
- Carefully cut through the buttonhole fabric and main fabric as indicated, and also cut the buttonhole fabric to the point of the triangle.
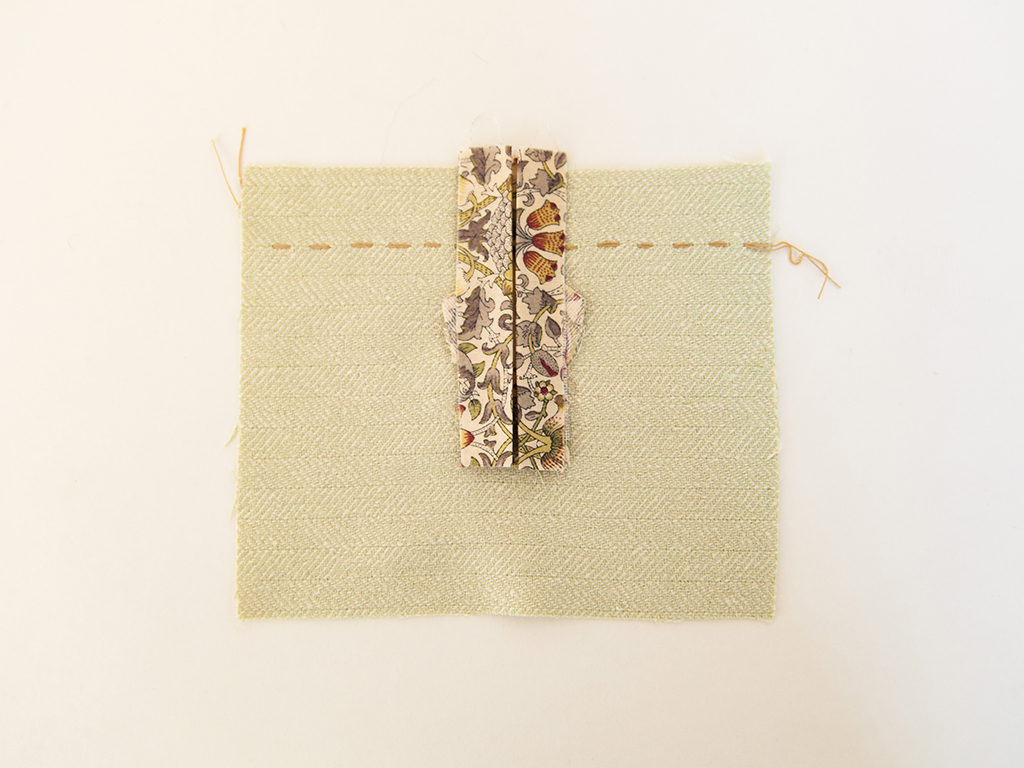
- Turn the buttonhole fabric to the wrong side through the slashing and press.
- To form the top lip, first fold the top down, then fold the lip back up so that half of the opening is covered. Do the same for the bottom lip and press.
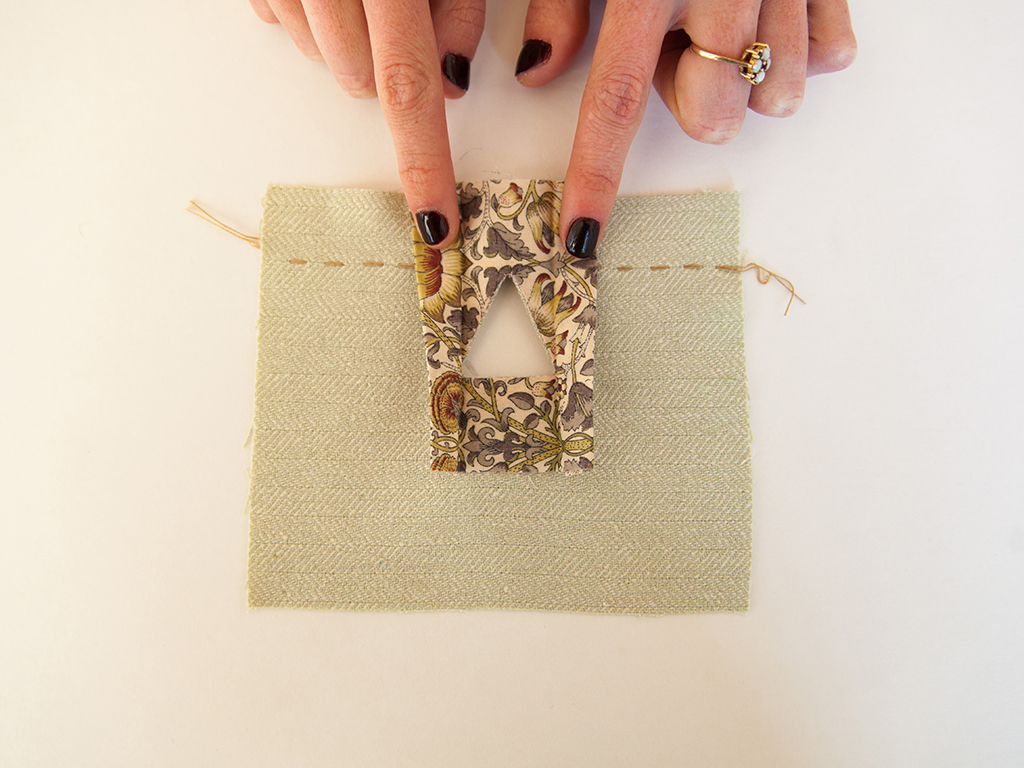
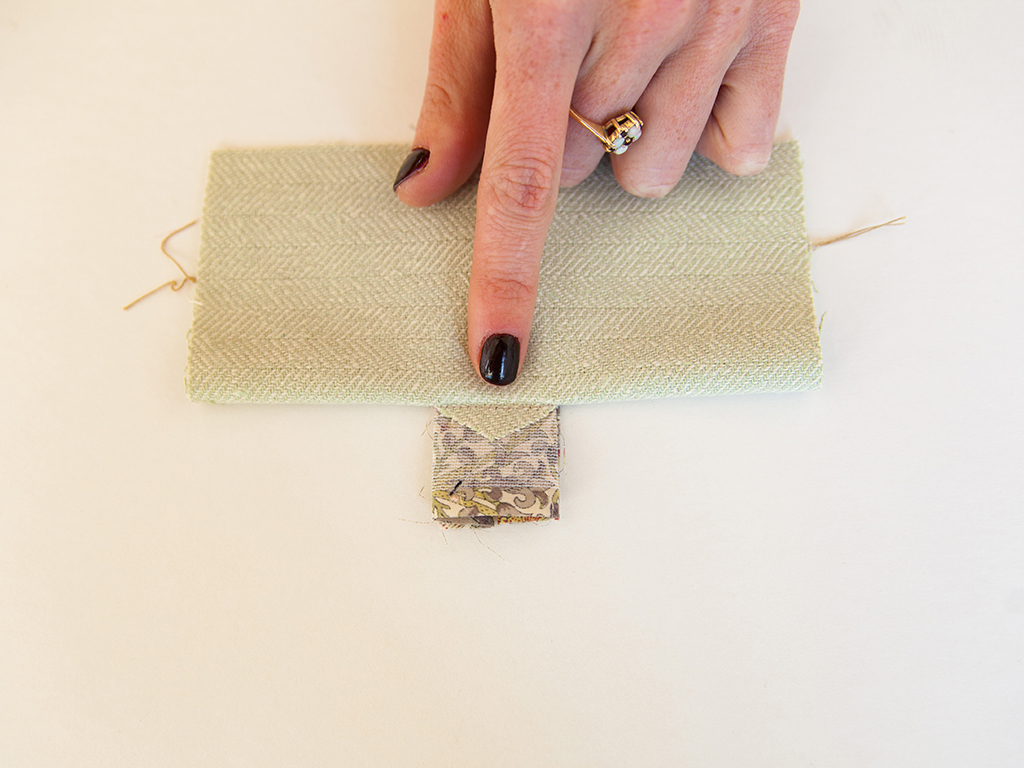
- Fold the fabric back at the base of the triangle, revealing the seam allowance. Stitch the seam allowance to the buttonhole lip's fabric, backstitching a few times to secure. Do this on each side.
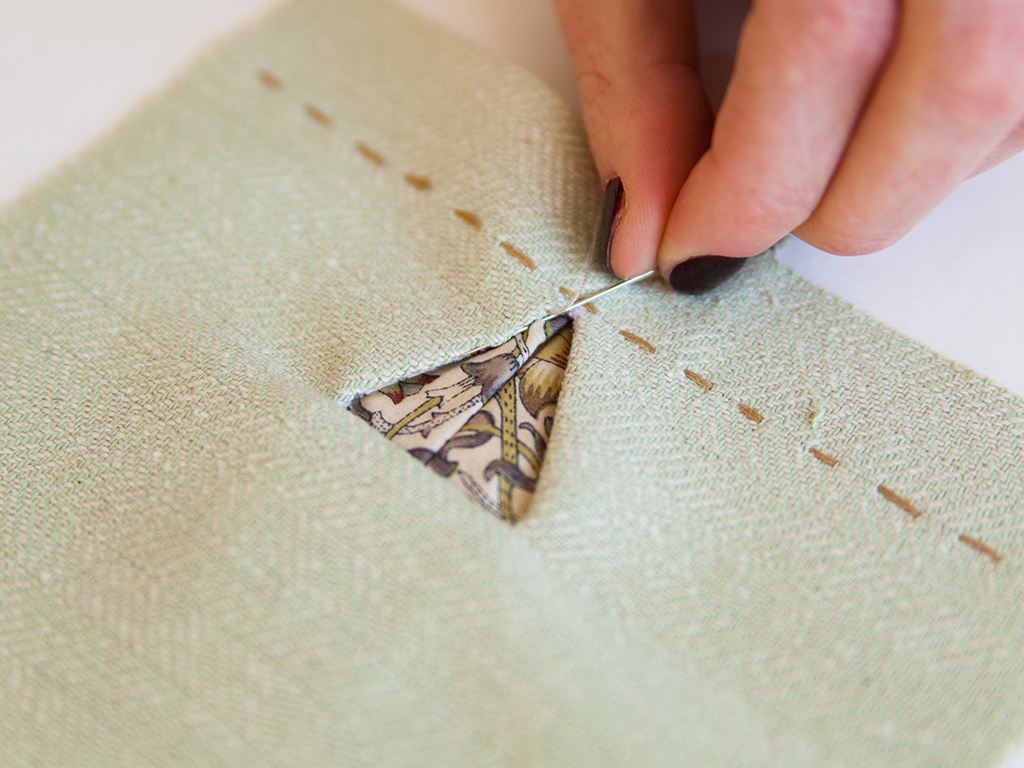
- To secure the legs of the triangle, use a prick stitch to attach the seam allowance to the main fabric.

About the Author
Katie teaches new skills through in-depth tutorials, sewalongs, and articles for Seamwork Magazine and The Colette Blog. She’s all about encouraging sewers to try new techniques and create a personalized wardrobe that makes them feel great!