Sign In
There's so much to learn when you sew, and it takes a lot of energy to sort through all of the information. Sometimes you get stuck trying to find the best way to do things or the best tools to use—and then you don’t make time to actually sew.
Here at Seamwork, we’re passionate about the art of sewing. We want to help you sew with confidence and find the best ways to make the most of your entire creative practice. So, we’ll do some of the work for you.
This is another pilot article for a new project we’re working on: The Seamwork Sewing Lab! We’ll experiment with sewing, so you don’t have to. The full lab launches in April.
The Seamwork Sewing Lab is a series of articles that help you choose the sewing techniques, tools, and sewing room organization methods that work for your learning style, time, and budget. Our team will complete thorough tests and reviews and bring the results of all our experiments to you. We don’t accept advertising, so any tools and techniques will be reviewed and tested without bias.
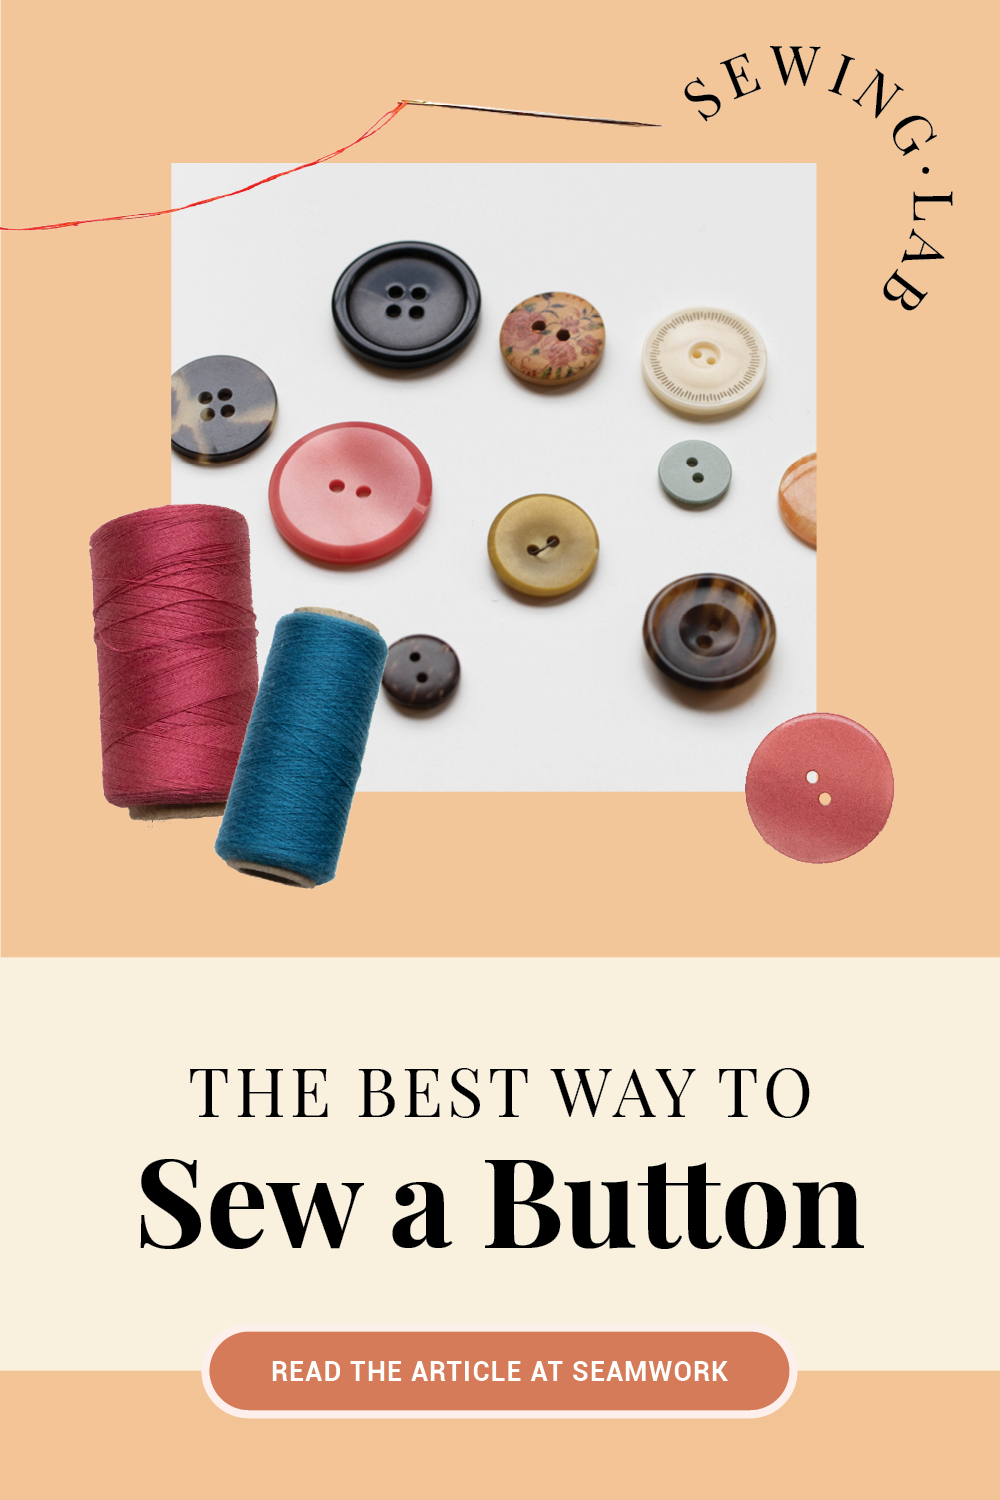
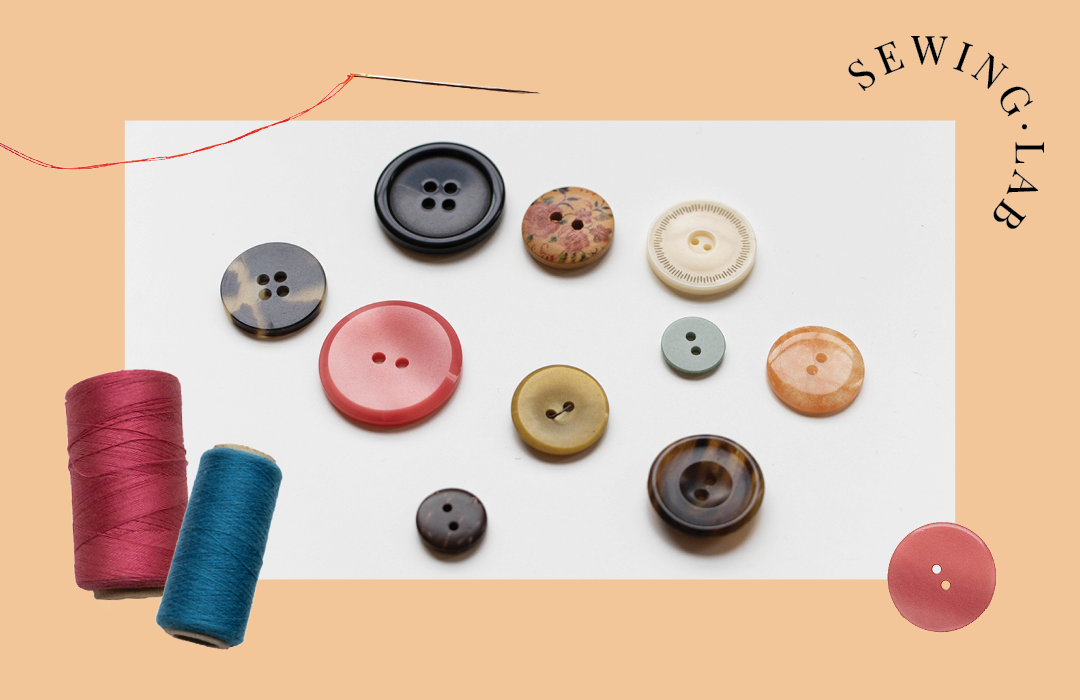
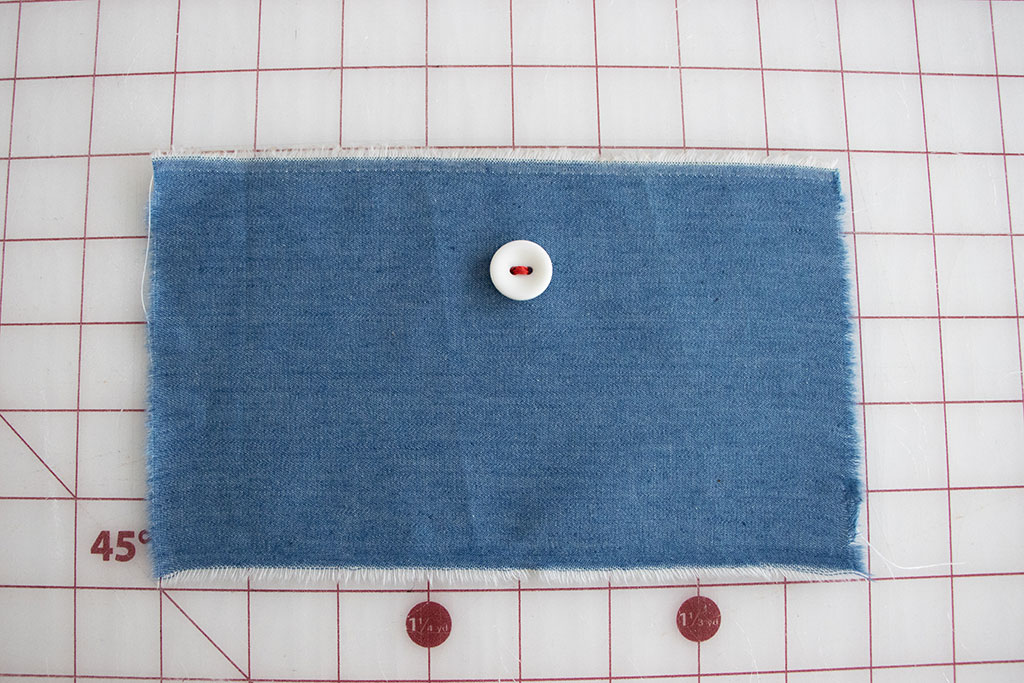
The Best Way to Sew a Button
Our Test
The entire Seamwork team compared our methods for sewing buttons, but we could not agree between hand or machine sewing. They can both be speedy and effective!
So, if you want the fastest, least-tedious way to sew a button by hand, you will find our favorite method below. If you prefer to use a machine, we also included steps to sew a button on your machine, with or without a button foot.
Our Favorite Hand-Sewing Method
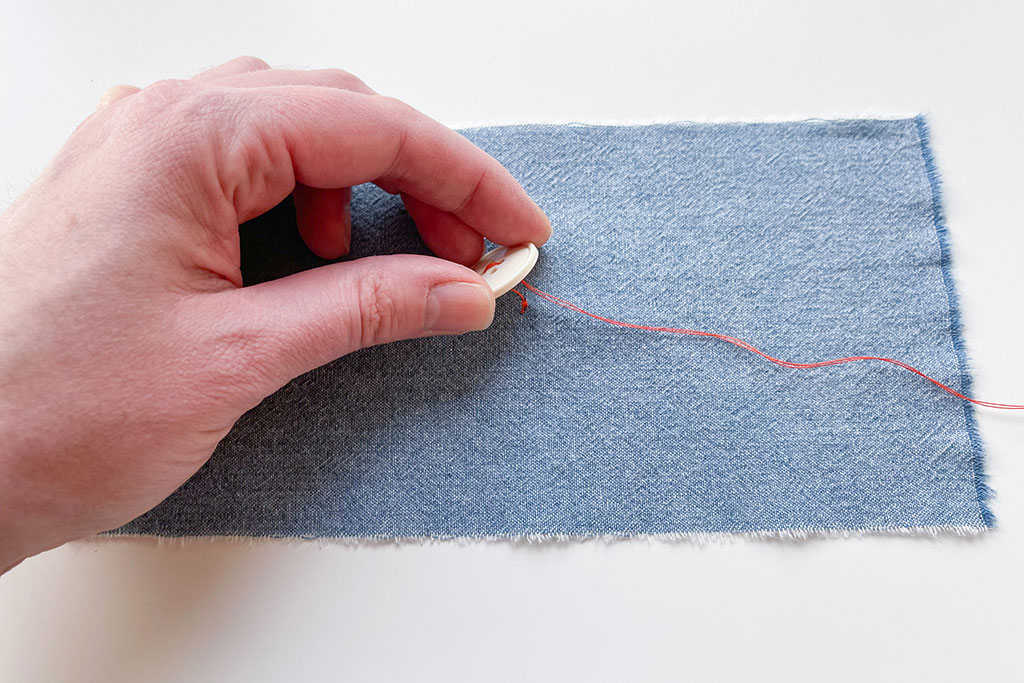
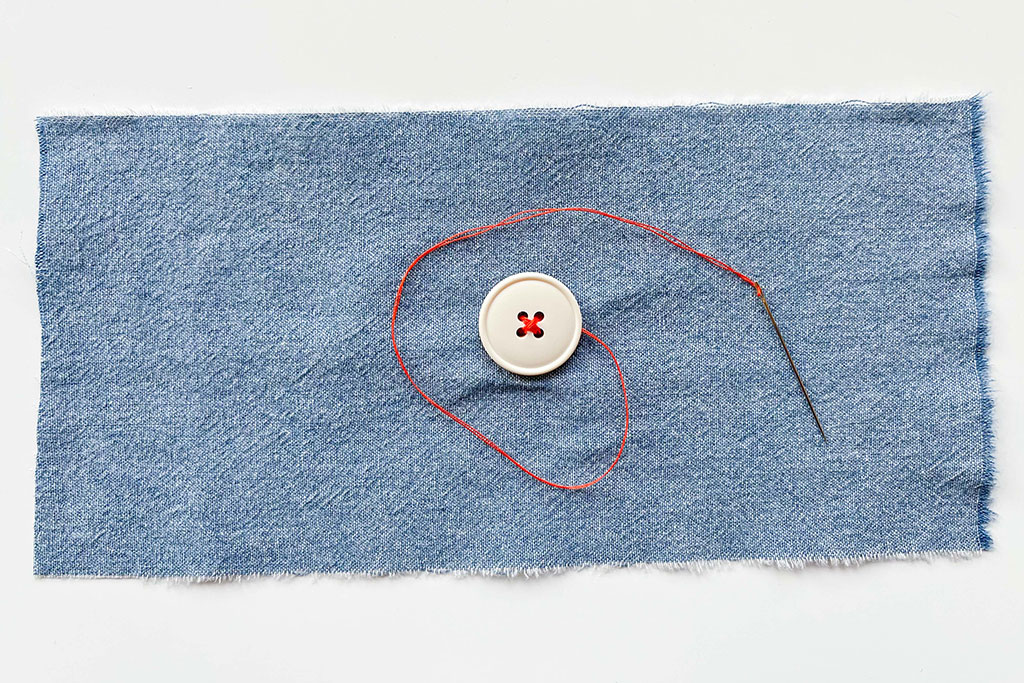
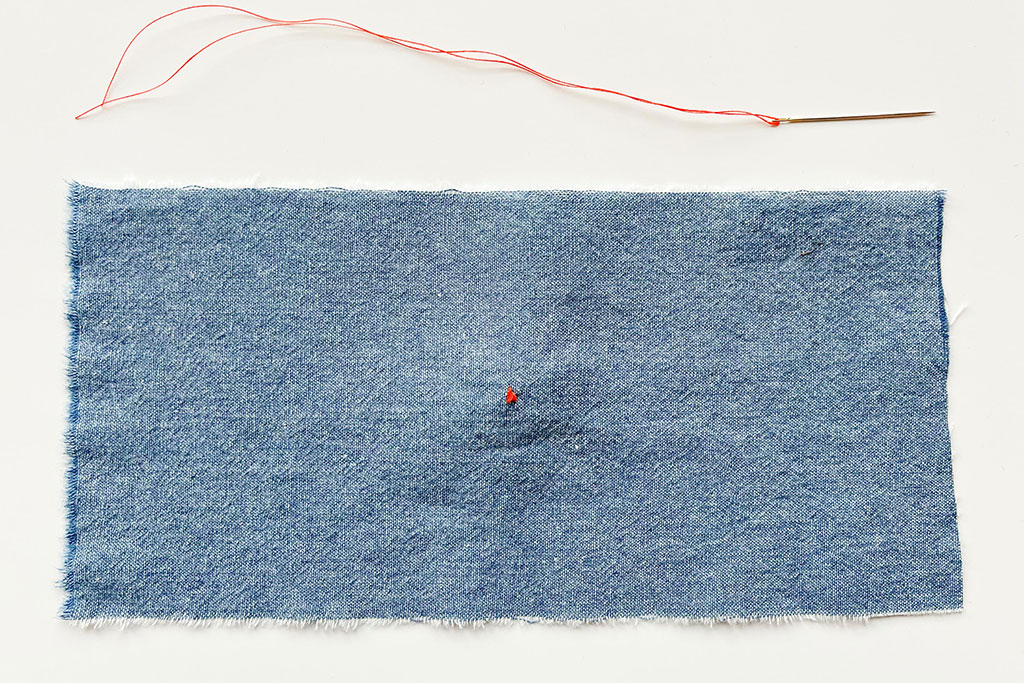
Thread the needle (if you are tempted to lick the end of your thread, lick the eye of the needle instead for better results).
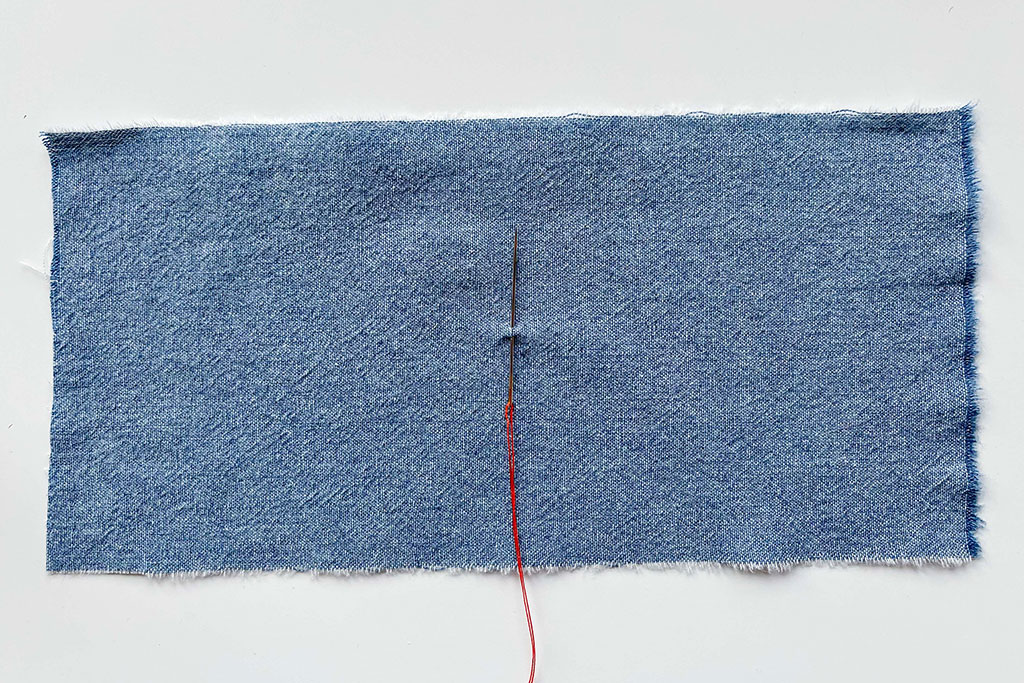
Mark where you will sew your button and pull the needle through the right side of the fabric. Only grab a bit of fabric when you do this.
Don’t pull the thread all the way through—leave a small tail.
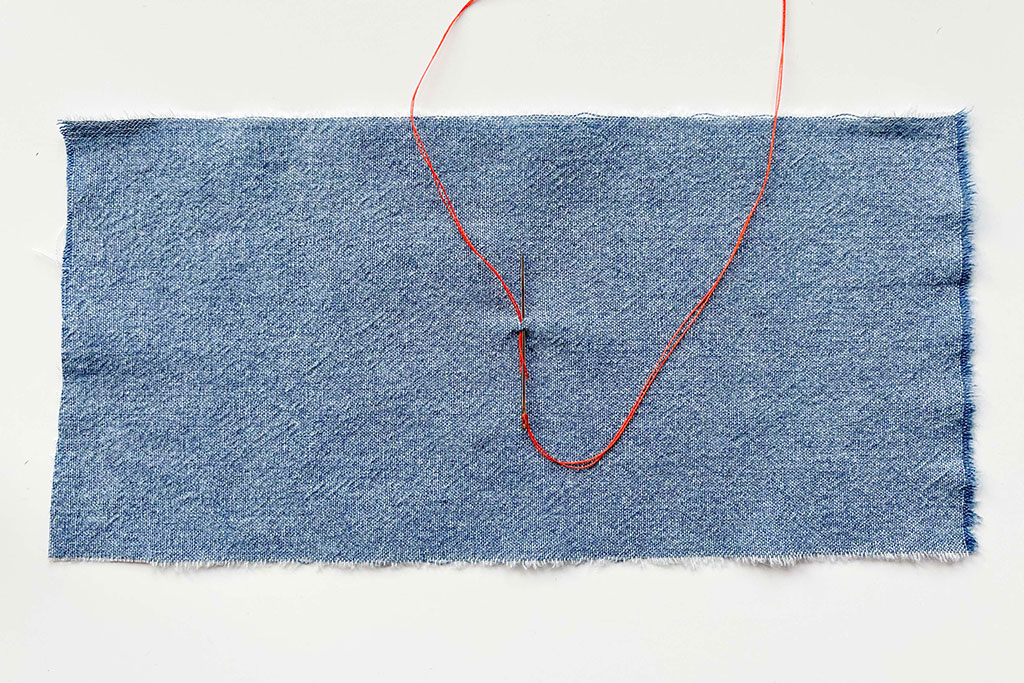
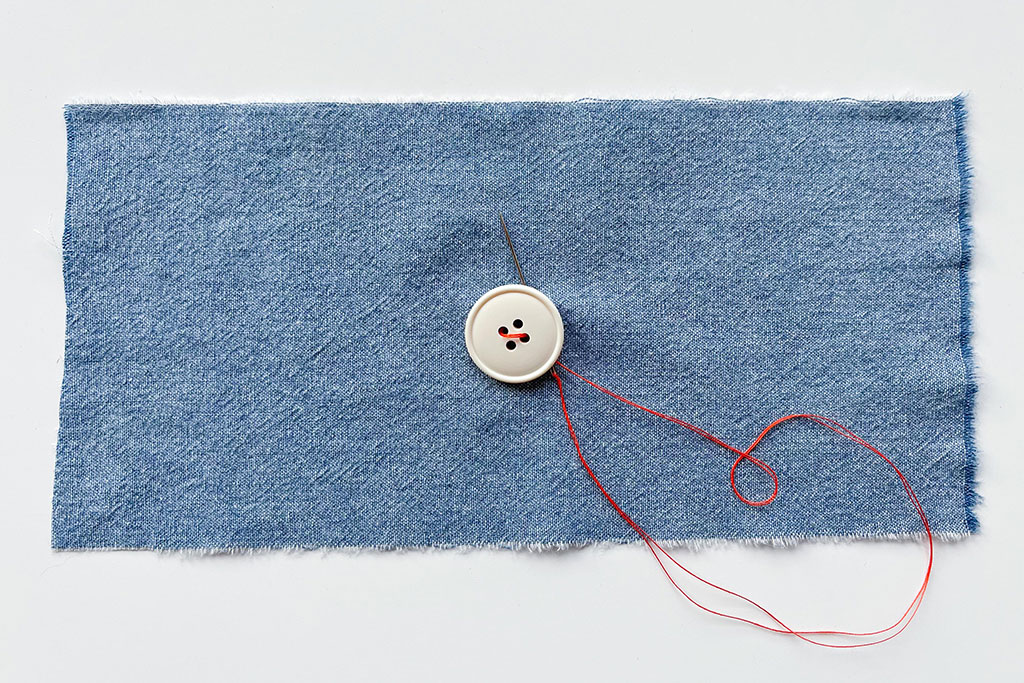
Repeat this 2-3 times to make a knot.
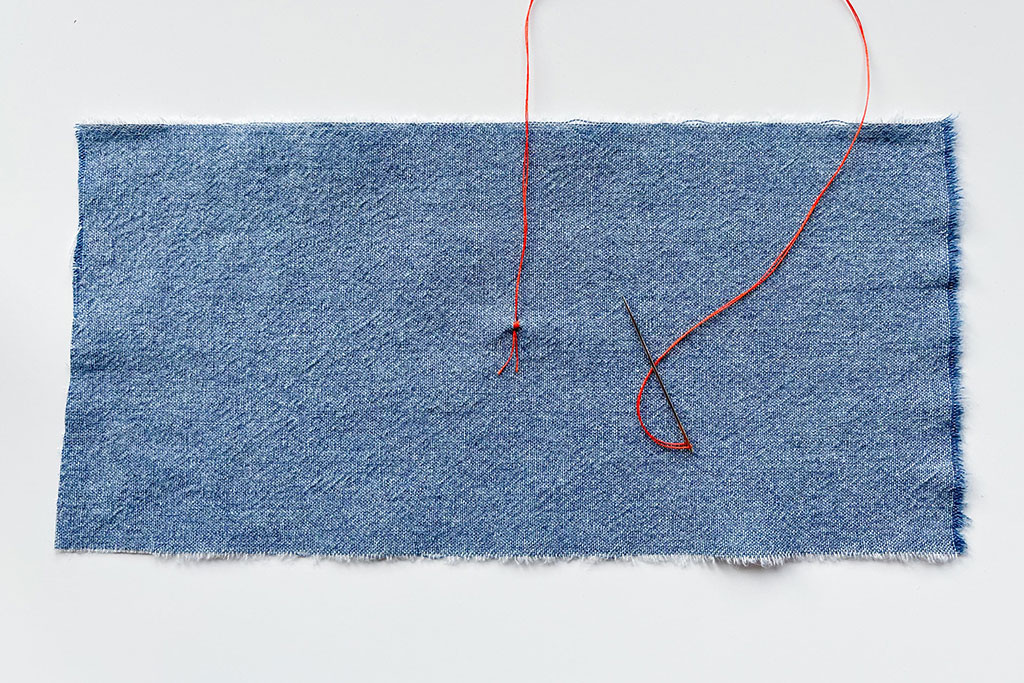
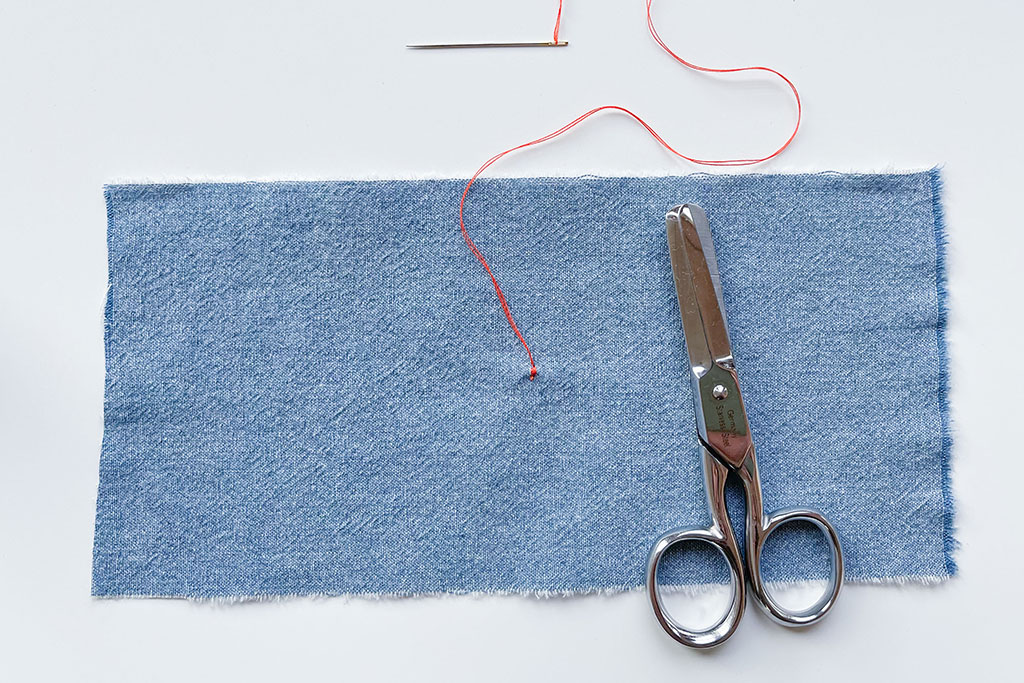
Once your thread feels secure, clip the tail.
See? No need to knot the ends of your thread!
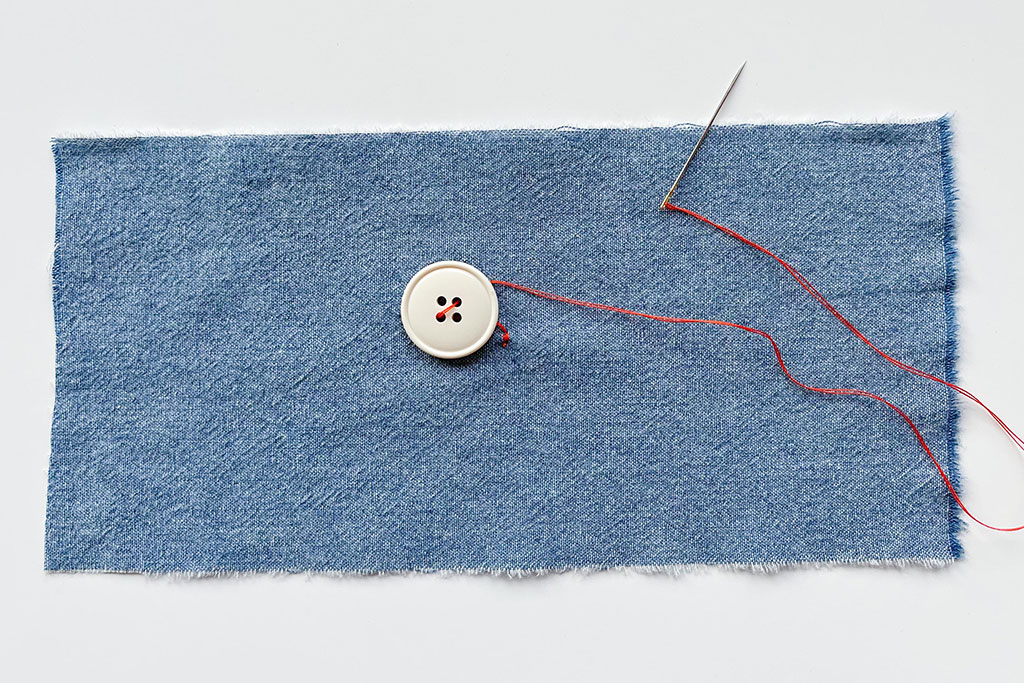
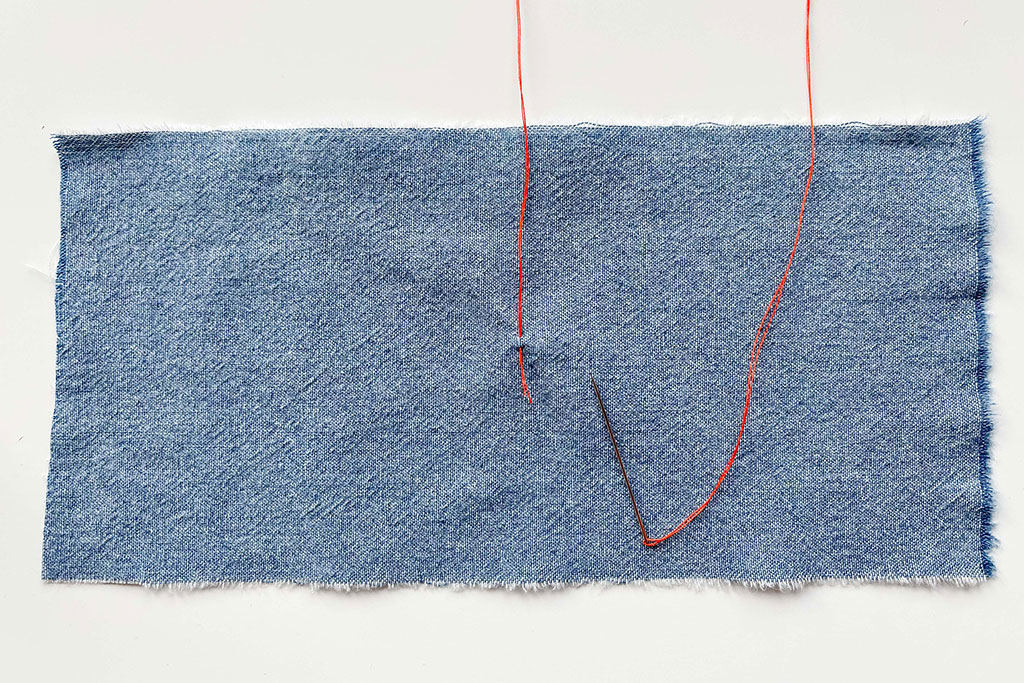
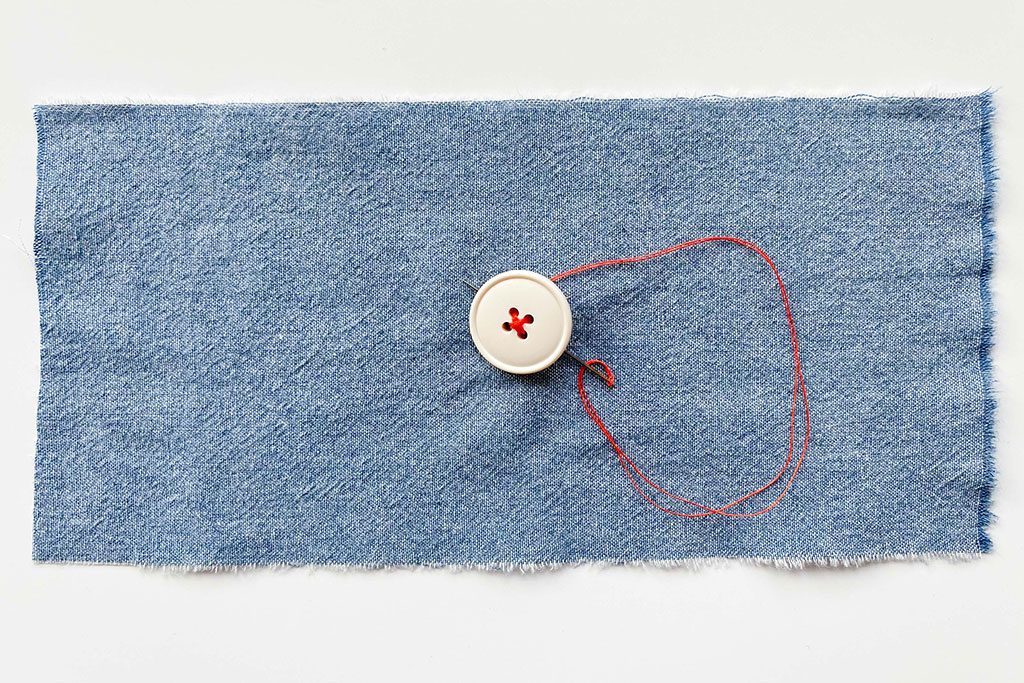
Next, pull the needle through a hole in your button and thread it through the next hole, but not through the fabric. If your button has 4 holes, this is when you can choose to make an X or a square shape. Here, we made an X.
Here is what it should look like. You’ll only be sewing on the right side of the garment.

Leave a small space between the button and garment. This creates the stem, so that you can easily button your garment closed.
Stitch 2-3 more times.
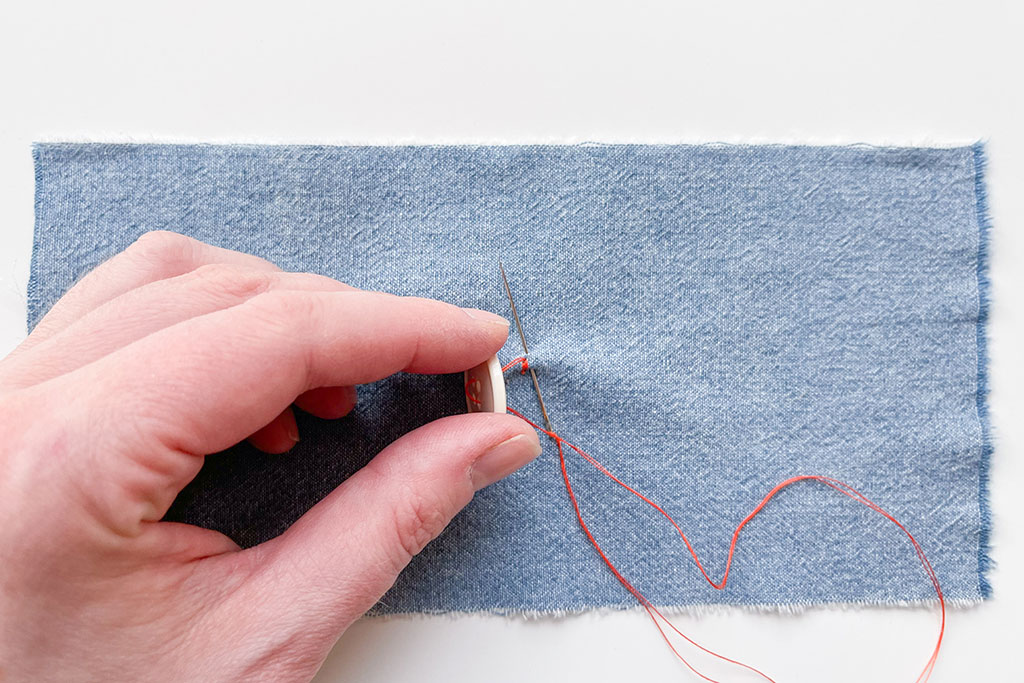
Remember, each time you stitch, you are not going up and down through the fabric. Just grab a bit of fabric with your needle from the right side of the garment.
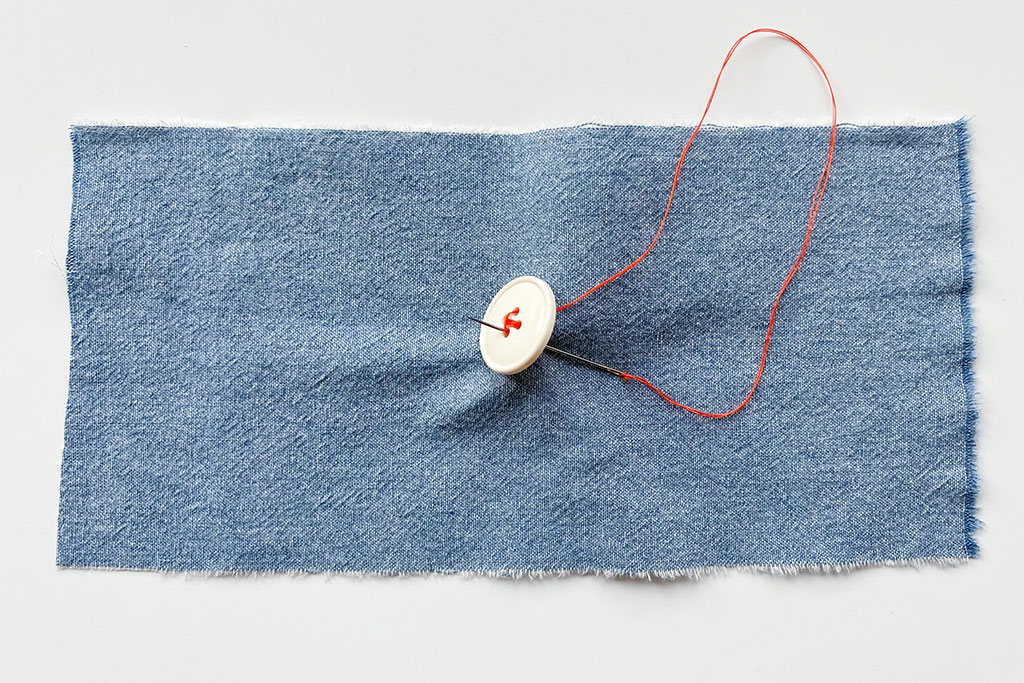
If you have a 4-hole button, repeat this for the other two holes, creating an X or a square.
When the whole button is secure, wrap the thread around the stem to strengthen it—about 3 or 4 times is enough.
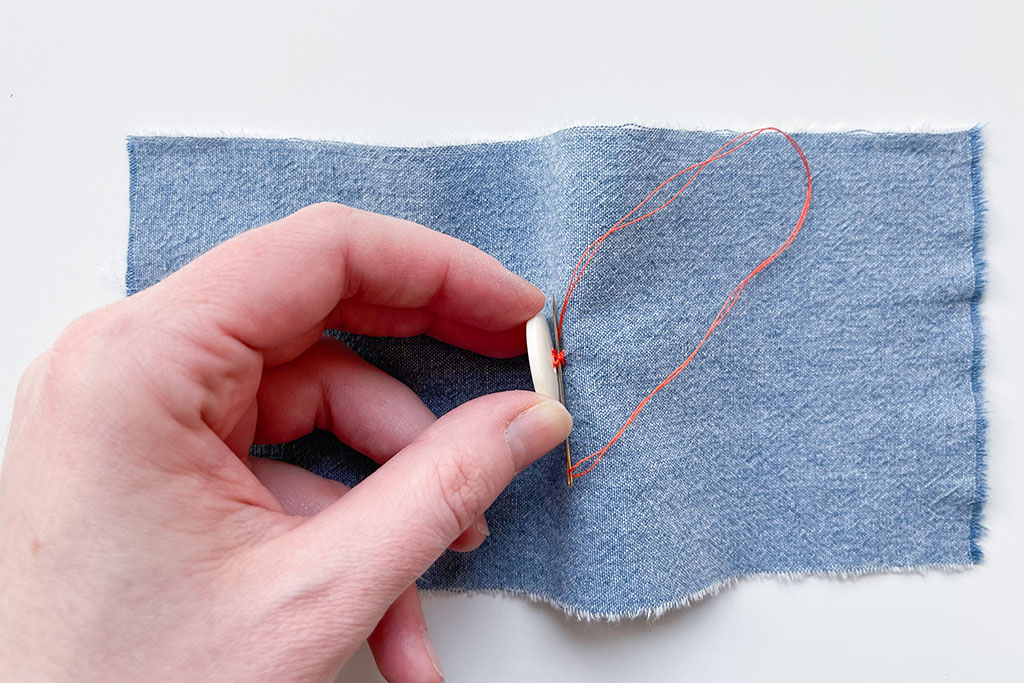
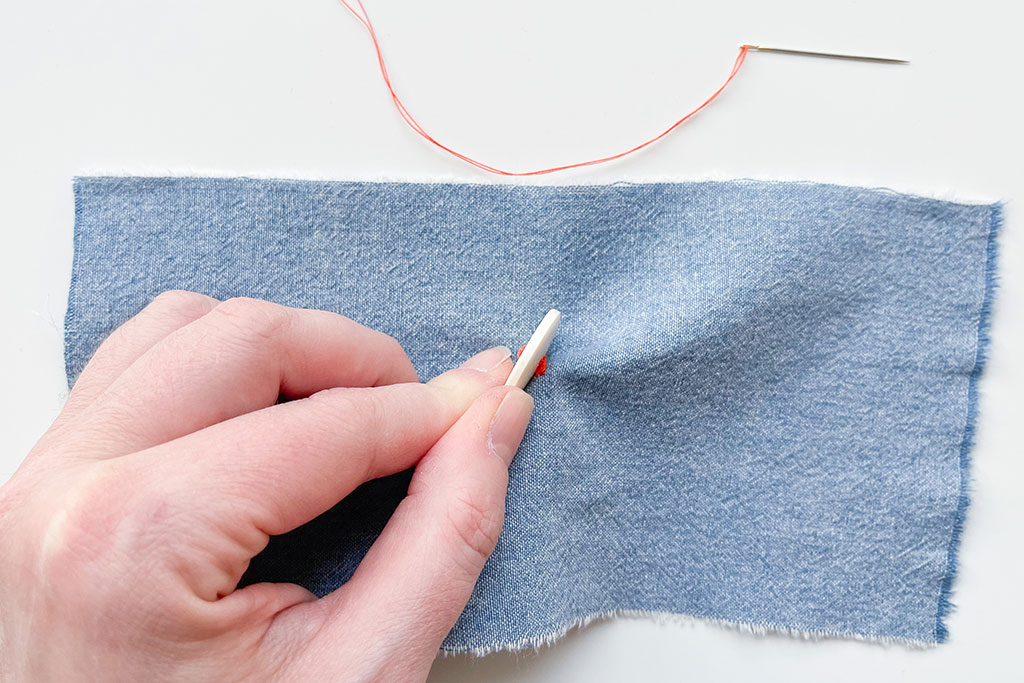
Finish by pushing the needle through the stem twice to secure the thread tail. Again, no need to knot!
You can see that you have a strong stem that will allow you to easily button up your final garment.
Here’s a view of the back.
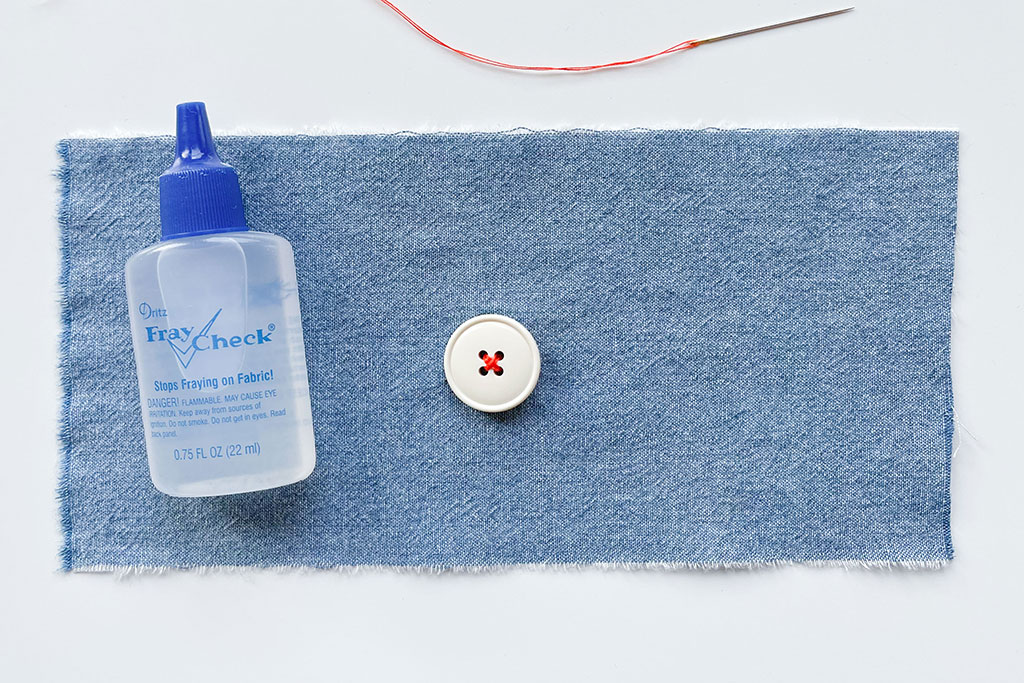
A drop of fray check never hurts if you want to secure your buttons even more.
Our Favorite Machine-Sewing Method
To sew a button on your machine, you'll be using a zigzag stitch with the stitch width set to the amount of space between the holes and the stitch length set to 0.
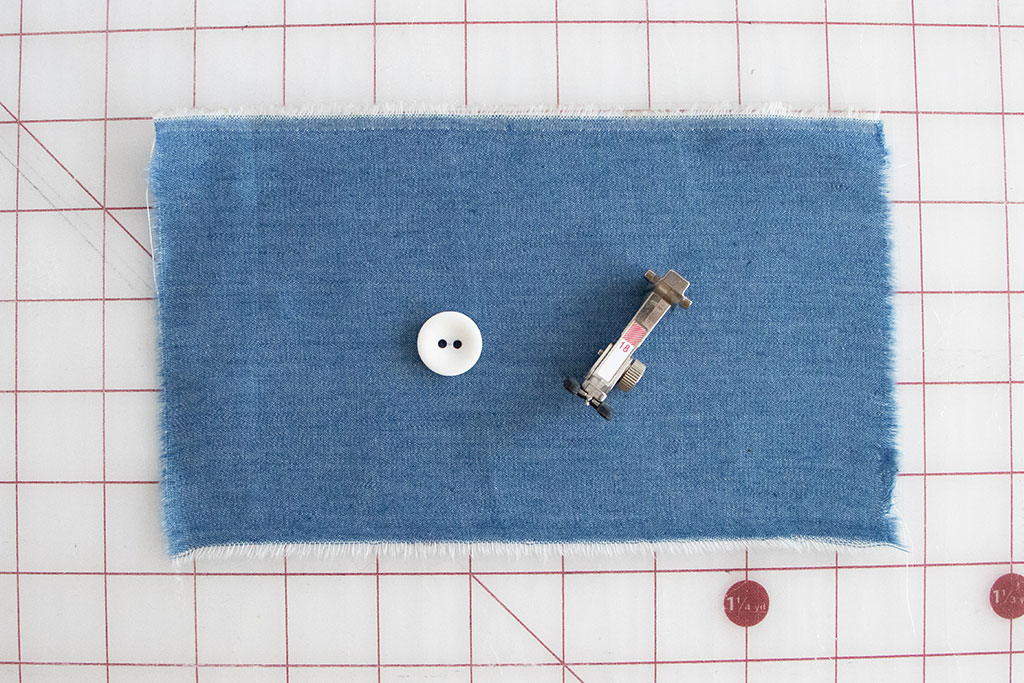
Do you need a fancy button foot to use your machine to sew a button? Nope. You can use a little bit of clear tape to keep your buttons in place if necessary.
First, set your stitch length to 0. Depending on your machine, you may have to lower the feed dogs. Test for any tugging or tension when you sew. You don’t want the feed dogs to move your button forward.

Place your button on the fabric and lower your presser foot to hold it in place. Next, use your hand wheel to place the needle in the first hole, crank it once, and then adjust your stitch width to set the needle directly above the second hole. For example, your stitch width might be 4, but your stitch length will always be 0.
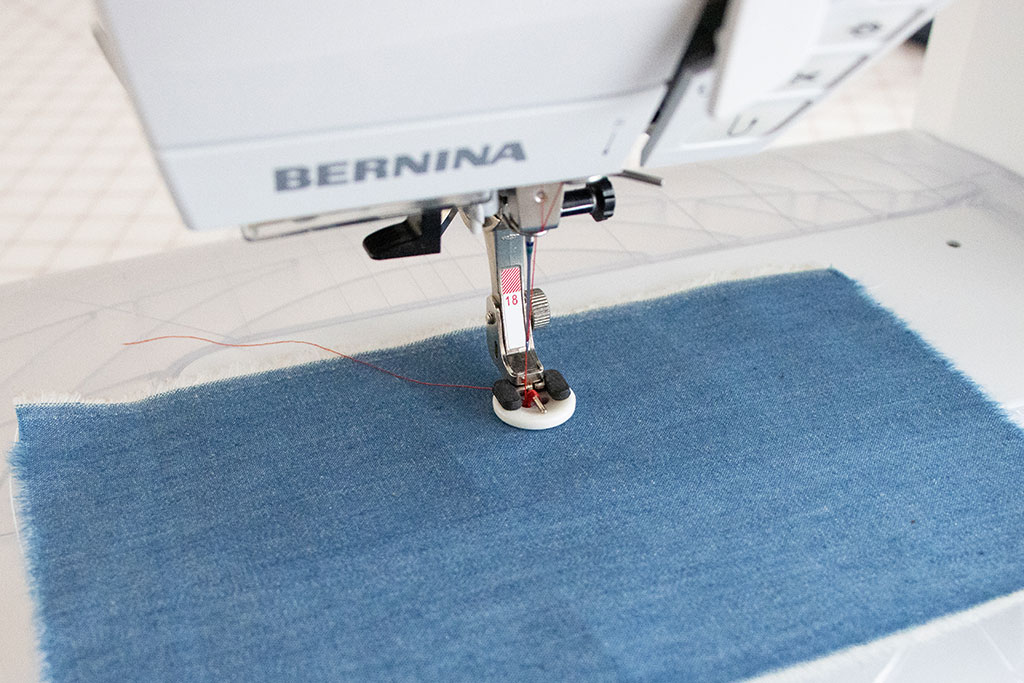
Start slowing slowly, and once you double-check that your needle won’t break on the button, continue for about 10 stitches. If you are using a 4-hole button, secure the next 2 holes.
Pull the thread to the wrong side of your garment and tie it to secure.
Love the article? Pin it for later.