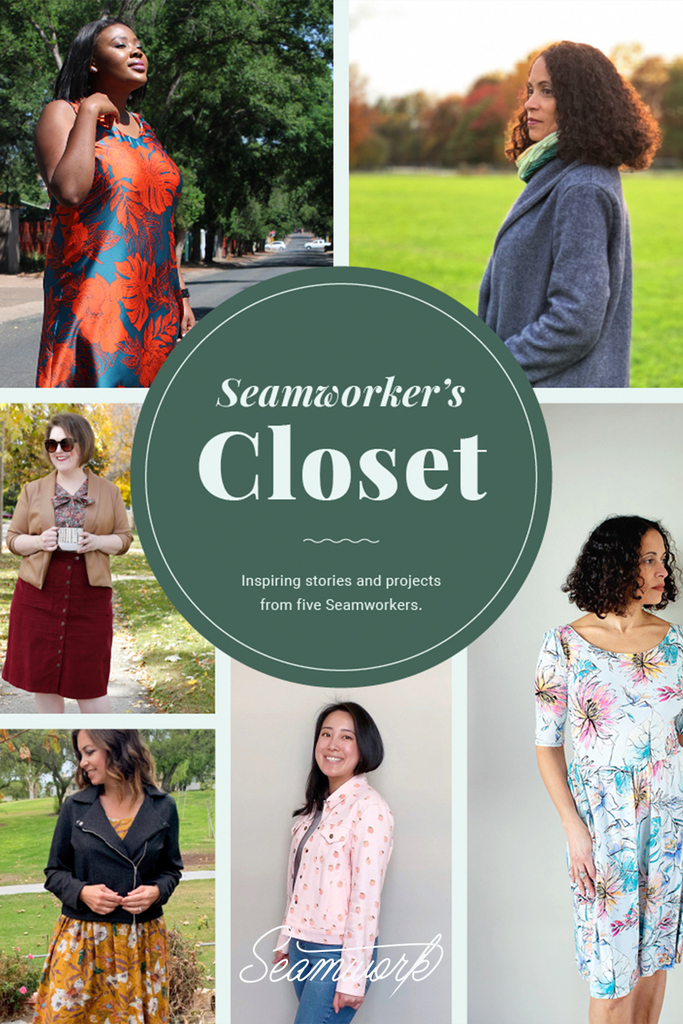
There is a powerful sense of community among people who sew—we share the same excitement when finishing a garment, run into the same questions about tricky sewing techniques, and we love to geek out over fabric. Seeing finished sewing projects can help get ideas flowing, and over the past five years, we’ve been honored to feature many Seamworkers in the pages of Seamwork.
In Seamworker’s Closet, these makers invite us into their handmade wardrobes, for a closer look at their projects, fitting adjustments, and the lessons they learned while sewing.
Being able to see and share all of your different sewing stories is one of the most important and inspiring things we do here at Seamwork, so thank you for sharing your work with us—and the sewing community around the world.
To celebrate five years of Seamwork, here is the work of five Seamworkers. They’ll share their sewing stories alongside some of their favorite Seamwork makes.
Katiusca
I started sewing over ten years ago when I was going to get married, and I wanted to create gifts for my bridesmaids. I created ten bags for them, and my sewing journey was sealed.
In the beginning, I mostly made bags, because I was obsessed with them, but as my interests changed, so did my curiosity for what other things I could make. About three years ago, I decided to try making my own clothes and it’s the best decision I have made!
Sewing my own clothes is important to me because, at this stage of life, I have a more defined style and a specific lifestyle. Making my own clothing allows me to be intentional and sew items that will fit and be versatile enough for my everyday life.
Follow my sewing on Instagram @betweenthesestitches.
My Style in Three Words
Modern
Comfortable
Fitted
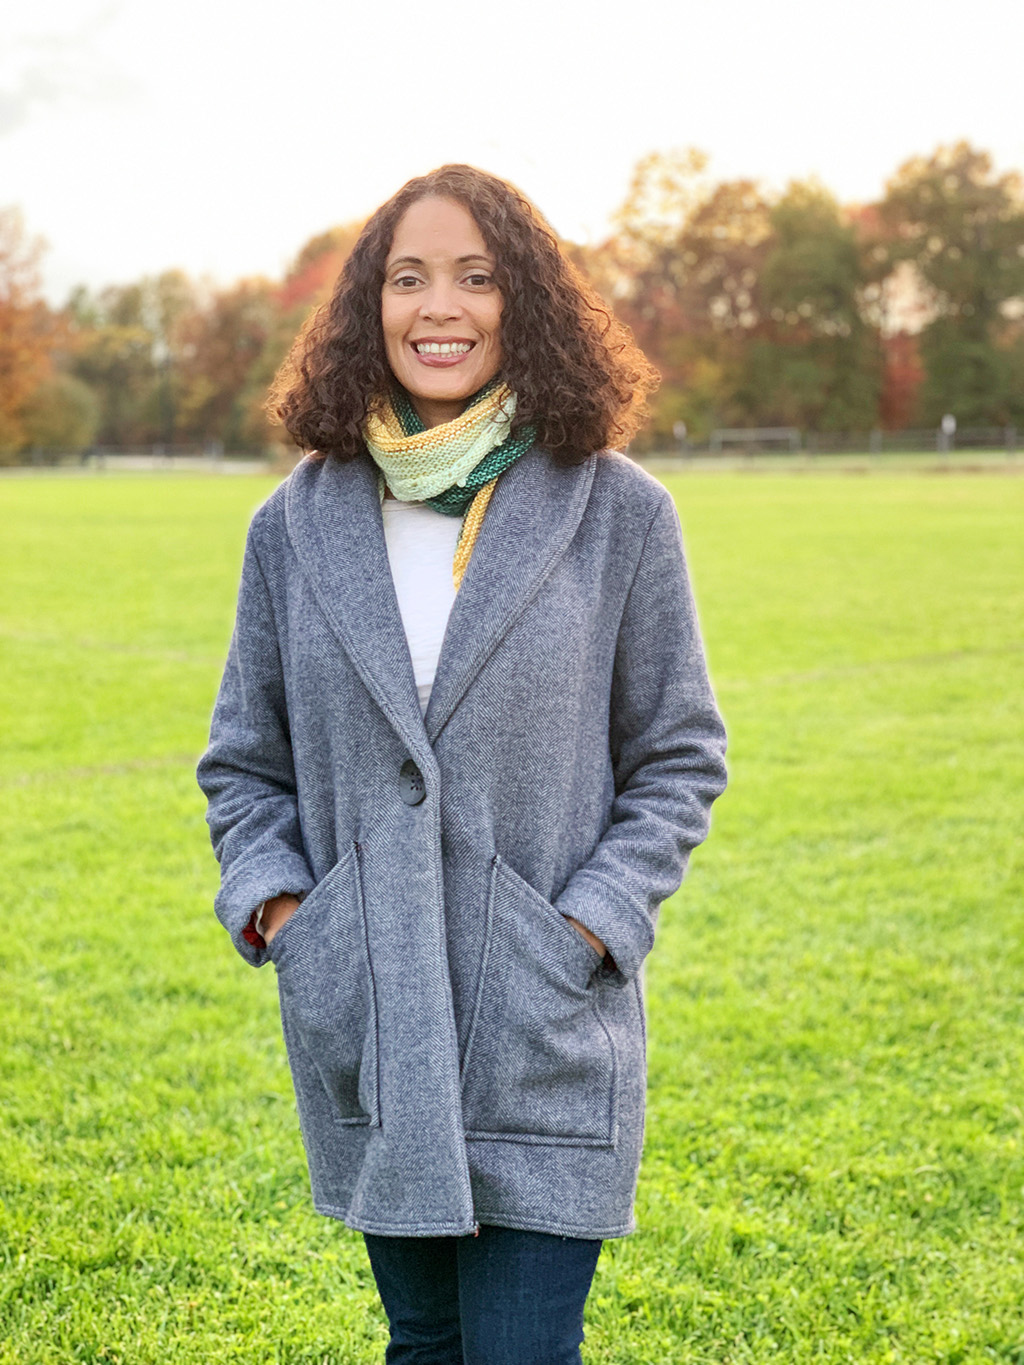
Jill Coatigan
Pattern: Jill
Fabric: Wool blend
Adjustments: I added sleeve cuffs and created a back yoke and pleat. I also lined the inside with flannel because I wanted it to be a heavier weight type of coat. I recently added a button to help keep it closed.
Lessons learned: With this project, I learned about lining a coat. I really wanted my coatigan to work through the end of fall and beginning of winter, so adding a flannel lining was important to me. I was definitely intimidated about making a coat, but this really helped ease my fears, and it turned out really well!
Making my own clothing allows me to be intentional and sew items that will fit and be versatile enough for my everyday life.
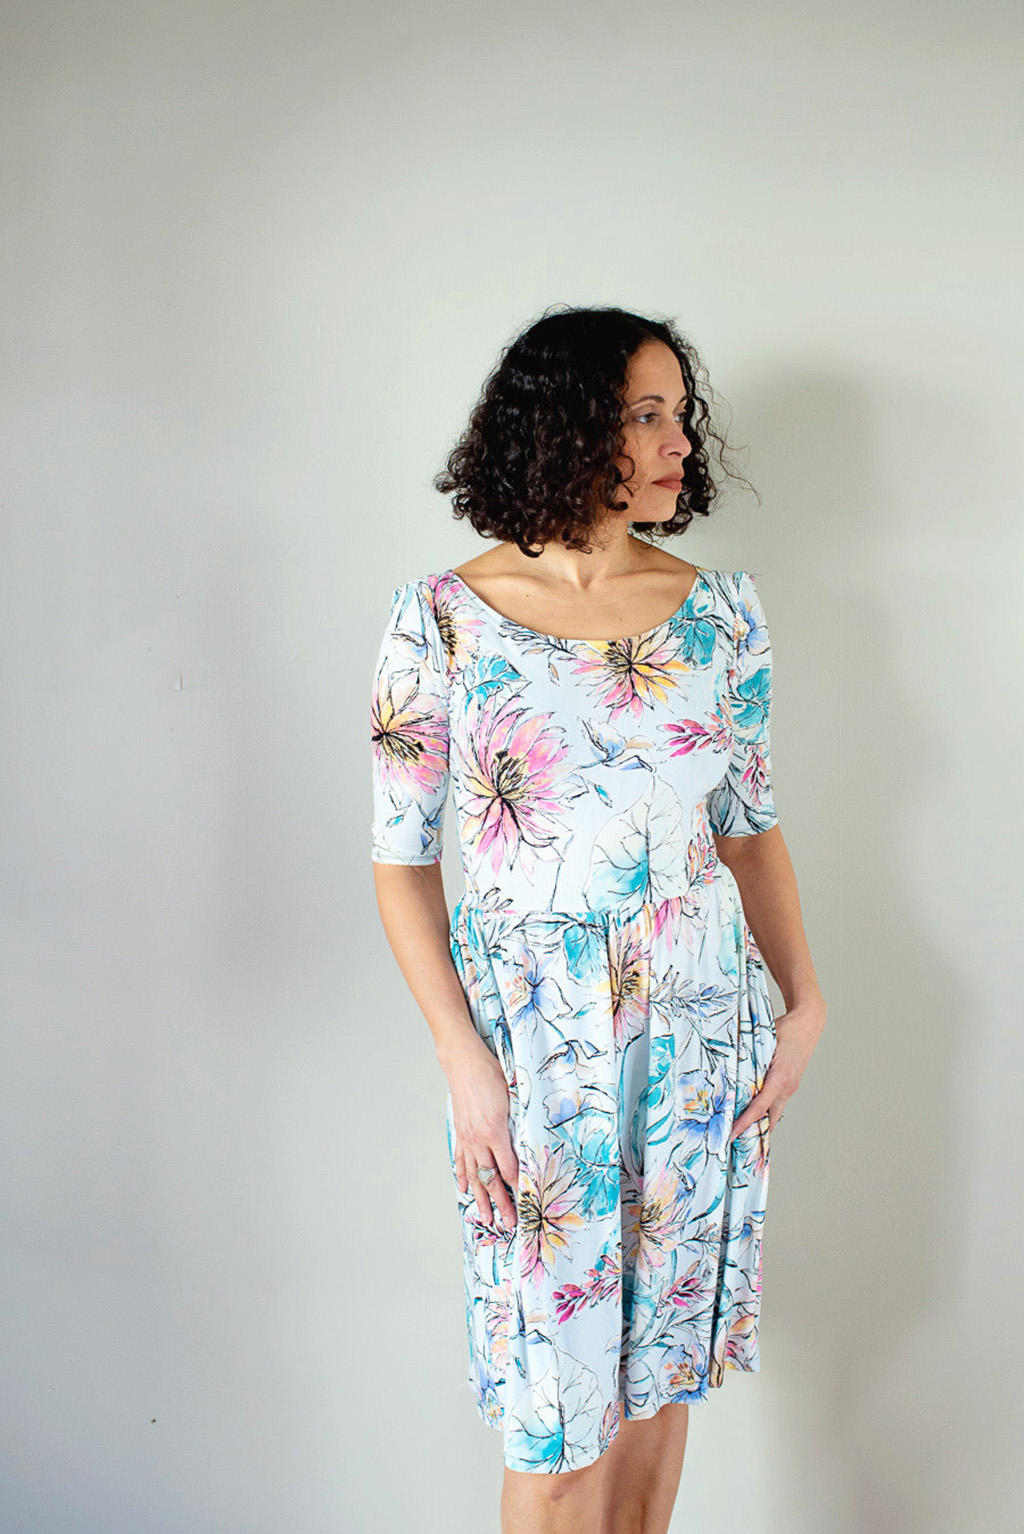
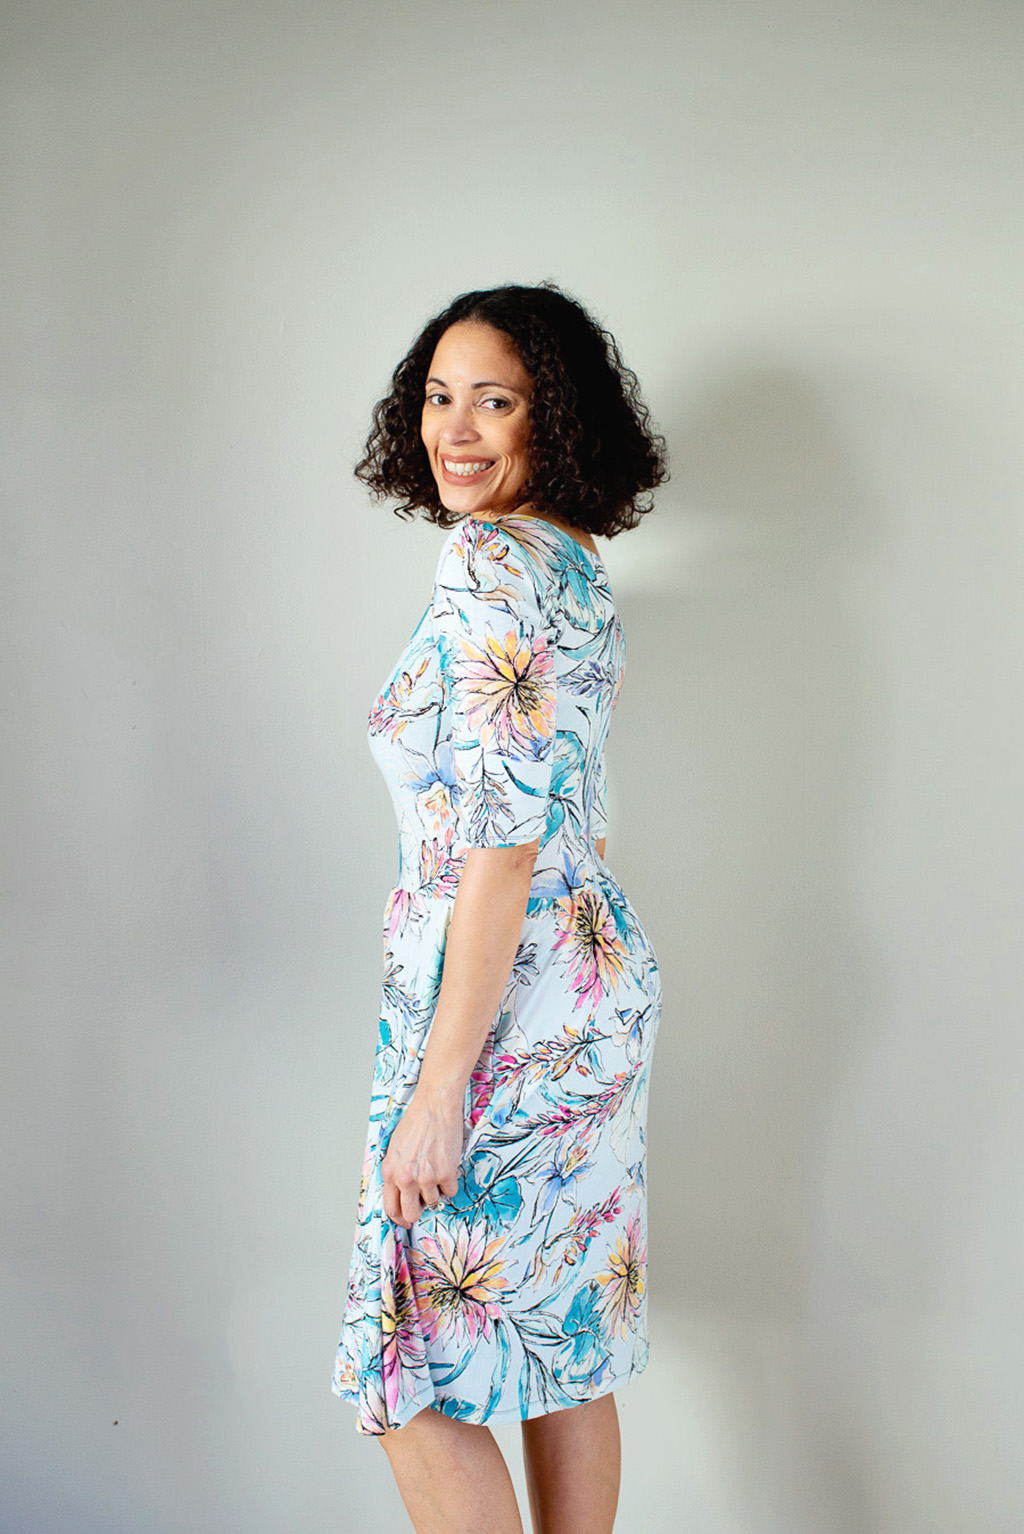
Moneta Dress
Pattern: Moneta
Fabric: Floral jersey knit
Adjustments: I had to shorten the hemline so that the pattern could hit above my knees.
Lessons learned: I learned that sewing with knit fabrics is not as difficult as it seems. I ended up buying a walking foot to help sew some of the seams. I also learned how to use a serger to make a gathered waist.
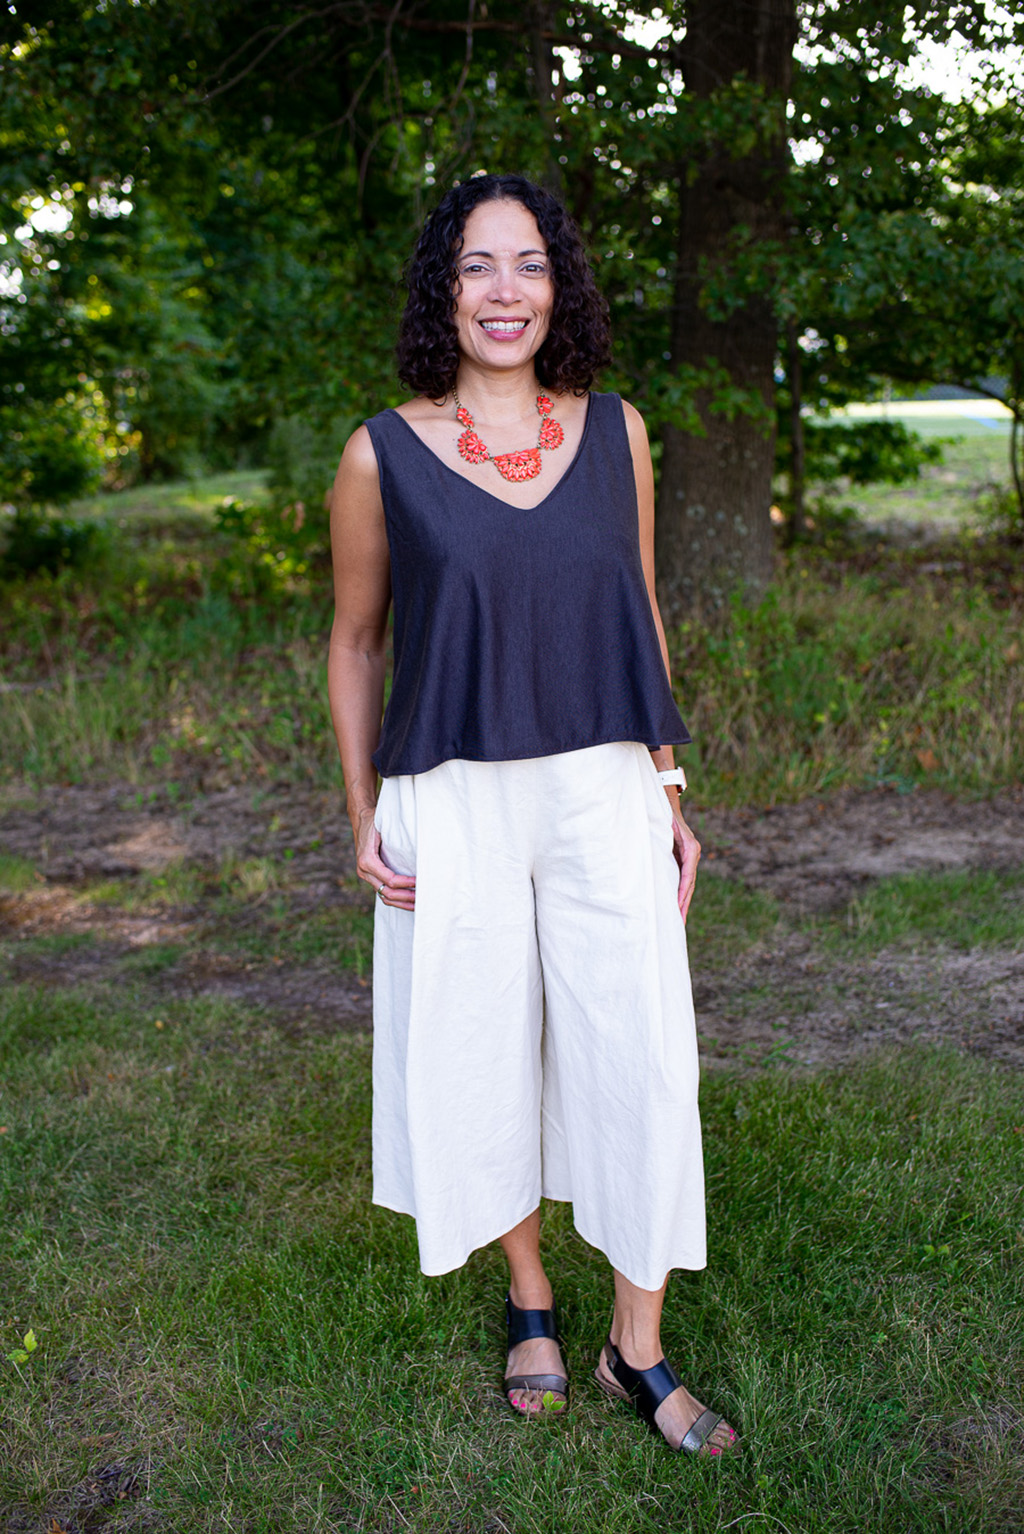
Marett Pants
Pattern: Marett
Fabric: Linen
Adjustments: I shortened the pants to make them culottes for summer wear.
Lessons learned: I found the pants to be challenging mostly because of my waist. I have a curved back, and many pants don’t fit me well because there is usually a gap. Marett helped me learn how to construct a waistband to fit my waist.
Kari
My mom sewed when I was young, and I loved looking at her sewing patterns and notions while she worked on projects. I started using the sewing machine when I was about nine, creating clothes for my dolls. Throughout the years, I have sewed everything from curtains to Halloween costumes for my two sons.
I really started to get serious about sewing my own wardrobe about two years ago when I realized that I’d had the skills all along, but had been too intimidated to take the plunge. I love being able to have an idea for a garment and then bring it to life with my own two hands.
I love the challenge of a new project. Sewing is the part of my life that I do just for myself, and I find it very fulfilling. And replying to a compliment with “Thanks, I made it!” is the icing on the cake!
I have found that by planning my sewing projects using Seamwork patterns and Design Your Wardrobe, I have been able to create clothes that are versatile and that I really enjoy wearing! I never dreamed that I would get to a point where I am wearing at least one garment that I made every day!
My Style in Three Words
Pretty
Polished
Practical
Follow my sewing on Instagram @littlebrickhouse.
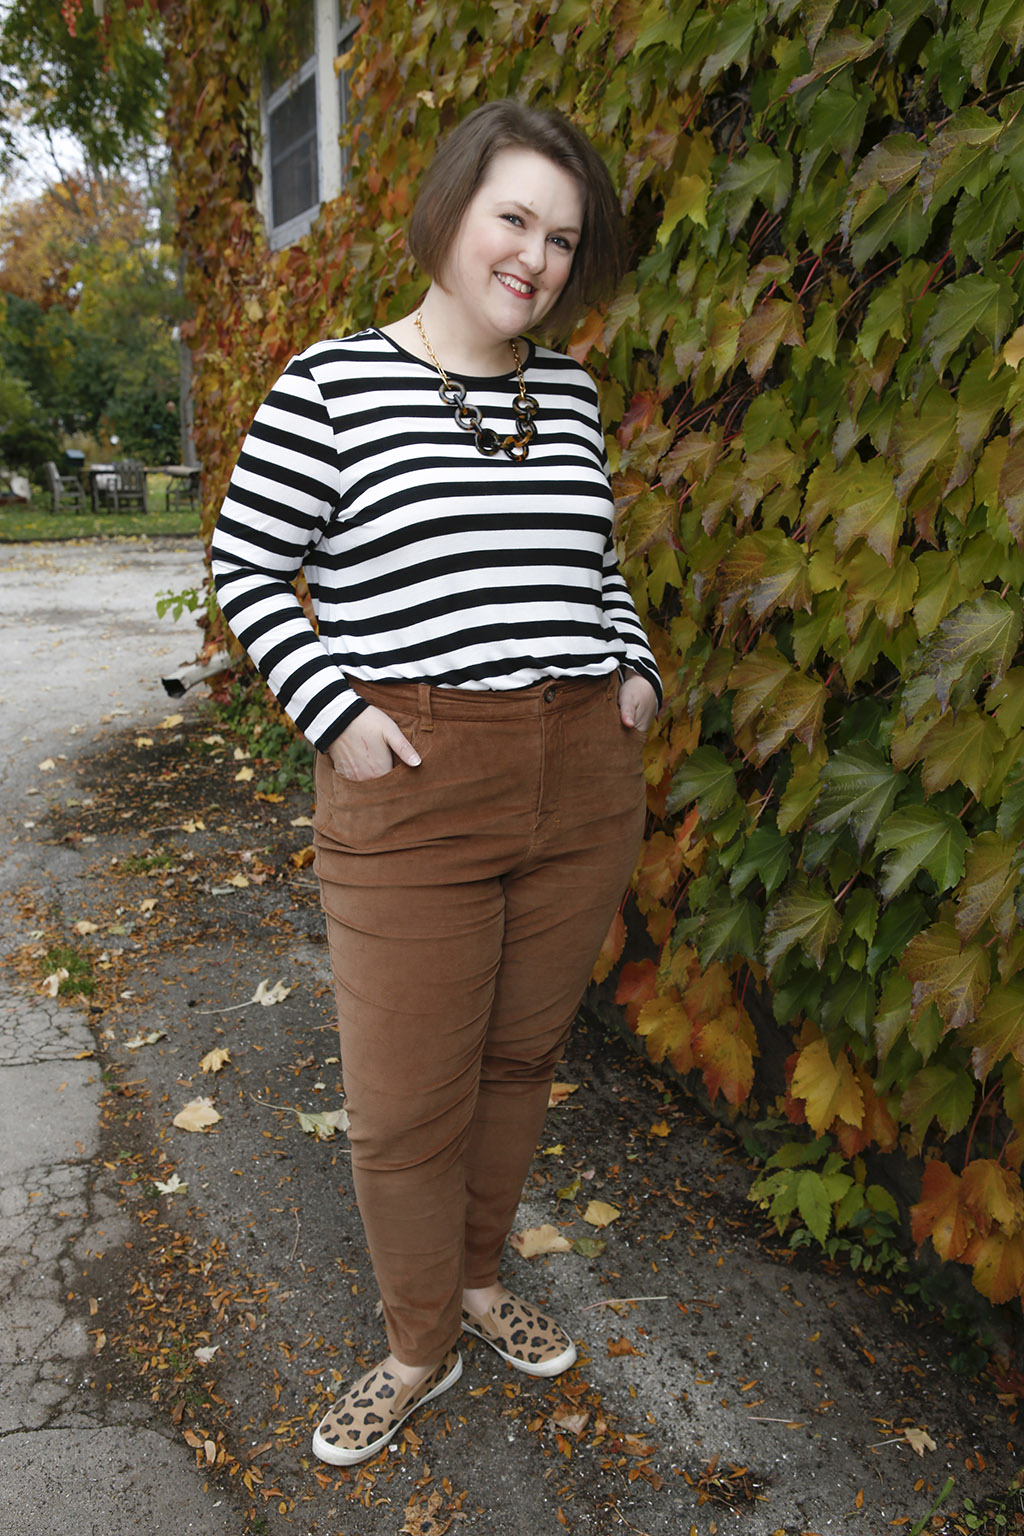
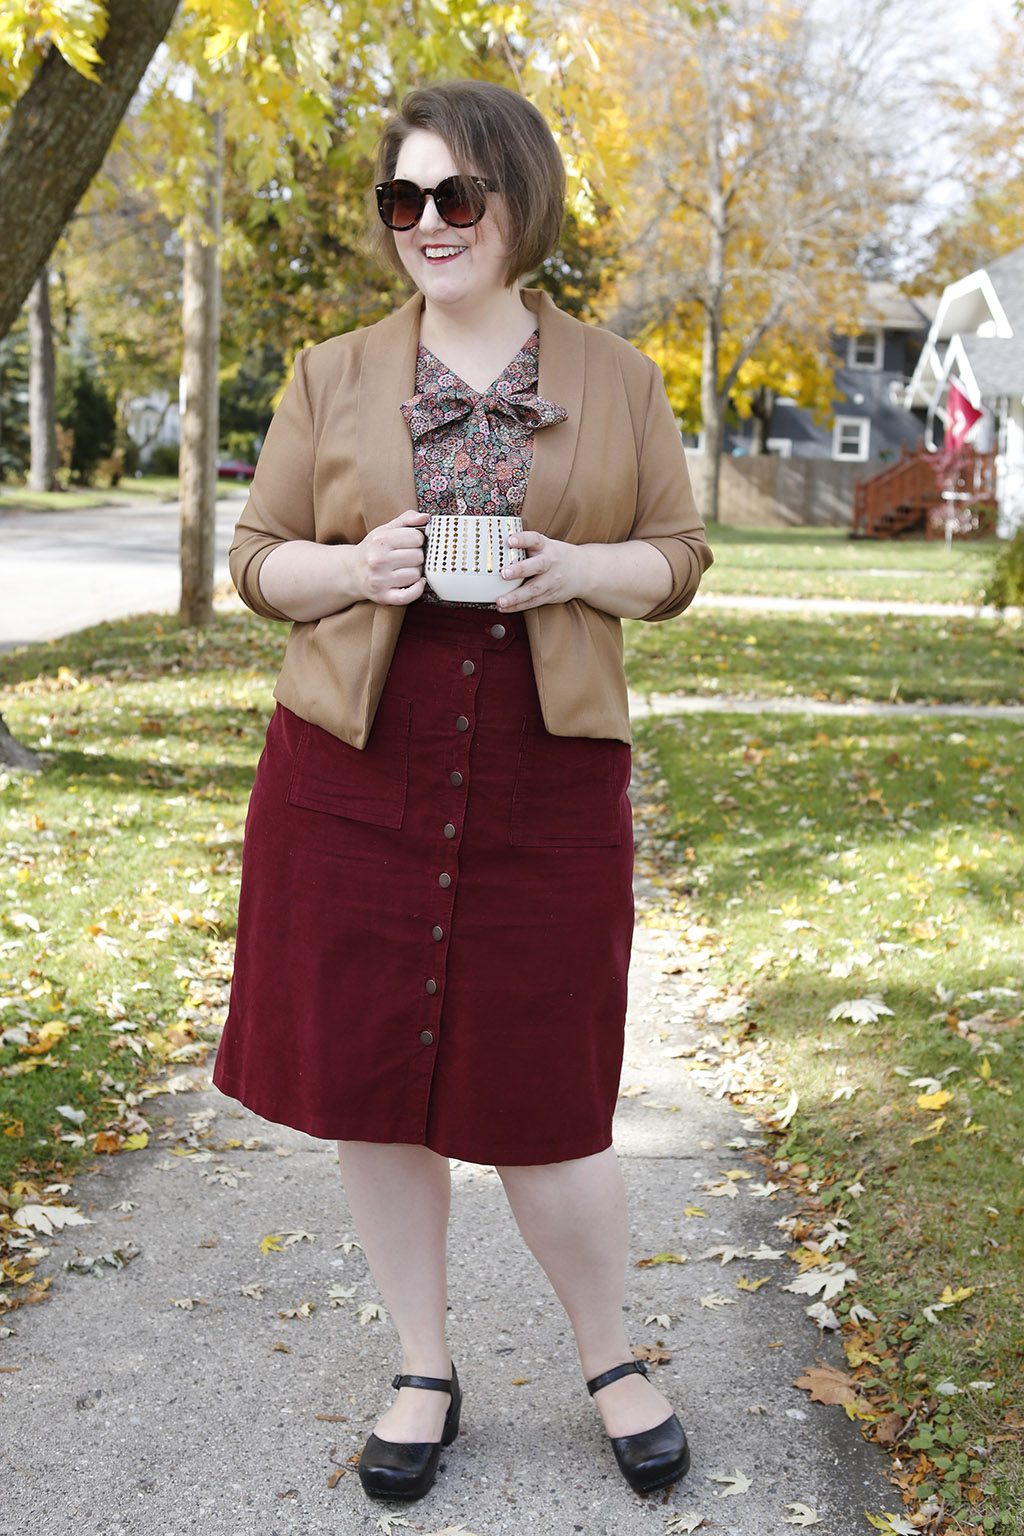
Delavan Blazer + Addison Blouse + Leonora Skirt
Pattern: Delavan
Fabric: Wool gabardine
Adjustments: Full bicep adjustment
Lessons learned: I learned how to make a back vent, and I hand sewed all the hems.
Pattern: Addison
Fabric: Vintage cotton
Adjustments:Member bonus tie neck
Pattern: Leonora
Fabric: Corduroy
Adjustments: Lengthened 5”, removed darts
Lessons learned: I learned that corduroy stretches a LOT while wearing! Always allow for fabric “give” when fitting garments.
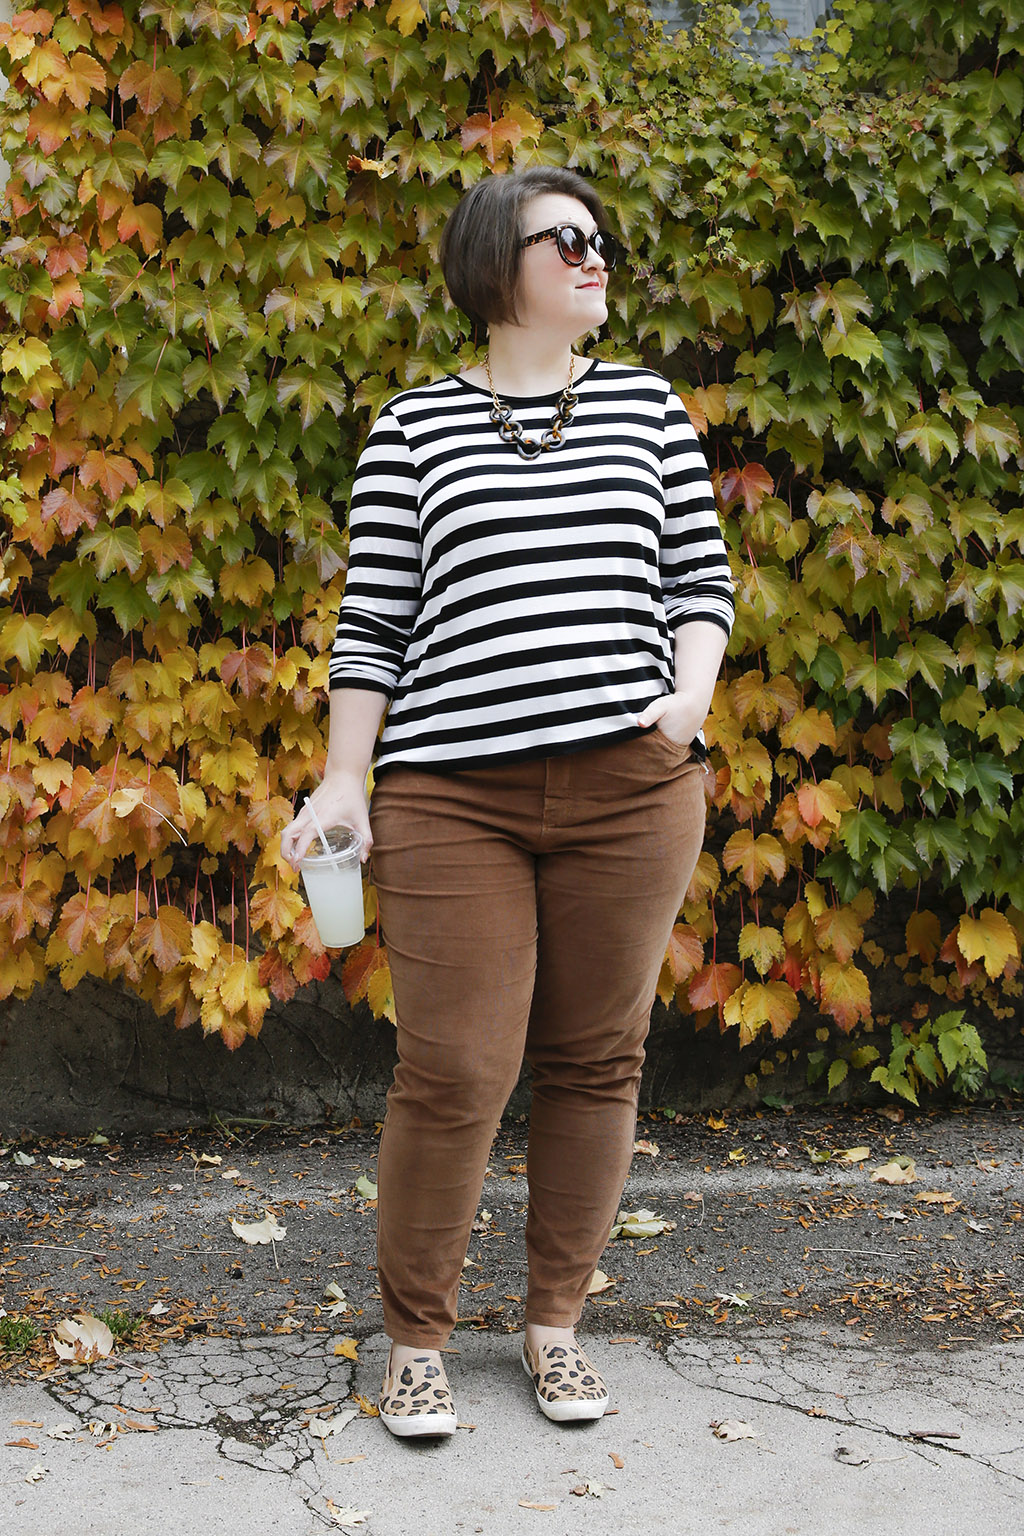
Piedra Top + Tessa Jeans
Pattern: Piedra Dress (as a top)
Fabric: Poly-knit
Adjustments: Hacked into a top, cut the back on the fold, bound the neck rather than adding a neckband.
Lessons learned: I love the easy fit of the Piedra dress and thought it would be fun to try it as a top!
Pattern: Tessa
Fabric: Stretch corduroy
Adjustments: Used the member bonus pattern, but slimmed the leg down even more, created pocket stays using the instructions on Closet Case Patterns’ Ginger Jeans sewalong.
Lessons learned: How to draft and sew pocket stays.
I love being able to have an idea for a garment and then bring it to life with my own two hands.
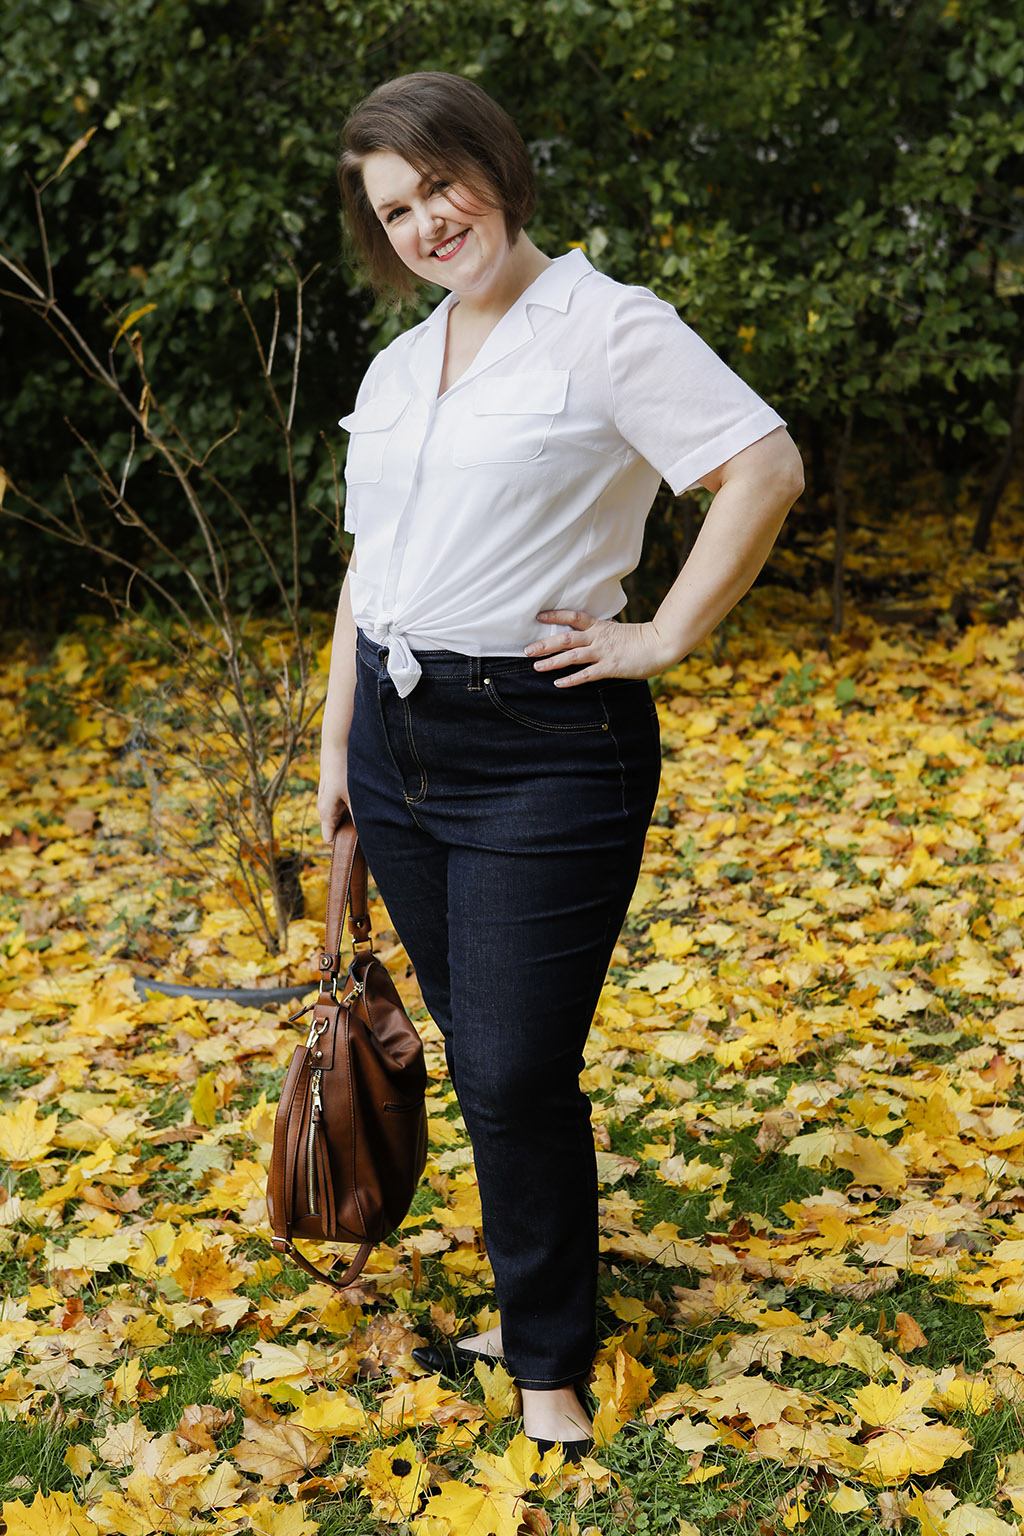
Natalie Shirt + Tessa Jeans
Pattern: Natalie
Fabric: Cotton shirting
Adjustments: I used the bonus dress pieces to create a shirttail hem, added flap pockets.
Lessons learned: Patience...this fabric has a very loose weave and was challenging to sew.
Pattern: Tessa
Fabric: Stretch denim
Adjustments: Used the member bonus slim leg
Lessons learned: This was my first pair of jeans, and I learned everything about zip fly construction, topstitching, and installing jeans buttons and rivets!
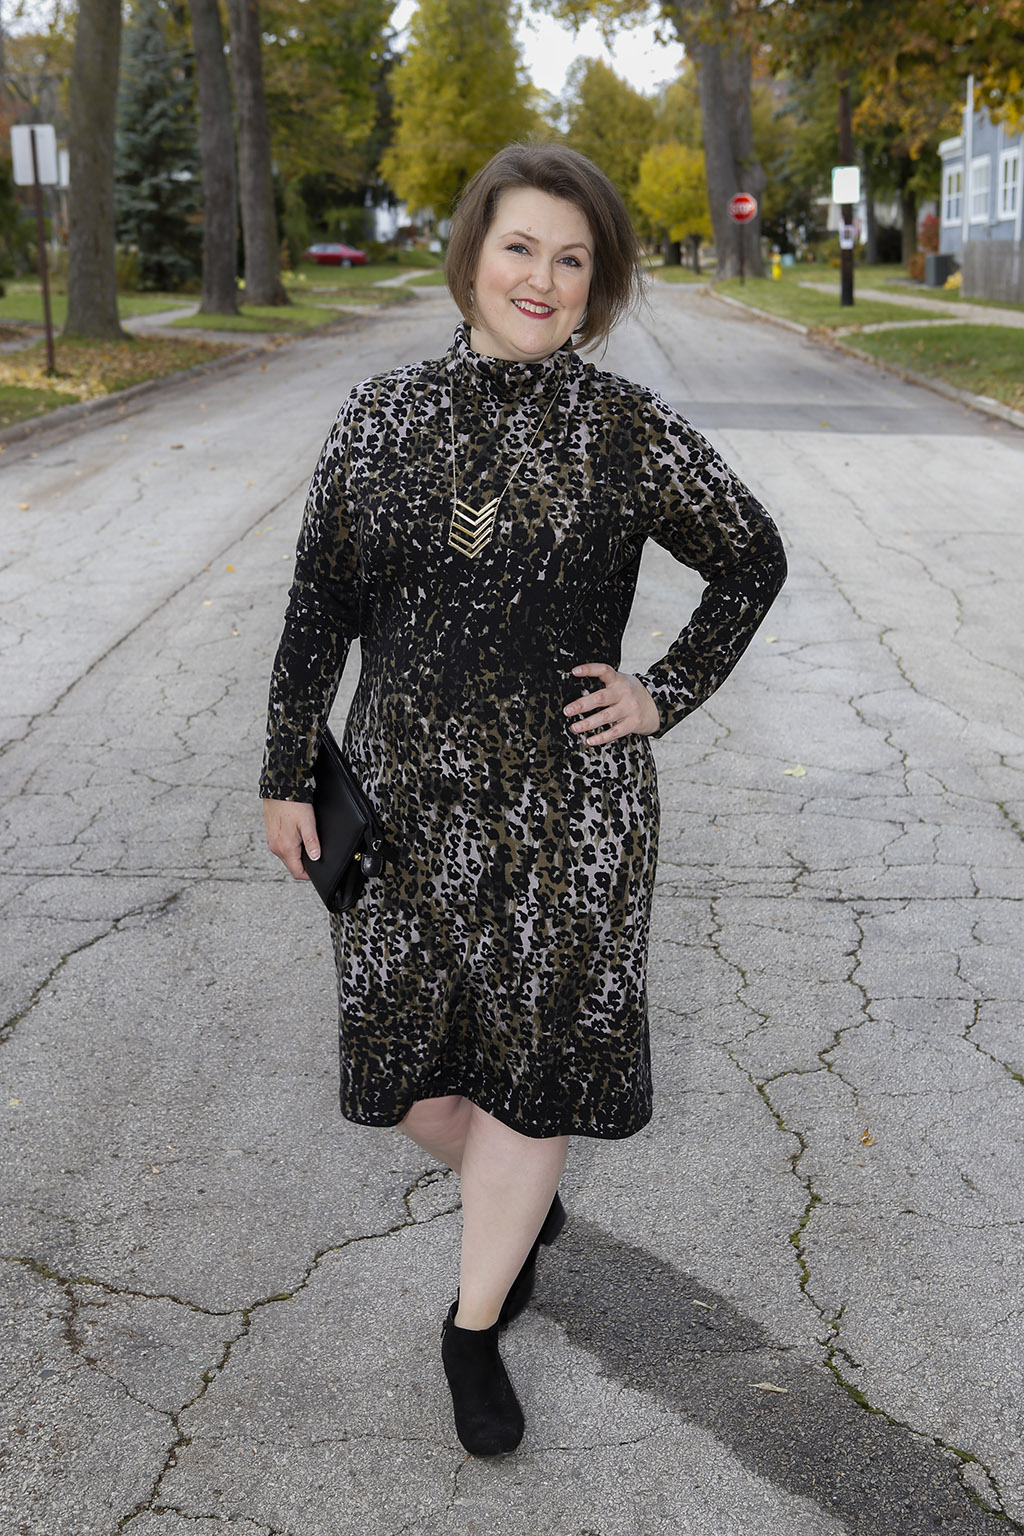
Neenah Dress
Pattern: Neenah
Fabric: Double knit
Adjustments: None!
Lessons learned: This was a very quick and easy project to sew, and I think I am going to need another Neenah this winter!
Tino
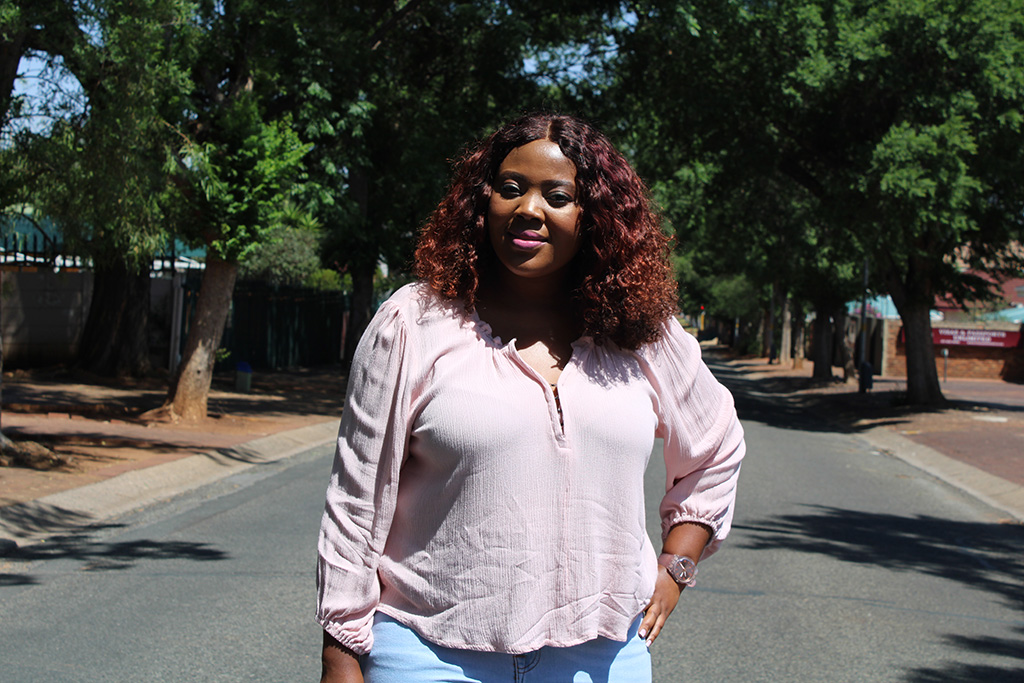
The first time I got a dress made in SeShweshwe fabric (a South African printed dyed cotton fabric) was for a traditional wedding. I fell in love with the beautiful bright prints. I wondered why we only wear these prints for special occasions—I wanted to sew normal, everyday wear in these beautiful prints.
Sewing has allowed me to make clothing that I wouldn’t ordinarily be able to buy and better express myself through my style. I want to wear a pencil shirt made from SeShweshwe fabric to work and not just for that special occasion.
My everyday job is very analytic, and I work with large amounts of data and no decision is made without the data backing it up. Sewing is my creative outlet that helps me relax and is a great confidence booster. An unexpected aspect of sewing the sewing community, I love how positive the sewing community is, and people are so willing to help and share information. I guess that’s why I love Seamwork overall. There’s a great community platform.
Follow my sewing on Instagram @sew_star_tino.
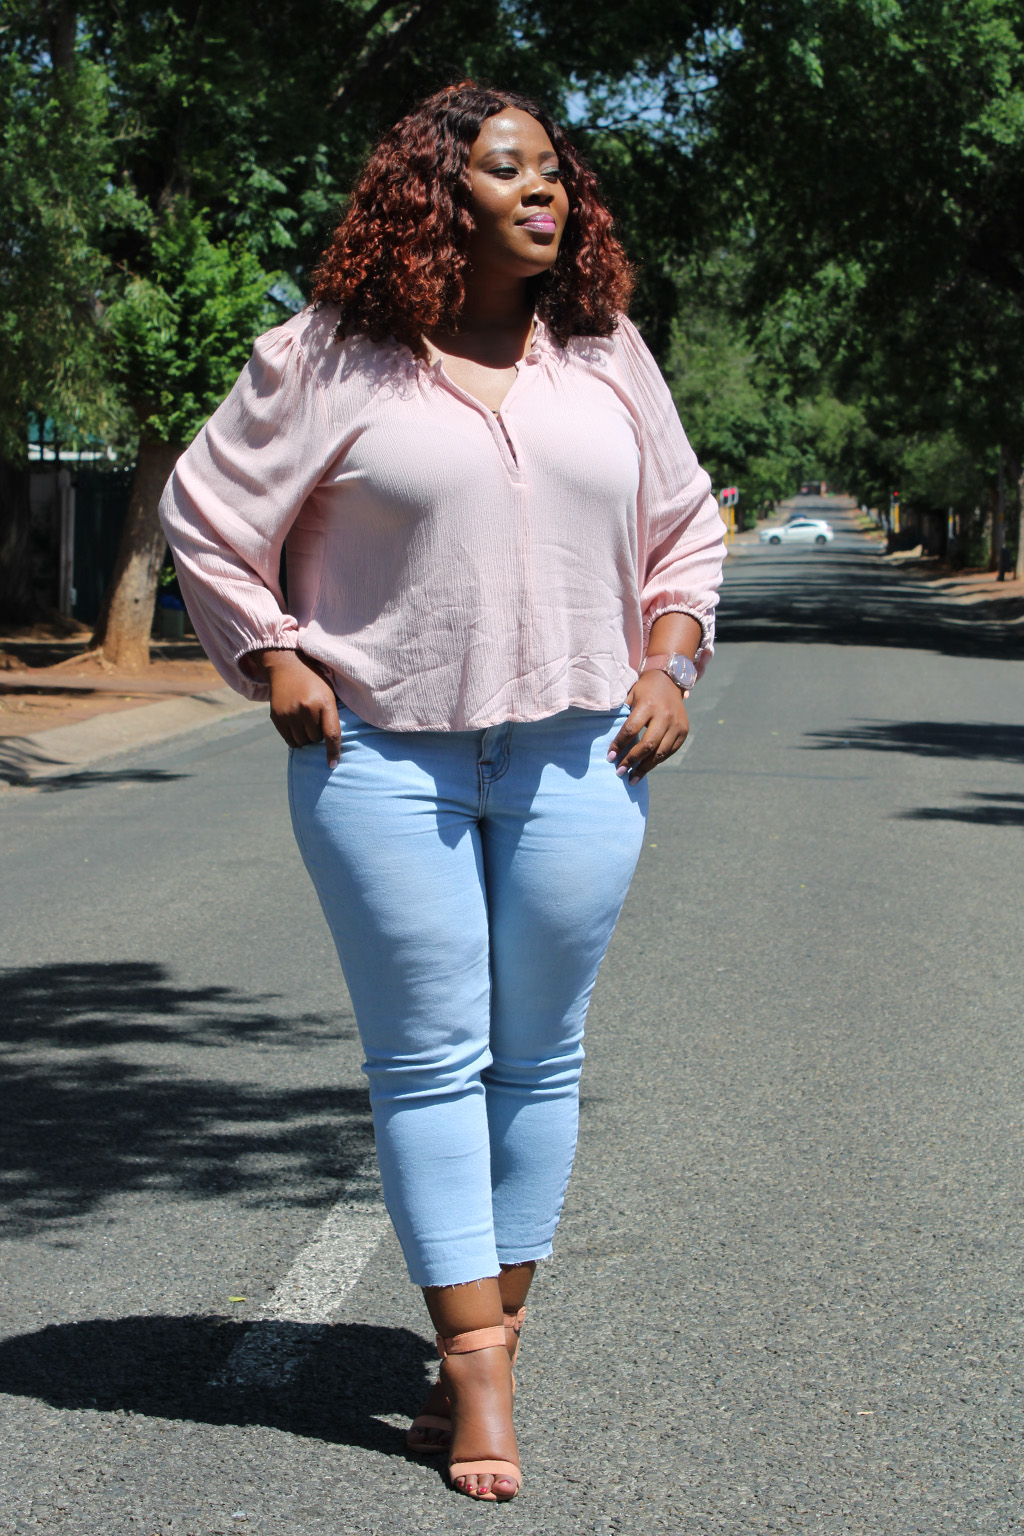
My Style in Three Words
Simple
Vibrant
Prints
Emmie Top
Pattern: Emmie
Fabric: Rayon challis
Adjustments: None—made as pattern was designed.
Lessons learned: Always wash your fabric before starting to sew—this fabric shrank by about 40%. Only after washing the fabric that you see it has a bubble/crepe effect. Luckily, I had three meters of the fabric, so I could make another one. The first make shrank to child size.
My everyday job is very analytic and I work with large amounts of data and no decision is made without the data backing it up. Sewing is my creative outlet that helps me relax and is a great confidence booster.
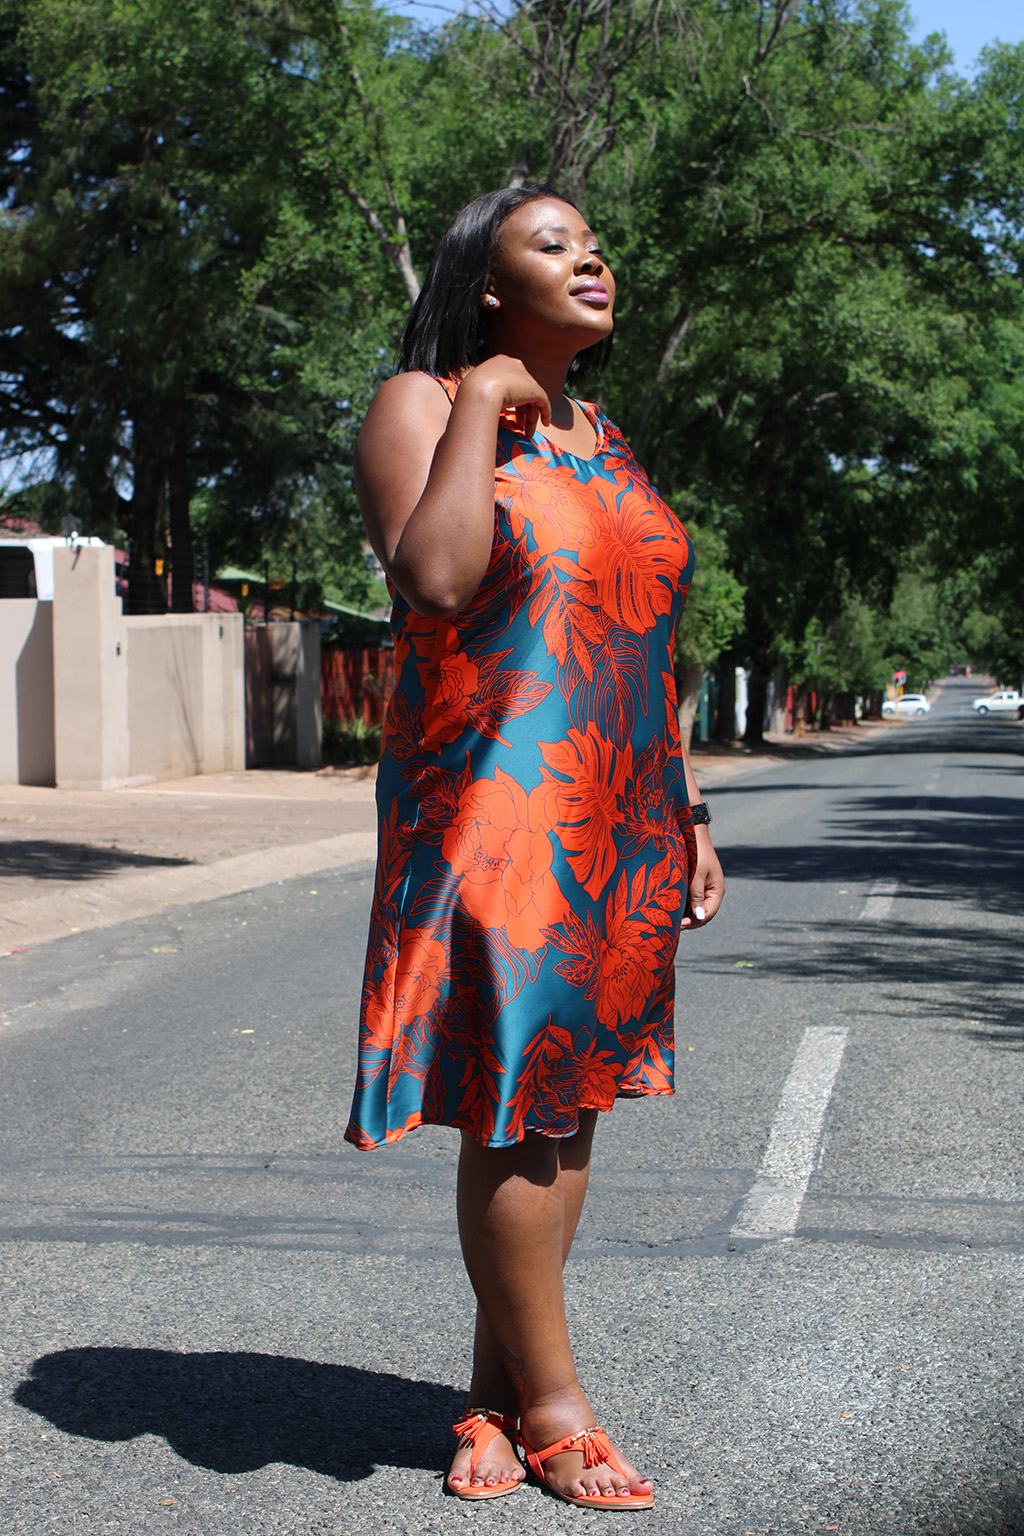
Clarke Dress
Pattern: Clarke
Fabric: Printed Armani satin
Adjustments: I hacked the Clarke cami into a dress. I changed both front and back pieces to cut on the fold and reduced the waist and hip for a semi-fitted fit.
Lessons learned: This was my first time making a dress cut on the bias. Since I wasn’t confident about how to fold the fabric on the bias, I made my pattern pieces full and lay them on the fabric on the bias.
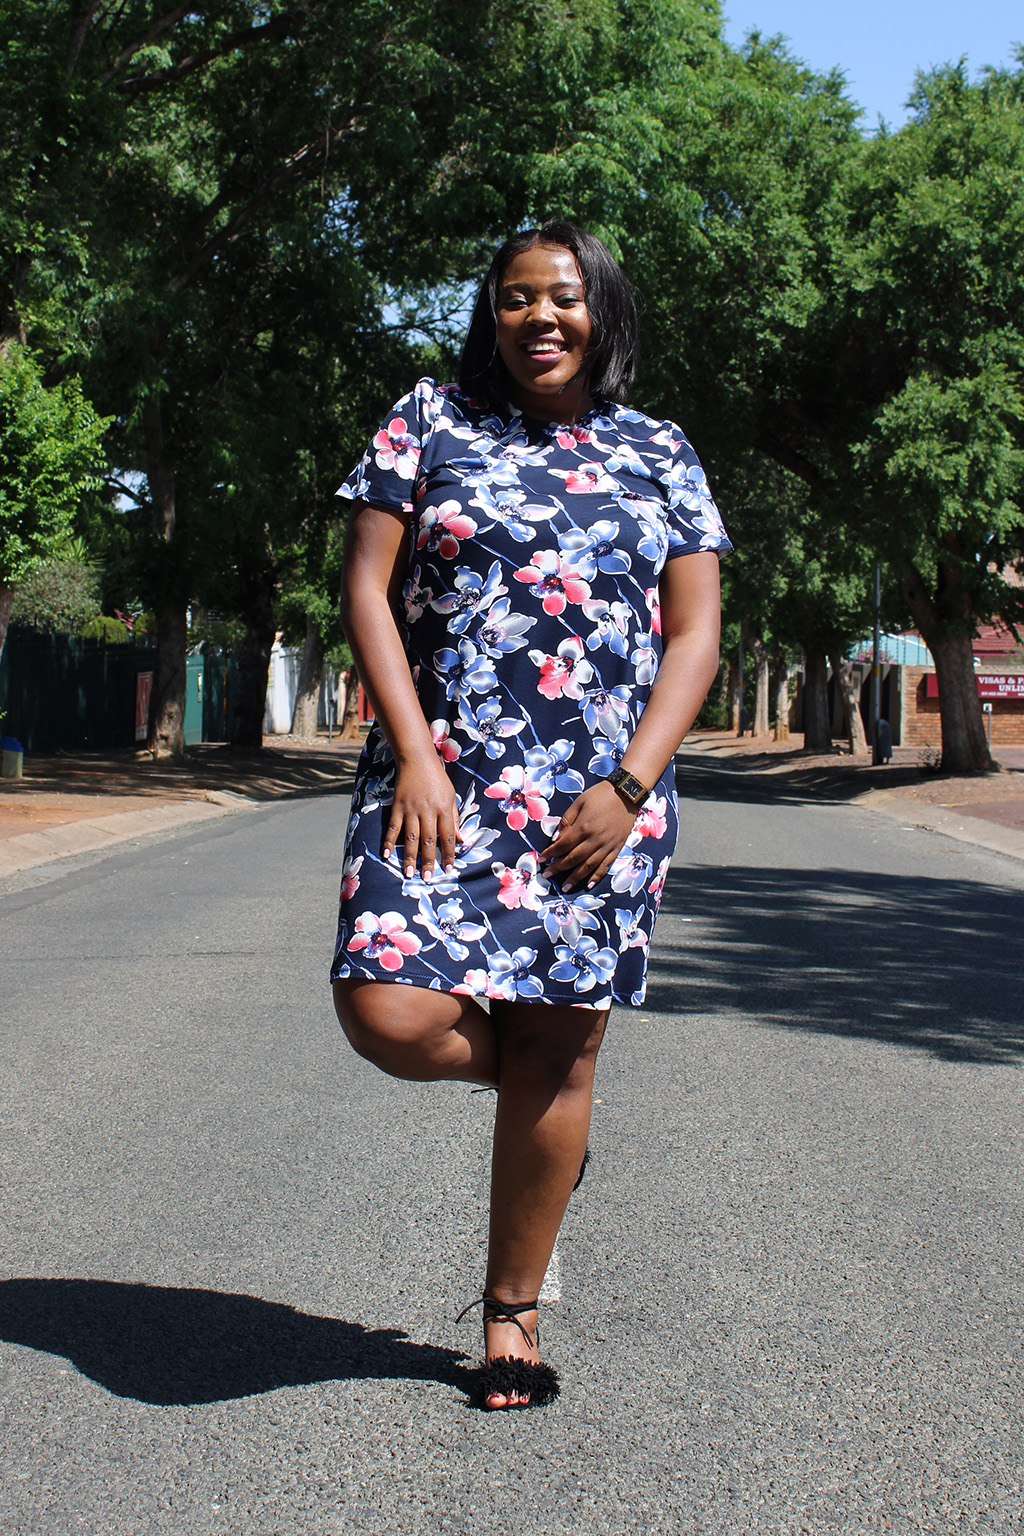
Piedra Dress
Pattern: Piedra
Fabric: Rayon spandex
Adjustments: I shortened the sleeves and the length.
Lessons learned: Sewing on a knit neckband is still a challenge for me, but this time I made sure to use lots of pins, and when sewing, I pulled the neckband and sewed very slowly.
Grace
When I was a kid, I would practice hand-sewing with fabric scraps and embroidery thread from my mom, little things like Barbie clothes and pouches. While growing up, I would attempt sewing any time there was a need for a costume, such as Halloween or a themed party, and I had way more confidence in my abilities than I probably should have!
My Style in Three Words
Casual
Romantic
Active
Soon after I was married, my mother-in-law gave me her old sewing machine, a solid workhorse of a Pfaff, and I started sewing things with straight lines, like curtains and pillow covers, always very aware that there was so much more to learn, but not a lot of free time or access to education. When I had children, in a weird way, the pace of life slowed down, and I began to make things like diaper bags and breastfeeding covers during the kids’ nap times. I really wanted to learn to make clothing, so I took a basic sewing class through my local community college to learn how to follow a pattern. That class and the growing wealth of tutorials and information on the internet has been a sewing game-changer, and now I am completely hooked and sew almost daily!
I sew for a creative outlet—I’ve always been happiest when involved in something artistic, and learning to sew my clothing has become the perfect expression of creativity for me. I love knowing that what I am making can’t be found in stores and is totally unique to me! Also, the more I sew, the better I get at fitting garments to my shape and size, so no more constantly pulling up my jeans or buying bathing suits that almost fit.
Follow my sewing on Instagram @sew.it.like.gracie.
I sew for a creative outlet—I’ve always been happiest when involved in something artistic, and learning to sew my clothing has become the perfect expression of creativity for me.
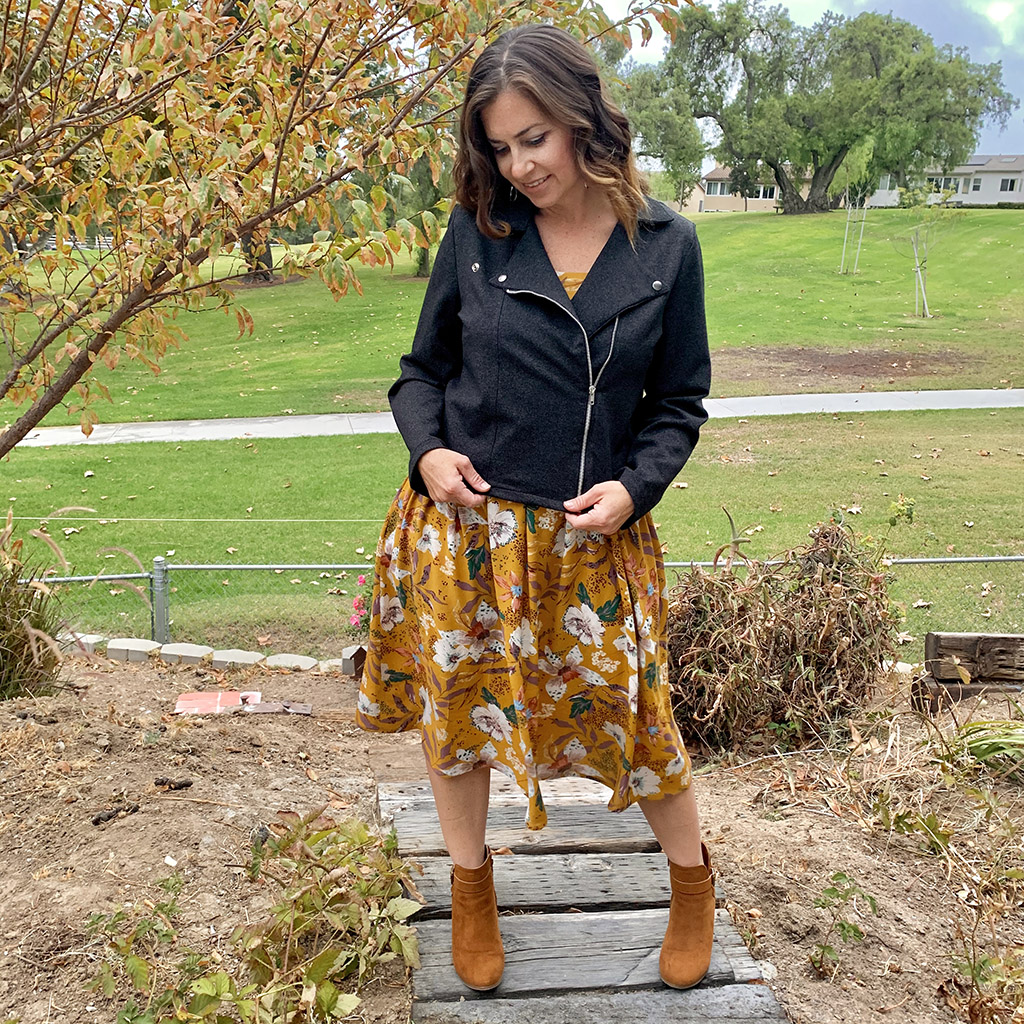
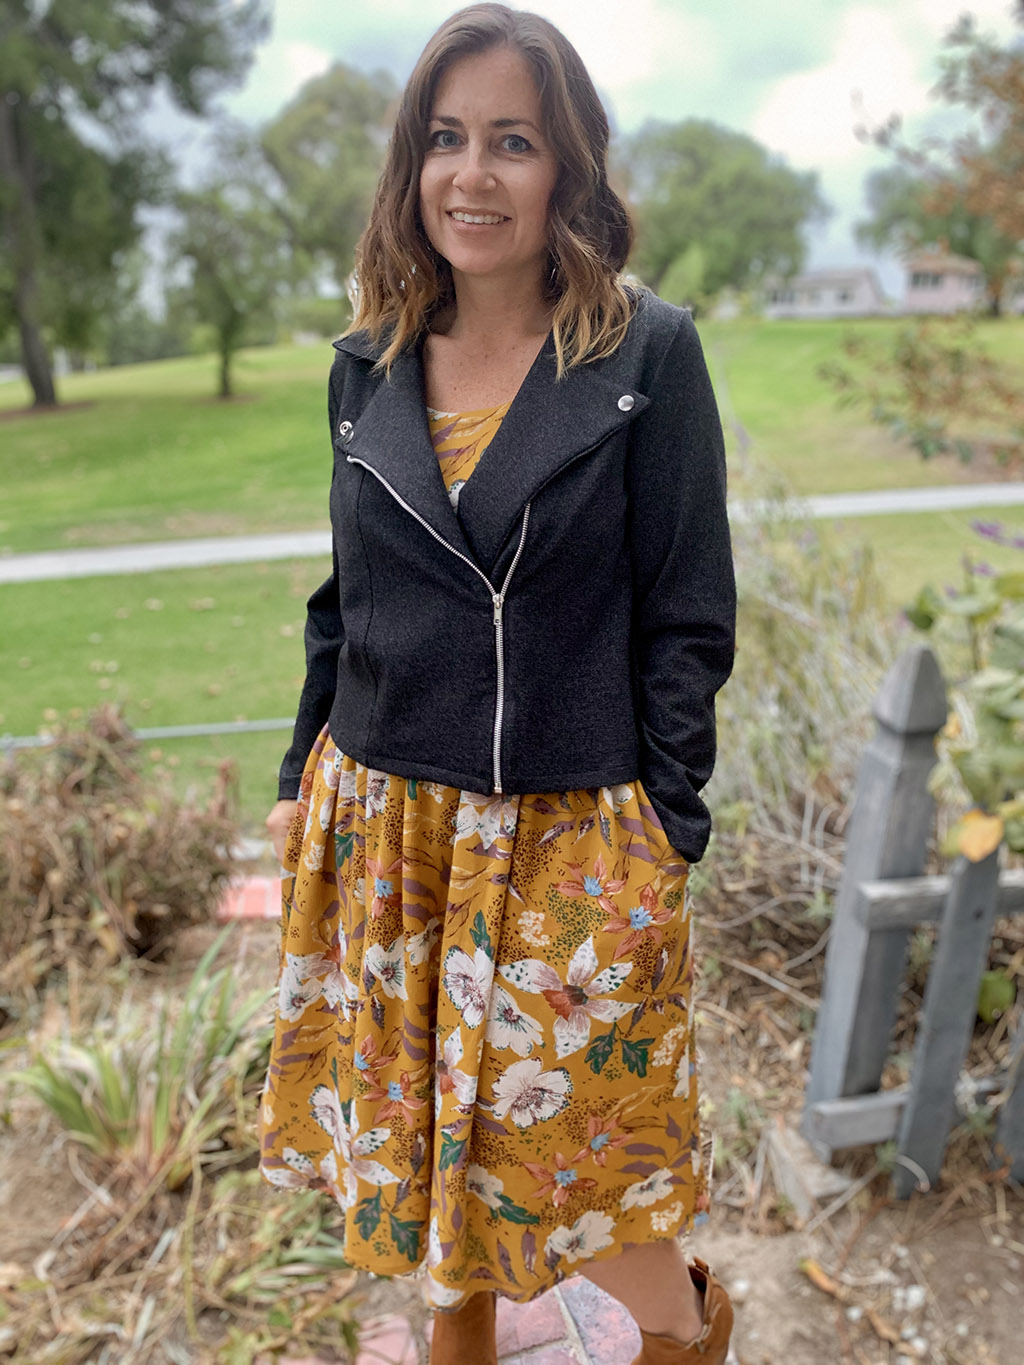
Chip Jacket
Pattern: Chip
Fabric: Heavyweight knit
Adjustments: I cut out a size 6, grading to an 8 starting at the waist and out to the hip.
Lessons learned: I learned how to sew a separated zipper in a jacket and how to construct a moto-style jacket collar. I never knew there was interfacing specifically for knits! Also, this was my first time constructing a knit garment with just my serger.
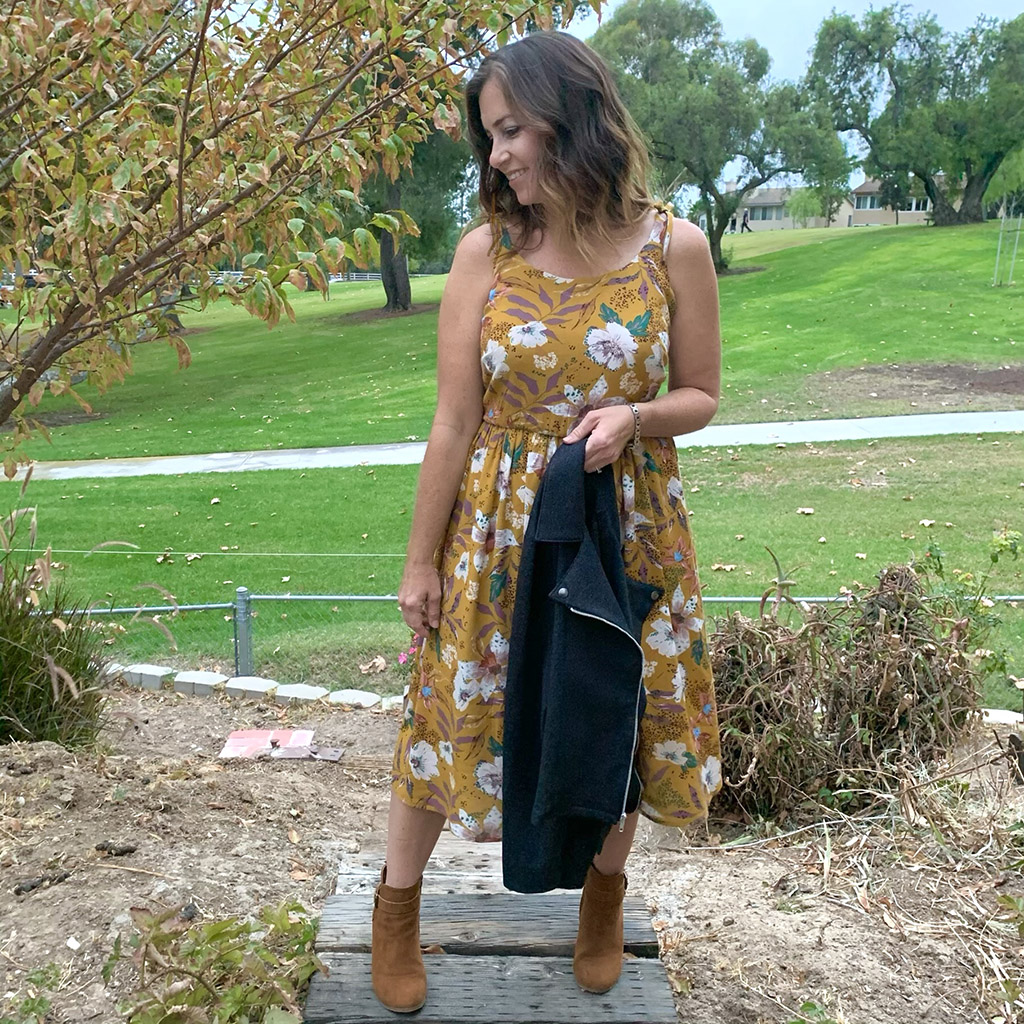
Catarina Dress
Pattern: Catarina
Fabric: Rayon
Adjustments: I added 1/2” of width to the straps and did not make them adjustable. I added a faux tie to the straps at the top of the shoulder. I also added inseam pockets and shorted the skirt by 2”. I omitted the tie belt.
Lessons learned: I learned that creating three rows of gathering stitches helps give more control in spreading the gathers. I also learned how to install clear elastic in the waist seam allowance. I learned how to fully line a bodice and the importance of understitching!
Joy
I first started sewing my own clothes in 2011 after a spur-of-the-moment decision to bring my mom’s sewing machine with me to college. I had watched most seasons of Project Runway in high school and was so inspired that I started out drafting my own patterns.
I stopped sewing for several years but recently picked it back up in 2017 after discovering indie pattern companies! There are countless designs to choose from, and I fell in love with being able to create my own dream wardrobe by mixing and matching patterns and fabrics.
I love wearing vintage-inspired silhouettes in quirky prints, but finding items that fit those criteria in retail stores has always been a struggle—either the quality would be subpar, the fit would be off, or it would just be far too expensive. Now that I sew my own clothes, I’m able to use high-quality fabric to create the items that I have envisioned in my mind! It’s such a great feeling to be able to have a wardrobe full of items that are entirely unique, well-fitting, and perfectly suited to my style.
Follow my sewing on Instagram @sew.with.joy.
My Style in Three Words
Colorful
Whimsical
Vintage-inspired
Dani Pinafore
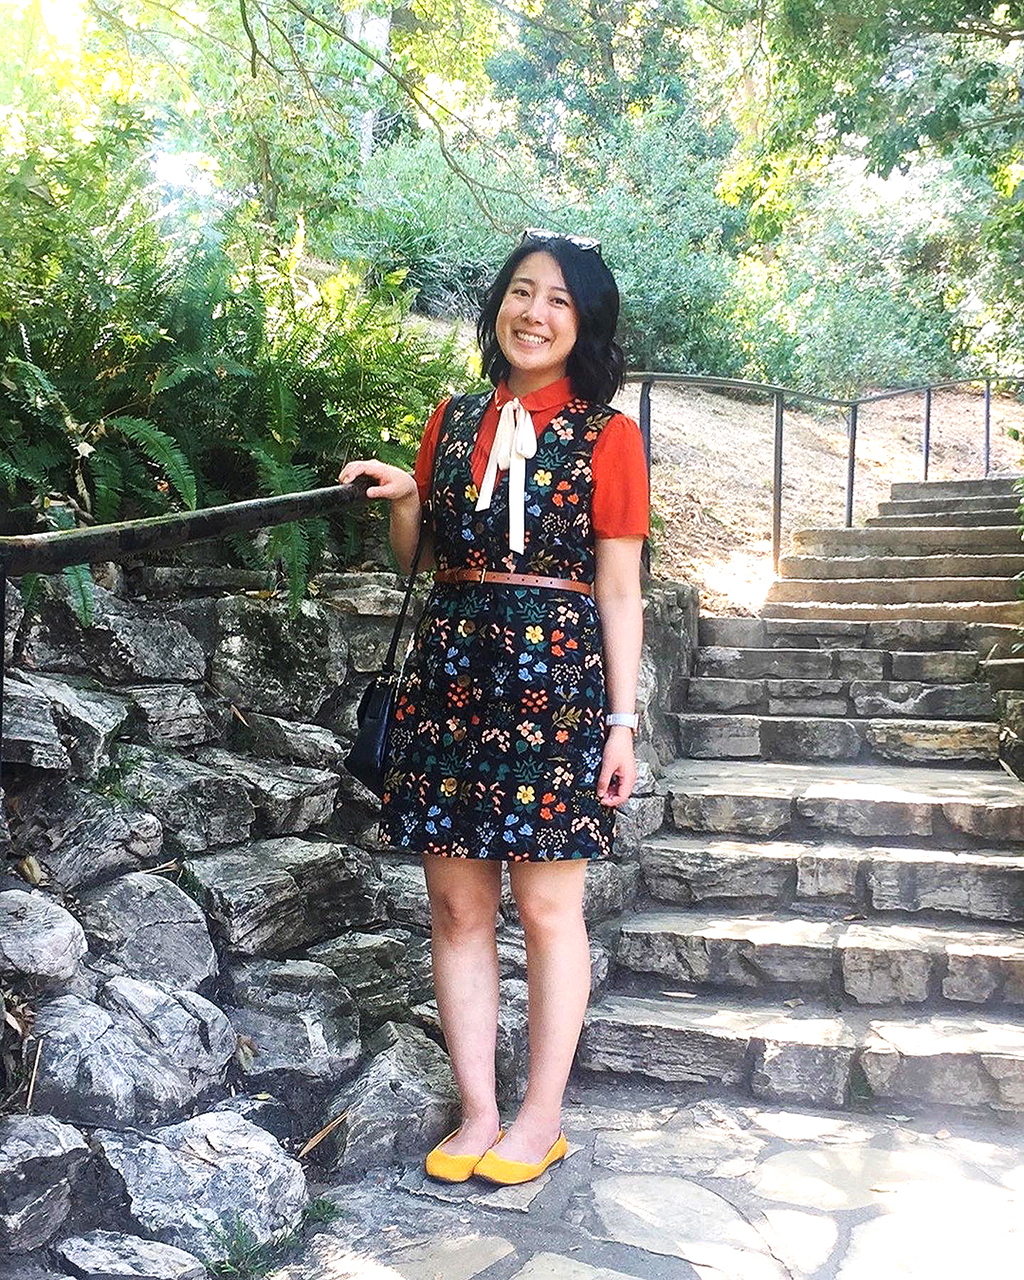
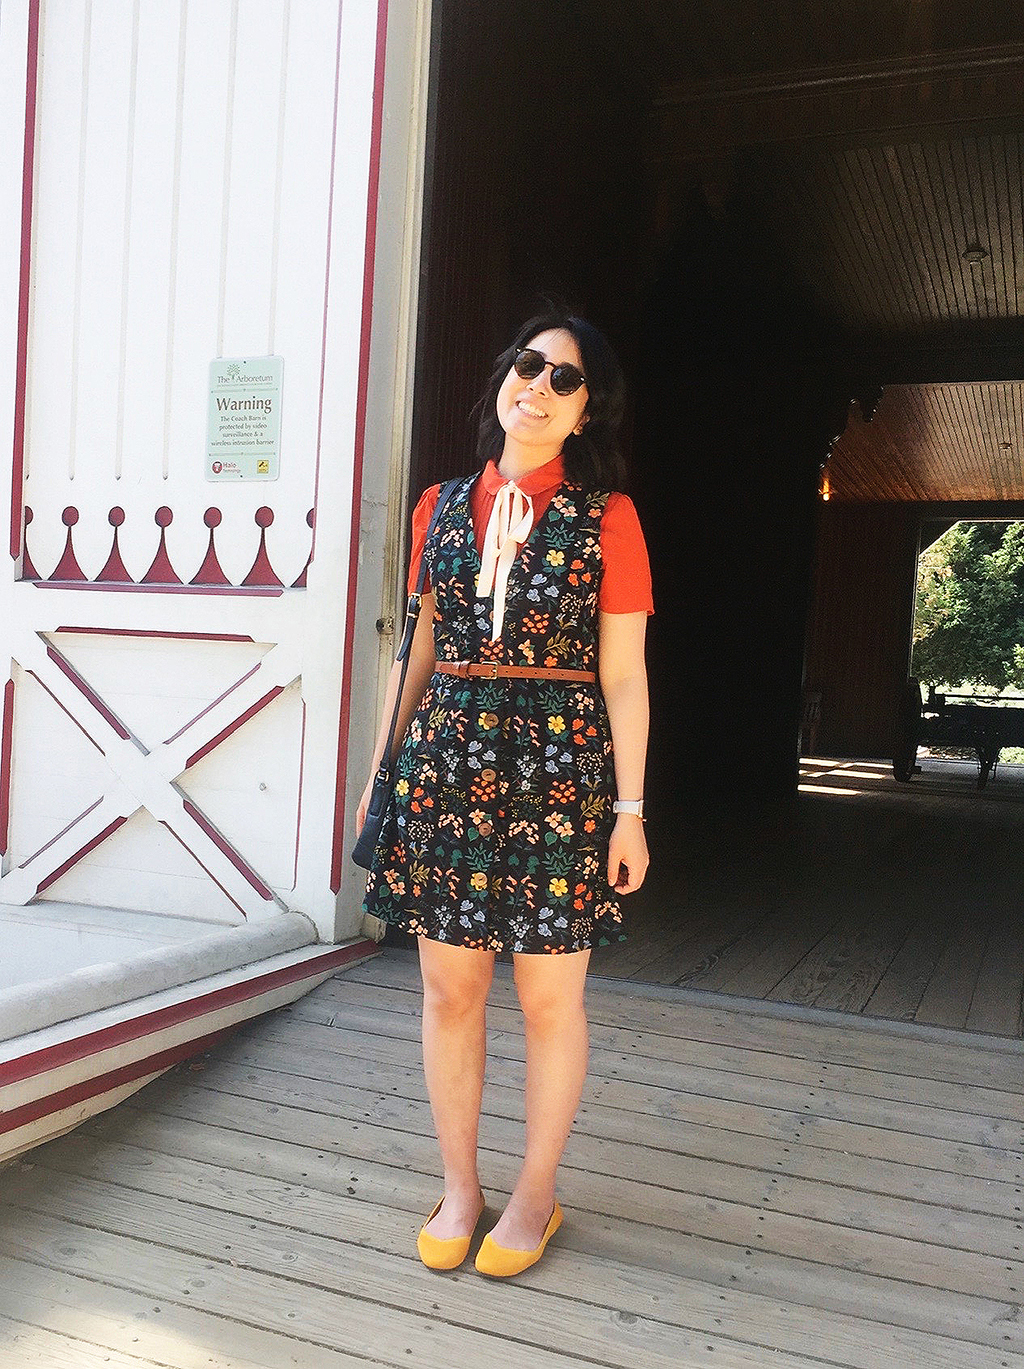
Pattern: Dani
Fabric: Wildflower Field in Black Canvas from Rifle Paper Co. X Cotton and Steel: Meadow Collection
Adjustments:
1. I didn’t cut the front skirt on the fold and instead cut two and added 5/8” to the center edge.
2. I added a facing for the entire pinafore instead of using a lining since I didn’t have any lining fabric in my stash.
3. I added buttonholes and buttons to the front opening with about a 2” overlap of the two sides.
Lessons learned: It was my first time drafting a facing using the original pattern pieces, and I learned how easy it was to do! I would also recommend moving the darts out towards the sides so that it fits better. I completely forgot to do this, but thankfully the print is so busy you can’t really tell, and adding a belt also helps with cinching in the pinafore at the waist.
Audrey Jacket
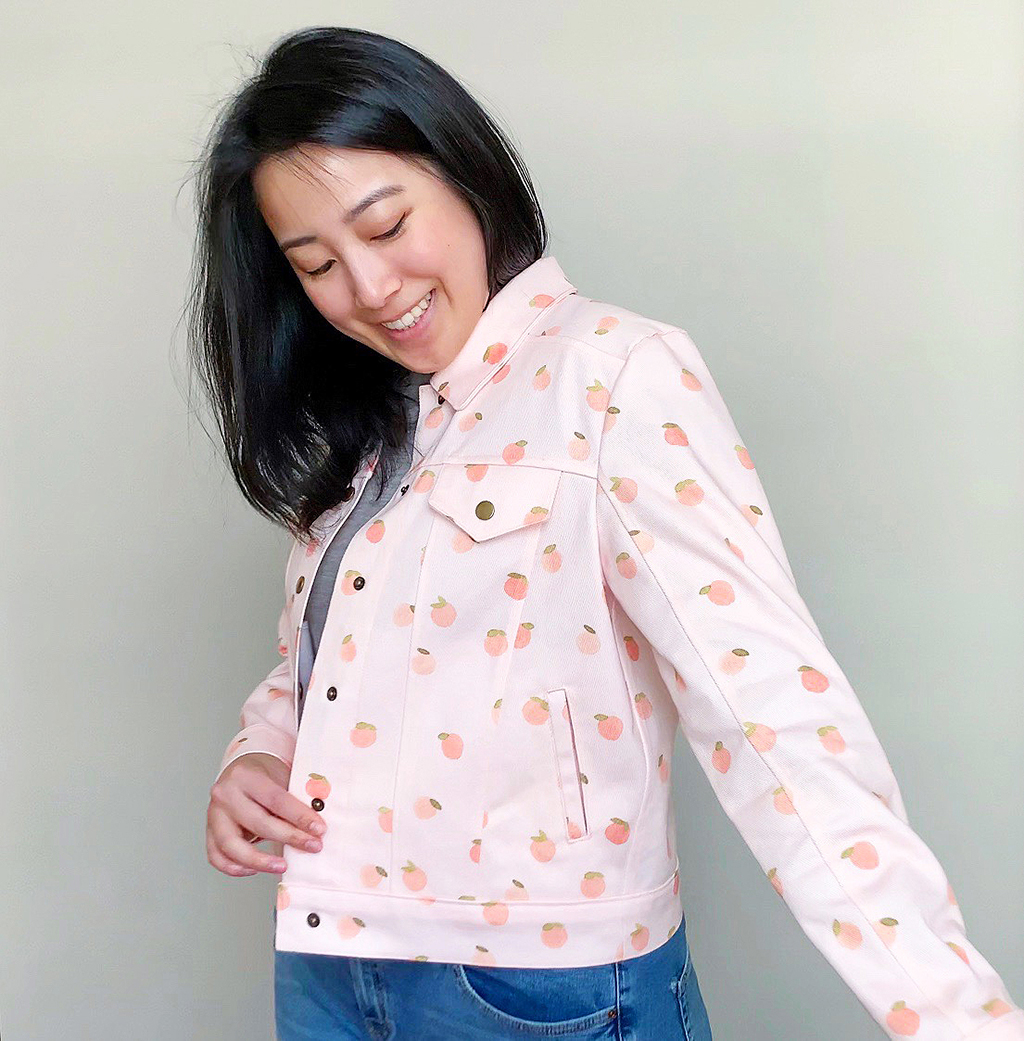
Pattern: Audrey
Fabric: Spoonflower Dogwood Denim in the print Sweet Peach Polka Dot
Adjustments: No adjustments at all, but for future makes, I would probably size down one to two sizes.
Lessons learned: This was my first time sewing with denim, so it was a learning process throughout the project. I had to get the proper needles and went very slowly over portions of the jacket that had multiple layers of denim.
It’s such a great feeling to be able to have a wardrobe full of items that are entirely unique, well-fitting, and perfectly suited to my style.

