Sign In
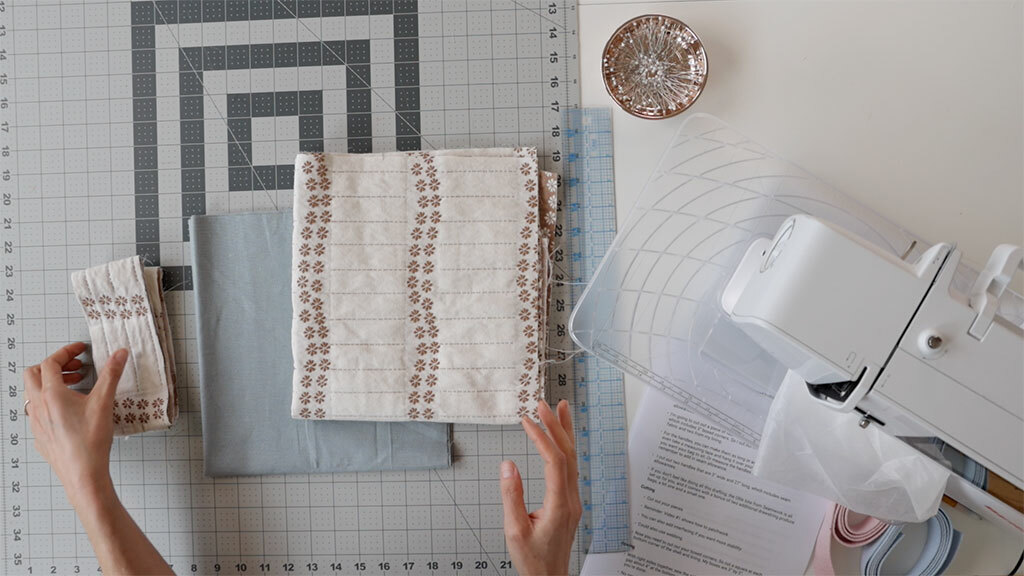
Today, I am going to show you how to design and draft a reversible tote bag. You can use any two pieces of fabric you have in your stash to create it. And you’ll get two bags in one!
Drafting the Pattern
First, you need to create your pattern. You can reference your favorite tote bag for dimensions if it helps.
Decide how big you want your boxed bottom to be. In this case, the boxed bottom is 6”.
Next, decide how tall you want your bag to be. The finished bag I used for my inspiration is 17”.
Take the dimensions from your boxed bottom. Divide this by 2. Add that to your bag’s height measurement. Since I chose 6” for my boxed bottom, I get 3”, making my total height 20”. Then add seam allowance. I added 5/8”, so my total height is 21 1/4”.
Now it’s time to decide how wide you want your bag to be. The finished measurement I chose is 20”. Add seam allowances to each side, so that's 22 1/4” total width.
You can use any dimensions for this bag, depending on what you prefer and how much fabric you have.
Make the straps as long or as short as you’d like. You can measure your favorite bag or drape a tape measure over your shoulder. Just be sure to add 5/8” seam allowance to each short side.
I cut out 3” wide and 27” long straps, including seam allowances.
If you don’t feel like doing all that math, download the Ollie pattern from Seamwork. It’s all set up for you, and it comes with two bonus bags for produce.
Cutting the Fabric
Once you have your dimensions, go ahead and cut out the following:
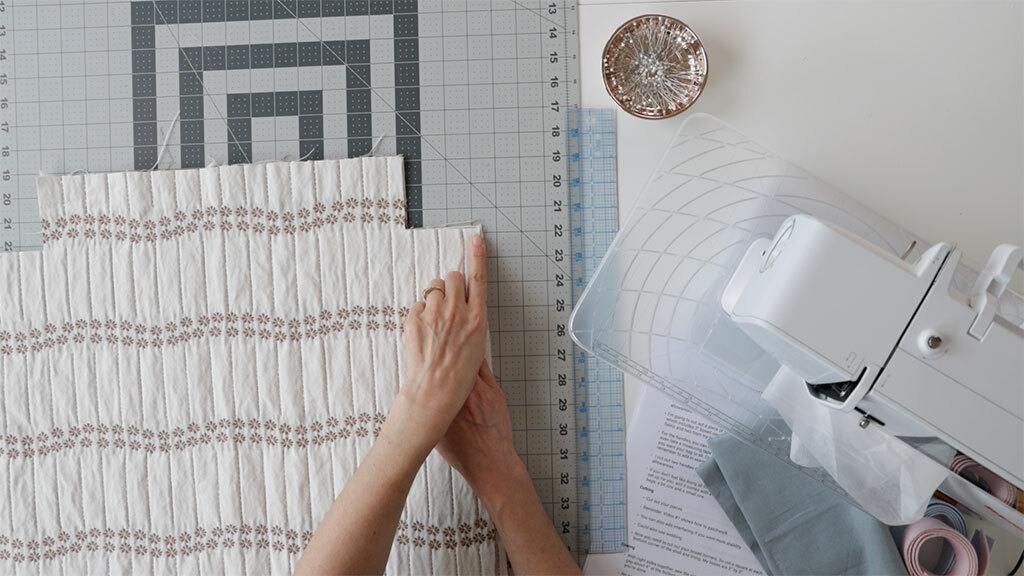
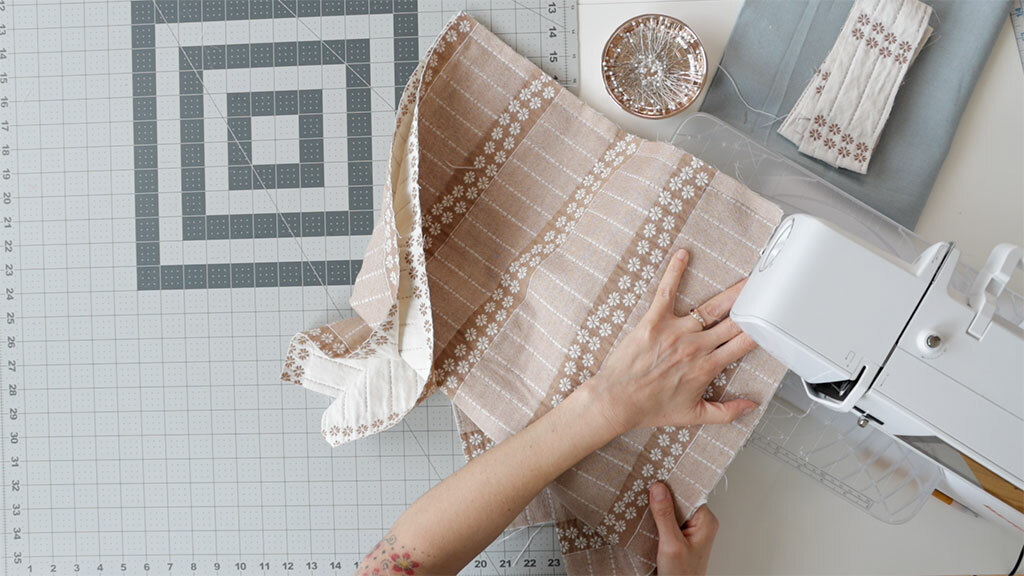
- 2 rectangles from your main fabric
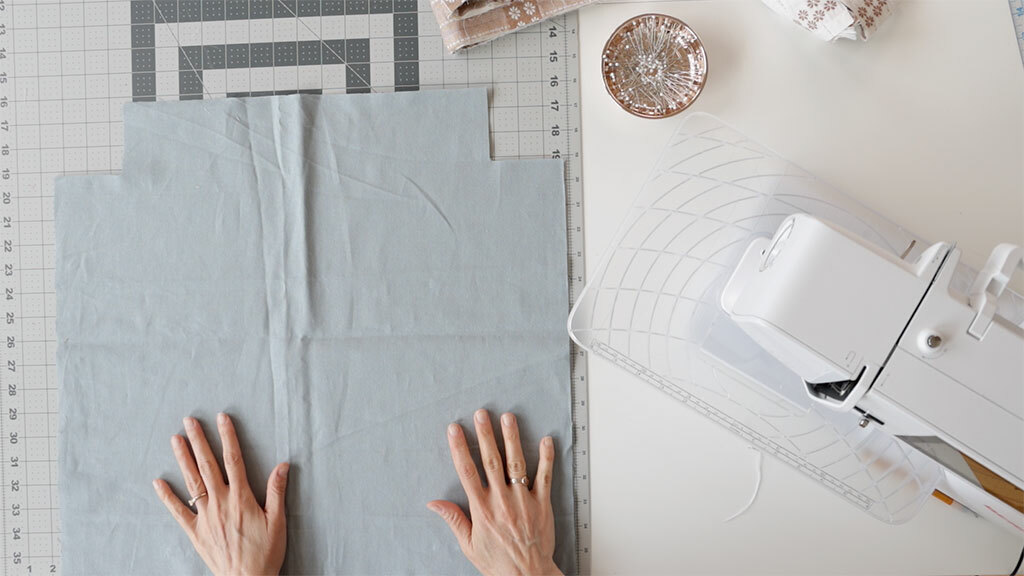
- 2 rectangles from your lining fabric
- 2 straps from the fabric of your choice (or you can use webbing)
- (Optional) If your fabric is thin, you can cut 2 pieces of interfacing for additional stability. If you do this, fuse or sew the interfacing to the wrong side of your main fabric.
If you want to get extra scrappy and use up a bunch of small pieces of fabric, you can also create patchwork yardage to sew into a tote. Click here for a full tutorial to create patchwork fabric.
Boxing the Corners
Cut out your boxed corners. Cut out a square at the bottom of each main and lining piece. Remember that boxed corner width you calculated above? That will be the dimensions of the square. My square is 3”.
Sewing the Tote
With right sides together, sew the side seams and the bottom seam of your main fabric to create your shell.
Do the same thing on your lining pieces, but leave a 4” gap along the bottom. You’ll need this gap to turn your bag right side out later. There’s no need to finish your seams because everything will be hidden between the main fabric and lining.
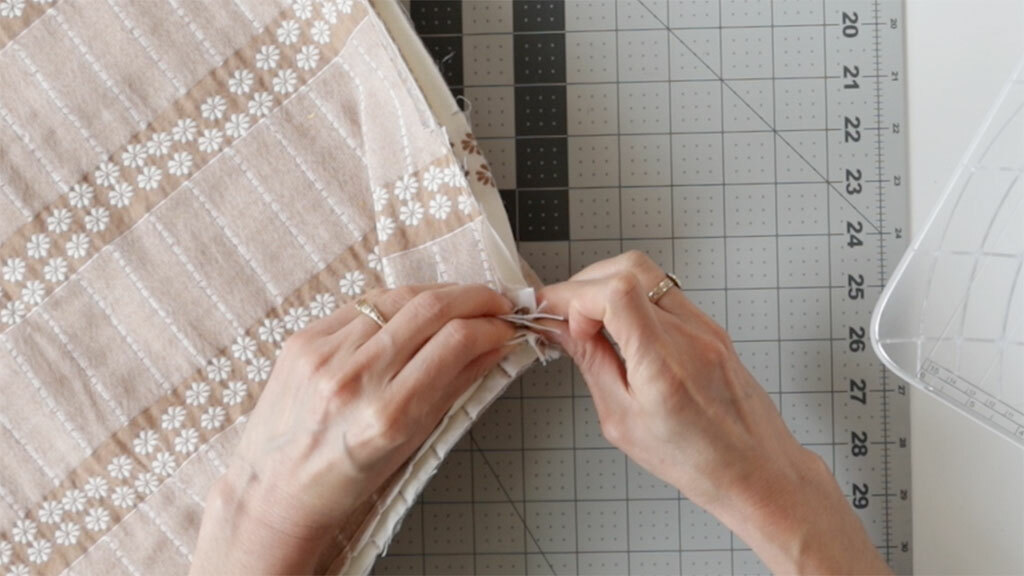
Now it’s time to sew the boxed corners. To do that, bring the side seam to meet the bottom seams at the corner. Make sure the raw edges are aligned and pin in place.
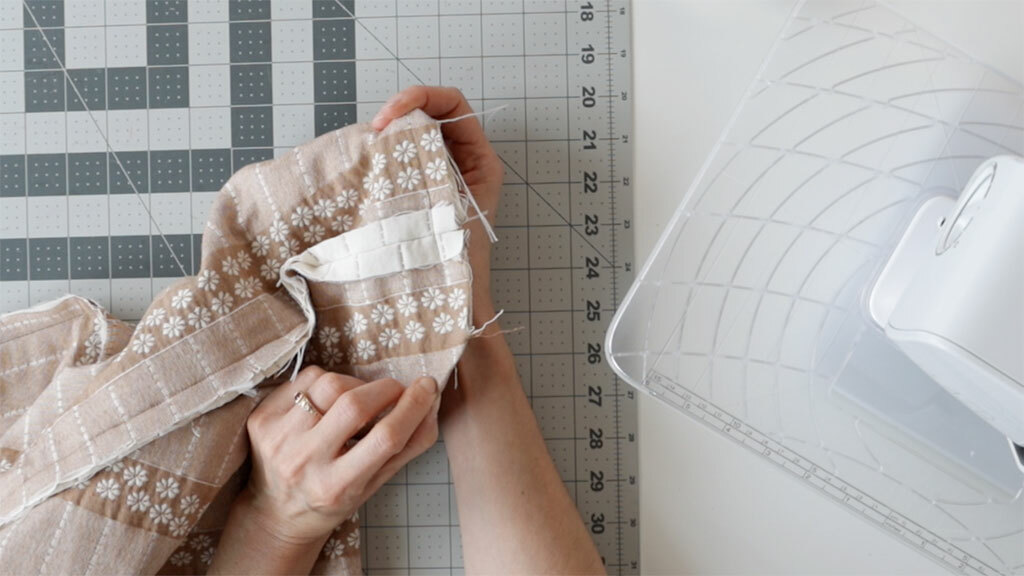
Sew across the seam. Repeat on all remaining corners.
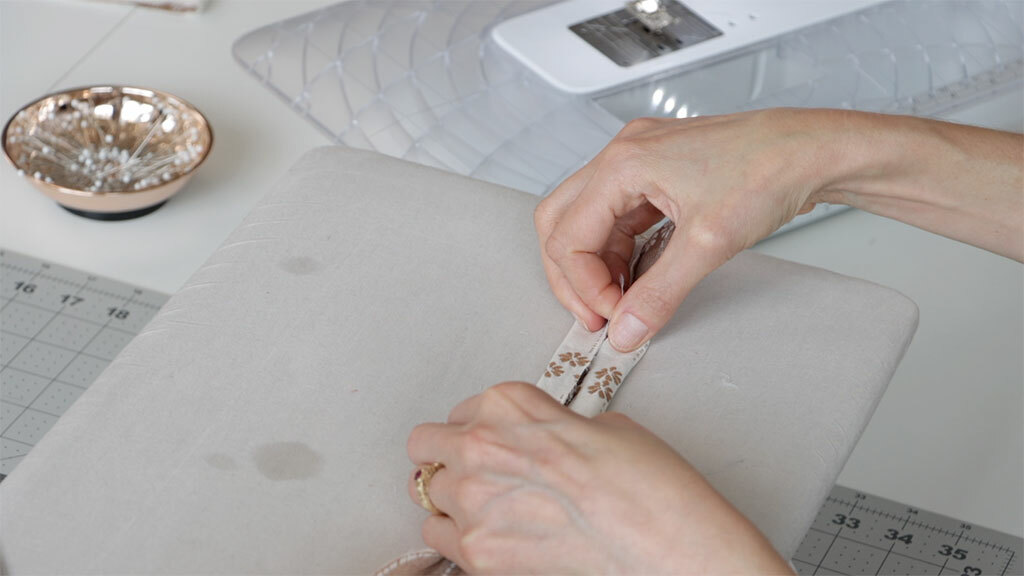
Now it’s time to make the straps! I like to avoid turning out a fabric tube, so here’s how I make them. Start by folding your strap in half lengthwise with wrong sides together. Press firmly.
Open up your strap and then fold the long edges so they meet right at the fold you just pressed.
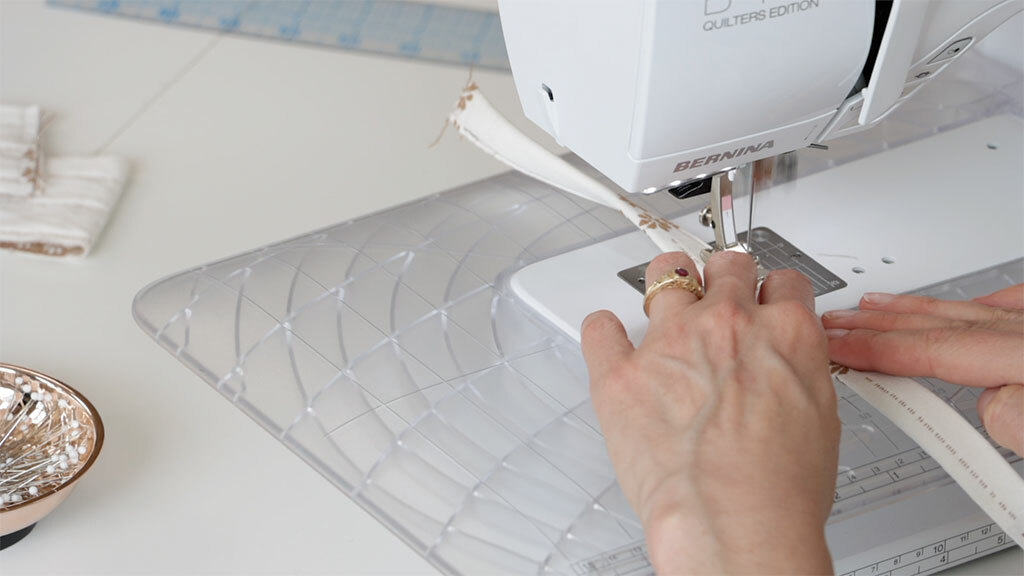
Then fold it again, and you’ve got your raw edges hidden. Press and edgestitch both long edges.
Repeat for your second strap.
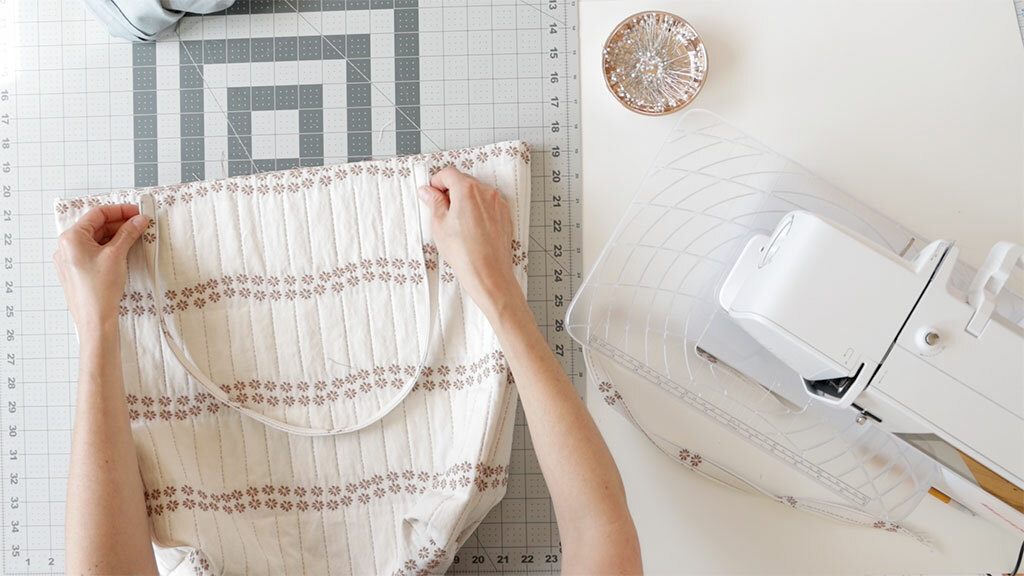
Turn your shell fabric right side out. Place each end of your strap on the right side of your fabric. You can place the straps wherever you want; just make sure each end is equal to the side seam. Pin in place, ensuring that your strap is not twisted. Flip your bag over and repeat on the other side for the second strap.
Baste each end of the strap to the bag.
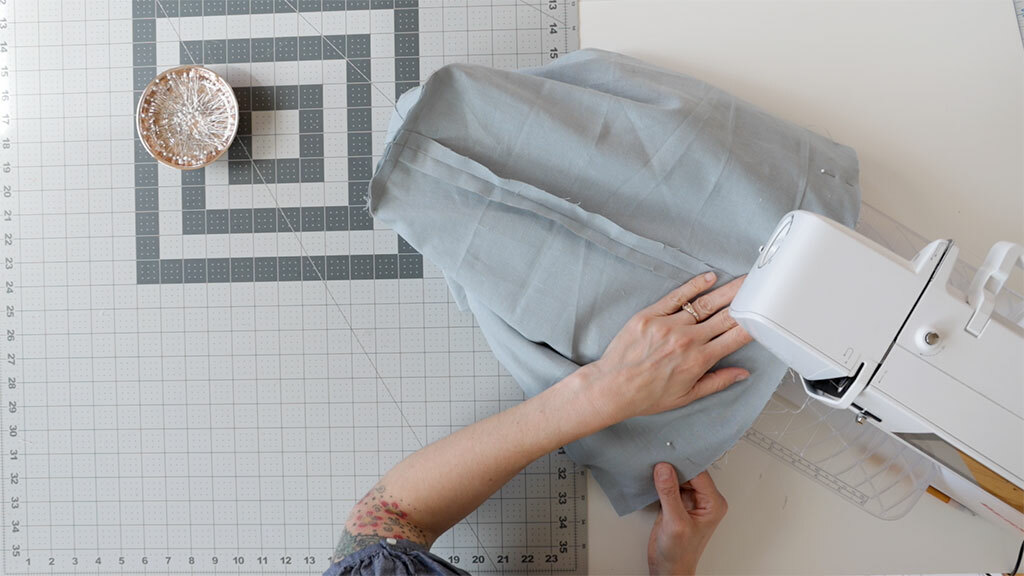
Insert the shell into the lining with right sides together. Make sure the strap is tucked inside between the two layers. Then, line up the side seams and pin in place all along the top.
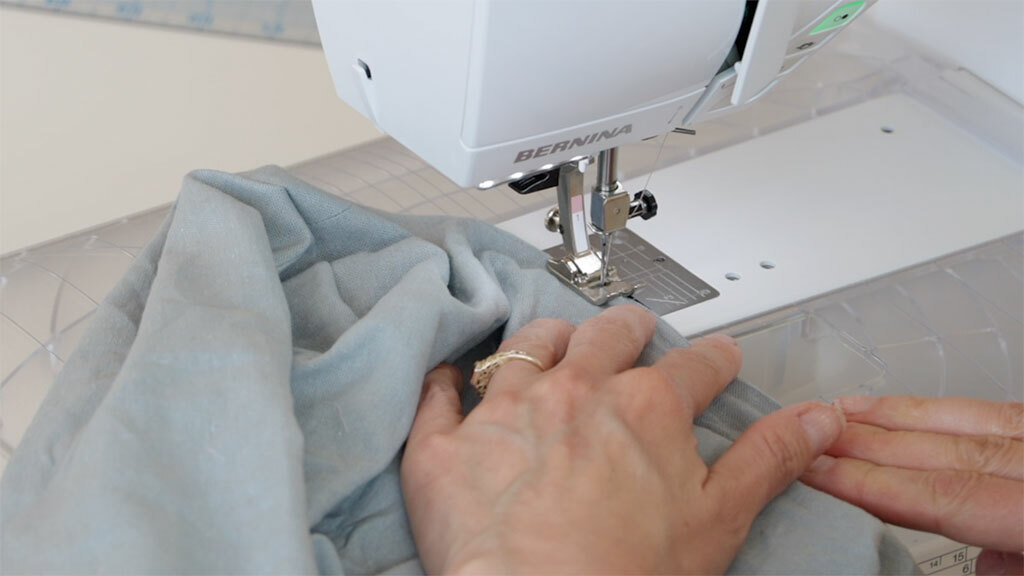
Stitch in one continuous circle all the way around the top.
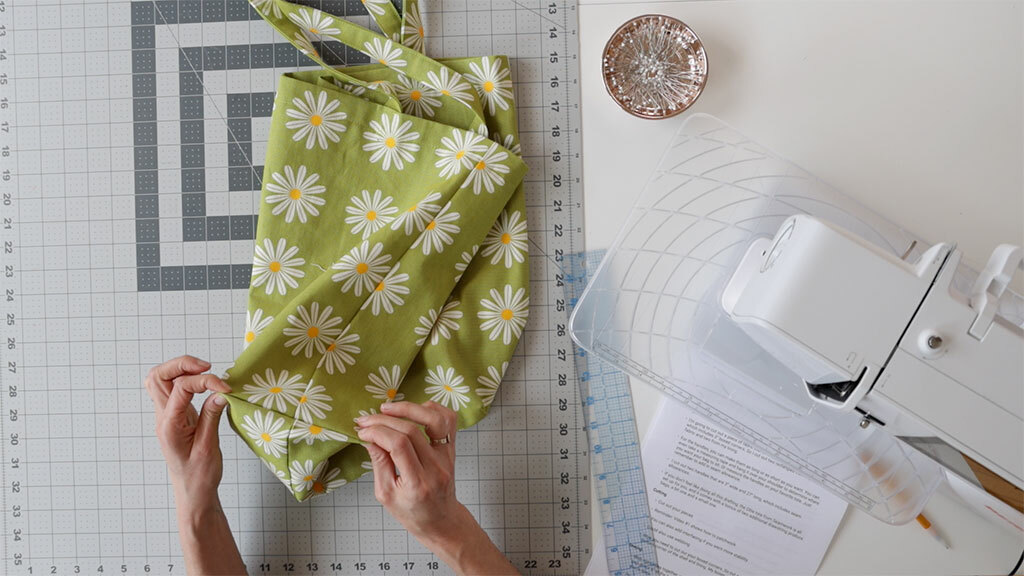
Reach into your bag and pull the shell fabric from the gap you left in the lining. Turn the whole bag right side out.
Close the gap you left in the lining. You can slip stitch by hand or edgestitch with your machine.
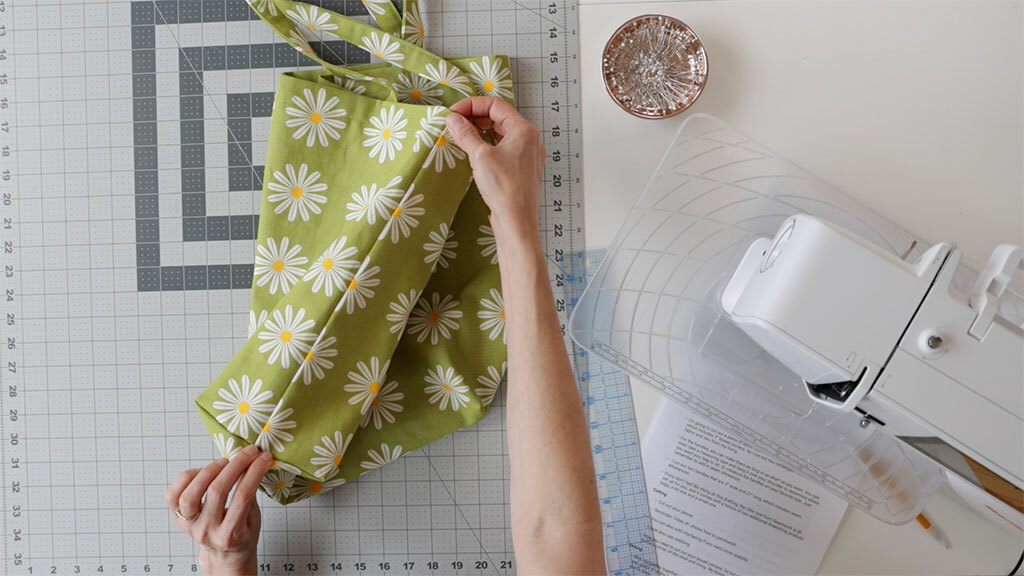
Flip the lining back into the inside and give everything a good press. Then you can add edgestitching or topstitching along the top to secure everything. You can even stitch a decorative X to secure each end of the strap to your bag.
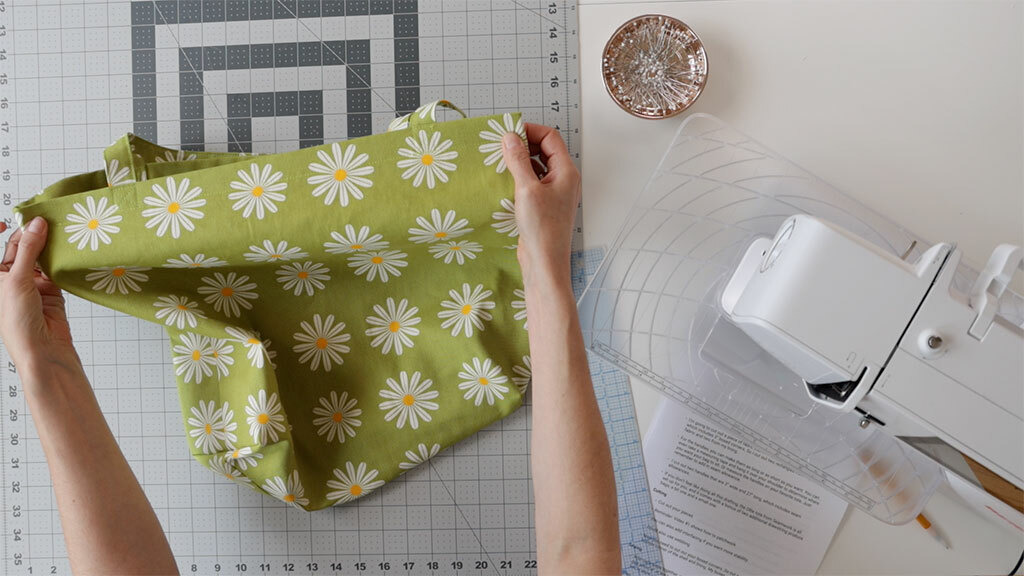
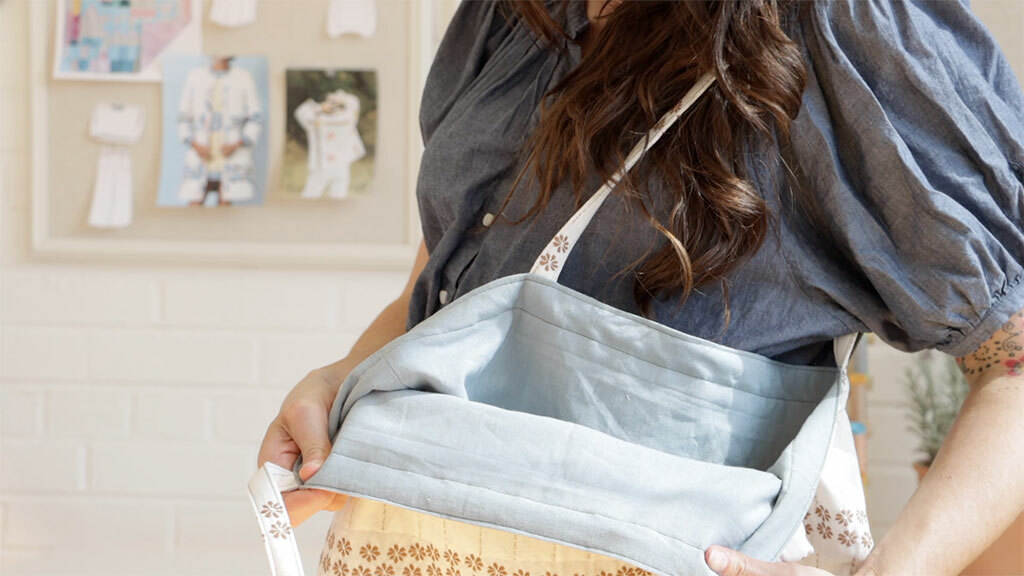
And you’re done! Two tote bags in one.
Do you like seeing easy DIY tutorials like this? Comment and let me know, and I can make more.

Sarai Mitnick
Founder
Sarai is the founder of Seamwork. She's been sewing for over 20 years and publishing patterns and writing for over a decade. Sarai believes that sewing is a powerful way to bring creativity into everyday life.