Sign In
One of my favorite pattern-free sewing projects is a simple reversible kerchief you can make with fabric pieces smaller than a quarter yard.
This tutorial is part of our scrap busting series, where we show you all kinds of ways to use leftover scraps of fabric to make projects that are both useful and beautiful. You can find the series over on our YouTube channel.
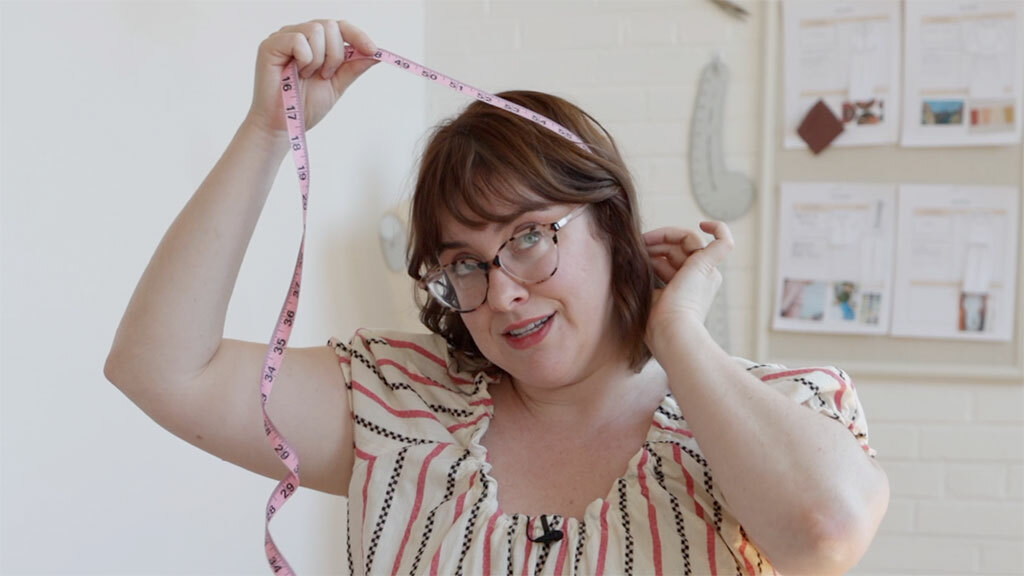

First, take your head’s measurement. Use a flexible measuring tape and measure from the bottom of your ear, around the top of your head, and to the bottom of your other ear. My measurement was 18” (45.7 cm), but all of our heads are different.
Next, I will draft a paper pattern to use again and again. I know I said this was a “no-pattern” tutorial, but if you feel you might make a few of these, it’s worth the effort to make a paper pattern piece. If you just want to make one, you can mark these dimensions directly onto your fabric with a water-soluble pen or chalk.
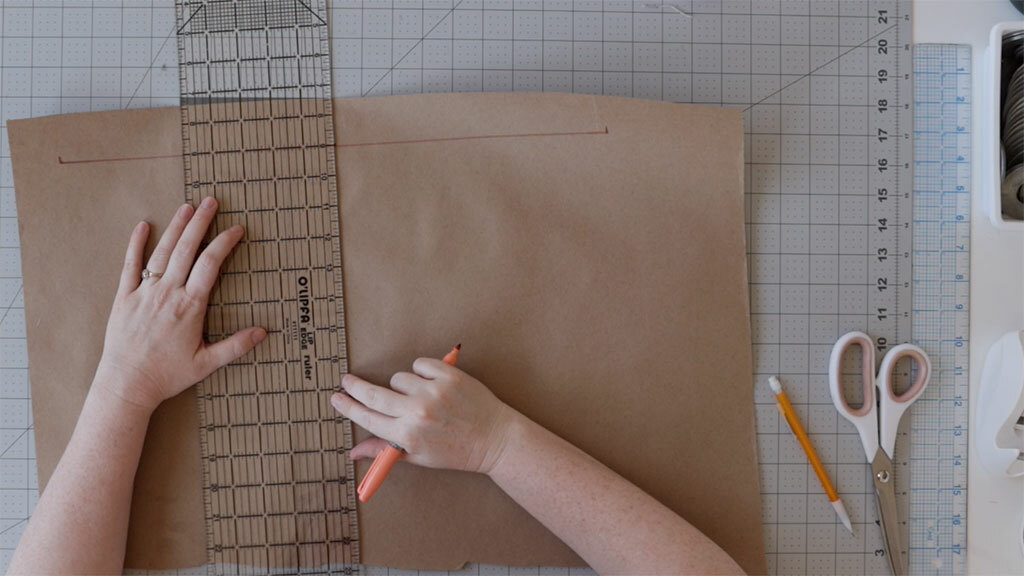
To start, draw a line the same length as the measurement of your head that you just took. You can mark hashes at each end so it’s clear.
Find the center point of that line. Draw a line perpendicular to that first line at that center point.

Create the right angle. On your center line, use a clear ruler to find the 45-degree angle. Draw a line along the 45-degree angle that intersects one end of the first line you drew. Repeat for the other side.
Draw an extension to accommodate your ribbon. Measure the width of your ribbon. Mine is 1/4” (6 mm), so I am going to draw a line that is parallel to and 1/4” away from my original line.
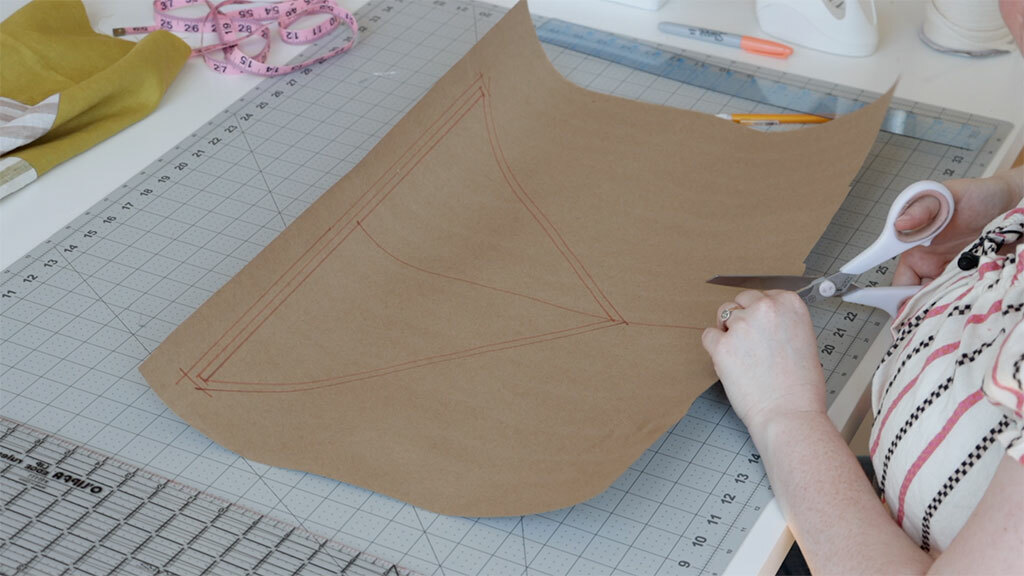
Add seam allowance to the entire shape and then cut it out.
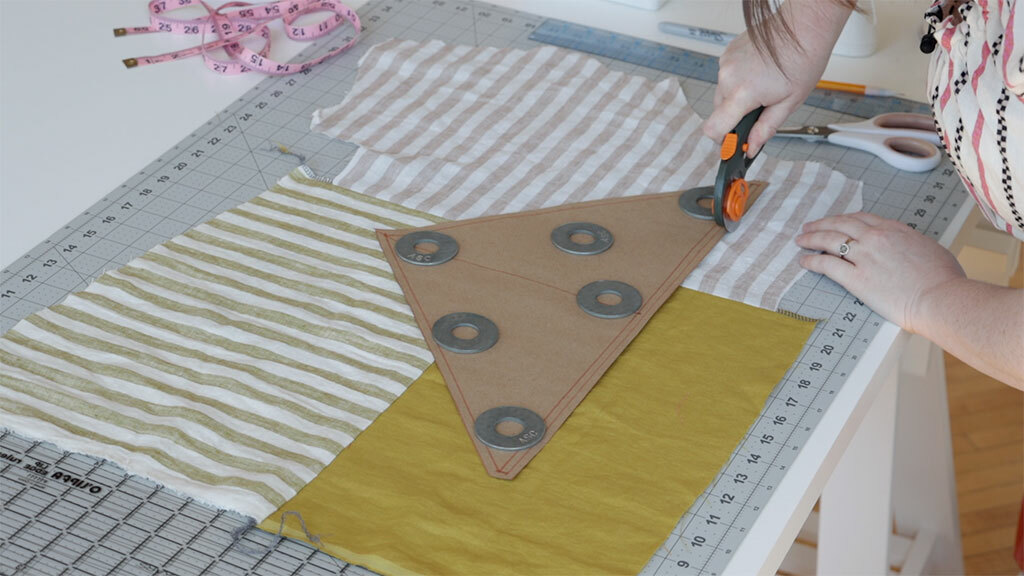
Cut out two pieces of fabric. This bandana is reversible, so have fun with color-blocking, patchwork, or contrasting colors.
When it comes to the grainline, don’t ignore it entirely, but you can cut on the cross-grain or bias if you want.
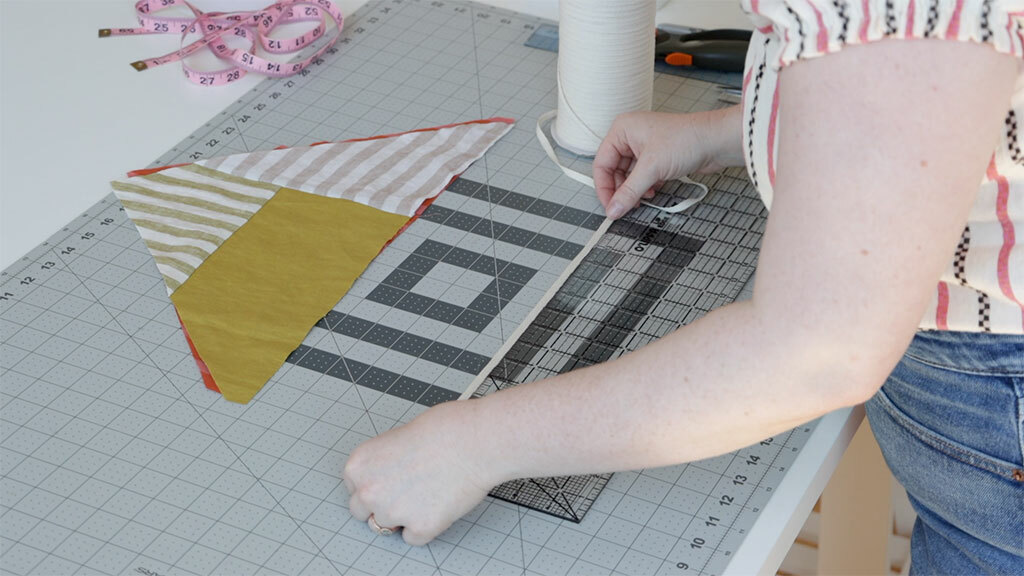
Cut two pieces of ribbon. Start with 12” (30.5 cm) strands, and you can shorten them if needed.
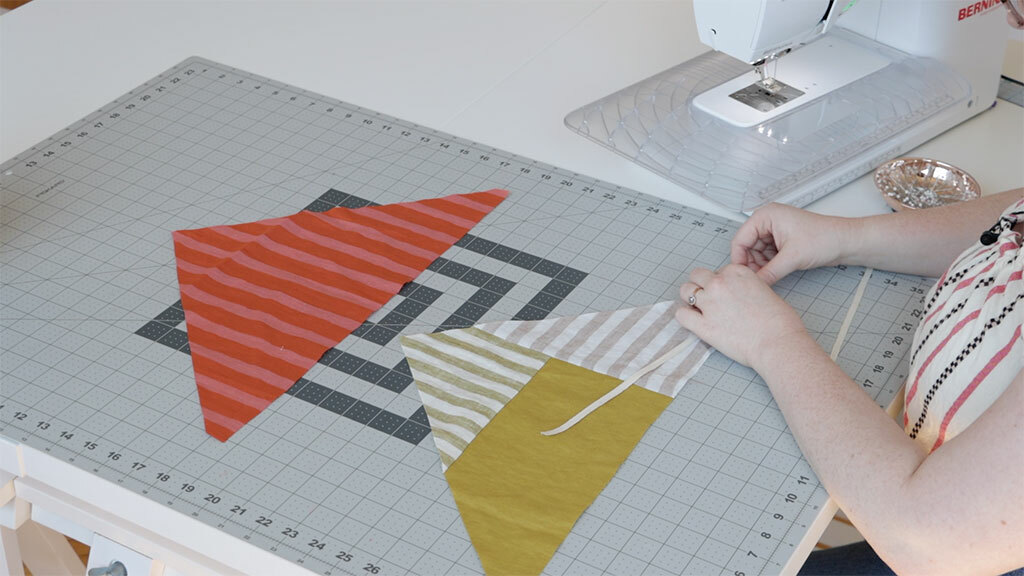
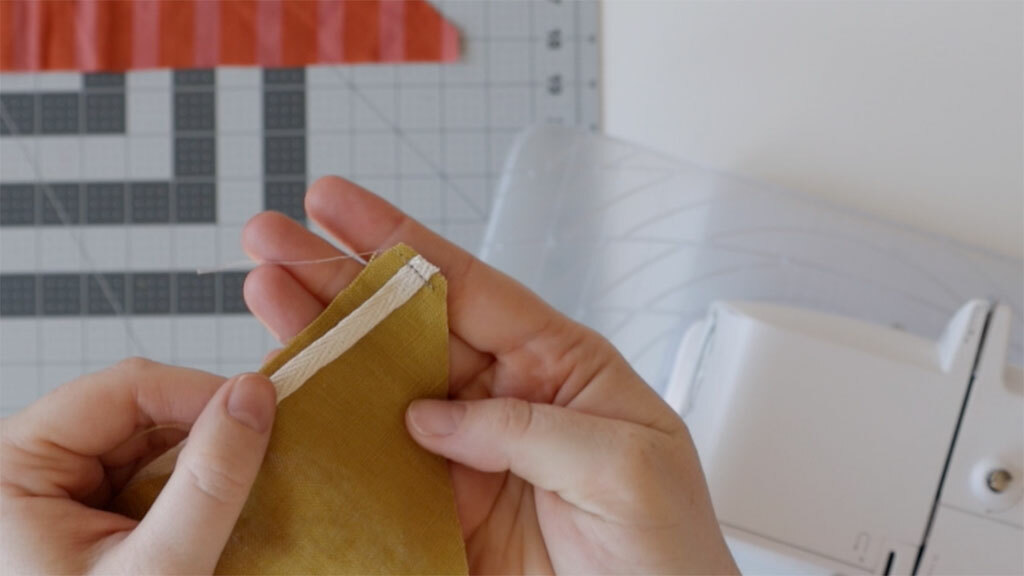
Baste your ties to one of your bandana pieces at the corners.
With right sides together, sandwich your ties between your bandana pieces. Pin.
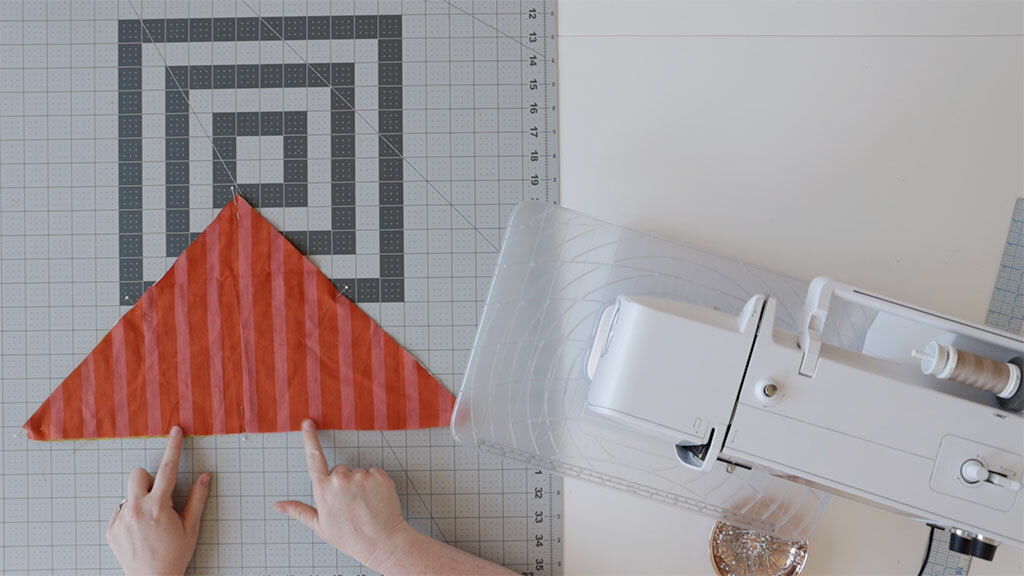
Sew around the entire triangle, but leave a gap to pull it all right side out.
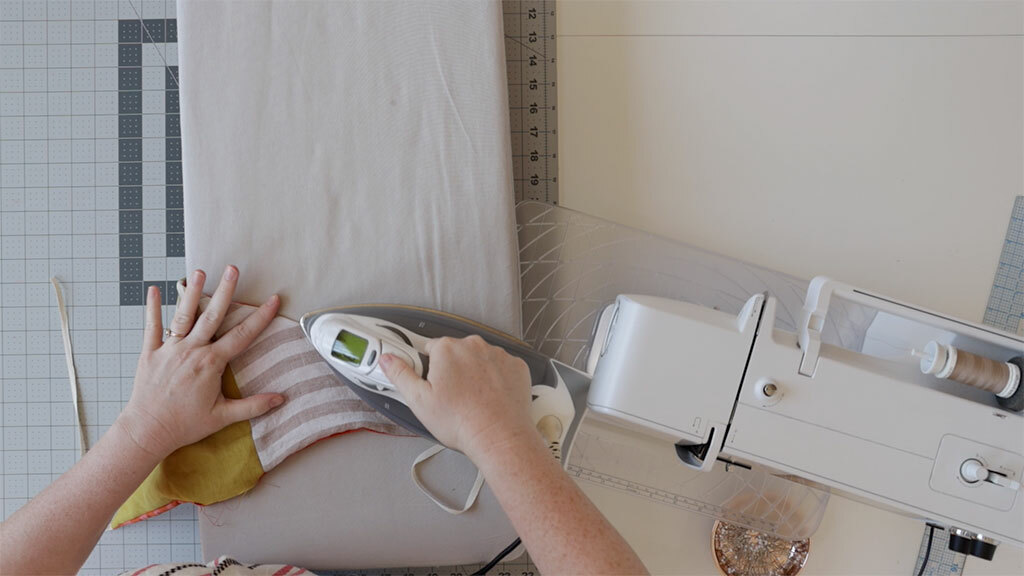
Clip your corners to reduce bulk. Use a point turner to turn it all right side out and get the corners nice and pointy. Press.
Edgestitch around the entire perimeter, closing the gap you left to turn it right side out.
Tip: Backstitch at the part of the bandana that will hide behind your ear. Then that little bit of backstitching won’t be viewable!
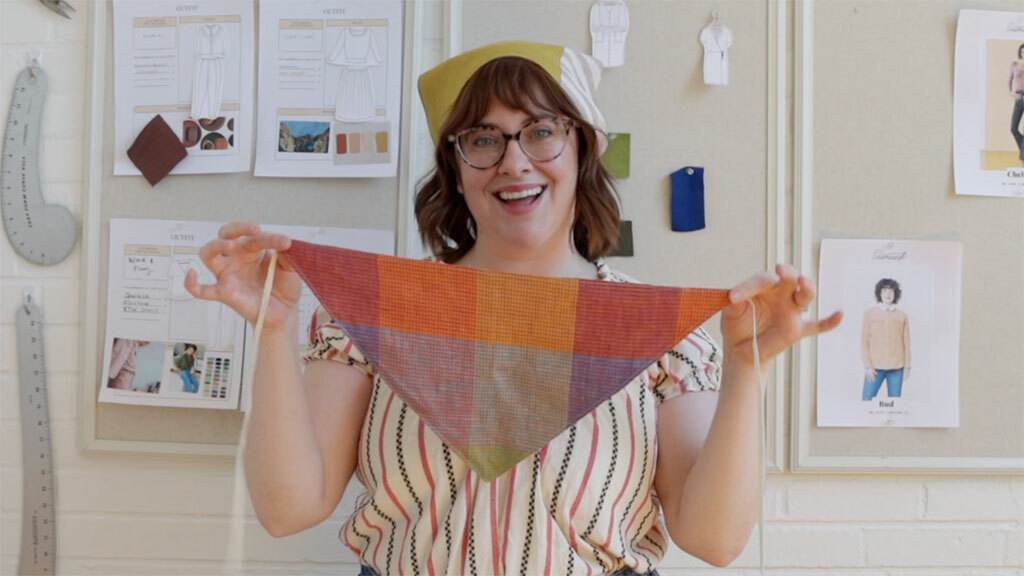
And you’re done. You can make as many of these little accessories as your heart desires.
Do you like seeing no-pattern sewing projects? Comment and let us know!