

All-in-on facings finish both the neckline and the armholes of sleeveless tops and dresses. In this tutorial, we will teach you how to use a technique commonly referred to as “the burrito method” to finish an all-in-one facing.
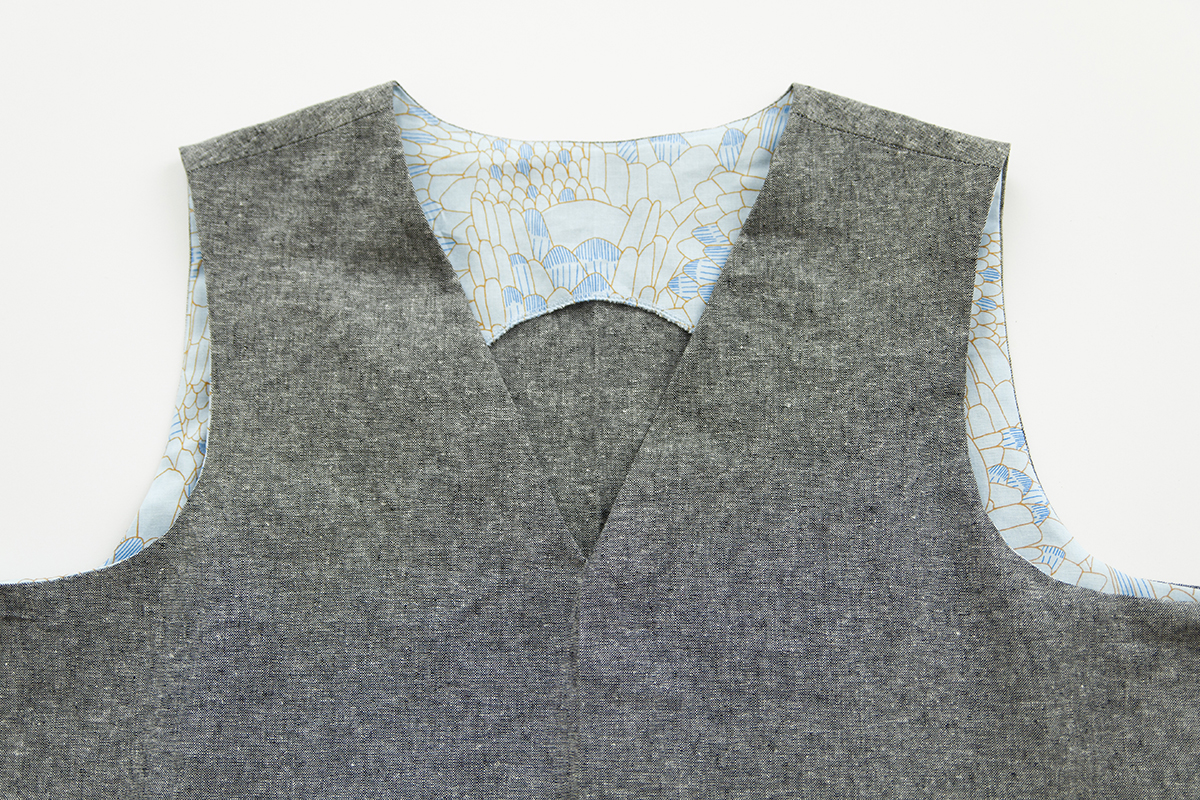
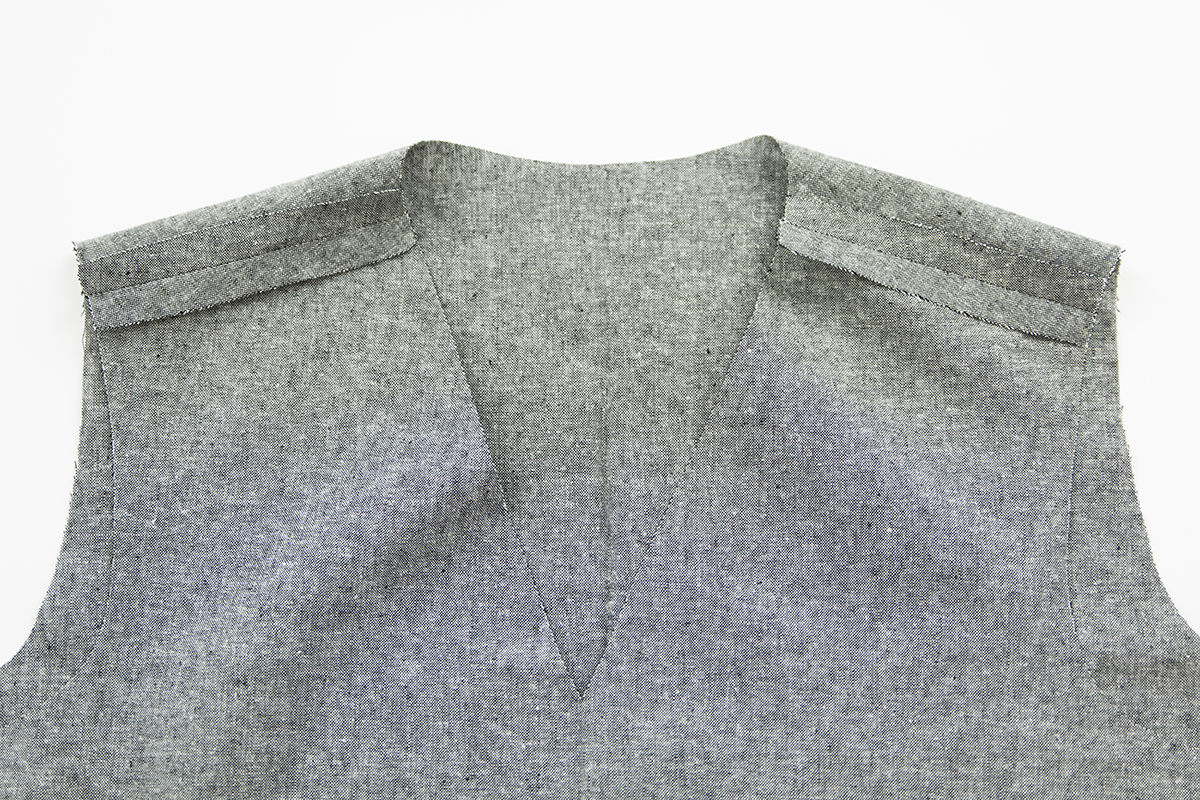
Stitch the bodice pieces together at the shoulders, and press the seams open.
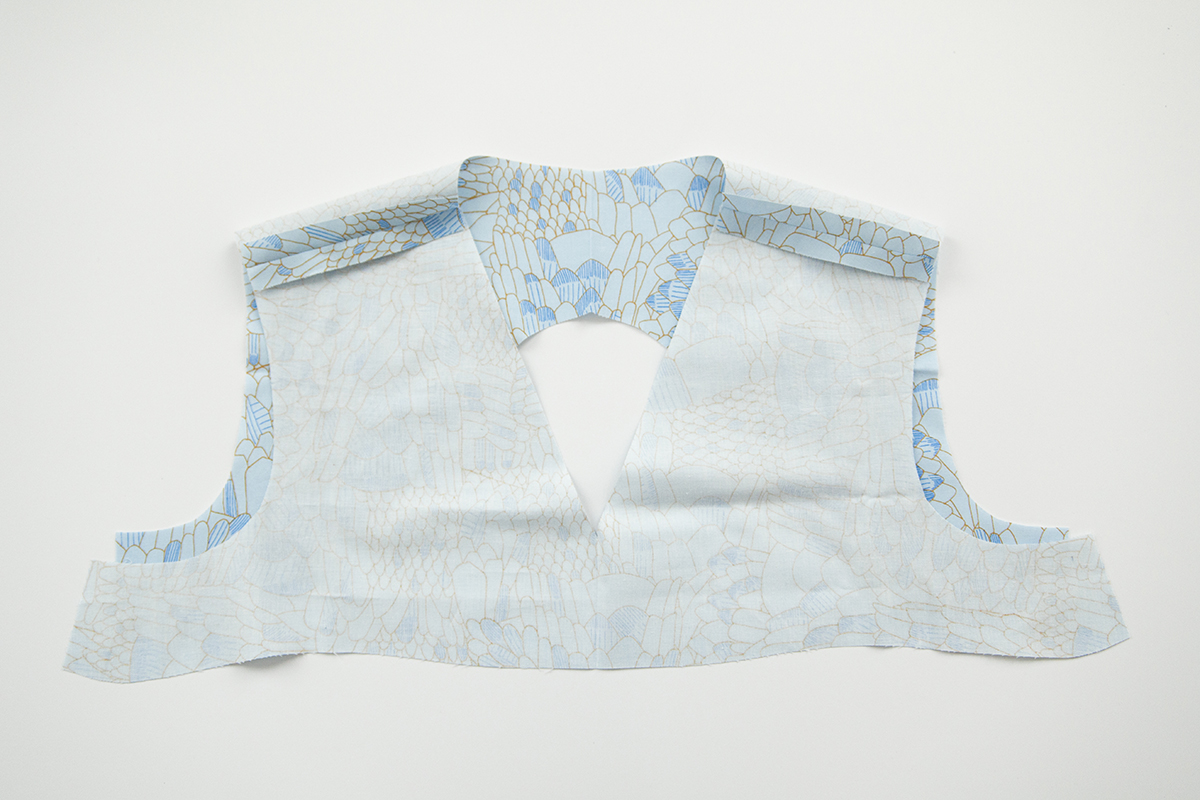
Stitch the facing pieces together at the shoulders, and press the seams open.
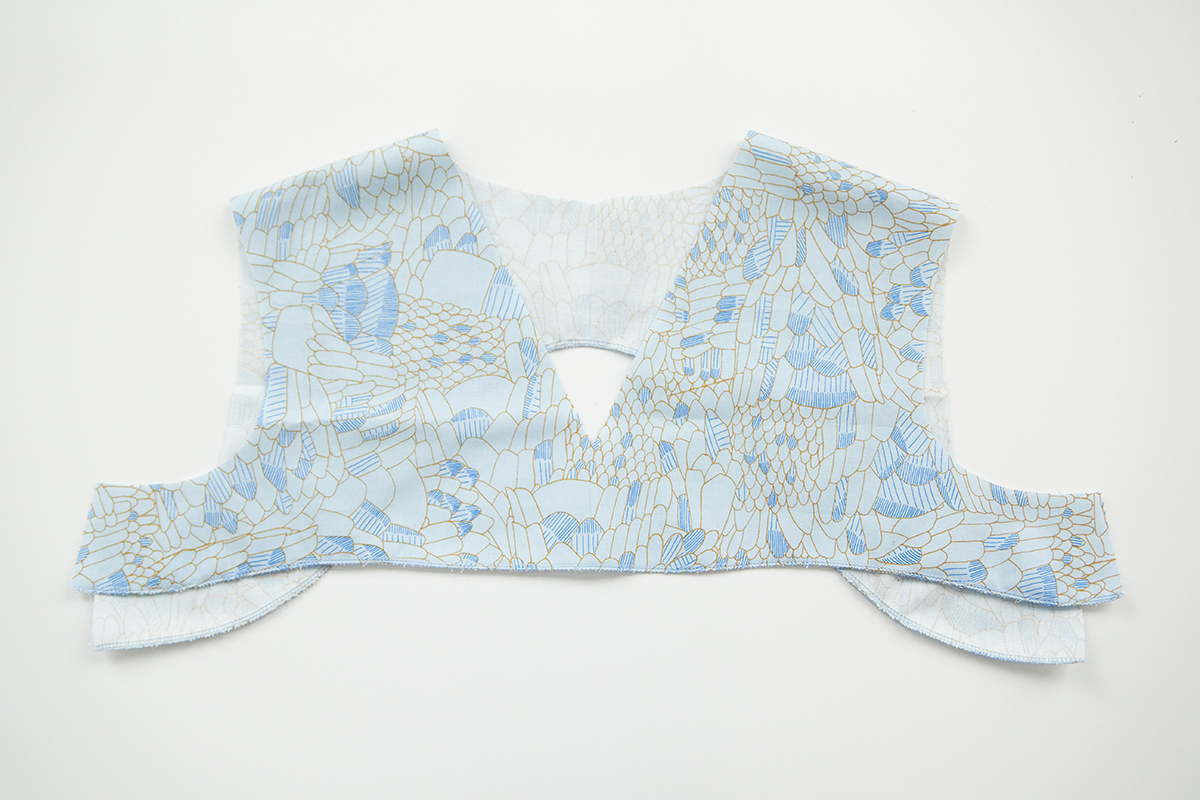
Finish the lower edge of the front and back facing.
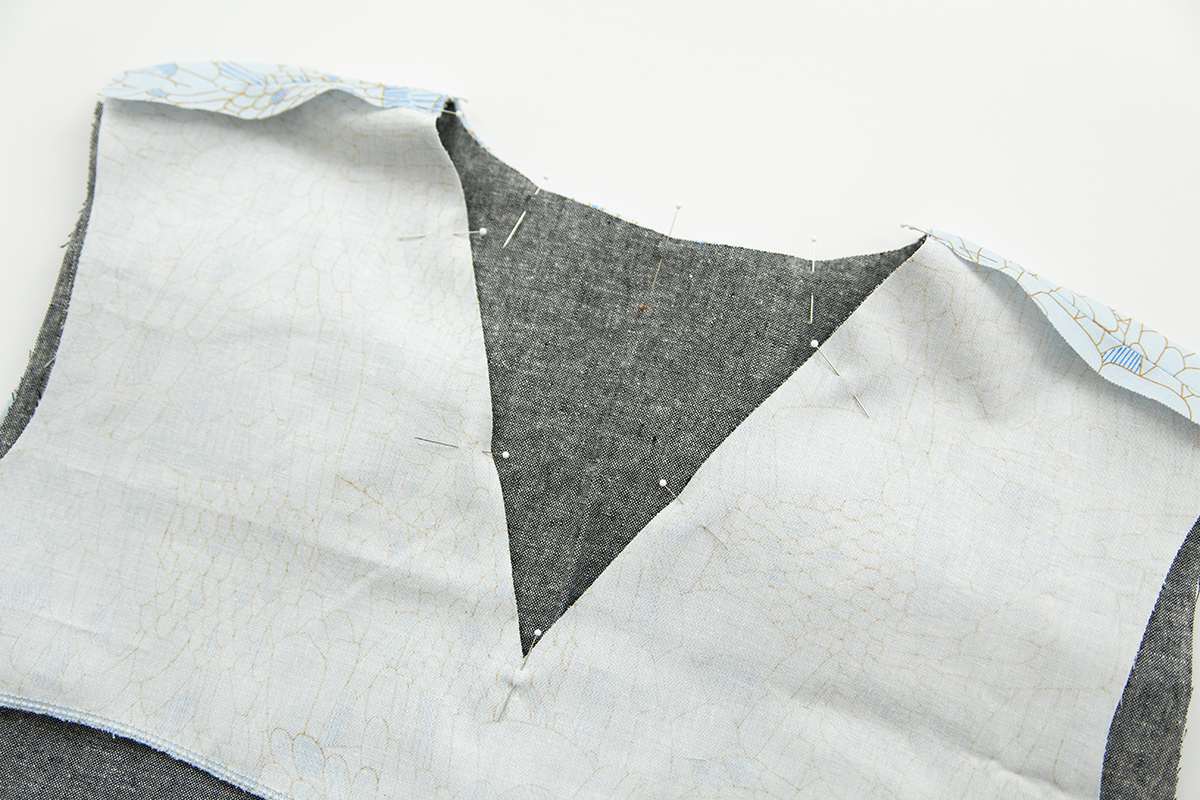
With right sides together, pin the facing to the bodice at the neckline, aligning all seams and notches.
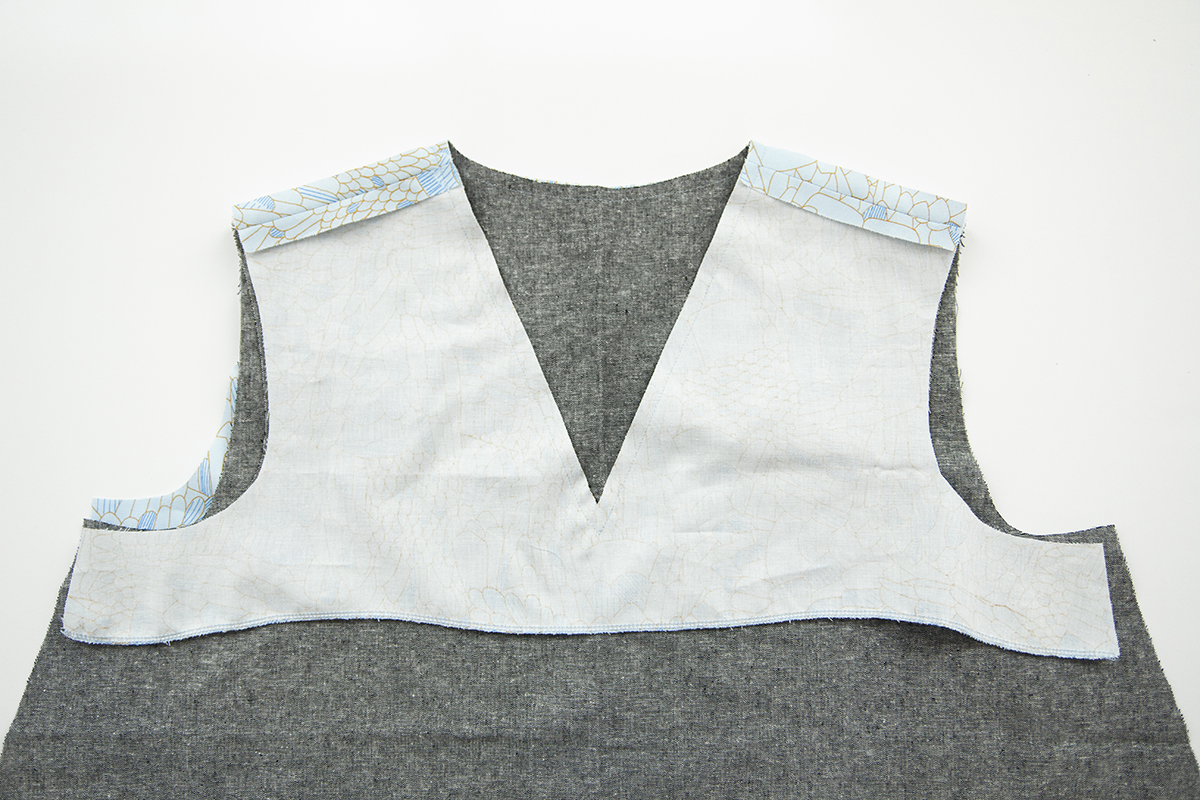
Using a straight stitch, stitch the bodice to the facing along the neckline.
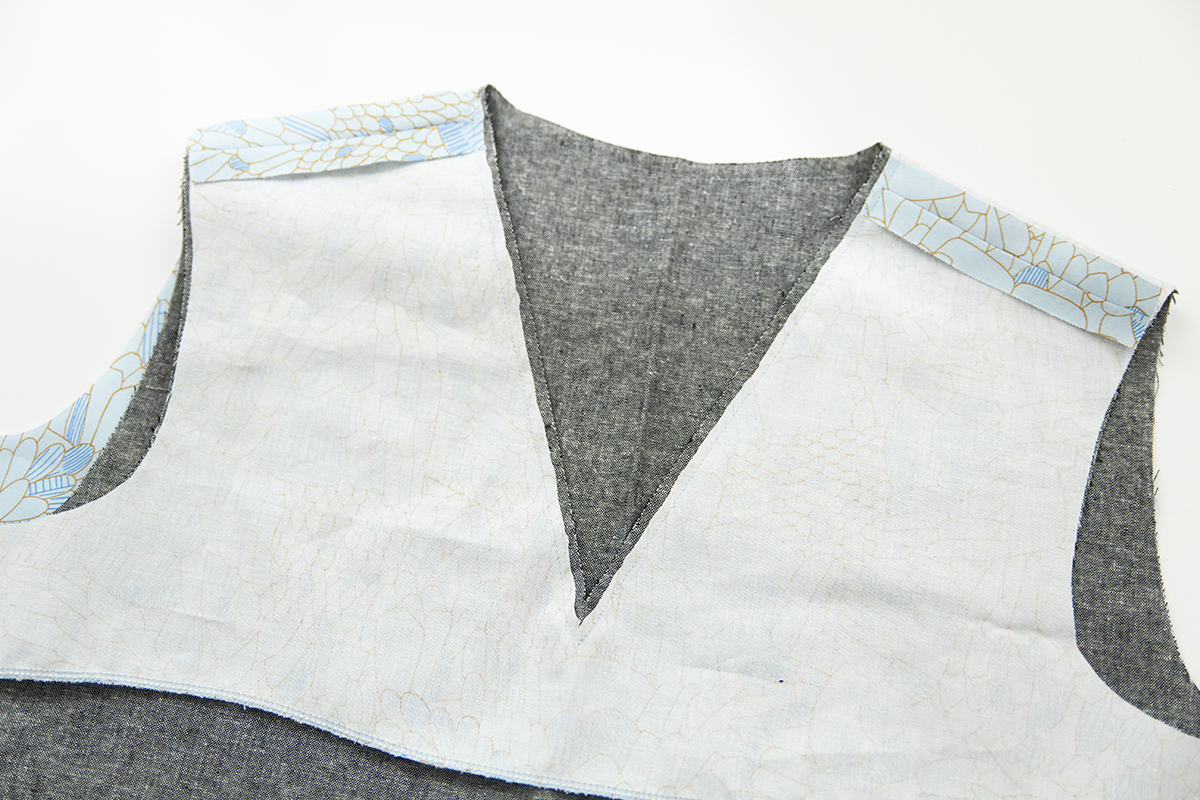
Grade the seam. To do this, trim the bodice seam allowance by about a quarter, and the facing seam allowance by about half. Trimming the seam allowance to different widths keeps the seam from being too bulky.
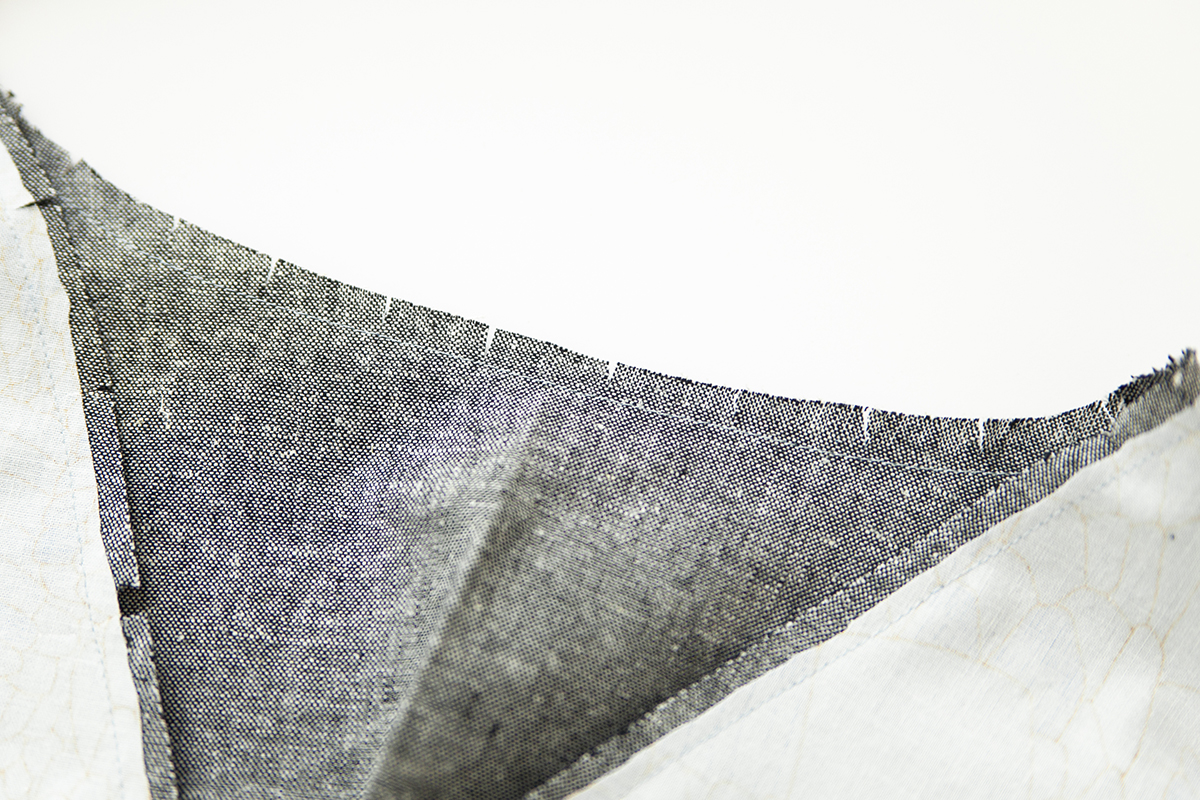
Clip around the inner curves of the neckline, all the way around. Clipping the inner curves will help you turn the seam out.
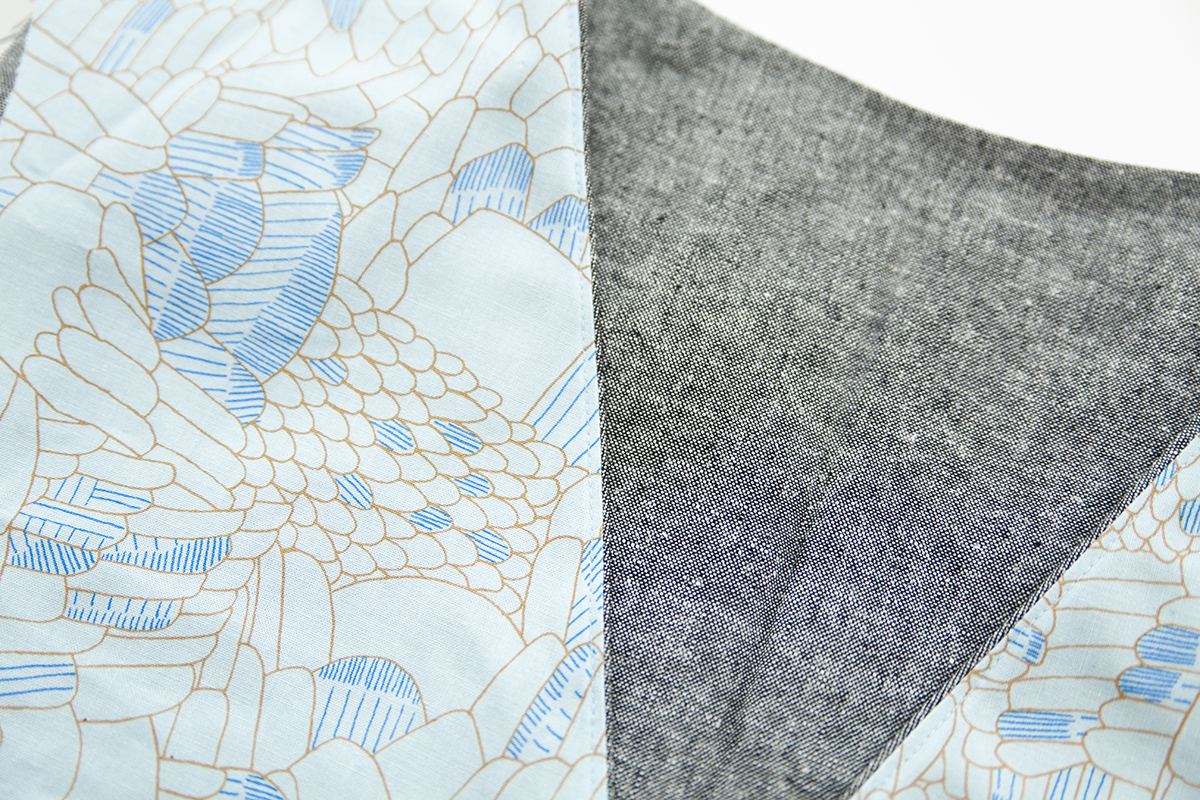
Understitch the facing. To do this, stitch the seam allowance to the facing, close to the stitching line—approximately 1/8" away from the seam.
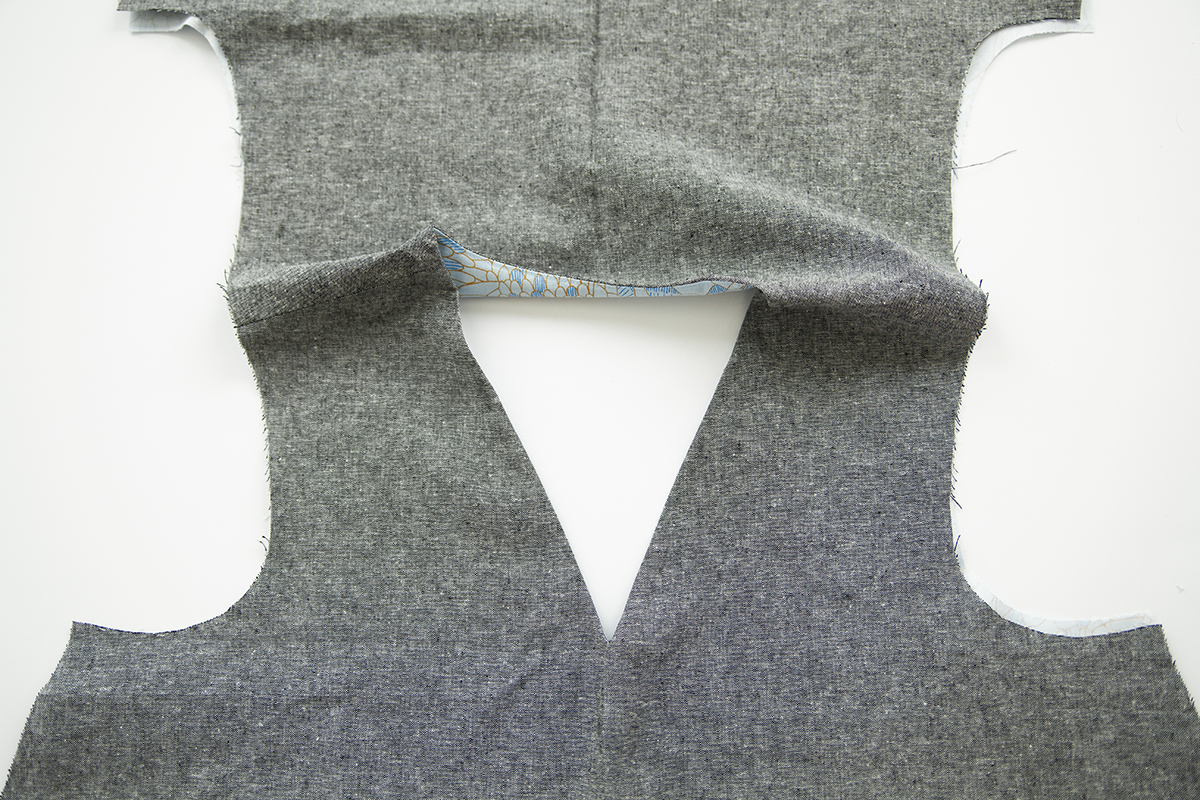
Turn the bodice and facing right side out and press.
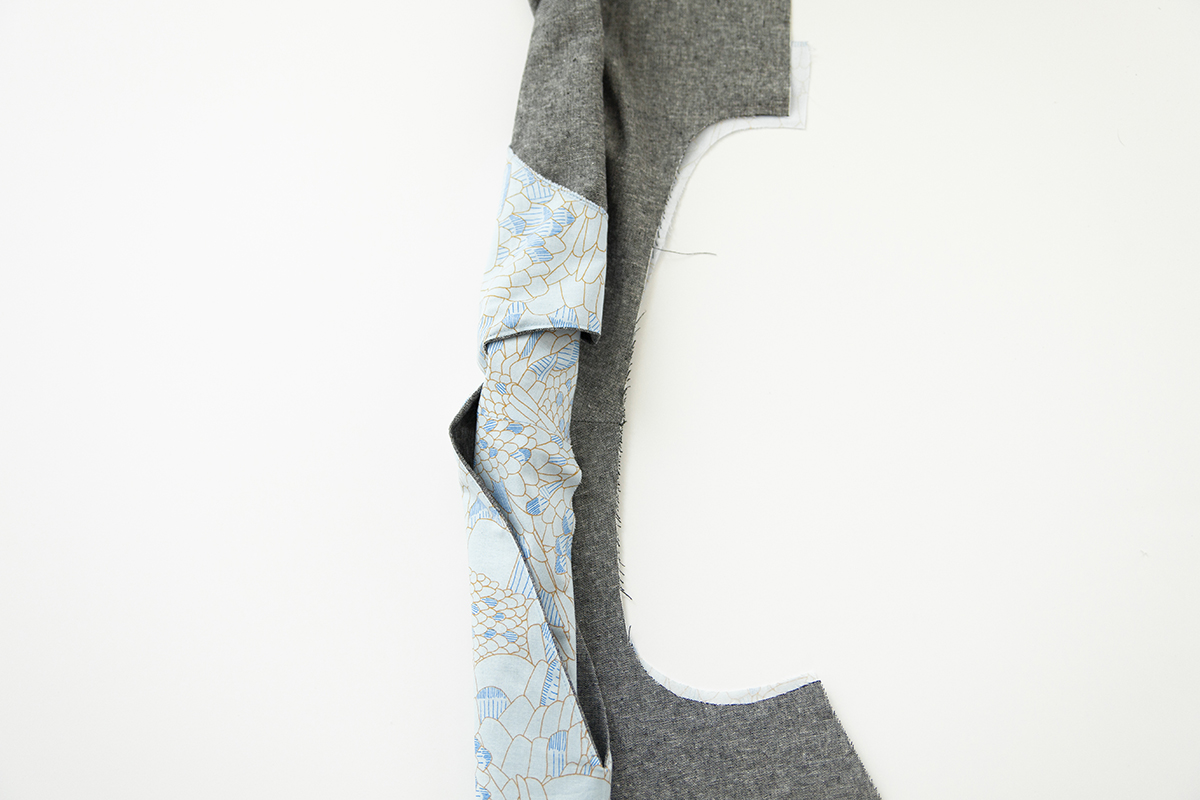
Lay your bodice out flat then roll the bodice and facing from one armhole edge, towards the other armhole edge.
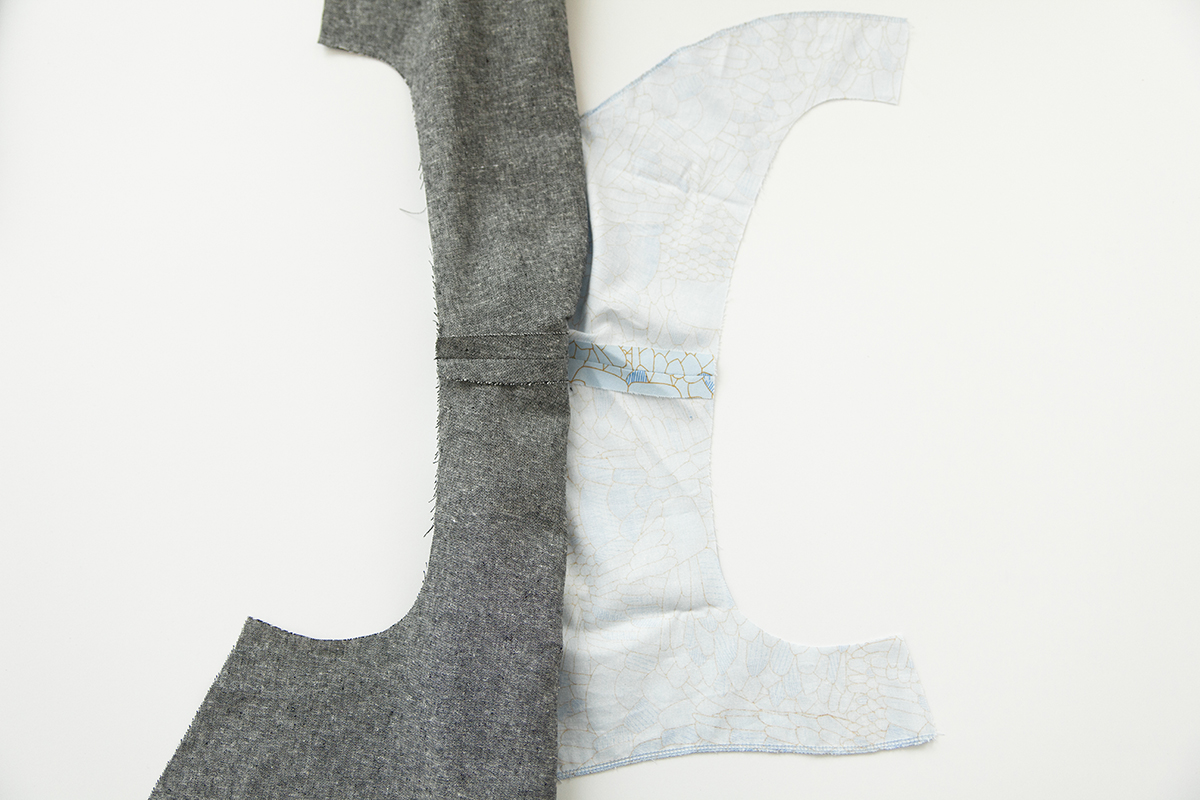
Flip the facing underneath the rolled bodice. To start, flip the facing out as shown.
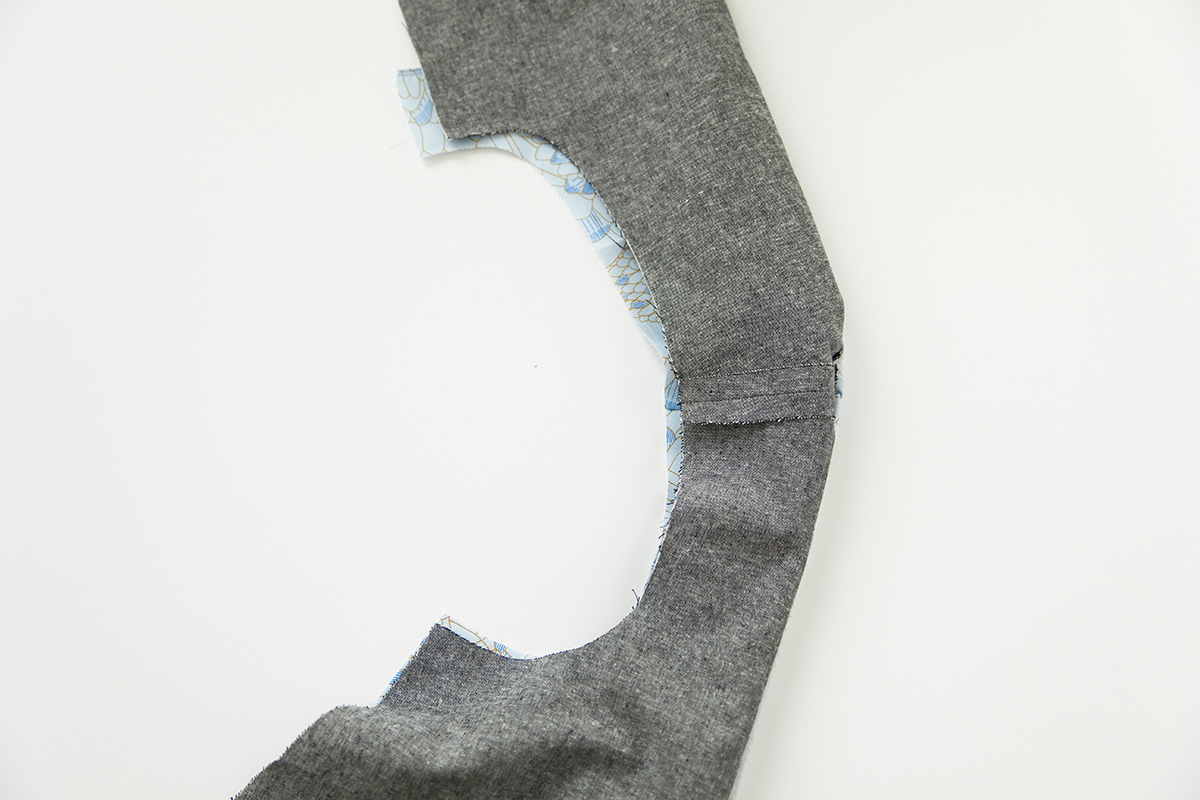
Next, flip the facing under and align the armhole edges of the bodice and facing. The right sides should be together, and the rolled bodice will be sandwiched in between.
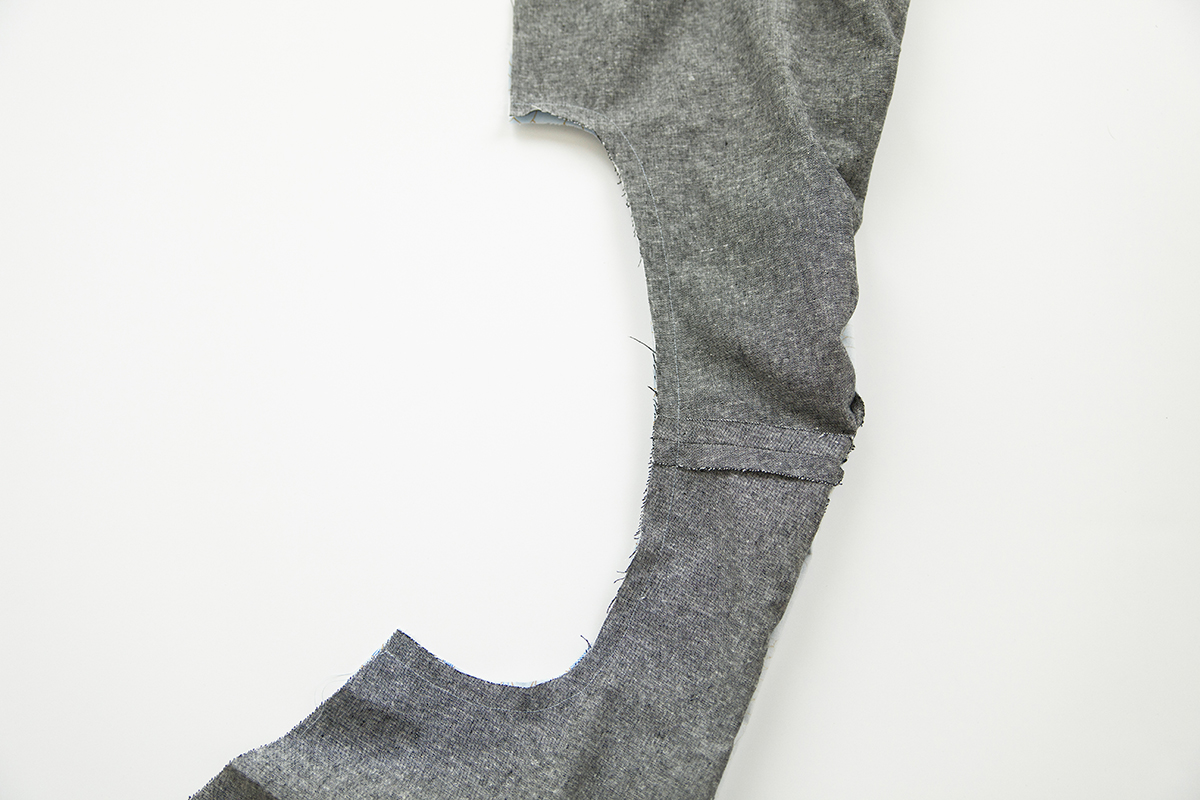
Stitch the bodice to the facing along the armhole.
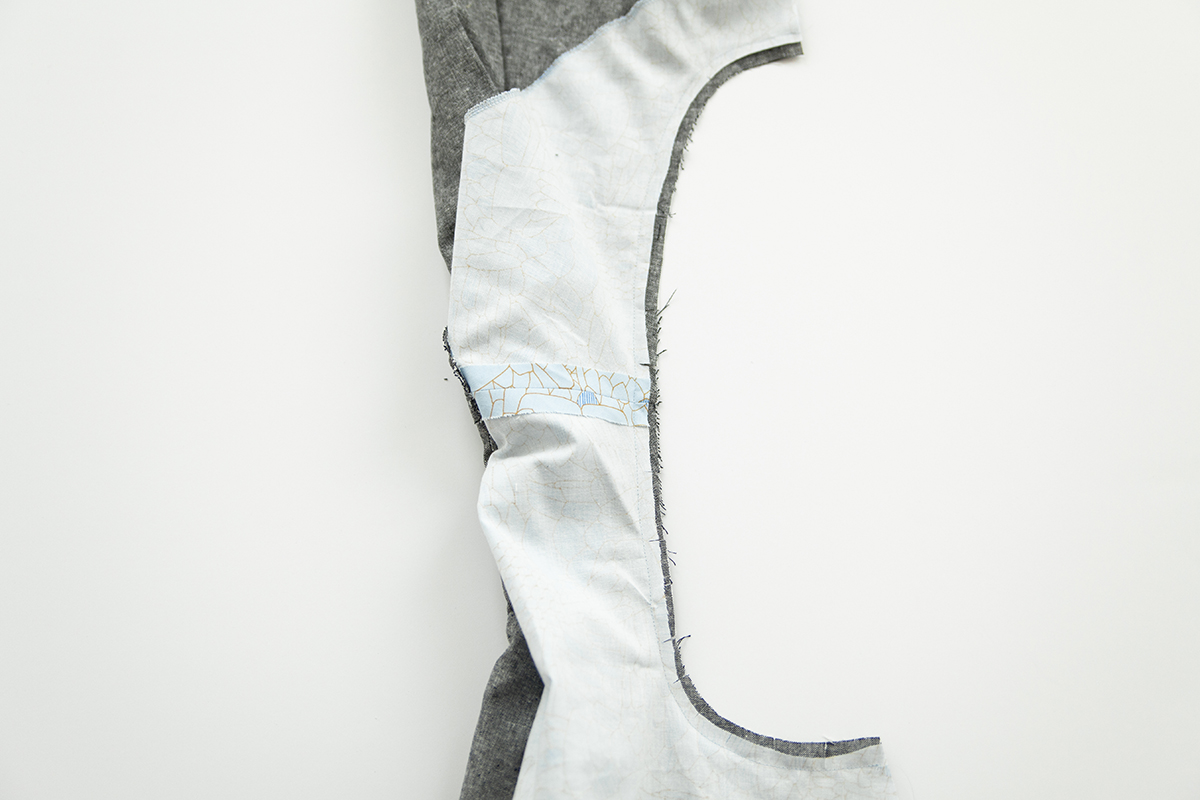
Grade and clip the armhole seam allowance.
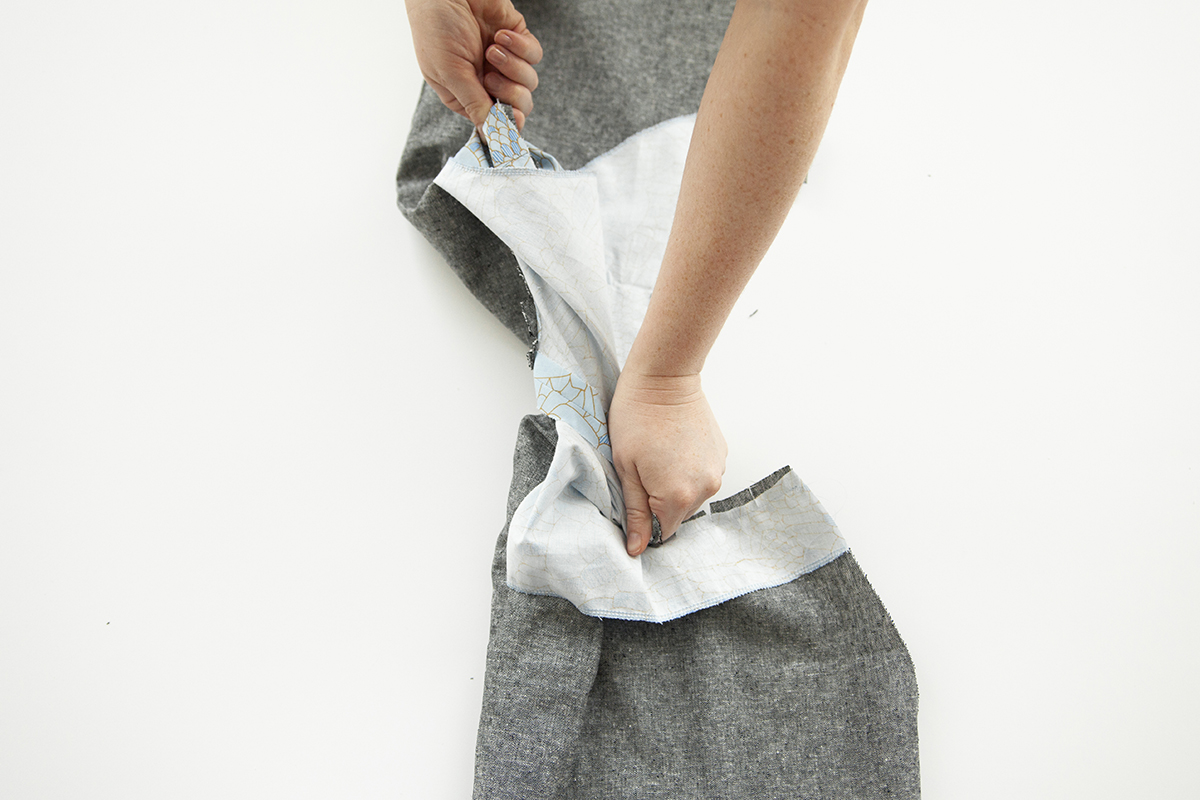
Pull the garment through the shoulder area to pull it right side out.
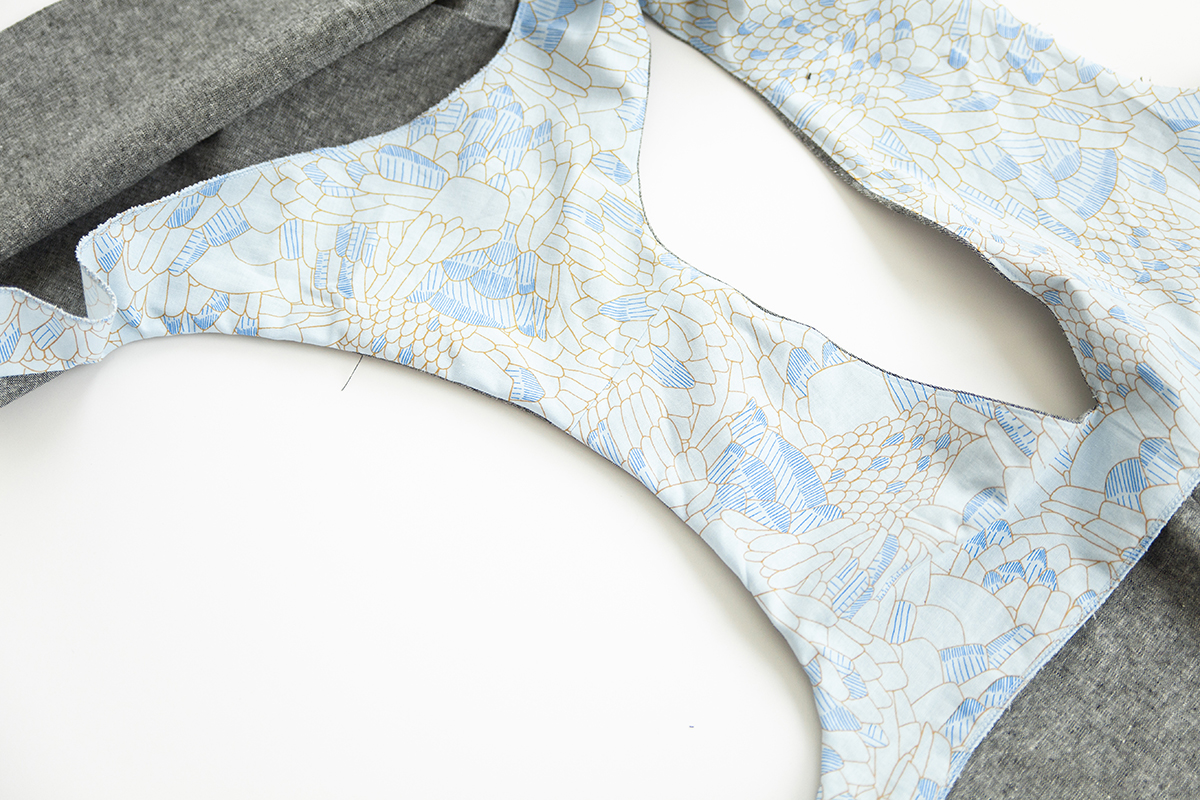
Stitch the second armhole in the same manner (steps 10-16).
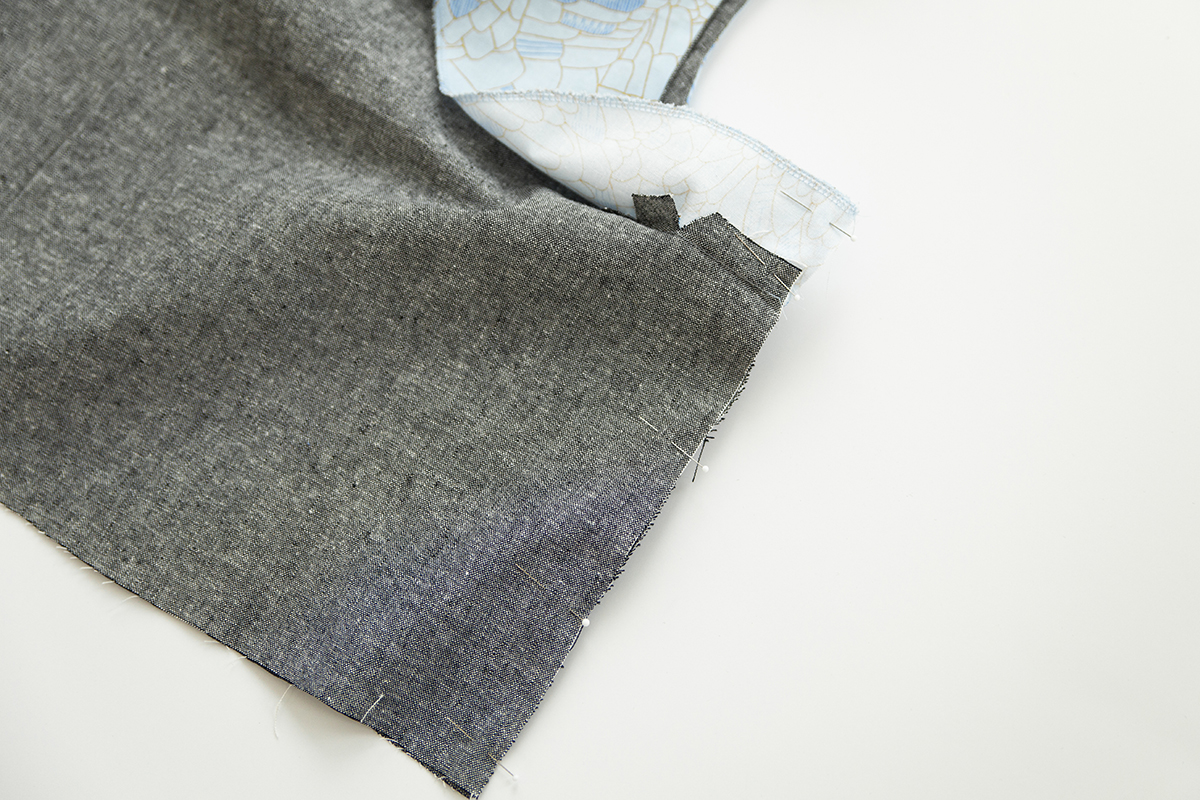
With right sides together, stitch the side seams of the bodice. Stitch in one continuous seam, sewing the front bodice to the back bodice, and the front facing to the back facing.
 Related Articles
 Best Articles

