Sign In

Bias tape can be used to finish raw edges—like armholes and necklines—in a variety of ways. Using double fold bias tape creates a bound edge that is visible from both the wrong and right side.
How to Create Handmade Bias Tape
Ready-made bias tape can be purchased in stores, but it is easy to make your own. By making your bias tape, you have more control over the weight, color, print, and overall quality.
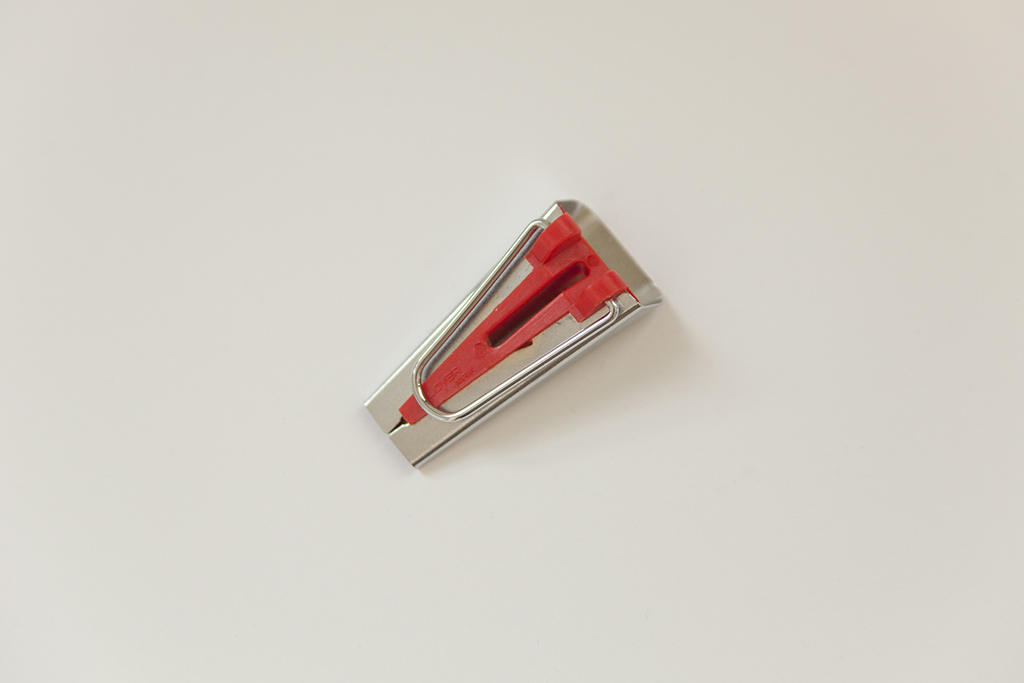
A bias tape maker is an essential tool for creating precise bias tape. This tool comes in various sizes, but the 18mm (3/4”) or 25mm (1”) size works well for double fold bias tape. To make double fold bias tape, you need a bias tape maker with a measurement that is double the finished measurement of the bias tape required for your project.
NOTE: For this tutorial, we will use an 18mm bias tape maker.
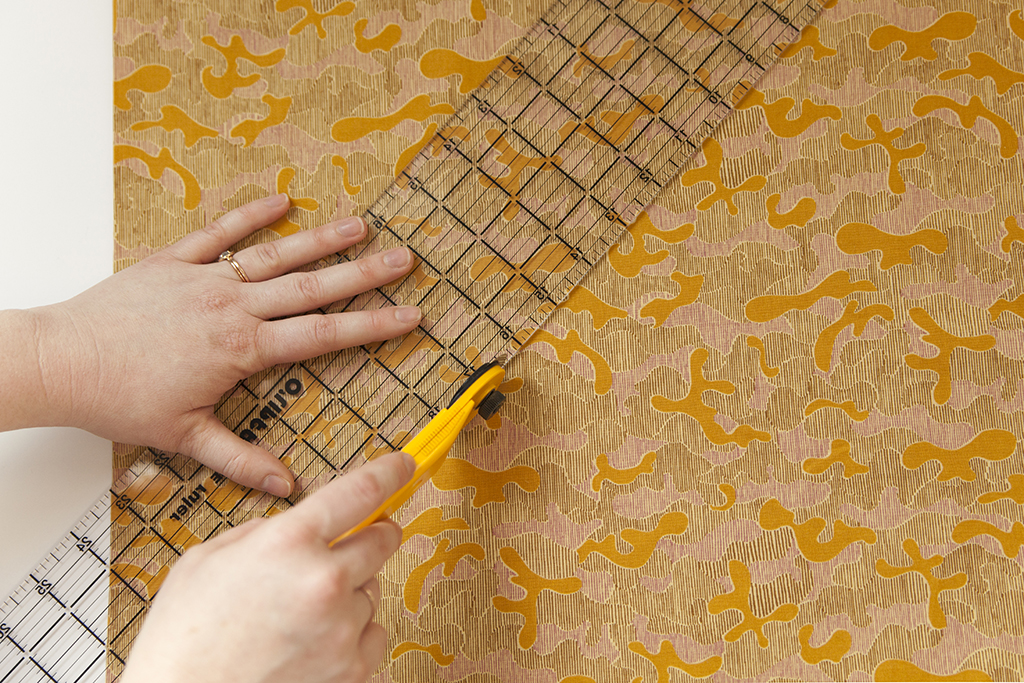

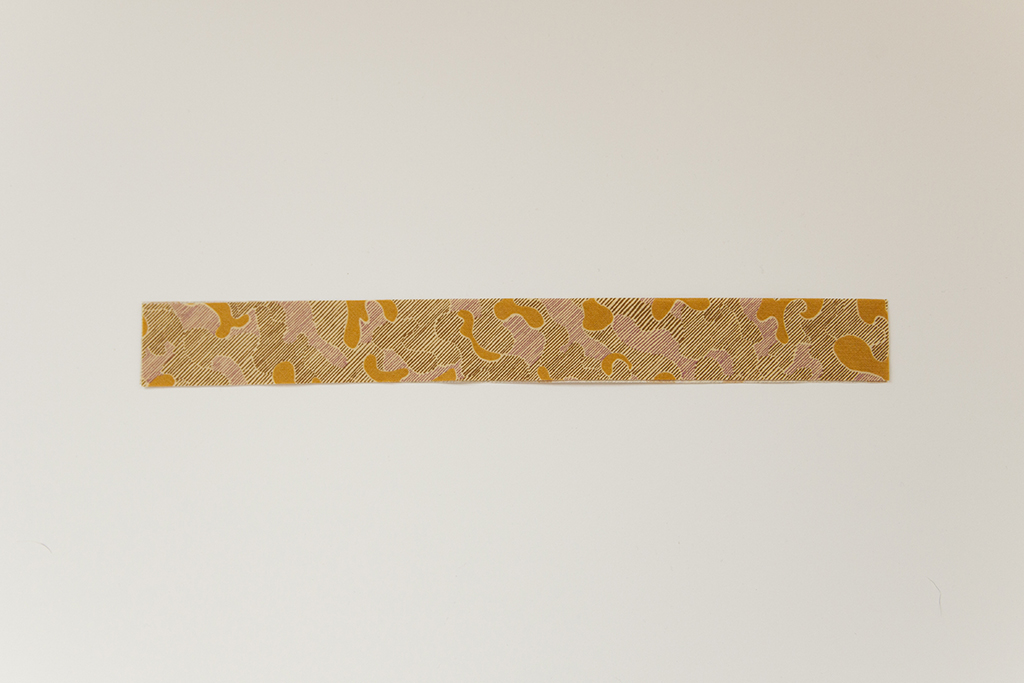
Cut fabric into 1 1/2” wide strips on the bias. The bias runs along a 45-degree angle on the fabric, which is the stretchiest direction of the fabric. Cutting your bias tape at this exact angle allows it to bend evenly around curves.
Use scissors or a rotary cutter to square off the ends of each strip of bias tape so that they are at a 90-degree angle.
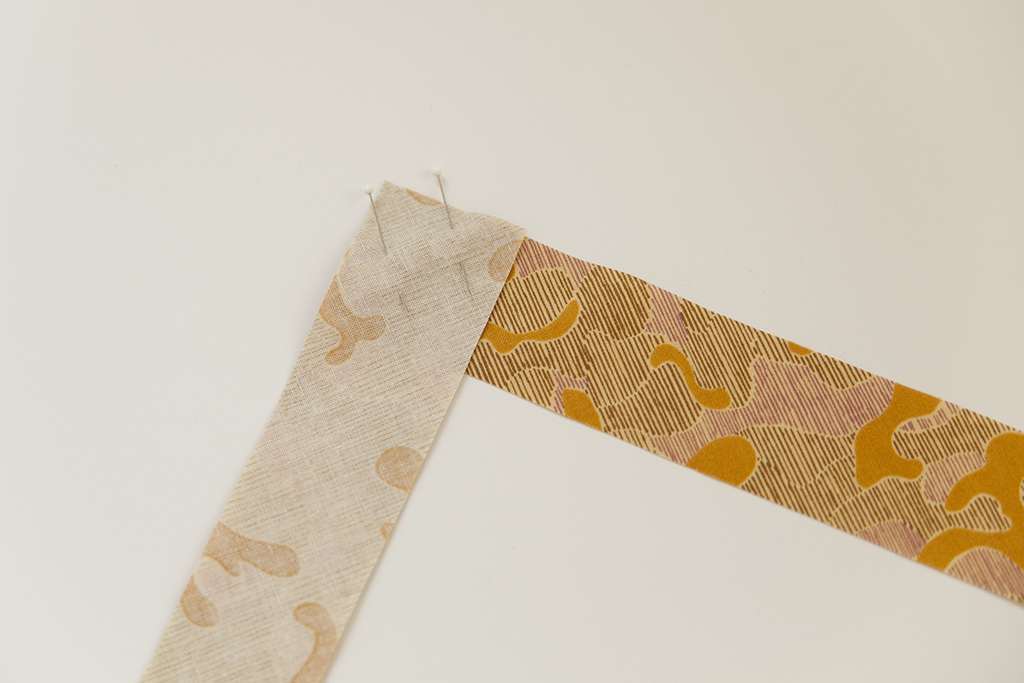
With right sides together, align two bias pieces together at a 90-degree angle, pin.
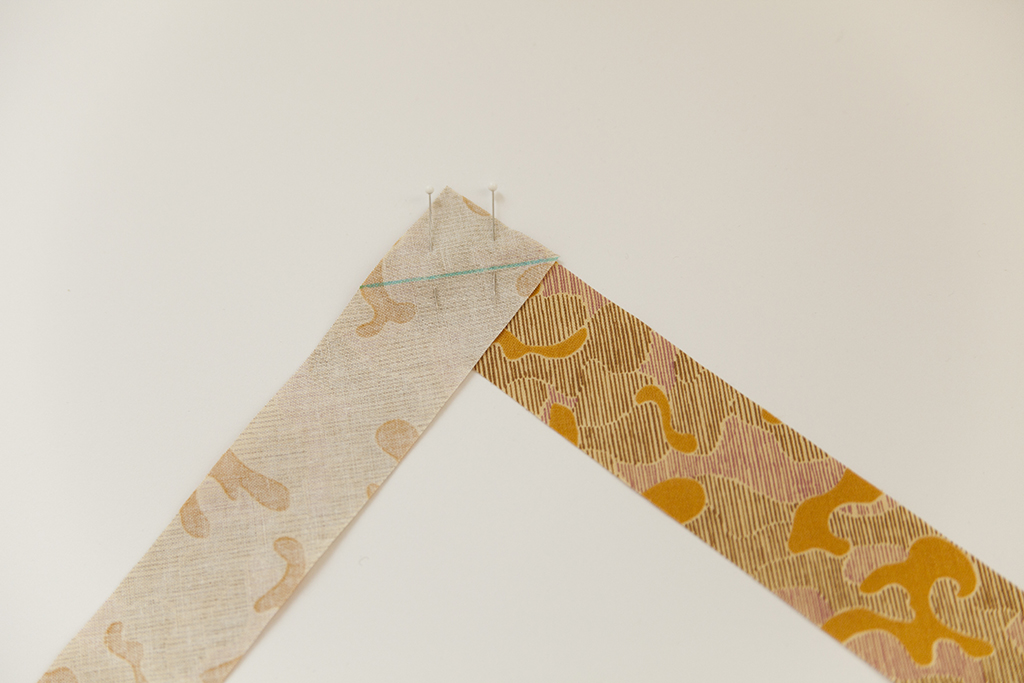
Use a marking tool and ruler to draw a straight line connecting the corners of the bias tape.
Use a straight stitch with a small stitch length (1.5) to sew along the marked line. Trim the seam allowance and press open. Repeat as needed to create the desired length of bias.
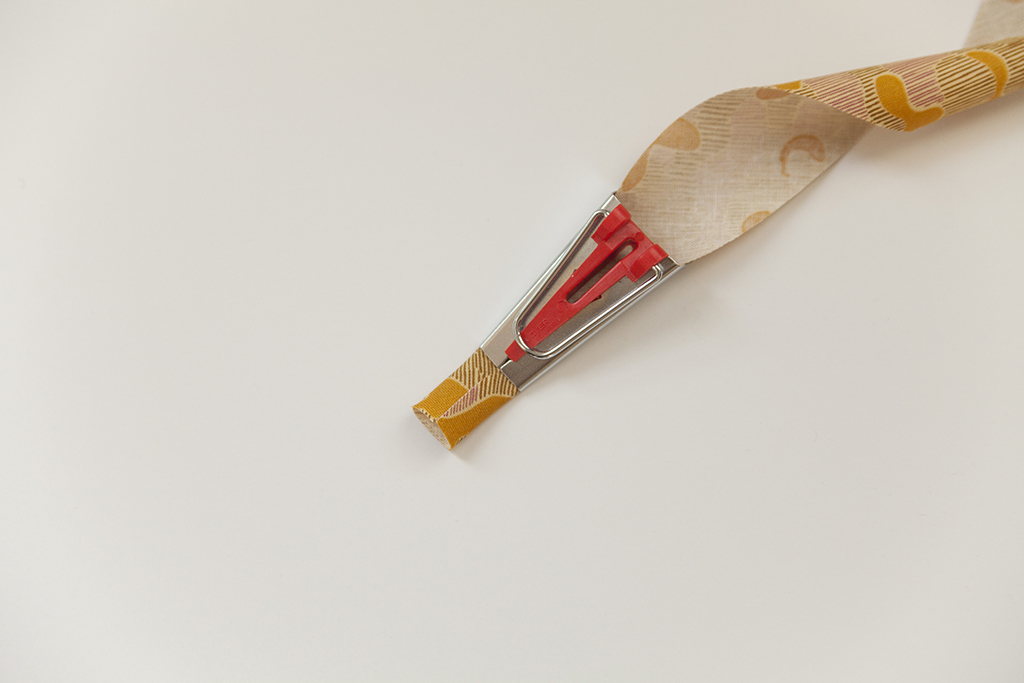
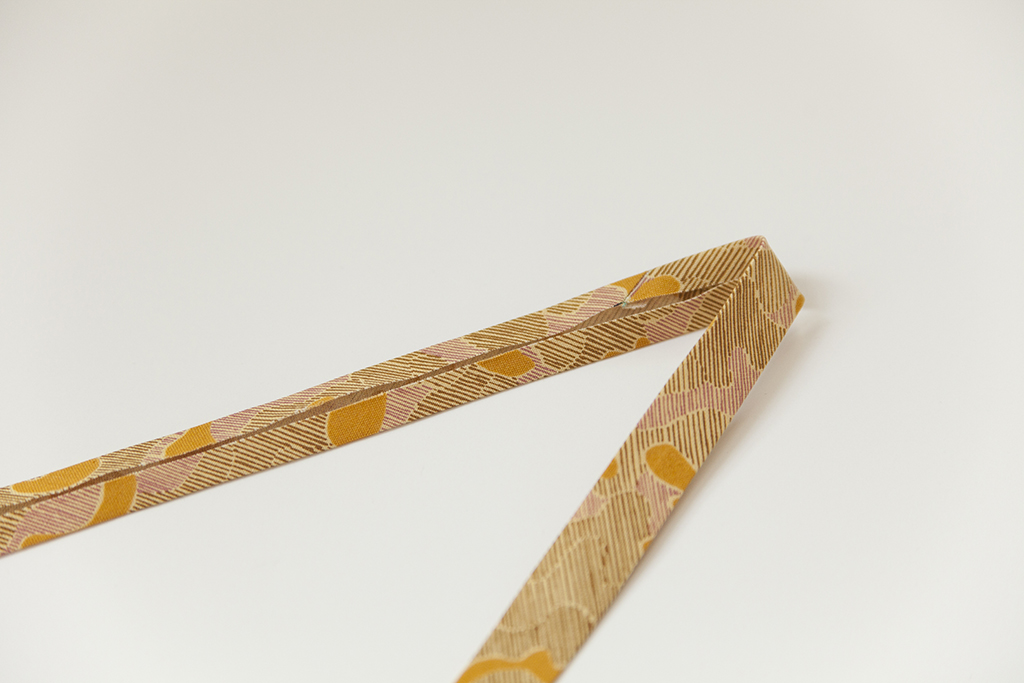
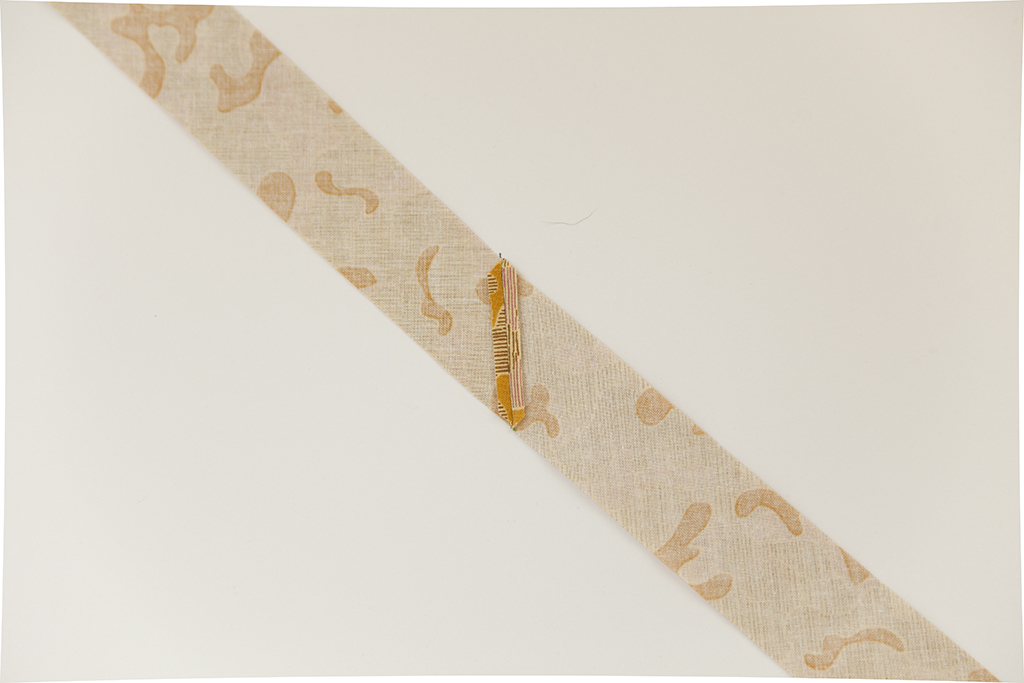
Feed the joined bias tape through the bias tape maker with the wrong side facing up. Press the creases in place as you continue to feed the bias through the bias tape maker.
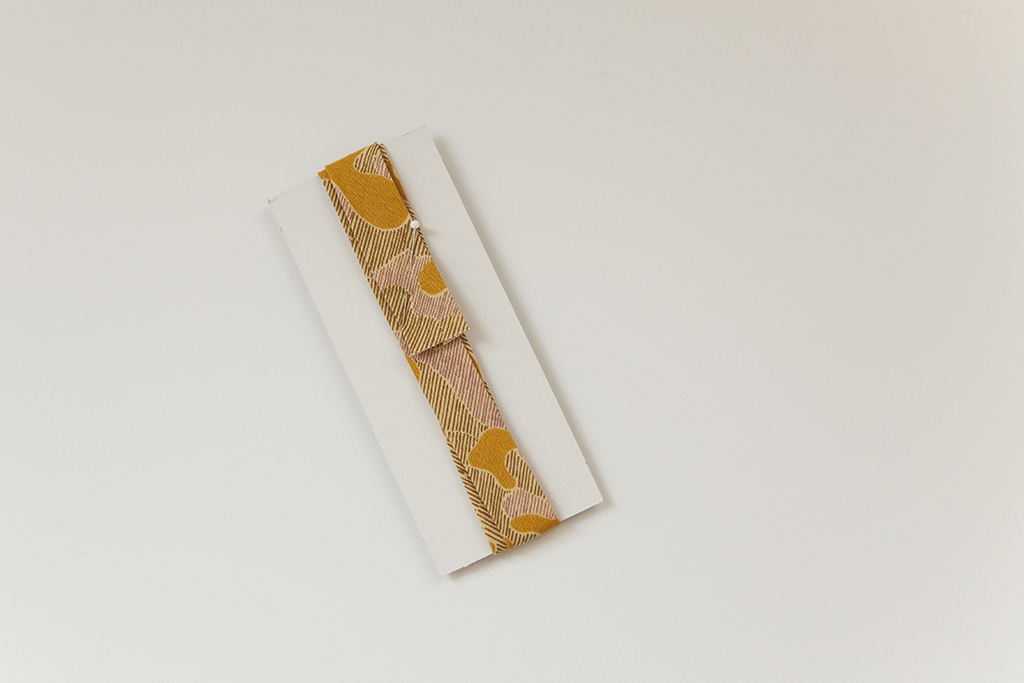
To store, wrap the bias tape around a small piece of cardstock or cardboard, using a paper clip or binder clip to secure.
How to Attach Bias Tape
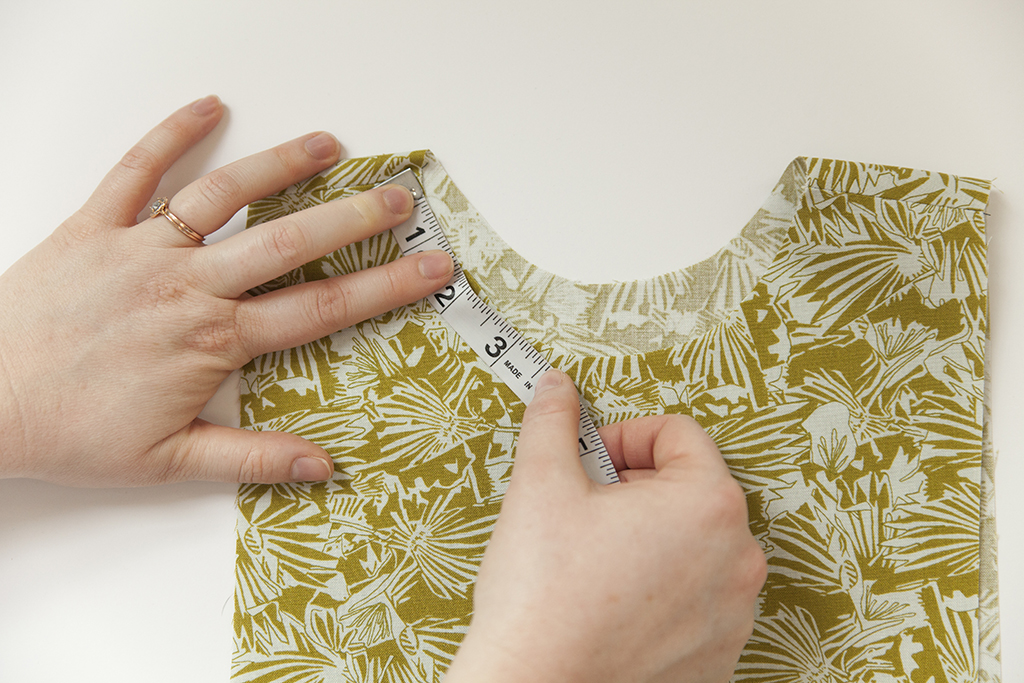
If you are attaching the bias tape in a continuous circle (such as a neckline or armhole), measure the edge you are applying bias tape to. Take this measurement and add the total width of the bias tape to it. For instance, if the neckline measures 18” and the bias tape is 1.5” wide then: 18+1.5=19.5. Cut a piece of bias tape to this length.
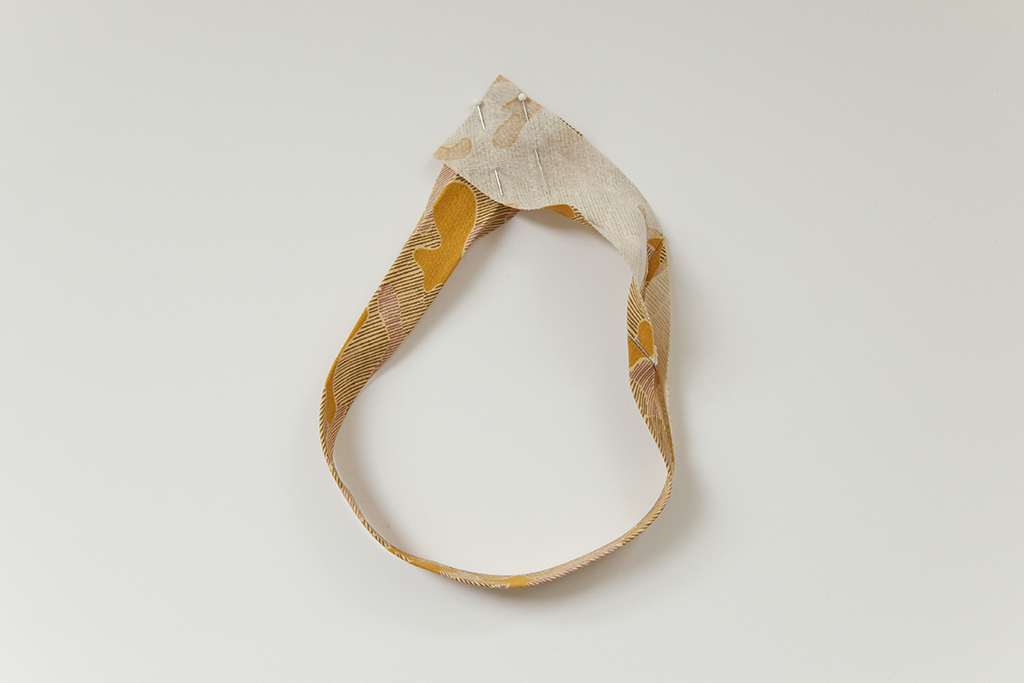
With right sides together, align the two edges of bias tape together at a 90-degree angle, pin.
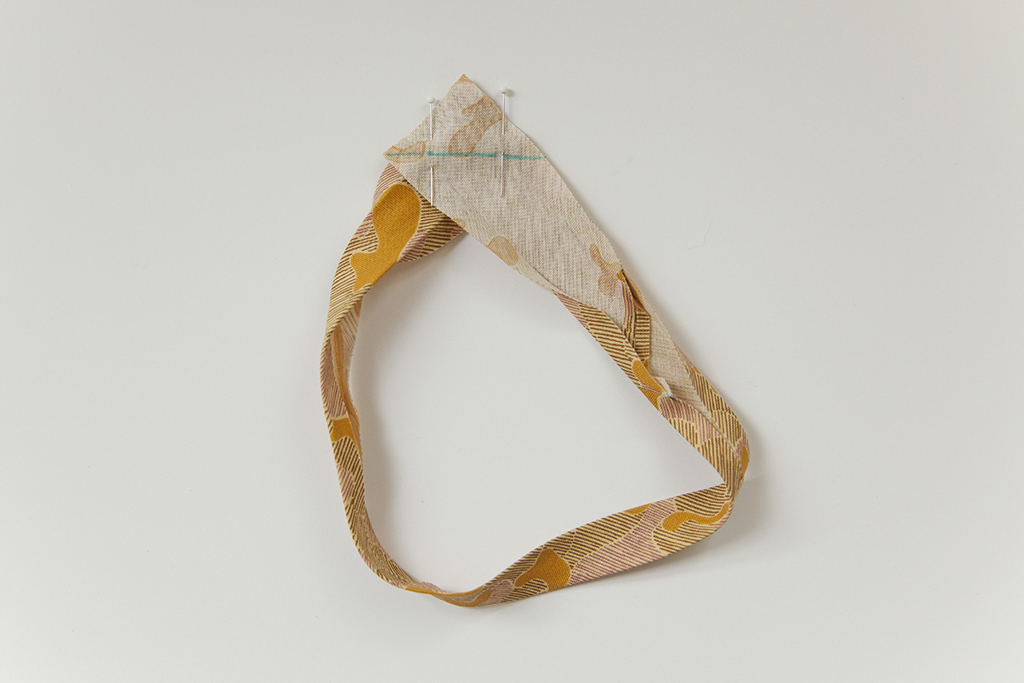
Use a marking tool and ruler to draw a straight line connecting the corners of the bias tape. Use a straight stitch with a small stitch length (1.5) to sew along the marked line. Trim the seam allowance and press open.
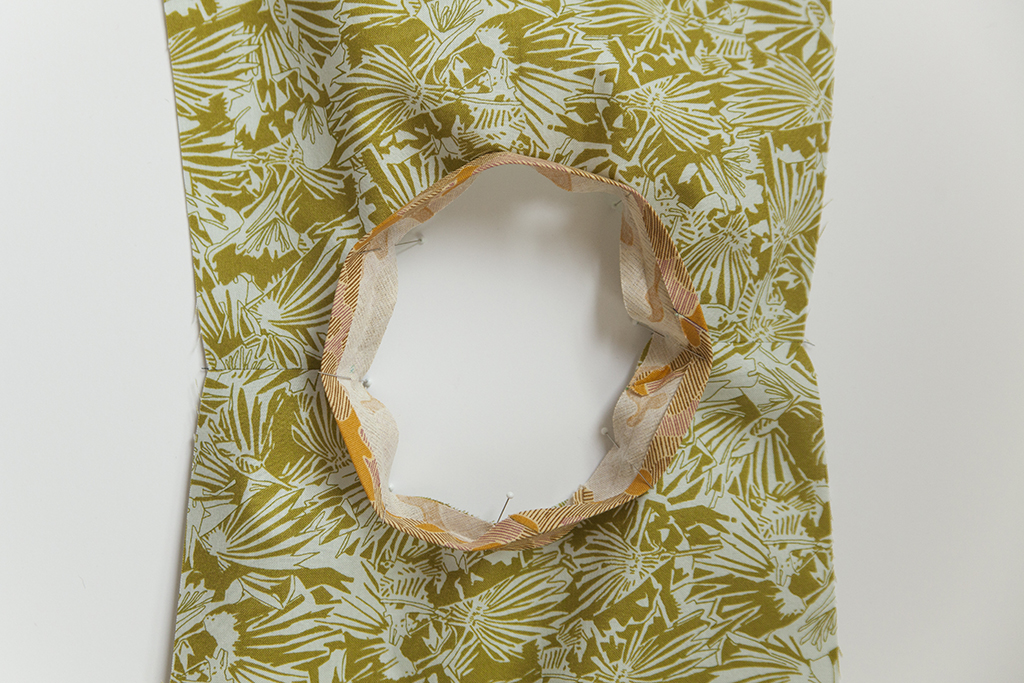
With right sides together, pin the bias tape to the edge of the fabric.
Sew along the first fold of the tape. Take care not to pull at the garment or the tape.
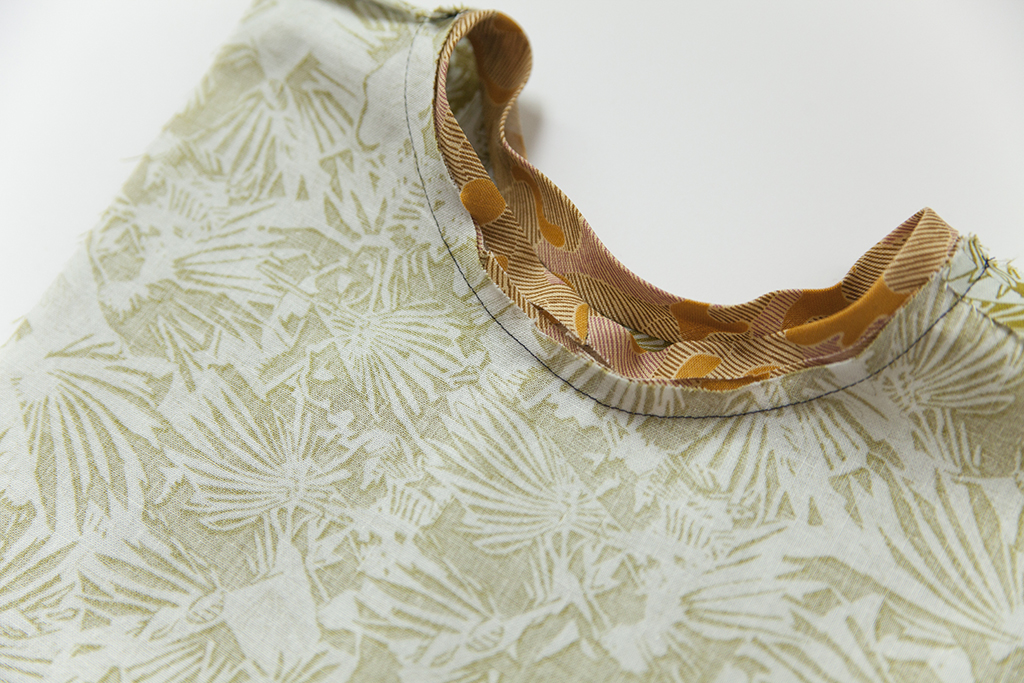
Carefully press the seam allowance toward the bias tape, being careful not to remove any of the folds in the bias tape.
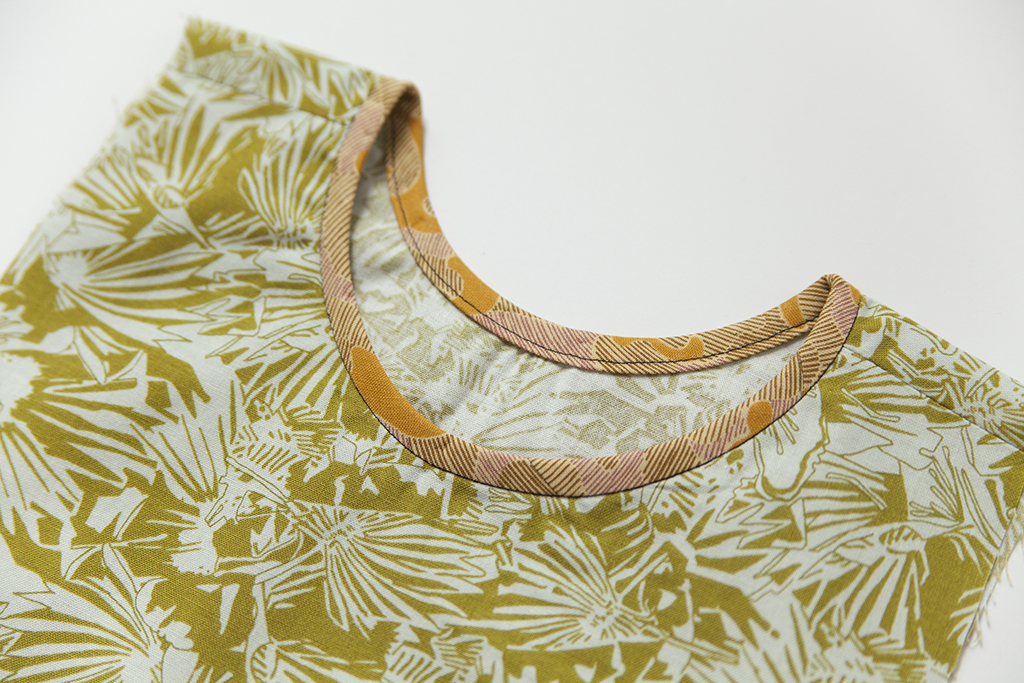
Refold bias tape to wrap around the raw edge of the fabric and pin. Edgestitch along the inner edge of bias tape through all layers.