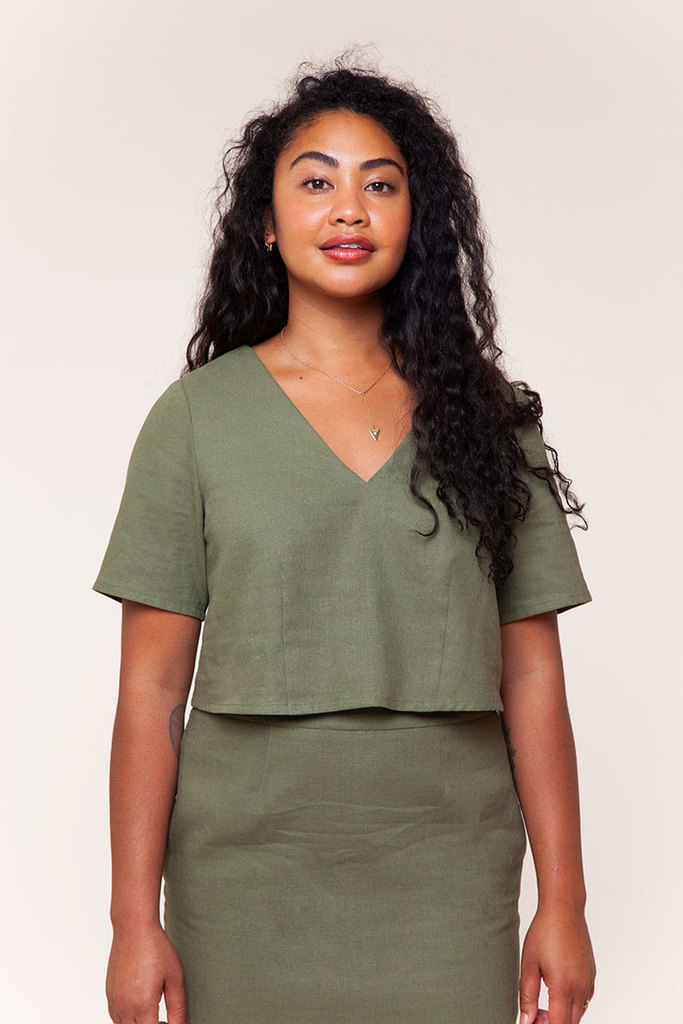
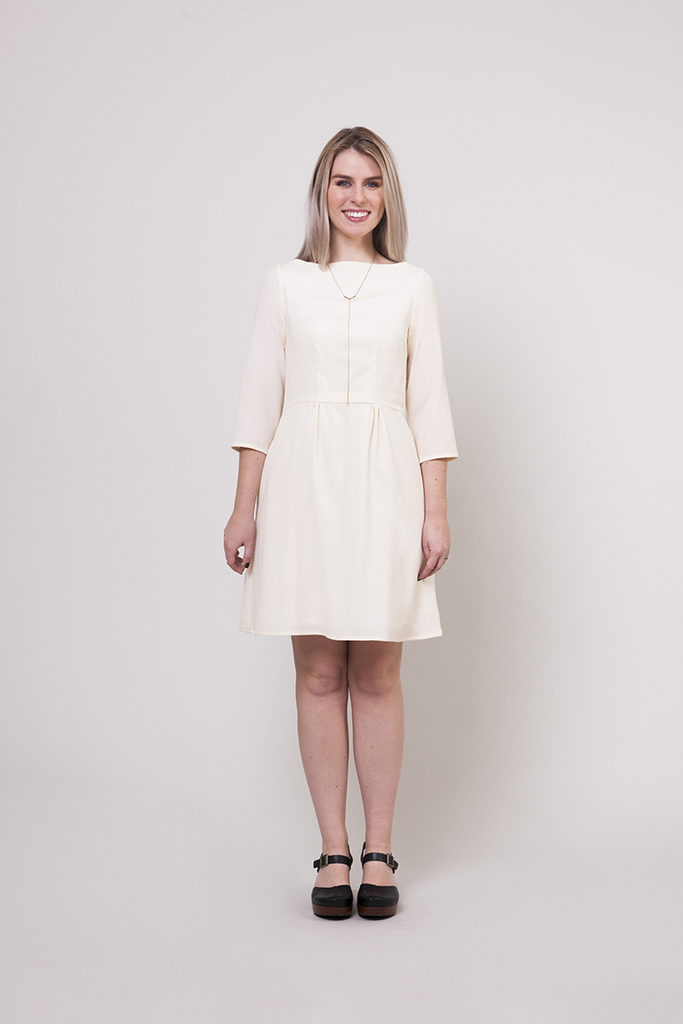
Facings are used to finish the edge of a garment. Though necklines are one of the most common places you'll find facings, they can also be used to finish the armholes of sleeveless clothing, the waist of skirts or pants, and even hems. This tutorial will teach you how to sew a classic facing.
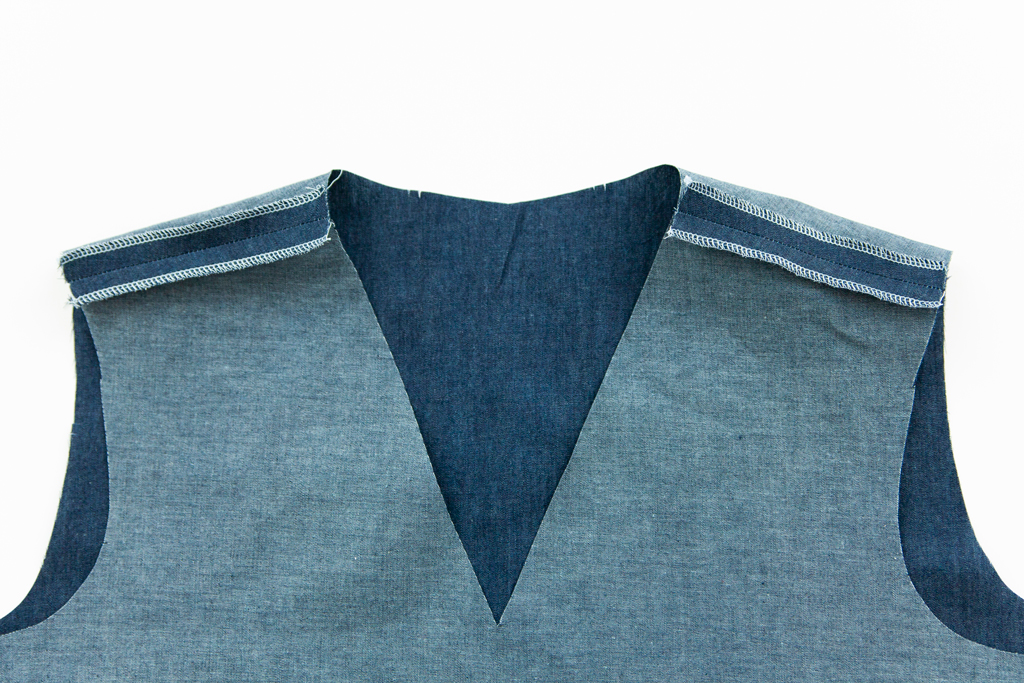
Stitch the bodice pieces together at the shoulders and press the seams open.
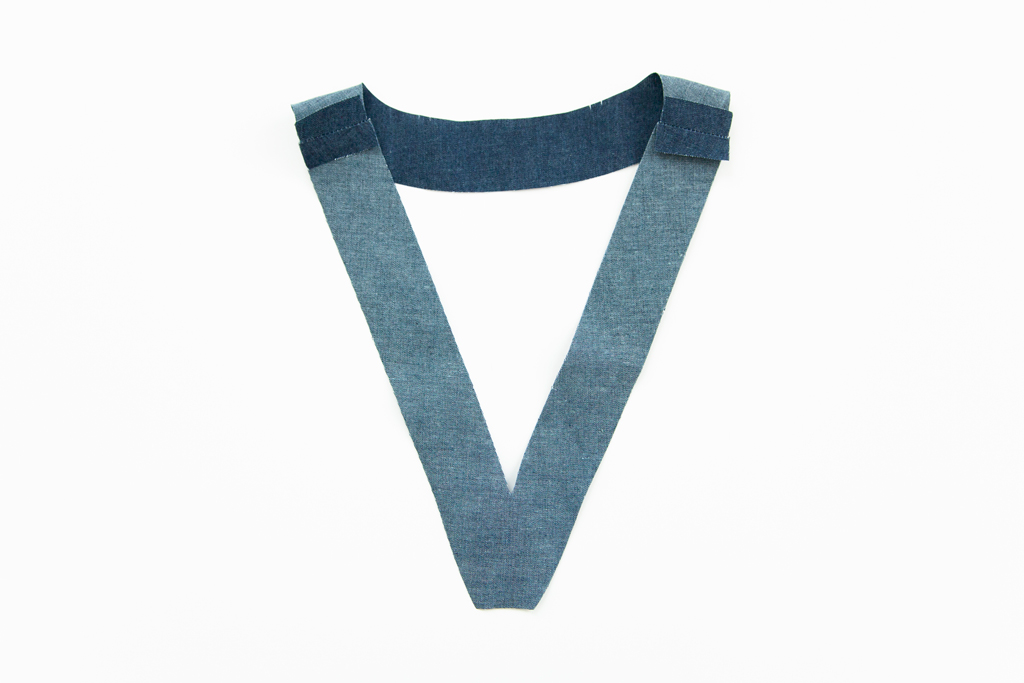
Stitch the facing pieces together at the shoulders and press the seams open.
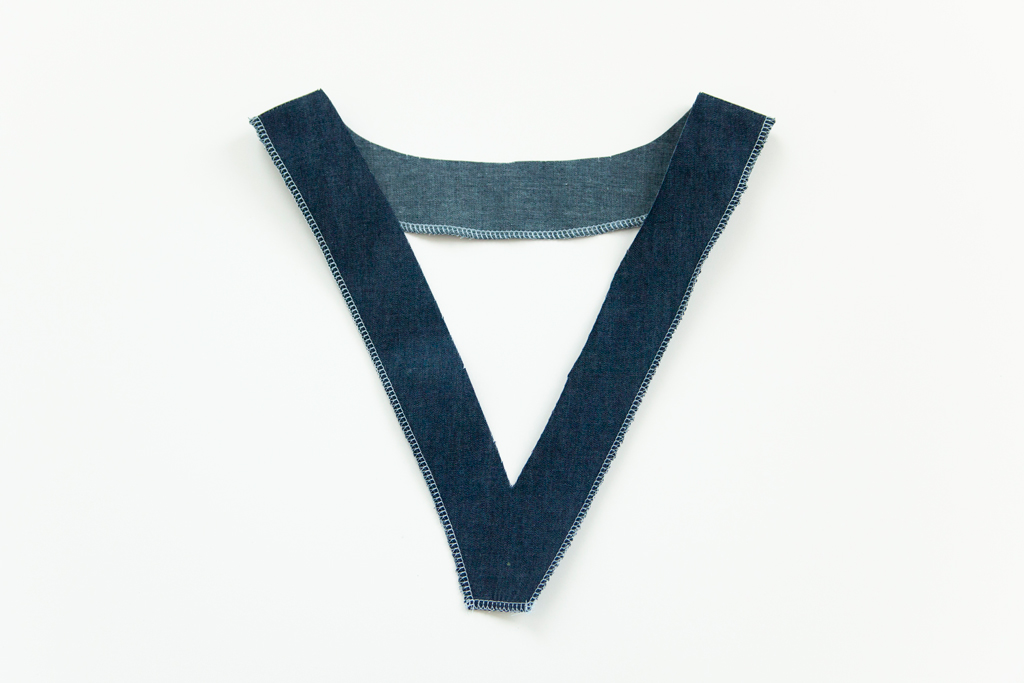
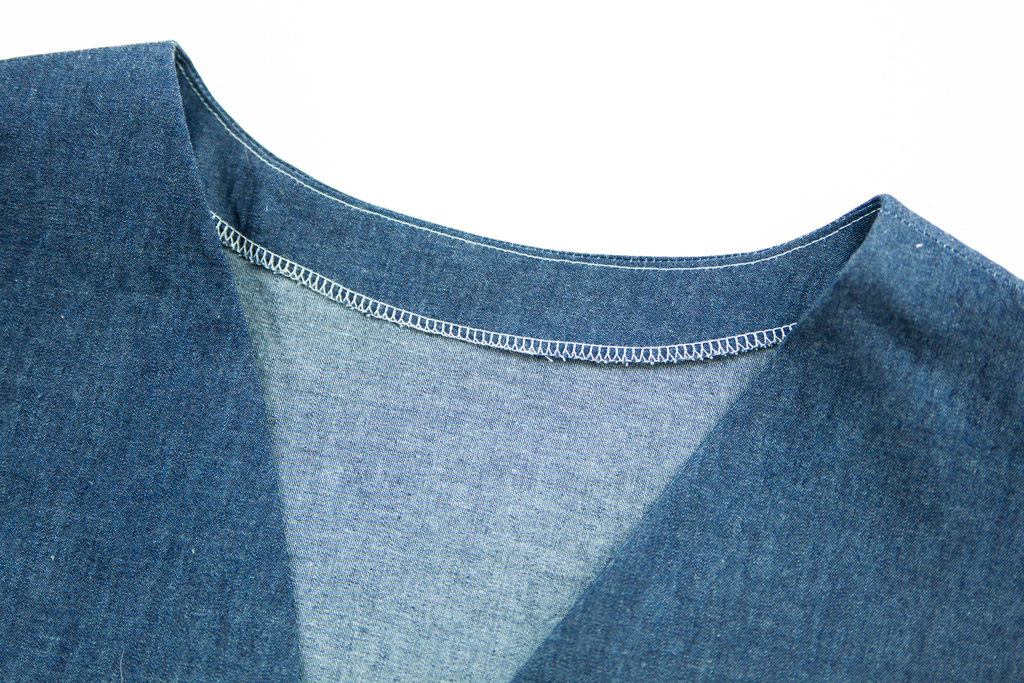
Finish the lower edge of the facing.
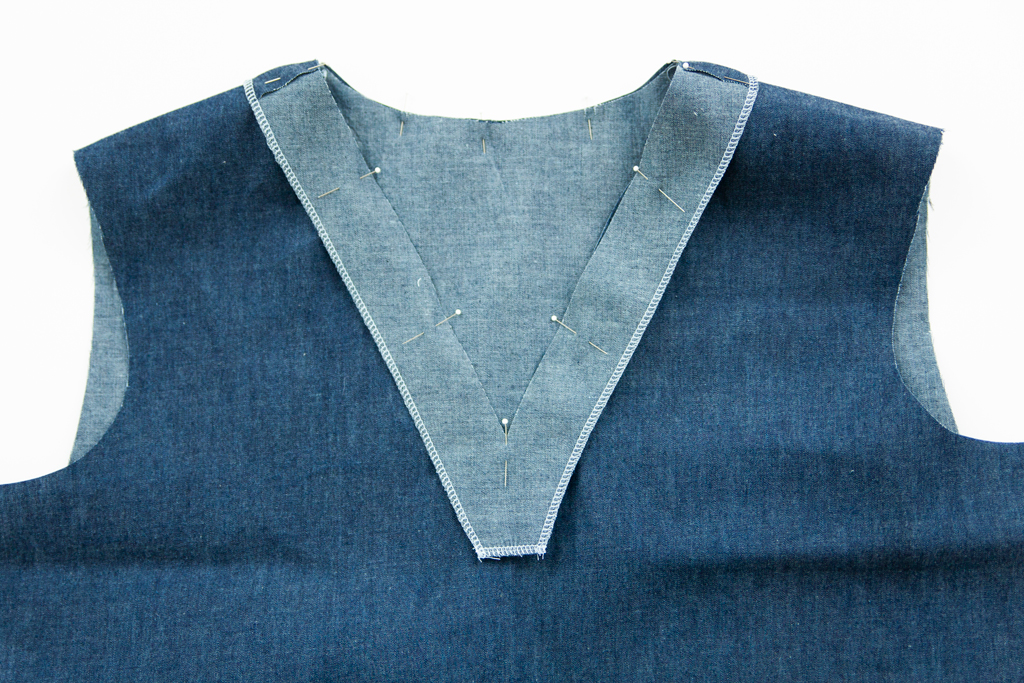
With right sides together, pin the facing to the bodice, aligning all seams and notches.
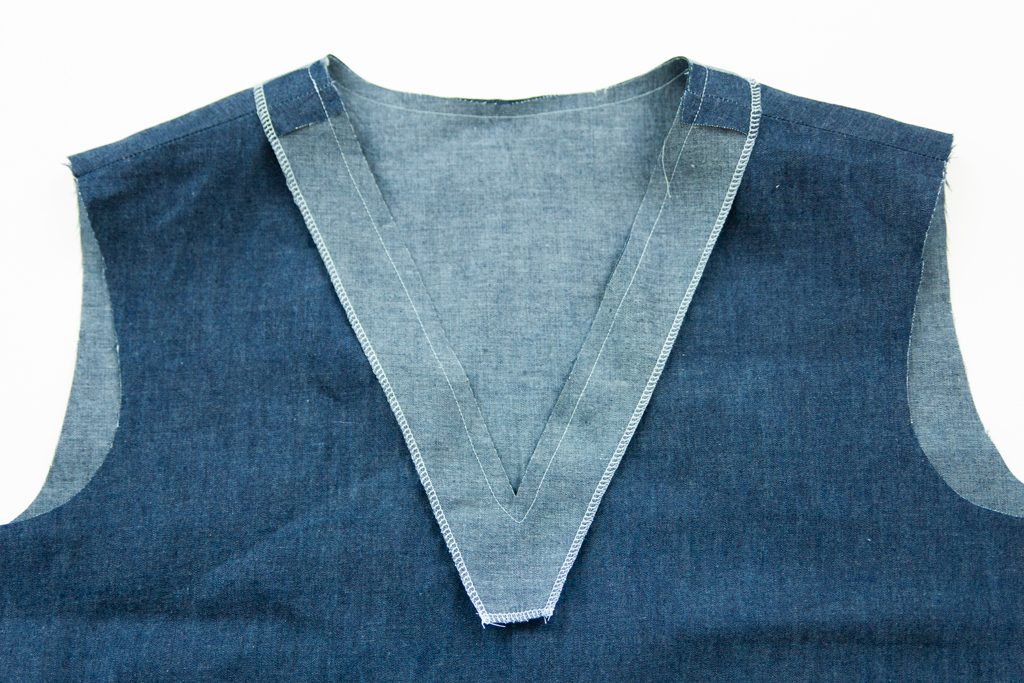
Using a straight stitch, stitch the bodice to the facing.
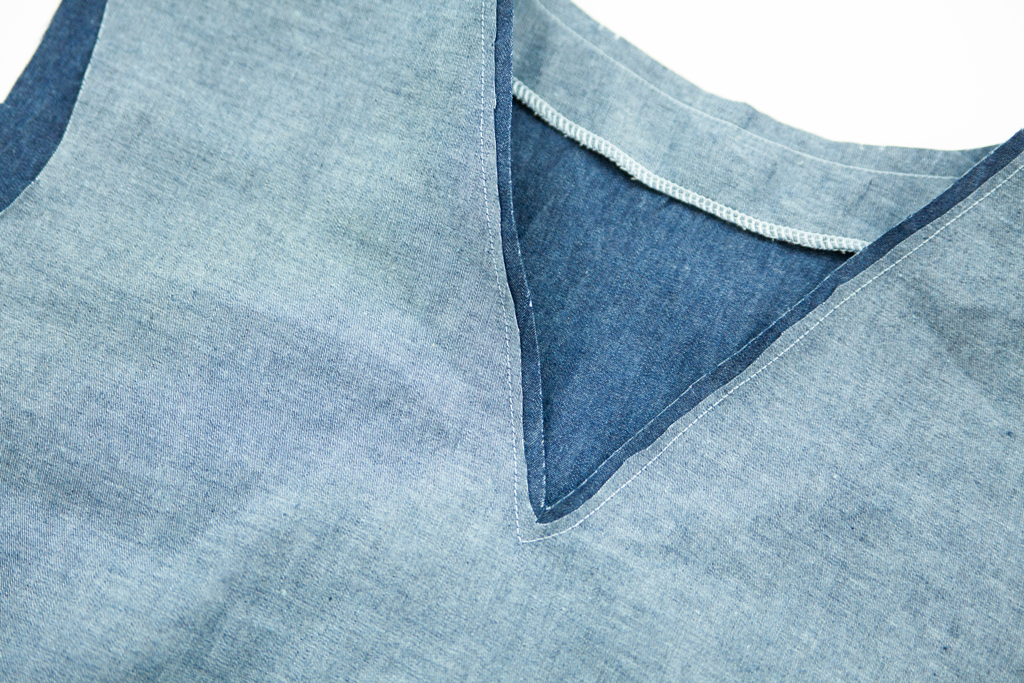
Grade the seam. To do this, trim the bodice seam allowance (but not the facing) by about half. Trimming the seam allowance to different widths keeps the seam from being too bulky.
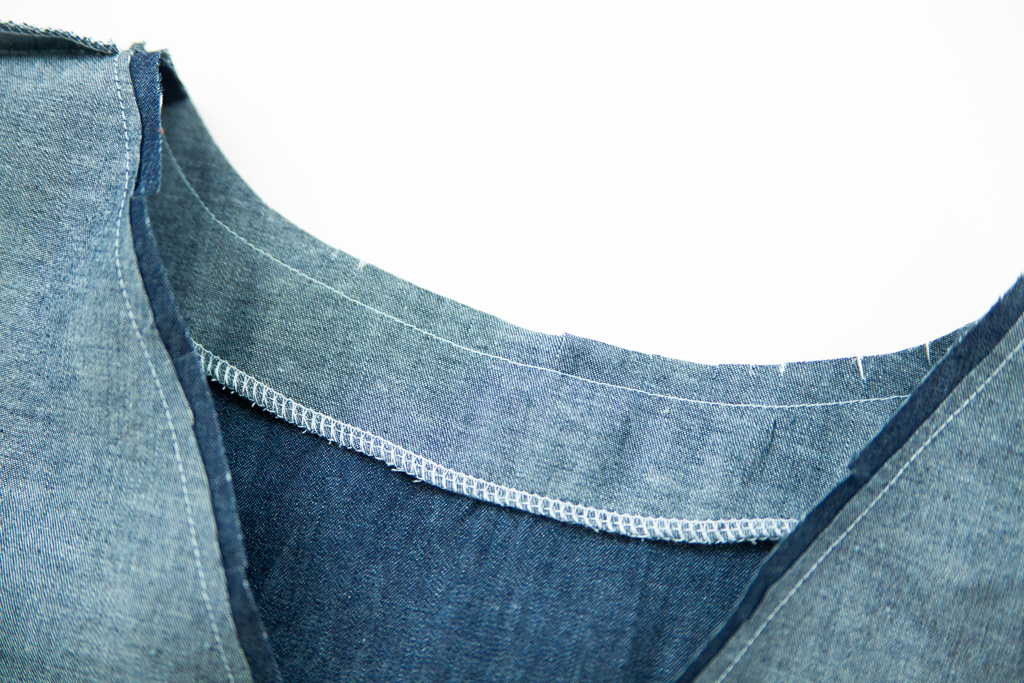
Clip around the inner curves of the neckline, all the way around. Clipping the inner curves will help you turn the seam out.
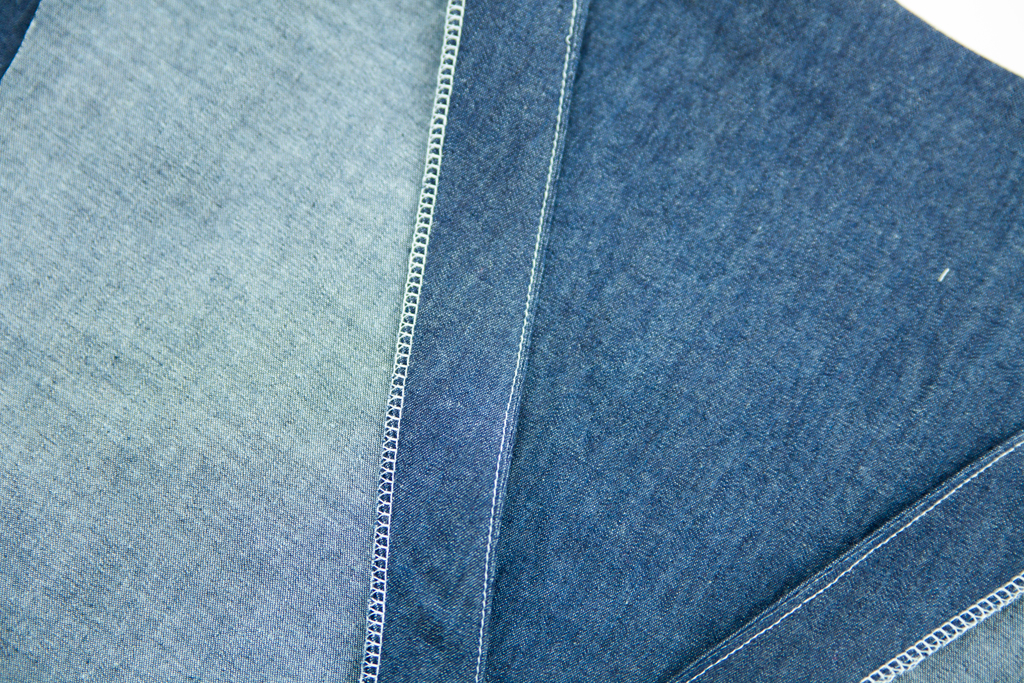
Understitch the facing. To do this, stitch the seam allowance to the facing, close to the stitching line.
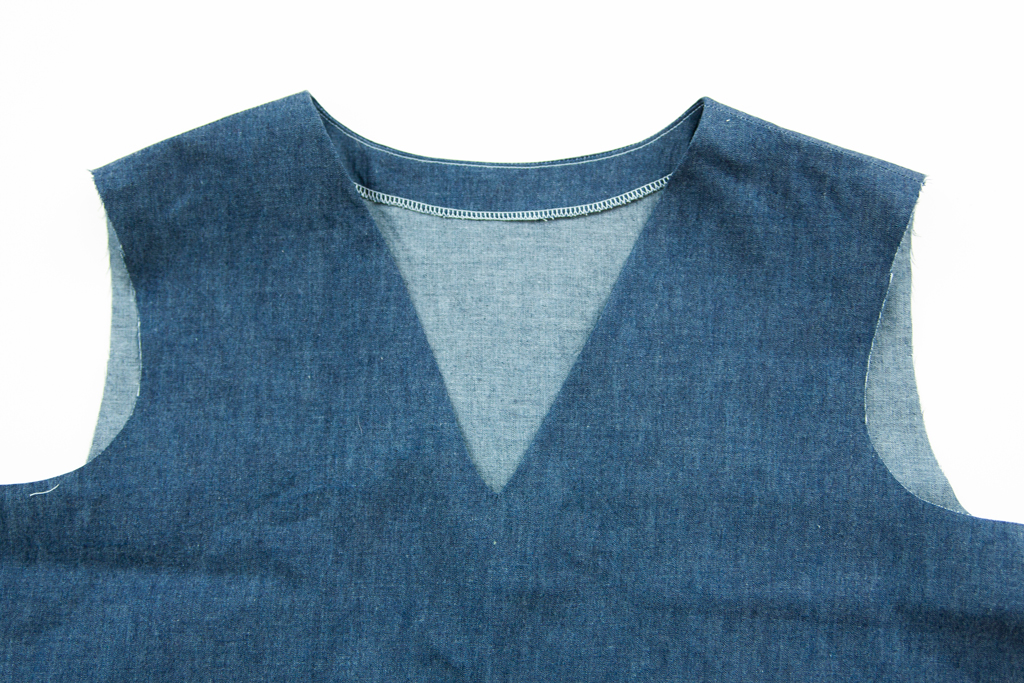
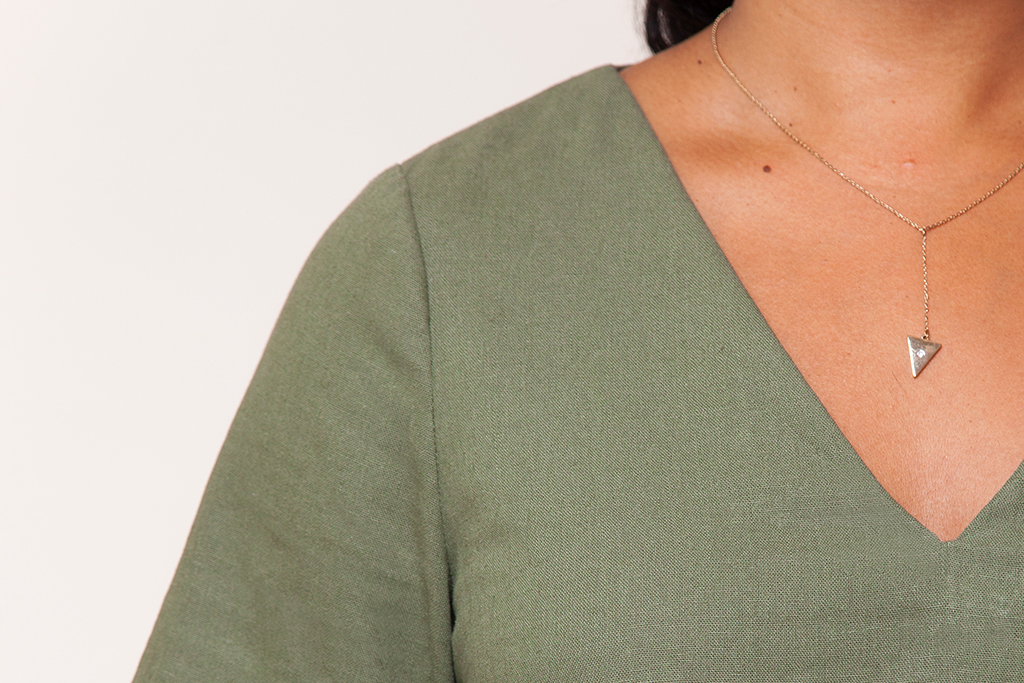
Turn the bodice and facing right side out and press.
