Each month, Seamwork Magazine brings you two new wardrobe-building patterns along with inspirational articles and informative tutorials. Sewists tend to be detail-oriented by nature. We thrive when fussing over the perfect welt pocket or finding the perfect shade of thread to match.
Those times when we really slow down and cherish the details are when we shine the brightest. This series is dedicated to the small details that take your project to the next level. Whether it is a new seam finish or a fun embellishment, take the time to make your next me-made item one of a kind.
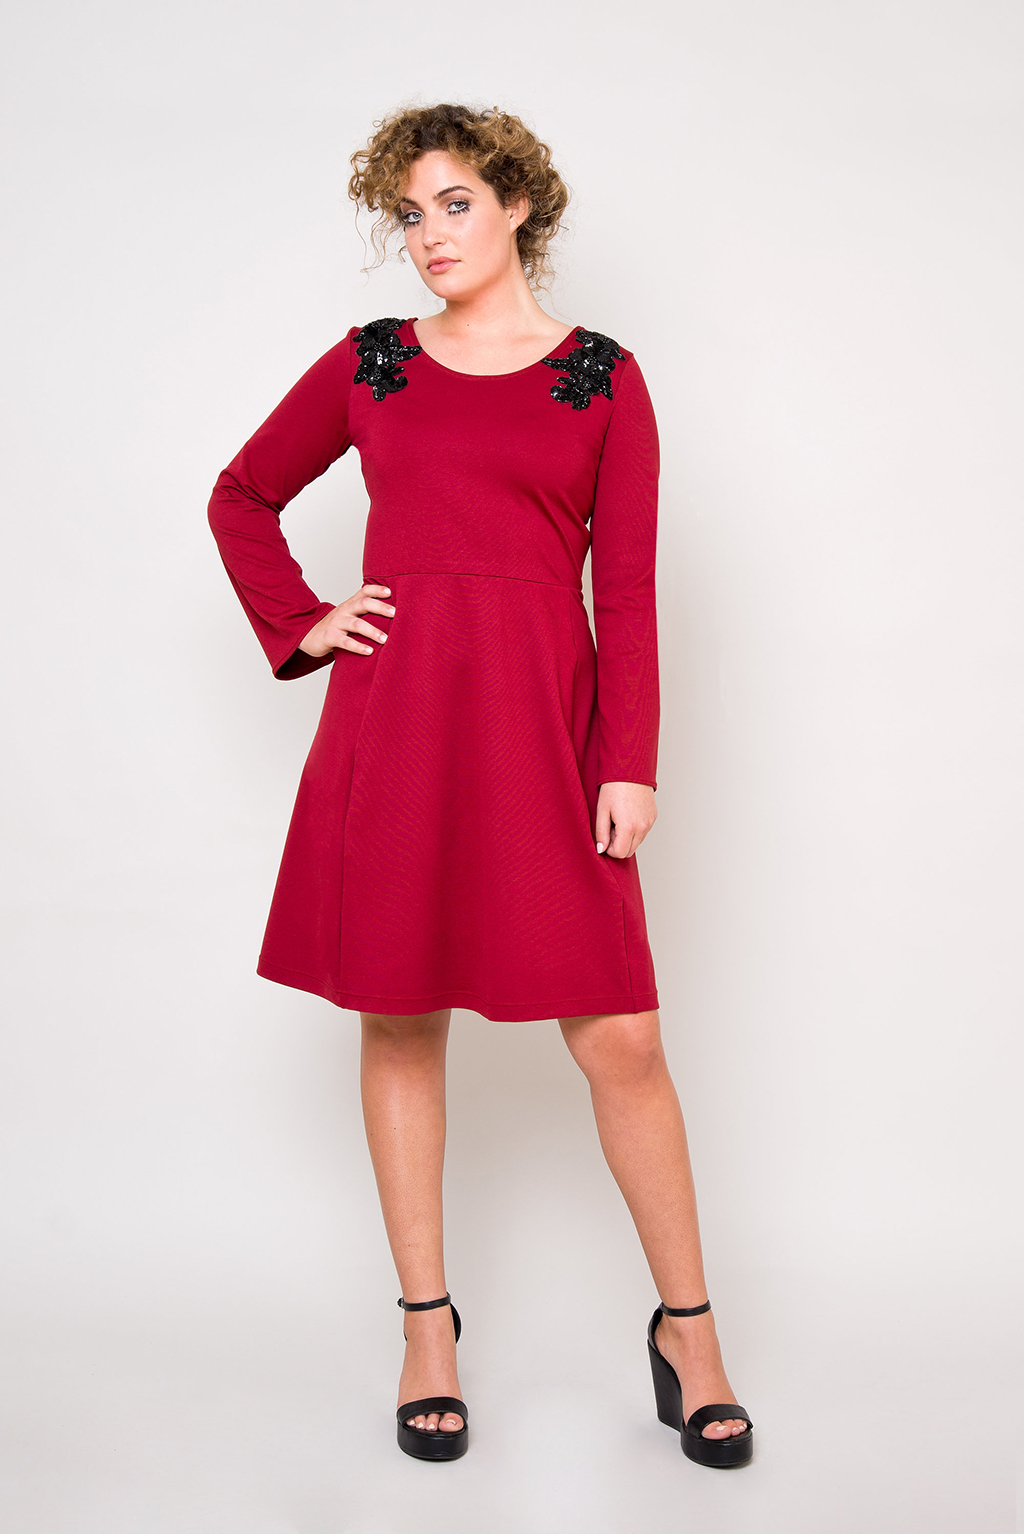
Simple garments, like Winona, are great projects to try out knit appliqué. This month we will take an in-depth look at how to apply beaded and sequined appliqué to structured knit garments.
You'll Need:
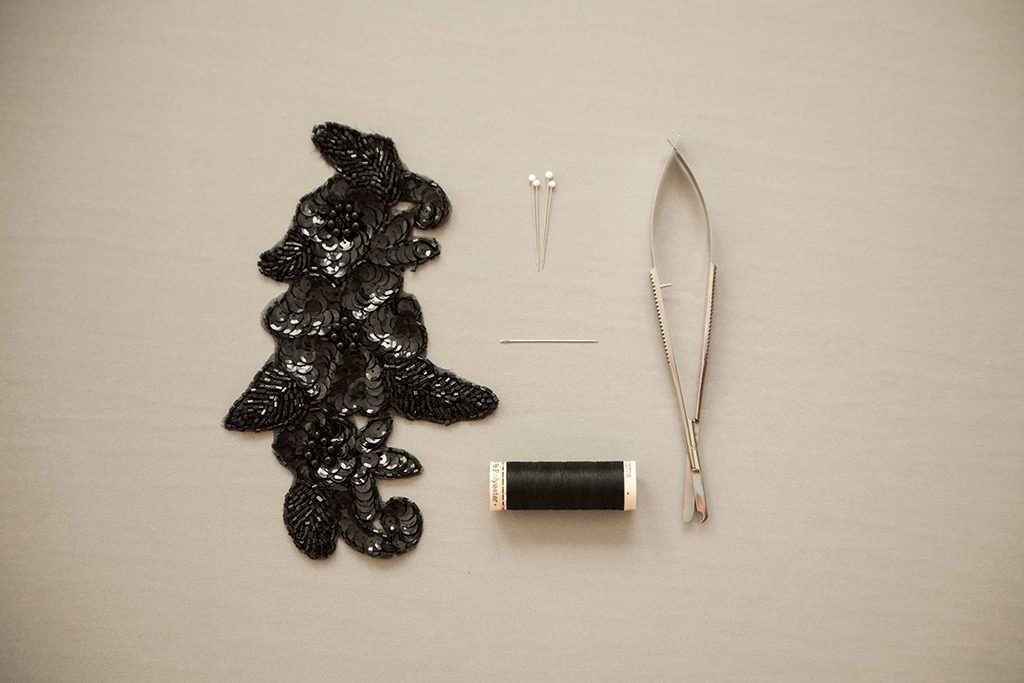
- Pre-made sequined or beaded appliqué
- Polyester thread, in appliqué color
- Standard sewing needle
- Fine glass head pins
- Thread snips
- Water soluble stabilizer (optional)
Applying Appliqués to Knit Fabric
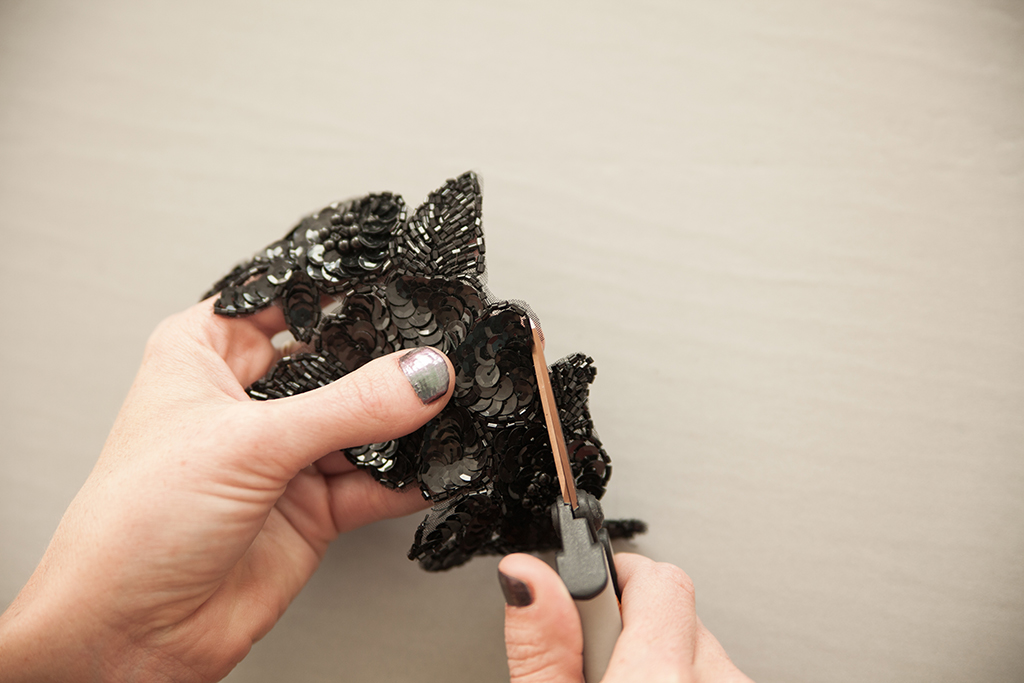
Pre-made appliqués are usually created on a mesh background that matches the color of the appliqué. To start, cut away some of the extra mesh on the outer portions of the motif.
If your knit fabric is especially stretchy, baste a layer of wash-away stabilizer to the backside of your garment where the appliqué will be. This is a technique used for knit embroidery and will keep the garment just structured enough to attach appliqué. This stabilizer will dissolve in water. Just hand wash the garment after the appliqué has been attached and it'll disappear!
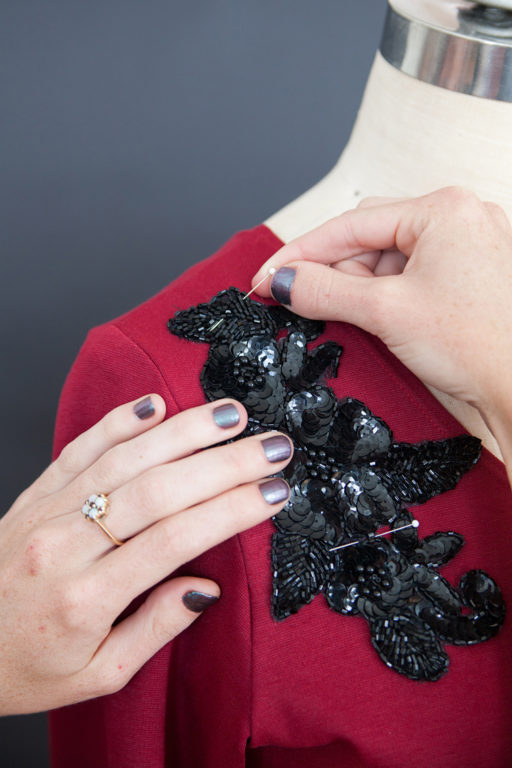
Try the garment on yourself or a dress form and play around with the placement of the appliqué. You'd be surprised by what you thought would look great versus what you eventually decide.
Pin the appliqué in place with small glass head pins, being careful not to damage the sequins.
To prevent your garment from shifting while sewing, keep your garment on the dress form while attaching the appliqué. If you do not have a dress form, lay the main fabric as flat as possible on a raised surface, such as a table.
SIDE NOTE:
At this step, some people choose to glue the center of the appliqué to the main fabric with fabric glue. I have always been averse to any sort of glue, especially with design details like beaded appliqué. Call me a snob, but I prefer pins.
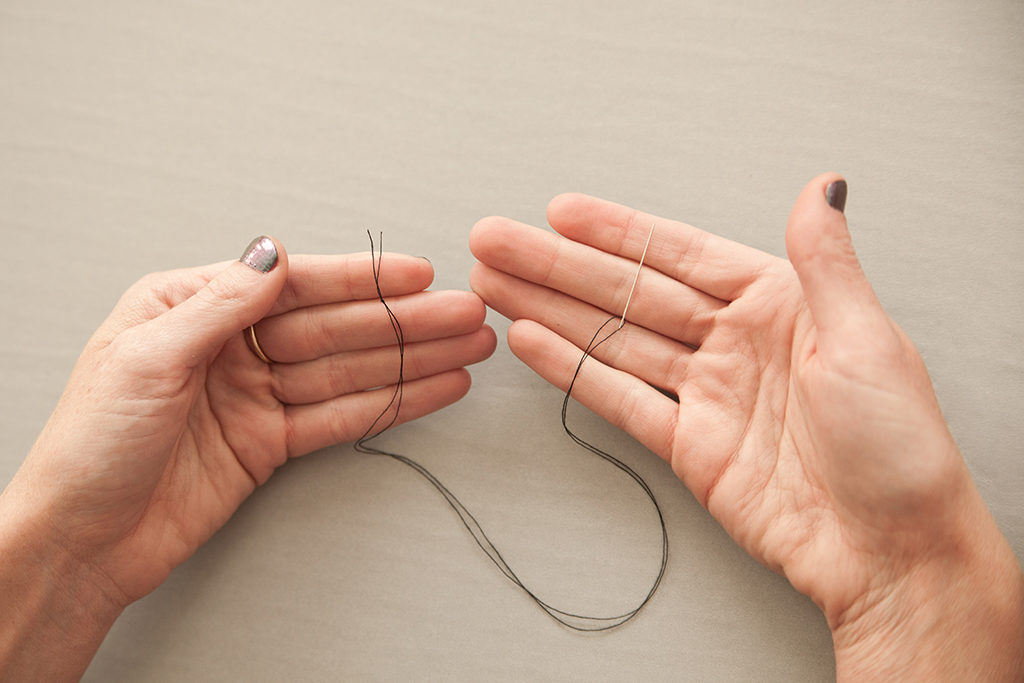
Thread the sewing needle, bring both ends together, and tie a knot at the end. I chose to sew with two layers of thread to add more strength to my stitches.
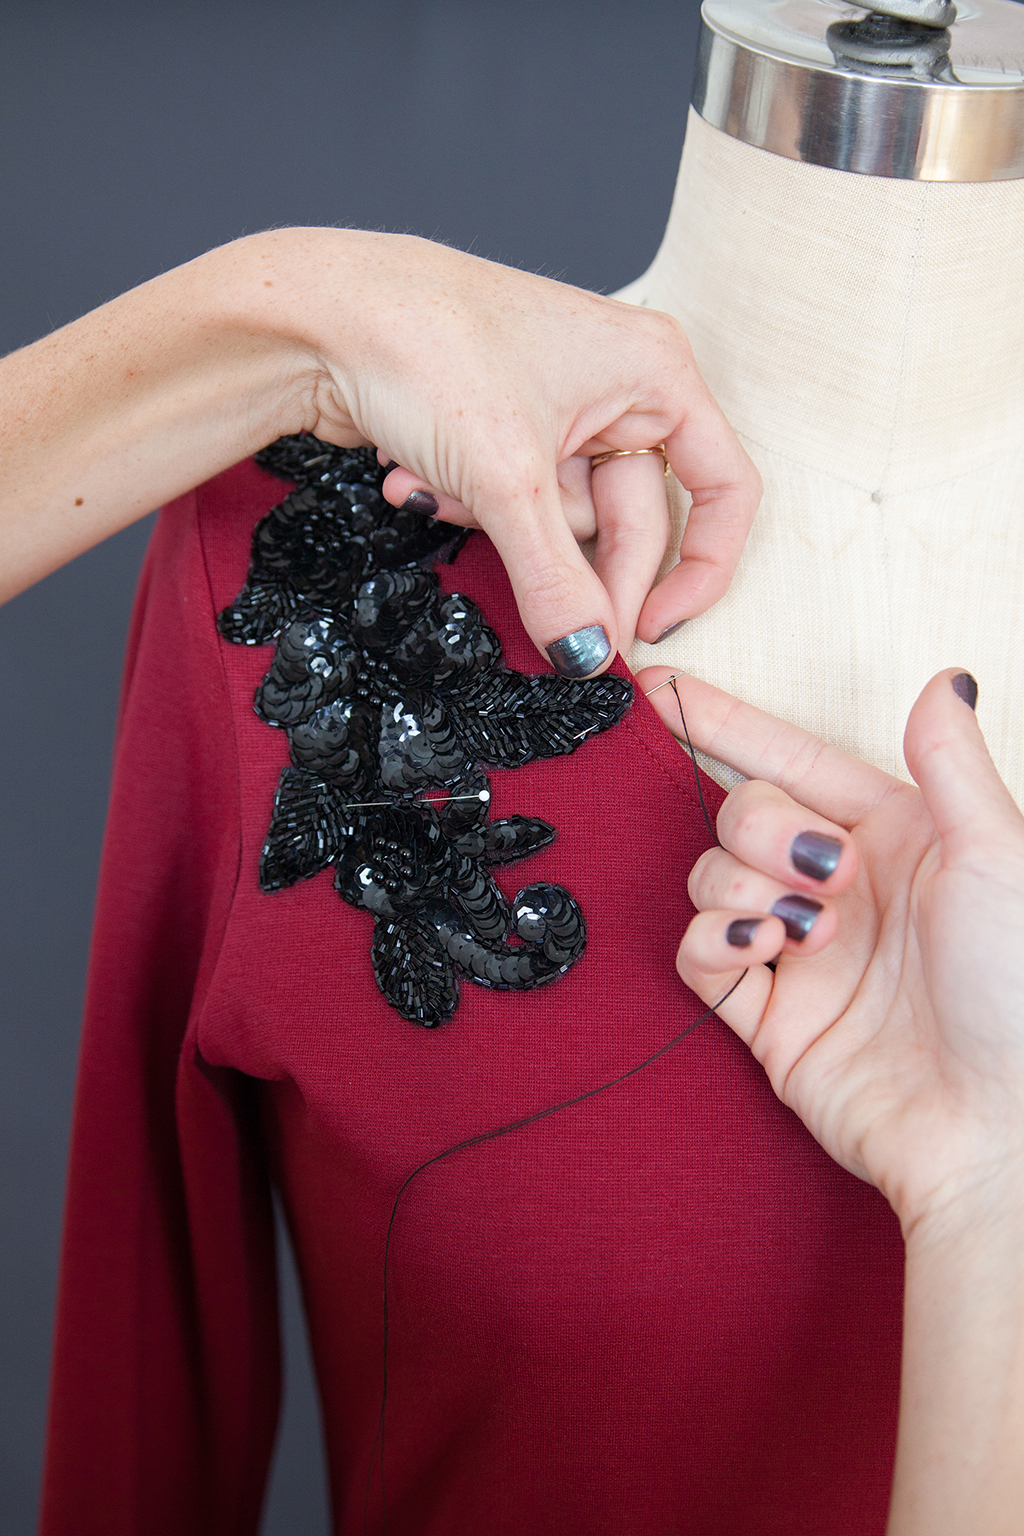
Bring the needle up from the underside of the garment, at the very inside edge of the appliqué, not the mesh edge.
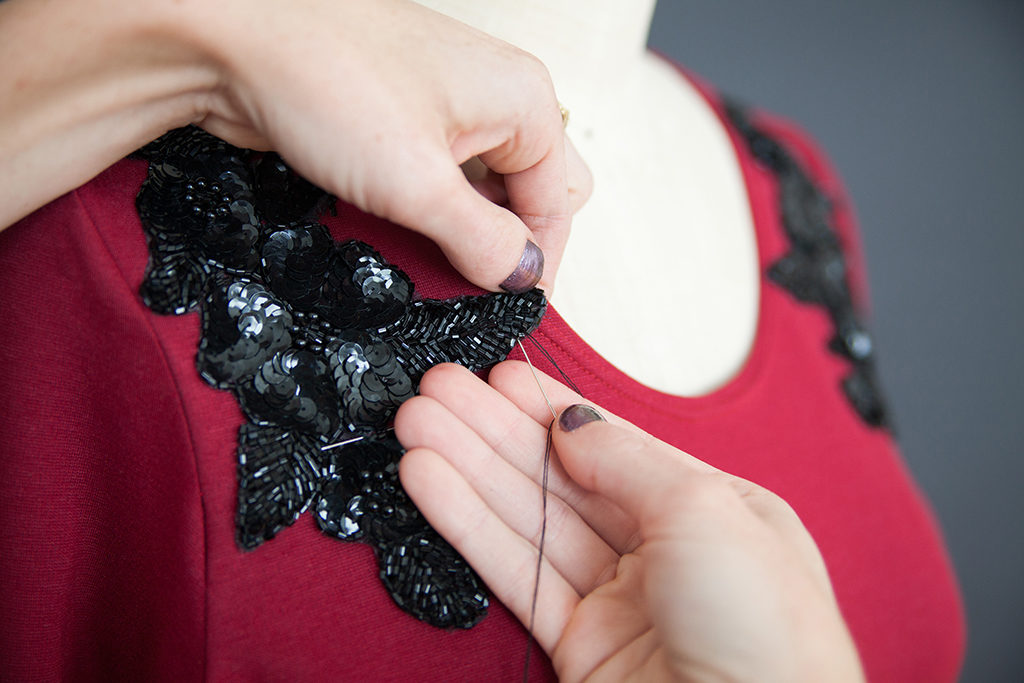
Create a small stitch to anchor the appliqué.
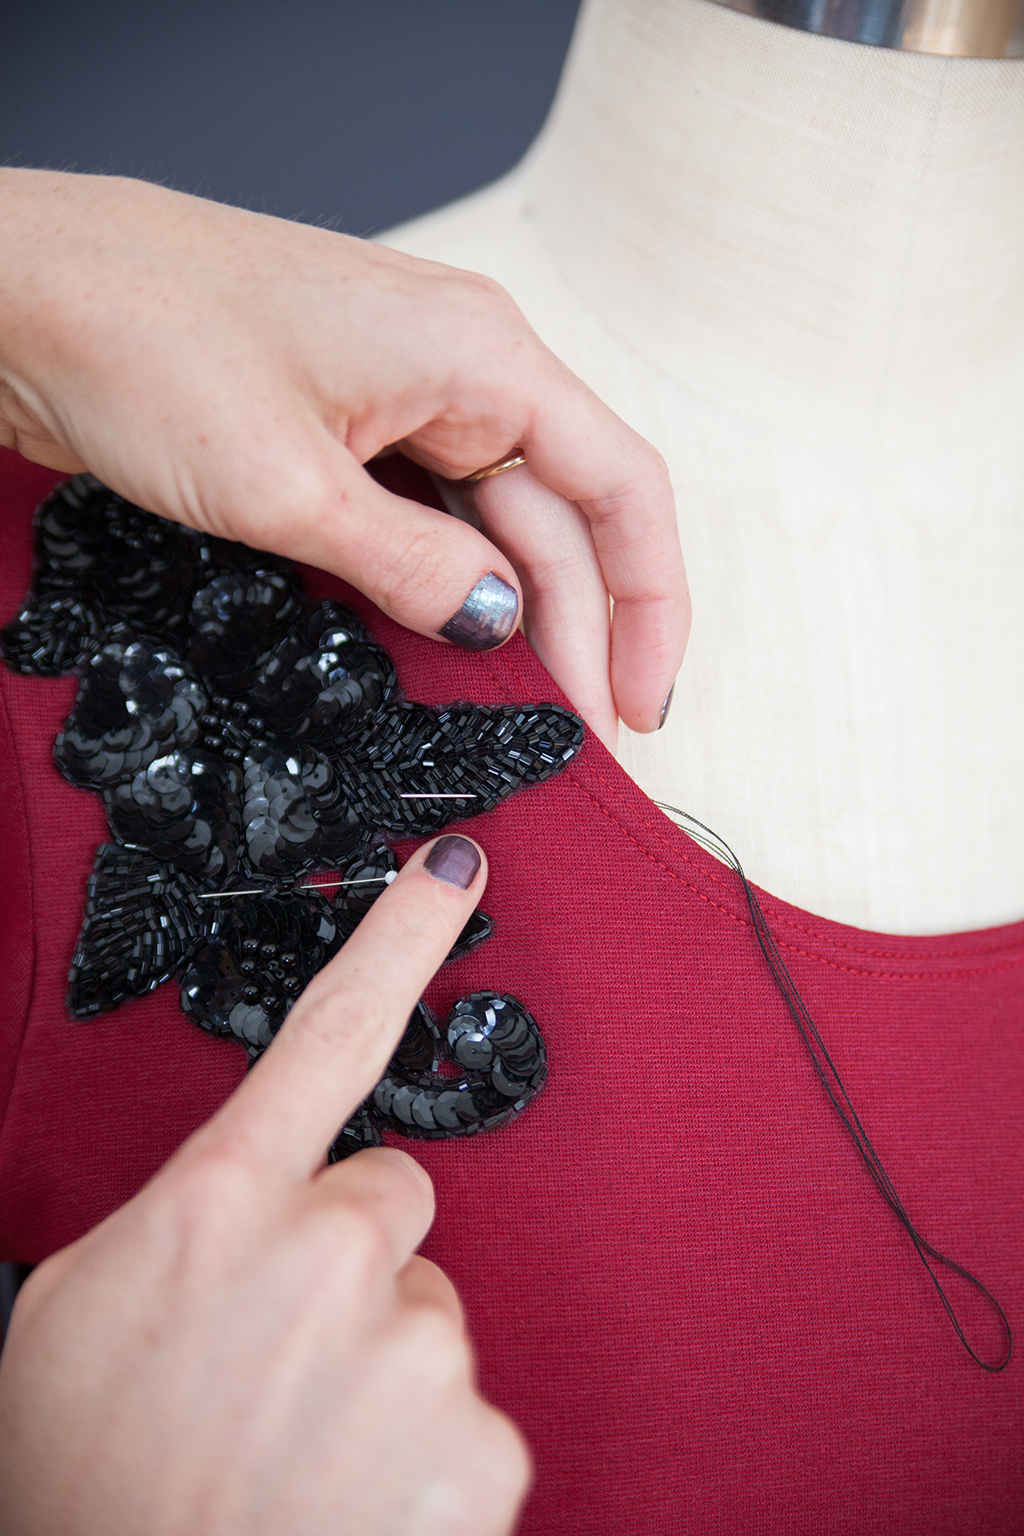
On the back side, travel approx. 1/2" along the edge of the appliqué. Come up to the front side of the garment and create another anchor stitch.
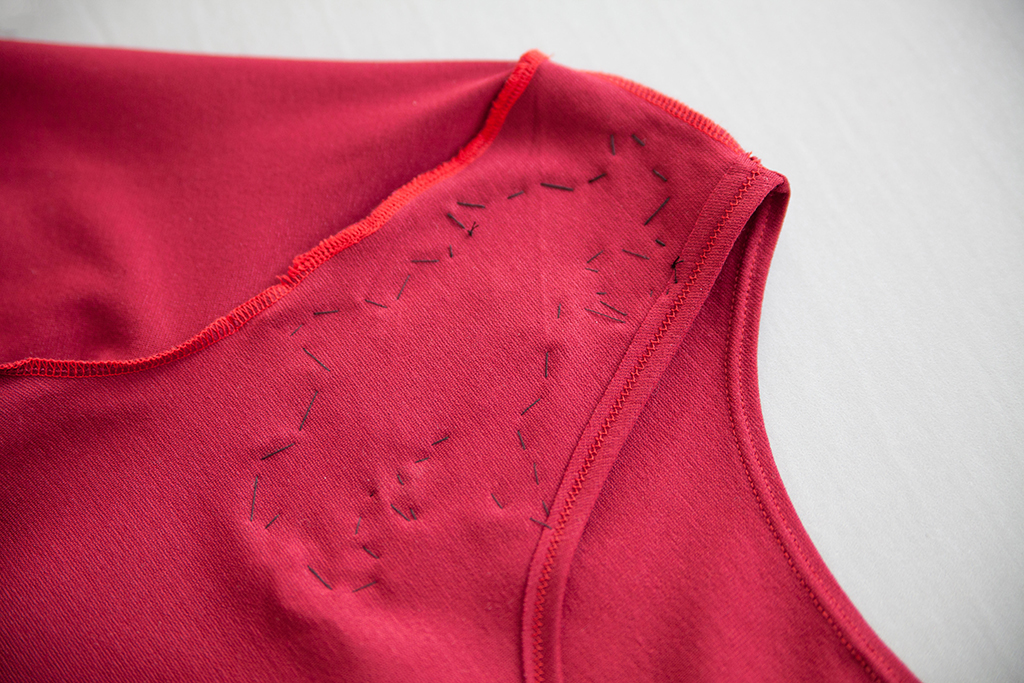
Continue this stitch for the entire outer edge of you applique.

If your piece of appliqué is large, place additional anchor stitches in the body of the appliqué to keep it from bubbling.


