Sign In
The year is 1994. It’s the holiday season, and it’s time to gift. I grab glitter, fringe, and a big bow. Cardstock soaks with the smelly glue reserved for adult-supervised craft time. I add all my materials to the glue, sit back, and think “Hmm, what else does it need?” Despite the strange looks and spoken hesitations from the glue wielding grownup, I grab curly blonde doll’s hair and slap it on with a flourish. It’s done! The perfect tree ornament for my parents!
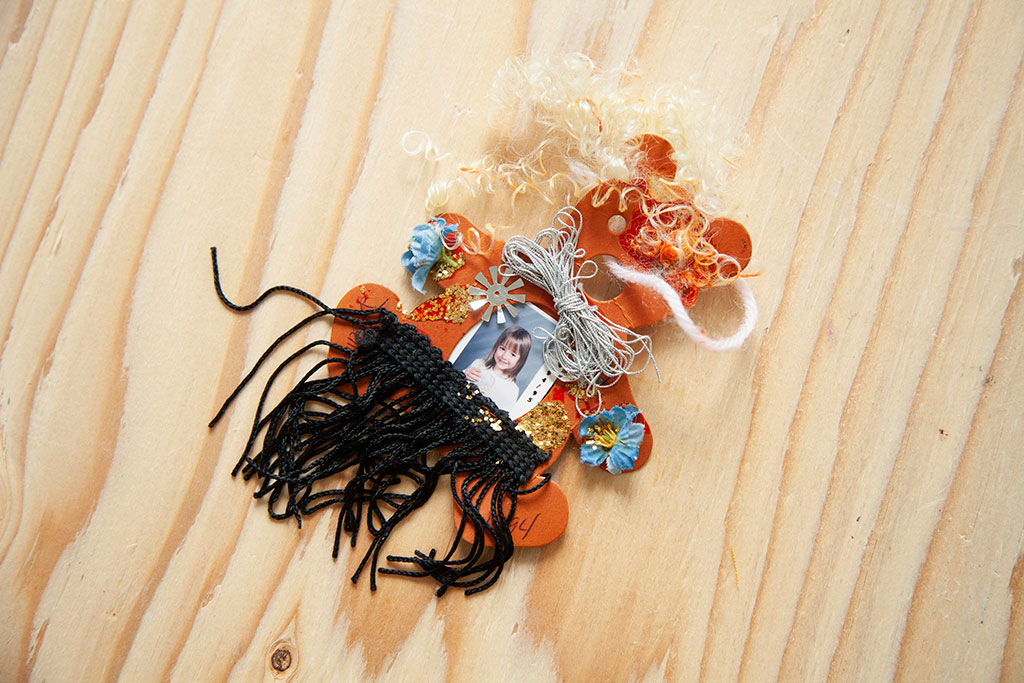
I made it when I was 5. This garish teddy bear was so artistically “me” at that moment, yet I almost threw it away in my teens out of embarrassment. Now it means more—it’s become a symbol of my artistic path. You see, I’m not sure how old I was when I started to believe that mistakes are bad. But this memory was a turning point that showed me that experimentation is risky and maybe somewhat culturally defined as a mistake.
Today at 30, I am happy to say I’ve never stopped experimenting. My aesthetic is still very similar, but my skills have grown. I have learned the value of not slapping everything together willy-nilly. Planning and iteration make my creative projects stronger.
Mistakes Make Projects Stronger
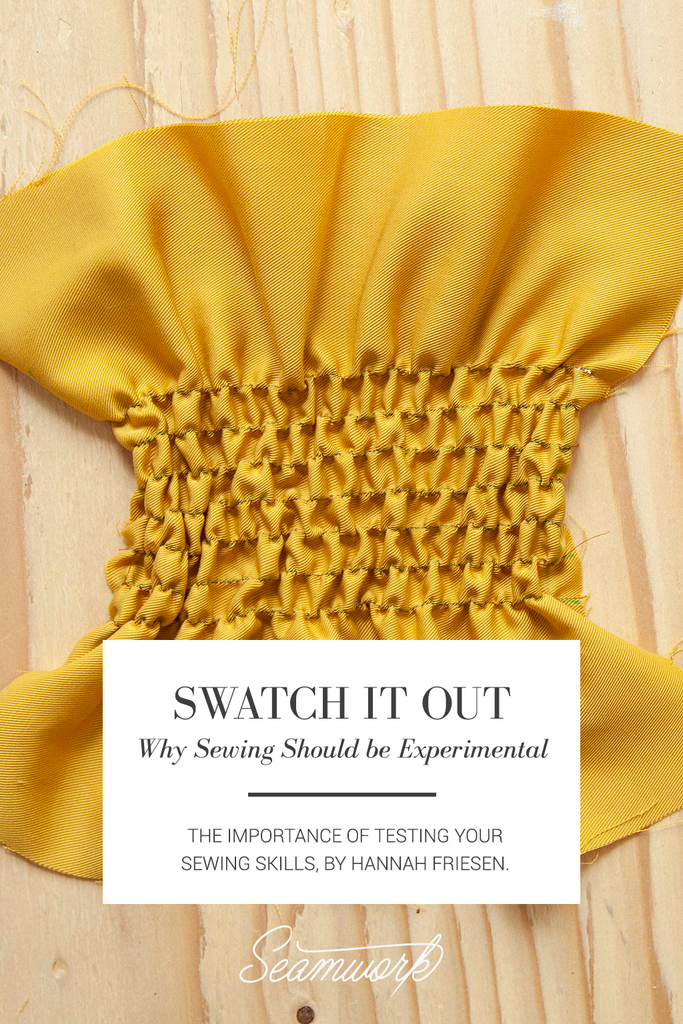
I’ve been sewing for 20 years but didn’t use elastic thread until this month’s pattern release. It seemed like a glaring gap in my experience until I realized our whole team had reservations about doing elastic shirring at home. Elastic shirring with a sewing machine is created with elastic thread in the bobbin and regular thread on top. Parallel rows of stitching are made, and the elastic thread scrunches with steam. It makes RTW so easy to get a nice fit, why does it seem so scary to sew these straight lines?
The most honest answer is probably that it’s a new experience. I’ve found that most of my anxieties are rooted in a social fear of failure. Mistakes in sewing make both me and my projects stronger. And now that I’ve been making mistakes this long, I’ve practiced getting some of them out of the way before starting my final garment. It’s about searching for failure as often and early as possible!
Mistakes in sewing make both me and my projects stronger. And now that I’ve been making mistakes this long, I’ve practiced getting some of them out of the way before starting my final garment. It’s about searching for failure as often and early as possible!
Now, several years into professional sewing, I test out my finishes every time, with every project. Testing techniques is important to me because fabric is expensive—my stash is equivalent to Smaug’s hoard as far as I’m concerned. Add environmentalism into the mix, and I’m saving every scrap that might be useful one day because all resources are finite.
Testing your finishes also makes a wearable muslin more possible—again less waste! My favorite reason to test things out ahead is I can feel my pre-project anxiety melt away, and confidence grow as the unknowns ahead of me shrink. It feels like reverse psychology because when I actually begin my final project, I feel halfway through already.
So how do I do it? I’ll show you using the elastic shirring on the new Carter dress as an example.
Treat Sewing like a Science Experiment
For any project, I look at the garment to imagine future issues. Is something going to be tricky in the fabric I picked? Will a curve try to grow too much and need stabilizing? Will a waistline buckle or stretch with wear? I read through the instructions to look for more questions. I gather the required supplies, adding anything that might help me conquer the potential issues.
Proudly nerdy, I started this shirring project like a scientist by collecting data. First, I read our Guide to Shirring, which I highly recommend you do too.
Then I made a chart to keep myself consistent and organized by tracking trial samples. Here’s what I included so that you can create your own trial samples.
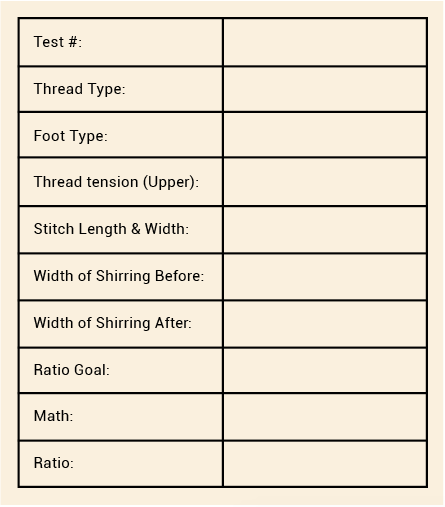
The biggest thing I learned from this experiment is that elastic shirring is not scary but actually very fun and gratifying. Technically speaking, I found that the stretch and recovery in shirring can be adjusted largely through thread tension, stitch length, and the number of rows of shirring. Trying it once will demystify the concept enormously.
It’s Your Turn to Experiment with Shirring
Let’s get the boring part of this process out of the way first: MATH. I’m so sorry. I had to to do it. I wrote an equation. You’ve got this.
Trial Width Goal = (Shirred Width Goal of Garment / Total Flat Width of Garment) x Trial Width Before
For the photo samples in this issue, our dresses measured 40 inches before shirring (Total Flat Width of Garment). Our goal was to have them shrink down to 19 inches after shirring (Shirred Width Goal of Garment). I did 10 inch wide tests to try to keep my math simple (Trial Width Before). Now, I need to find out how small I need the sample to be to achieve the ratio for the finished dress (Trial Width Goal). I’ll put these numbers into my equation for the answer:
Trial Width Goal = (19/40) x 10
= 4.75 inches
Now you can embark on making trial samples of the shirring to achieve your perfect fitting Carter dress. You can use the finished garment waist measurement from the size chart as your Shirred Width Goal of Garment in the equation.
Step 1: Prep Your Fabric
Every fabric will act differently with the same settings on the machine—lighter fabrics scrunch more easily than heavier fabrics. My first attempts at shirring were made on scrap muslin so I could learn how changing settings affected the stretch ratio. Then I made tests using the final thread and fabric for the samples, documenting my settings so I could always go back and keep iterating if needed.
Pro Tip: Buy Extra Yardage for Experimentation
By the time I’m sewing photo samples, I already have my pattern pieces cut from the fabric, leaving lots of weird shaped scraps to use for testing. I love the efficiency of this, but when sewing for myself at home, I’m not always working in that order. I try to remember to purchase an extra ¼ yard or so to leave room for testing before I’ve cut my pattern pieces. I cut 4-6 scraps of my final garment fabric about 11” x 8” for testing. I like to prep everything ahead, so my sewing doesn’t feel as start and stop.
Step 2: Mark Your Fabric
Test your marking tools on every fabric every time. The marks for the shirring on Carter have to be on the right side of the fabric, so make sure they’ll erase!
Also, check that the marking doesn’t act weird when steam or heat is applied. I found that tailor’s chalk melts into the fabric, which is fine on a scrap but might kill a garment. I love water soluble markers and get great results with this one from Clover.
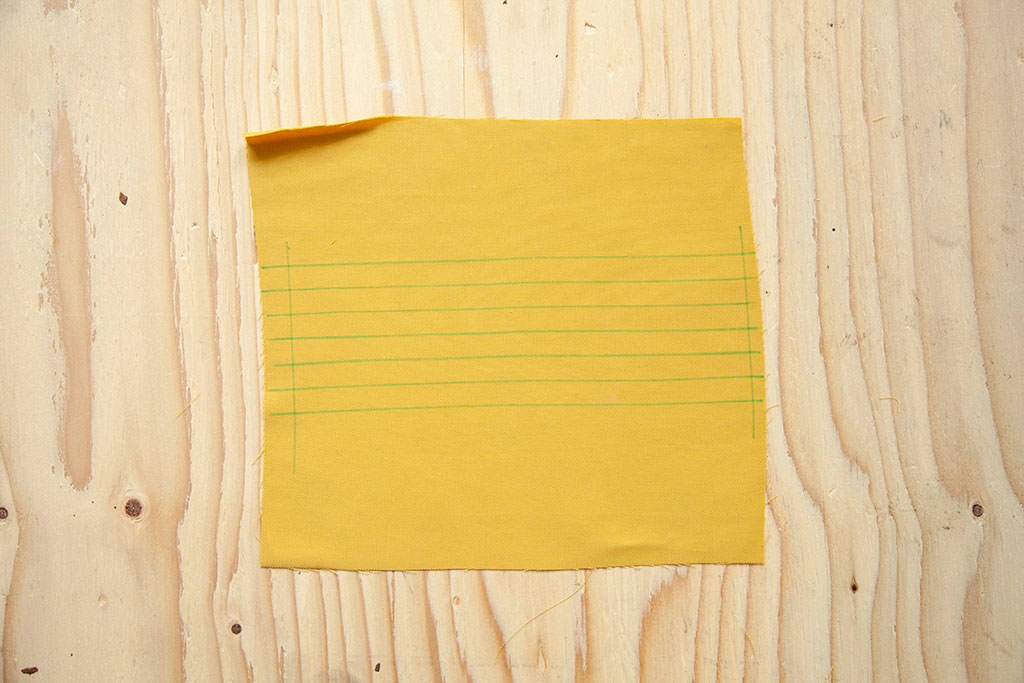
Draw seven parallel lines on the cross grain that are 1/2” apart and about 11” long. Draw a perpendicular line at each end of these lines to indicate the 10” width. Feel free to play with your spacing; the closer they are, the tighter the elastic can pull the fabric. This is the time for experimentation!
Step 3: Prep Your Machine
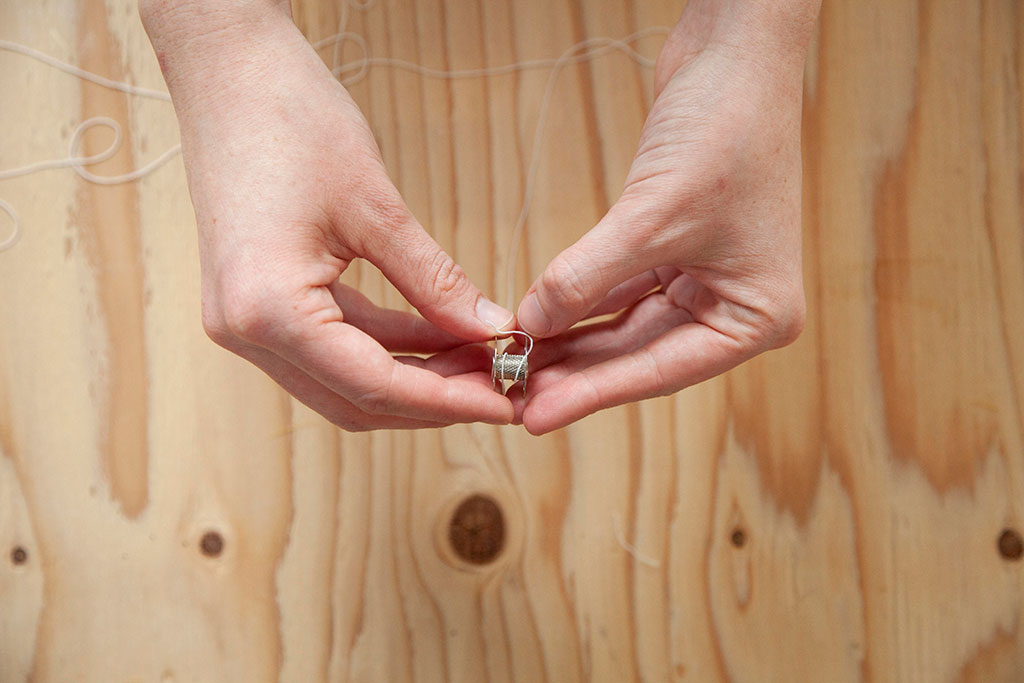
The tension discs on a machine will stretch the ease out of elastic thread, so it has to be hand wound onto the bobbin. Thread the end of elastic through a hole on the bobbin so you can tape the tail to the outside while winding. Using only gravity for tension, turn the bobbin until it looks full, but don’t overfill it.
I preloaded several bobbins so my sewing could flow. I kept track of approximately how long a full bobbin lasted, too.
I used a walking foot for all of my trials, but a regular presser foot will also work for shirring. I want to take a minute to gush about how useful a walking foot is either way. If you’ve ever been dissatisfied sewing knits or delicate fabrics on your home sewing machine, a walking foot may change your life—mine is literally what helped me believe I could be a professional seamstress with only home sewing machine experience. Game changer.
Step 4: Stitch Your Trial Samples
I started with a stitch length of 3—the longer the stitches, the more space the elastic on the back has to shrink up after steaming.
When you begin stitching, either backstitch or pull the threads to the wrong side and knot them.
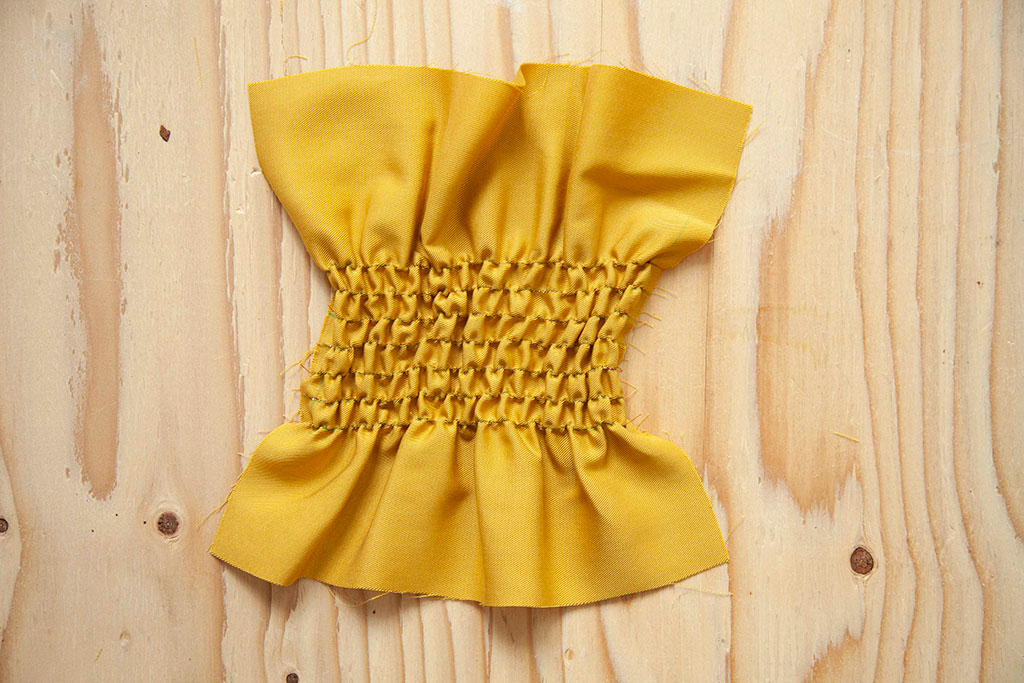
This sample shows how shirring can twist if you do not switch directions for each line. Take a tip from quilters who keep their projects balanced by switching directions with each row.
I have discovered lots of tips, tricks, and tools from quilting. Like when you do straight line quilting onto a quilt sandwich, it’s recommended that you switch directions for each consecutive line. They do this because the presser foot and feed dogs subtly push the layers as you sew. If you don’t switch directions, the quilt can end up warped or twisted. I found that this can be true for Carter’s shirring lines too! If you do all seven lines in the same direction, you may end up with a twist at the side seams.

Step 5: Scrunch With Steam
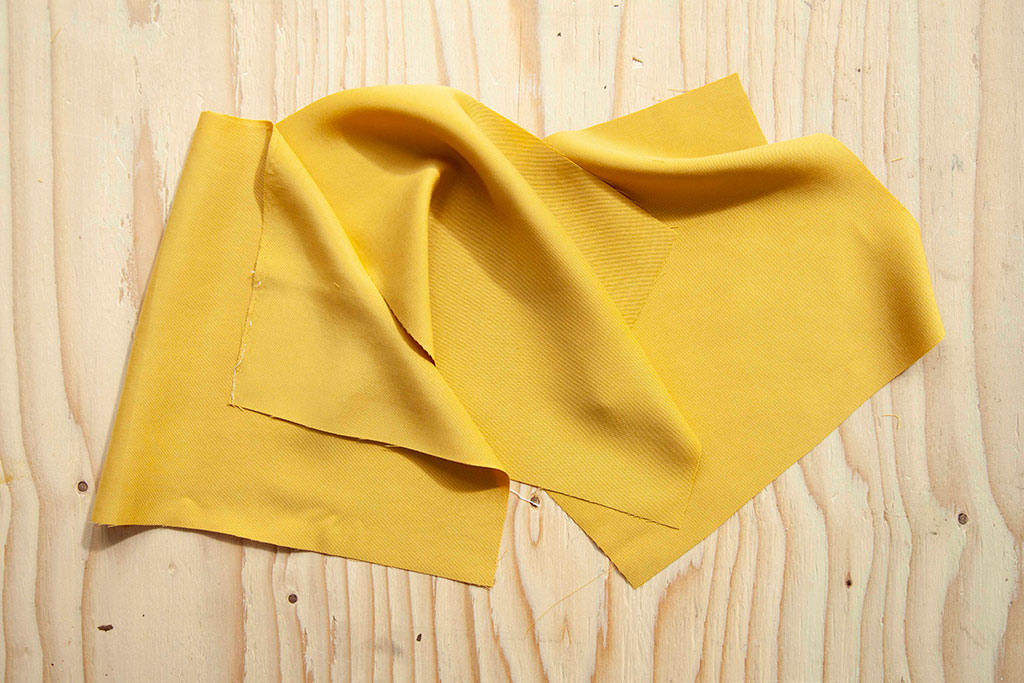
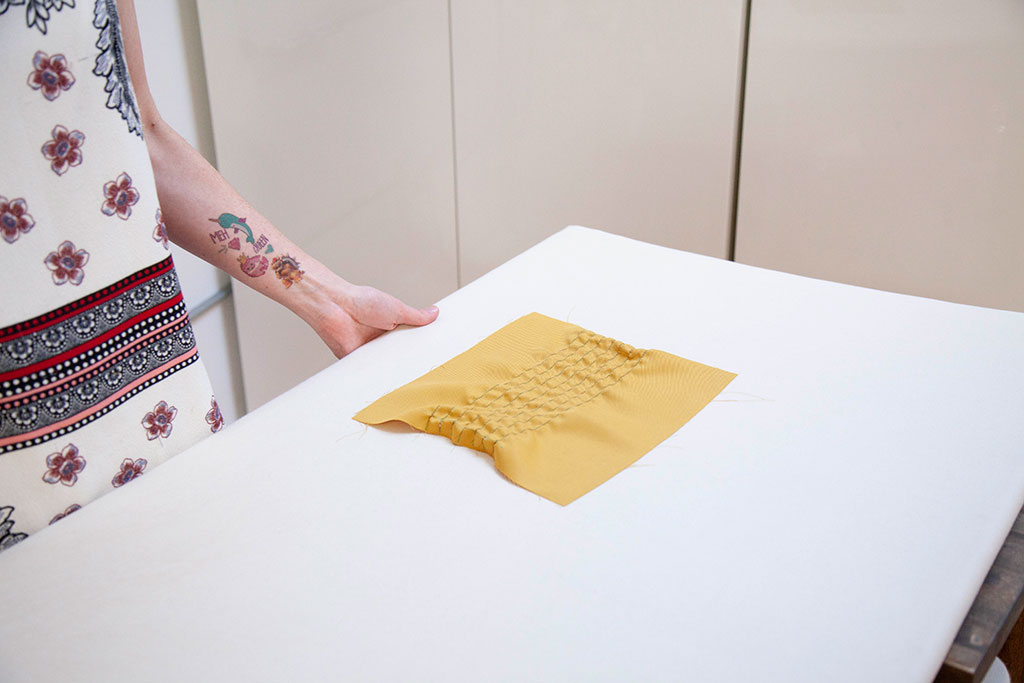
After stitching all seven lines on one trial sample, the magic begins! Put your iron on the hottest safe temperature for your fabric, to produce steam. Hover the iron over the sample without touching and boost with the steam button. The sample should be shrinking and scrunching before your eyes! Flip the sample and steam both sides.

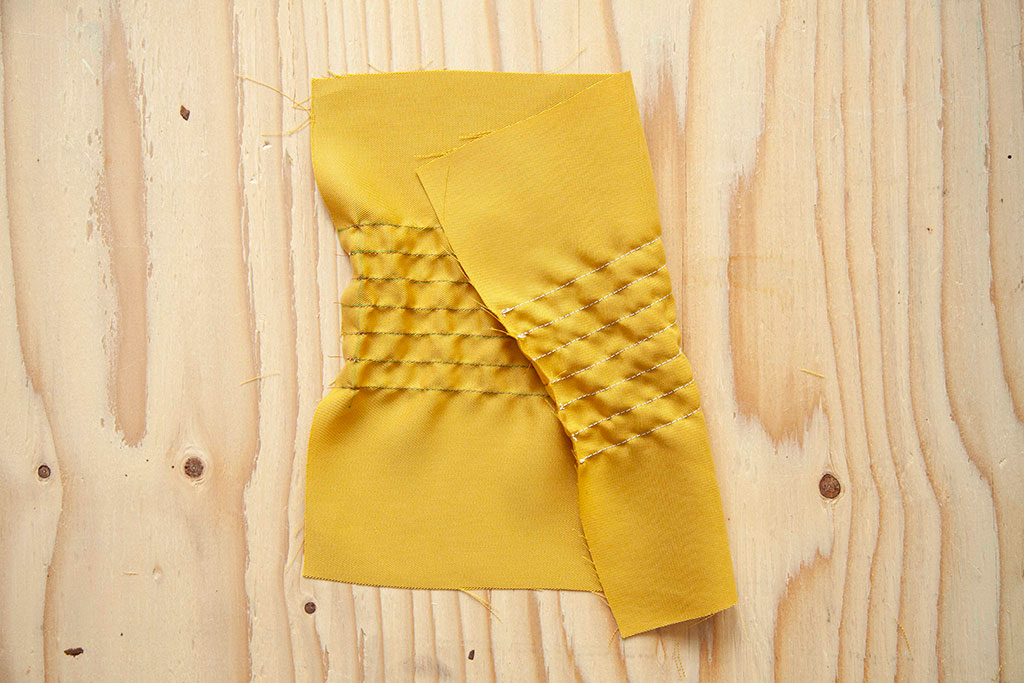
This is what your shirring will look like before steam and after steam.
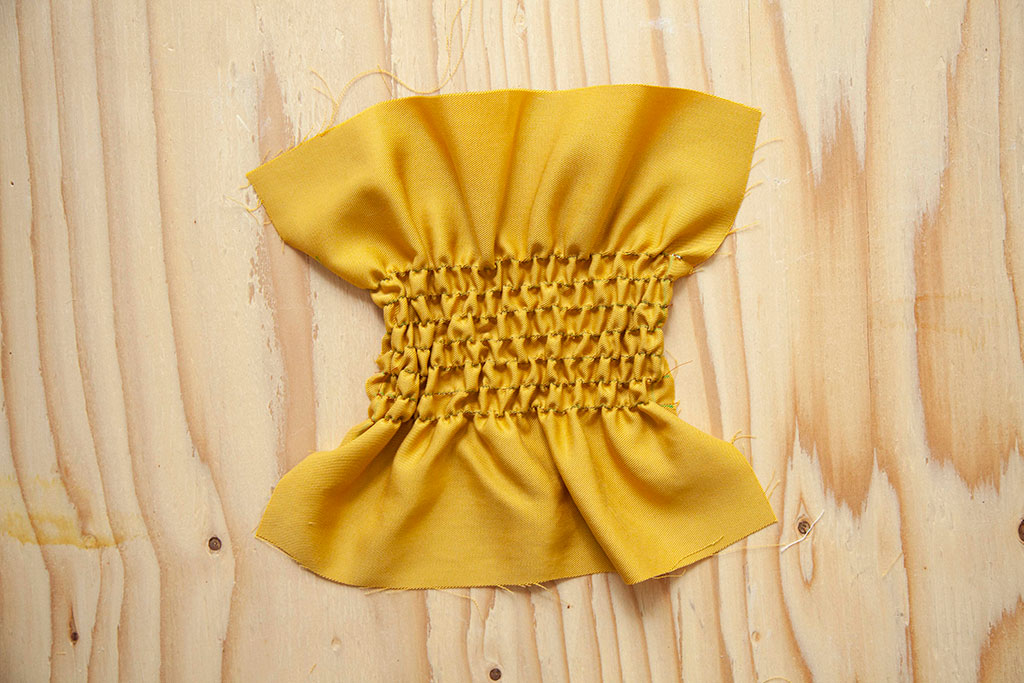
Once you’ve achieved the maximum shrinkage out of the elastic threads, measure the width of the shirring. My goal was 4.75”, and my first sample came out at 5.25”. I increased my stitch length a few points and made another sample to get closer, and it came to 5”. My 3rd sample came out perfect at 4.75” after loosening my bobbin case 1/4” turn. If you can’t or don’t want to adjust your bobbin case, you can tighten your upper thread tension for the same effect.
Here’s a quick guide to troubleshooting your ratio:
If your trial sample is wide:
- Try a longer stitch
- Wind bobbin with less tension
- Loosen your bobbin case
- Tighten upper thread tension
If your trial sample is narrow:
- Try a shorter stitch
- Wind bobbin with more tension
- Tighten bobbin case
- Loosen upper thread tension
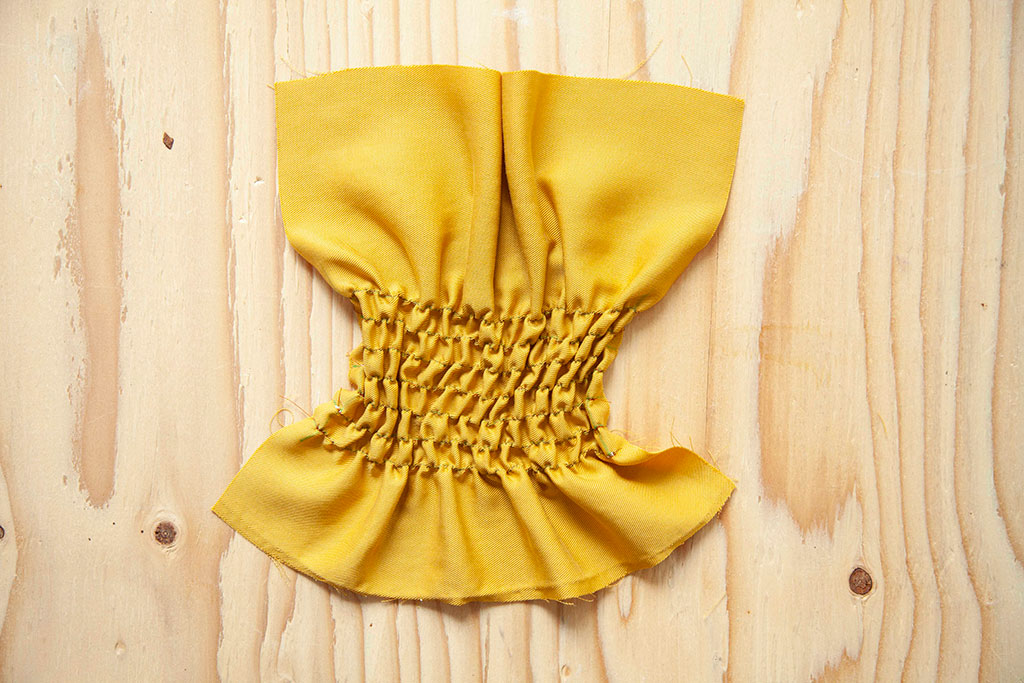
This sample was the winner! It fit the formula perfectly.
Keep sampling and troubleshooting, only changing one variable on the machine in each trial, until your ratio is achieved. Treat it as an exercise in failure, the more trials you fail at today, the stronger you and your finished Carter dress will be. Your future self will thank you for being scientific with documentation when you go back to make your second one. Don’t forget to have fun and experiment! I’m off to try this with my decorative stitches now, thanks for the recommendation, Katie!

About the Author
Hannah is a full-time sewist for the Seamwork team and a side hustling Fairy Godmother making Whimsical AF bridal designs. She’s been sewing for almost 20 years, originally taught by the matriarchs of her family.