Sign In

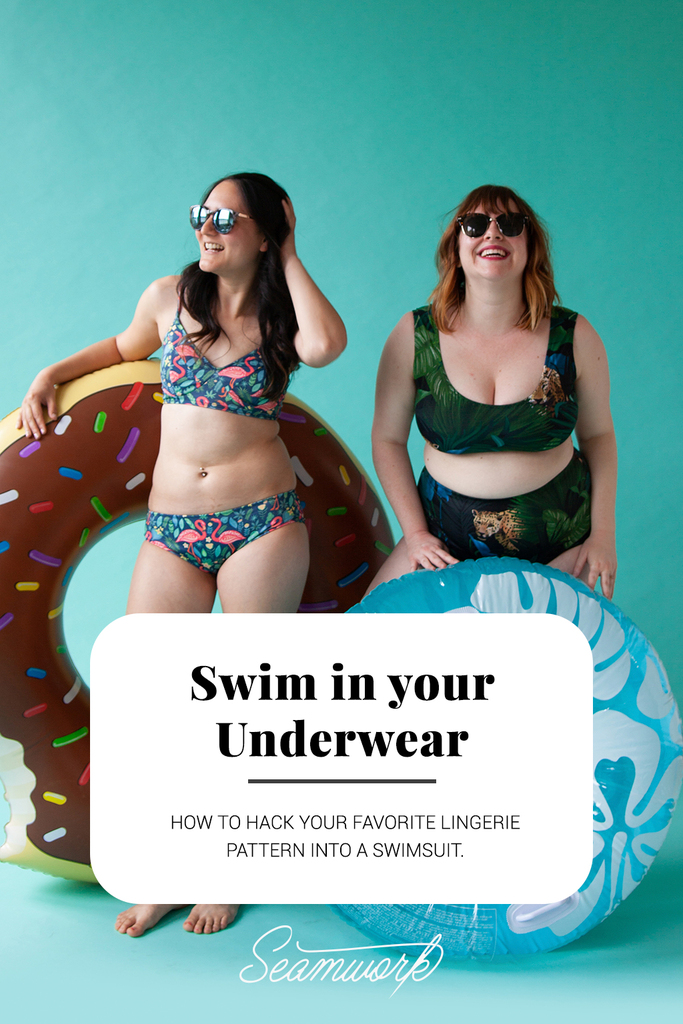
The first time I sewed a swimsuit for myself is the first time I felt genuinely good in swimwear. To this day I think it was one of my biggest sewing “aha” moments. It was magical to me that the only thing standing in the way of feeling good in a swimsuit was the existence of one that fit my body, and ticked all my swimwear boxes, making me feel proud and secure. Since then, I have made myself a few swimsuits, and trust me when I say I would make way more if I had occasion to wear one more than a few times a year.
Anyone who knows me knows that I love a good pattern hack/mash-up/reimagine, so it was only a matter of time before I tried my hand at a swimsuit hack. It has often occurred to me that lingerie patterns would work as an excellent base for a swimsuit hack. So my buddy Wallis and I got to work creating two lingerie-turned-swimsuit styles to share what we learned along the way with you!
Choosing a Pattern and Size
Swimwear patterns are drafted with negative ease. This means that the finished garment measurements are smaller than the body measurements. Choosing a fabric with ample stretch ensures that you will be able to put the swimsuit on and move in it.
Fabric and Notions
Once you have selected a pattern and size, it's time for the fun part, fabric shopping! Here are some of the things you’ll likely need to pick up.
Swimwear Fabric
Two-way stretch fabric will accommodate stretch from selvage to selvage but does not offer much stretch in the length of grain. This quality makes two-way stretch most appropriate for two-piece swimsuits.
Four-way stretch fabric will stretch from selvage to selvage, and also on the length of grain, making it the ideal choice of maillot for one-piece swimsuits as well as two-piece suits.
For help shopping for swimwear fabrics, read this article.
Notions
Cotton swimwear elastic is easy to work with and stands up well to chlorinated and salt water. It's woven with rubber to give it stretch and strength. Just like other elastic, it comes in a variety of widths and is quite inexpensive.
Some other notions you may need depending on your project include underwire, stays, or foam cups. Make sure to look for varieties that are labeled for swimwear. Alternately, you can buy a swimsuit from a thrift store and harvest its hardware.
Create a Construction Roadmap
Now it's time to start thinking about how exactly you want your swimsuit to come together. Having a firm understanding of what finishing options you have will help you to create your sewing plan of attack. The following are great finishing options to consider.
Bound Edge: Just like with your woven projects, you can finish the raw edges of your swimsuit with a self binding. You still might find it beneficial to reinforce the raw edge with elastic before attaching the binding. This will help shape the swimsuit and give it better recovery.
Lined: Take a cue from your other projects and create a clean, lined finish. If you opt for this method, you will also want to reinforce the outer edges with elastic for both shape and recovery. Keep in mind that depending on the style of swimsuit you are making, it may be challenging to create a completely lined, clean finish suit. It may be easiest to choose another method to finish the waist.
Turned Edge: This is a technique you’ll see on a lot of ready-to-wear swimsuits. With this technique, you serge a length of elastic to the wrong side of the raw edge, then turn towards the inside and topstitch using a zigzag stitch. This finishing method is the easiest since it allows you to assemble your shell and lining, baste wrong sides together, then finish all raw edges using this method.
Once you have decided which finishes are best for your project, write down a rough order of operations to follow. You don’t have to be super detailed, but giving yourself simple cues to follow will guide you as you get stitching.
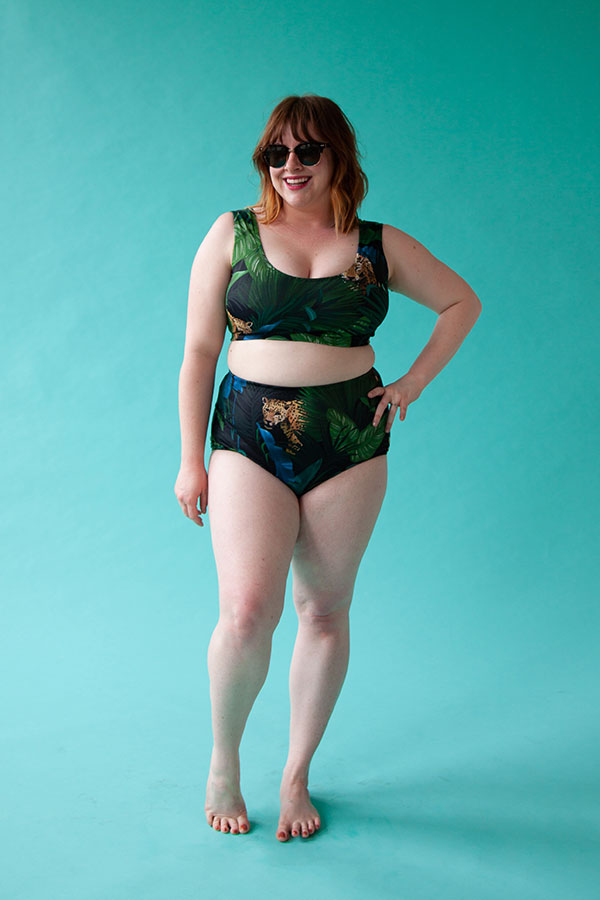
As an example, here is the order of operations that I used to create my swimsuit. I used two of our lingerie patterns to create this swimsuit, the Kaye bra and Dana panties—raising the waistline of the Dana panties.
1. Assemble the Kaye and Dana outer shell.
2. Try on the outer shell pieces to determine if any adjustments are needed. Then make necessary adjustments to the outer shell and lining.
3. Assemble the Kaye and Dana lining.
4. With wrong sides together, baste the inner shells to the outer shells along all raw edges.
5. Use 3/4” swim elastic and the turned-edge finishing method to finish the waist openings of both Kaye and Dana.
6. Use 1/4” swim elastic and the turned-edge finishing method to finish all remaining openings on both Kaye and Dana.

Here is the order of operations that Wallis used to create her swim top. She used the Ariane bodysuit.
1. Add extra seam allowance to the front neckline to accommodate the turned-edge finish.
2. Construct the shell and two sets of lining cup pieces.
3. Cut off a small part of the corner of one of the lining cup sets.
4. Baste shell and both lining cups together.
5. Baste lining and shell of the main body together.
6. Sew cups to the body.
7. Sew elastic to the front of the neckline using the turned-edge method.
8. Sew binding to front armholes and back, extending the binding to create the shoulder straps.
Just like every project, different patterns will require different techniques and come with their own set of chellenges. But this guide can provide a jumping off point to help you think about how to approach your swimsuit. Remember to always approach new skills with an open mind and some self-grace! If your topstitching isn’t quite right, or your lining has some questionable seams, keep in mind that you just made a freaking swimsuit! You are awesome and so is your new suit. So go grab yourself a drink with an umbrella in it and celebrate!

About the Author
Haley doesn’t just want to design clothing you’ll love to wear, but clothing you’ll love to sew. With a background in both design and teaching, she combines her talents to imagine patterns with thoughtful details that build your skills as you sew.