Sign In
My first experience making swimwear was in college. We were assigned to design, draft, and sew a maillot swimsuit in a few days. I had learned the hard way to design for the amount of time you have for execution. My plan for this project was to keep it simple. A trip to the fabric store soon squashed my modest plan, a luscious gold lame fabric caught my eye.
I knew I didn't have the time to execute what I wanted so I foolishly went with a safe pink color that would be well suited to a simple shape. I finished my swimsuit with plenty of time, but I was completely unhappy with the results. Why didn't I just go with my gut? As I presented my project, I felt embarrassed not because my work was bad, but because it in no way represented my aesthetic. Immediately after giving my presentation, I hopped in my car to buy that gold lame.
I stayed up for the next 36 hours to complete that swimsuit. This new swimsuit would in no way affect my grade in the class, really there was no advantage to making it, but I did it anyway. That silly little gold one piece is still one of my favorite things I have made.
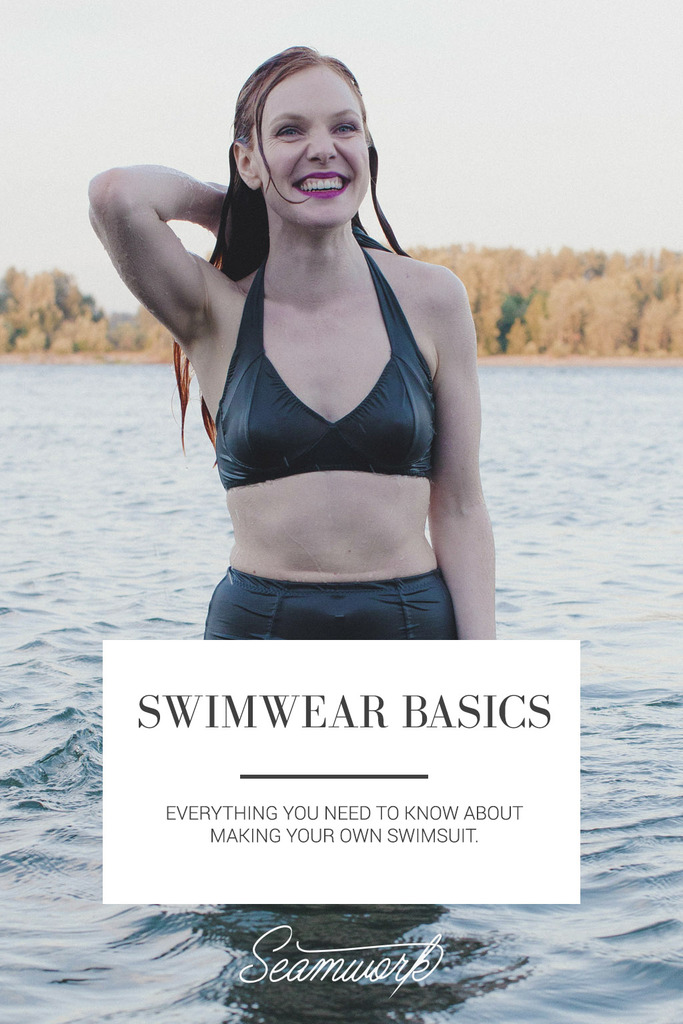
Since then, I have sewn a lot of swimwear, but that experience of persistence taught me a valuable lesson that still resonates with me today. Compromise sparingly, and make choices that make you happy—words that can be applied in sewing and in life. Making swimwear is an extremely gratifying process. Making a swimsuit custom-fitted to your body and comfort is possibly one of the best things ever. This guide will take you through all the basics necessary to make a high-quality swimsuit at home, from choosing fabrics, to finishings.
Fabric
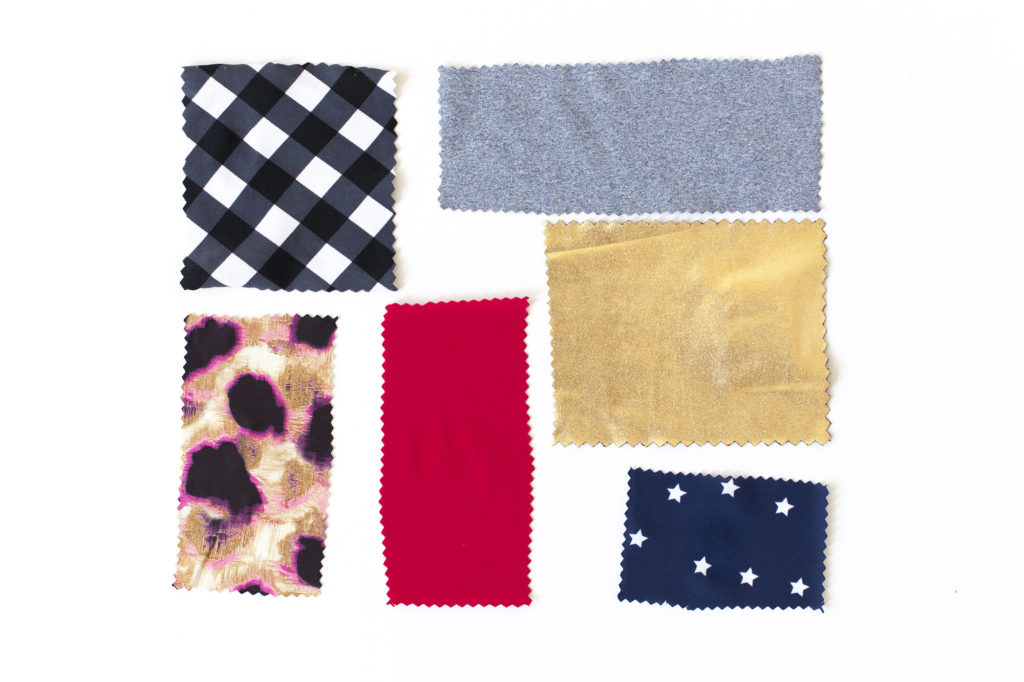
Like most projects, fabric choice is key. A poor choice in swimwear fabric, might become heavy with too much absorbed water, or even become transparent when wet. On the other hand, a well suited fabric will flatter and last for years to come.
Self
Ordering fabric online can be a bit of a gamble. Try ordering swatches and testing the fabric in these four ways.
- Soak your fabric in water, does the color bleed?
- Is the fabric a two- or four-way stretch?
- If the fabric is printed, does the print crack or distort drastically when stretched?
- Does the opacity of the fabric change when stretched?
Swimwear patterns are drafted with negative ease. This means that the finished garment measurements are actually smaller than the body measurements. Choosing a fabric with ample stretch ensures that you will be able to put the swimsuit on and actually move in it.
Two-way stretch fabric will accommodate stretch from selvedge to selvedge but does not offer much stretch in the length of grain. This quality make two-way stretch most appropriate for two-piece swimsuits.
Four-way stretch with stretch from selvedge to selvedge, and also in the length of grain, making it the ideal choice of maillot for one-piece swimsuits as well as two-piece suits.
Swimwear fabric should be composed of 100% man-made fibers. Natural fibers such as cotton will absorb water, making it an impractical choice. Look for fabrics that are mostly composed of nylon (from 80% to 90%) but also have a significant amount of Lycra or spandex (10% to 20%).
Be sure to test stretch your fabric to check how the appearance might be altered by stretching. Does the fabric become transparent when stretched? If it has a print, does the print become distorted? These are all important things to check for when working with fabric that has a high percentage of stretch.
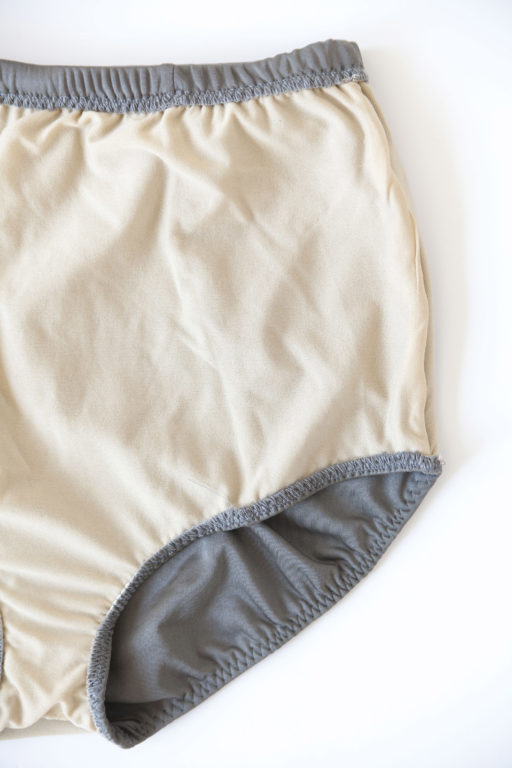
Lining
Choosing the correct lining is also crucial when making your own swimwear. Halenka lining is ideal for swimwear projects. It offers a soft hand and four-way stretch making it an excellent choice. Halenka is a transparent lining, and while it may provide some modesty, particularly sheer fabric may require more substantial lining.
You can also use a neutral-colored swimwear fabric as a lining. This provides additional opacity and creates a very stable and firm piece. This in an excellent option for achieving a smoothing effect.
Notions
Elastic
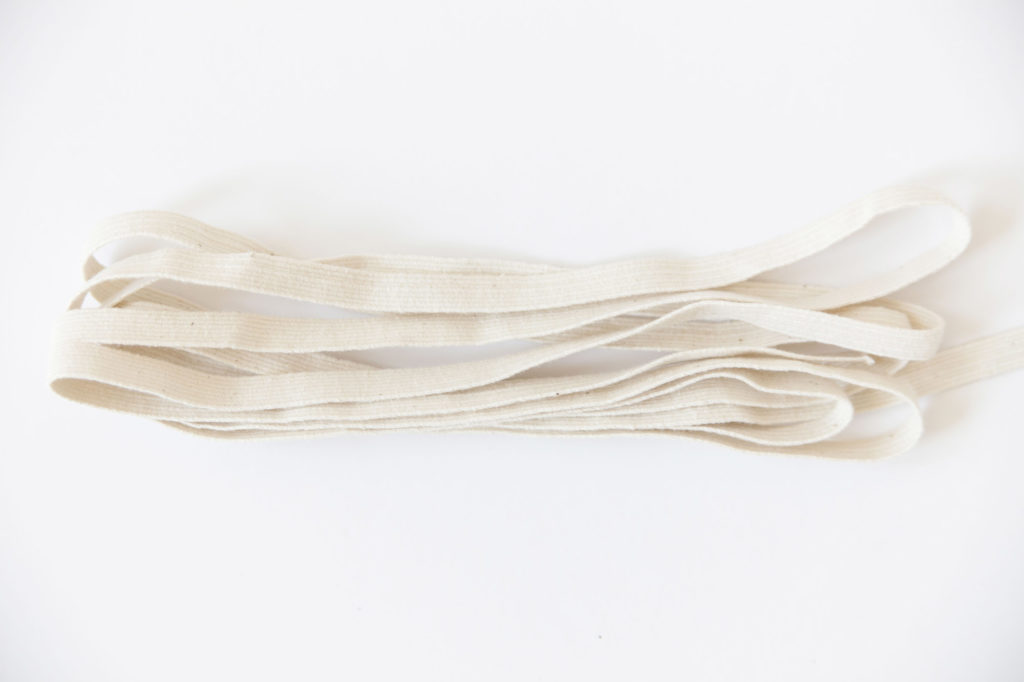
Elastic is an important element in your swimwear projects. It offers shaping and holds the garment firmly again your body. When choosing elastic for swimwear projects it is crucial to choose something that will stand up to the affects of water, chlorine, salt, and sun. Traditional polyester elastic will deteriorate quickly under these circumstances.
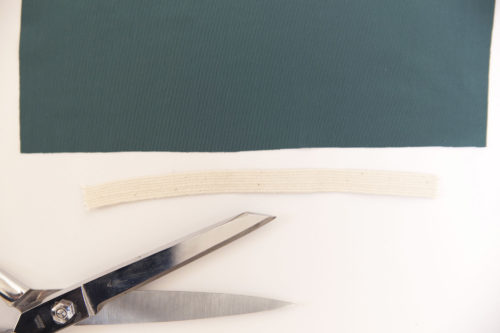
Cotton swimwear elastic is easy to work with and stands up well to chlorinated and salt water. Cotton swimwear elastic is woven with rubber to give it stretch and strength. Just like other elastic, it comes in a variety of widths and is quite inexpensive.
Rubber elastic can also be used when making swimwear. This type of elastic can be applied in the same manner as its cotton counterpart, but can be a little slippery and more challenging to work with. Rubber elastic has a lower profile, creating less bulky edge finishes, making it a great choice when bulk is a concern. This elastic is most commonly found in 1/4" and 3/8" widths.
Thread
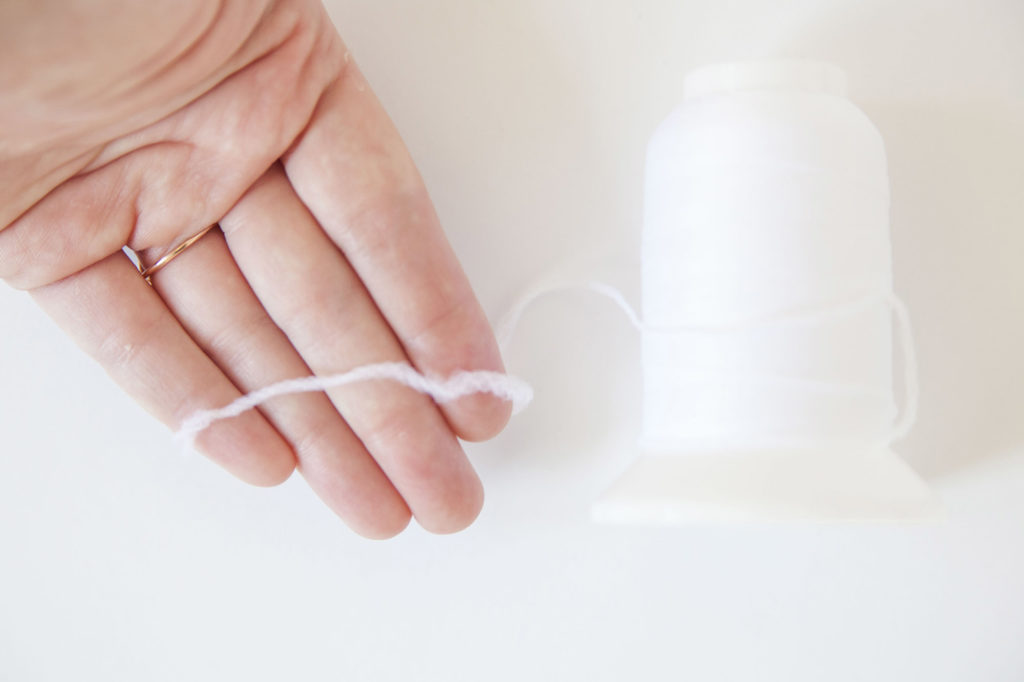
Wooly nylon thread
Tips for using wooly nylon thread:
- Wind your bobbin slowly to prevent tension issues.
- Use a needle threader to help thread your machine needle when working with wooly nylon thread.
- Leave a long tail when snipping your thread between stitches.
Thread is an important aspect of any project. After all, it is the means that literally holds your garment together. With swimwear, the stakes are a bit higher, as you don't have anything underneath so save you from a nip slip or worse.
Avoid cotton thread that will become weakened by chlorine and salt water. Instead, opt for a polyester thread. If you are using a serger to assemble your swimsuit, wooly nylon thread is strong and resilient making it perfect for swim and athletic-wear. Wooly nylon thread can also be used in your home sewing machine.
Basic Construction
Cutting
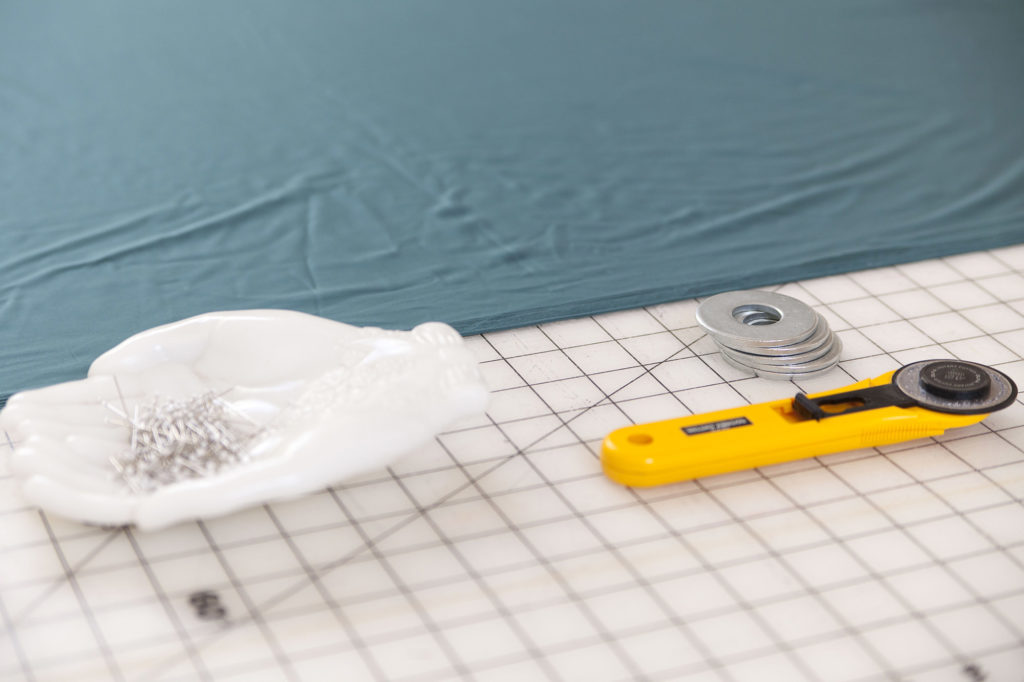
Cutting can be quite daunting when making swimwear. Slinky swimwear fabric can have a mind of its own. Use these tips to make cutting your fabric a breeze.
- Cut single layer whenever possible. This will give you more control as you pin and sew.
- If using a printed fabric, cut with the right side facing up. This will help you to anticipate print placement as you layout. This will help you avoid an unfortunately placed flower.
- Use ball point pins. This will help to prevent any runs in your fabric.
- The combination of a rotary cutter and pattern weights can help you to have more control as you cut.
- Grain line matters! Take extra care to make sure your pattern pieces are on grain before cutting.
Seaming
A serger or a domestic sewing machine can be used for the construction of your project. The following are my favorite techniques, using both types of machine.
Use a serger to sew swimwear fabric right sides together. Standard seam allowance for most swimwear projects is 3/8". Make sure your blade is engaged, as you will be cutting off approximately 1/8" as you sew.
If you are using a domestic sewing machine, a wide and short zigzag can be used in place or a serged stitch. A mock overlock stitch can also be a great option. Sew fabric right sides together and trim excess seam allowance.
Always test your stitch on scrap fabric and stretch your sample to make sure that your stitch offers adequate strength and stretch.
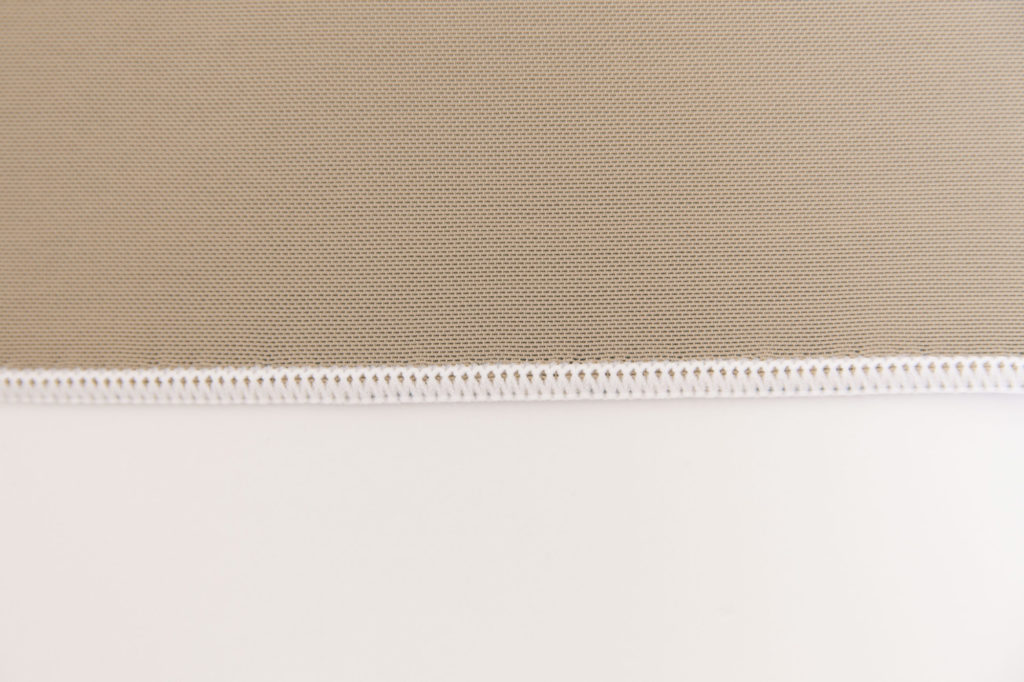
Sewing elastic
In most cases, elastic is the means by which you finish the edges of your swimwear project. Proper application is key to getting a high quality finish. The most common technique used to apply elastic is the sewn and turned method. This technique offers clean and professional quality results that anyone can achieve at home in just five steps.
Step | 01
Elastic should be cut to be 25% smaller than the opening that it is finishing. To determine this, measure the edge where elastic is to be applied and multiply this measurement by 0.75. Add 3/8" for overlap if sewing in then round, then cut.
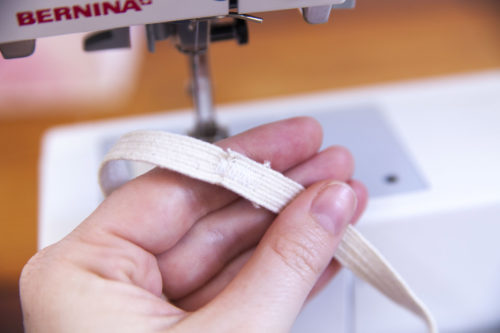
Step | 02
If sewing in the round join the two edges of elastic by overlapping and securing with a zigzag stitch.
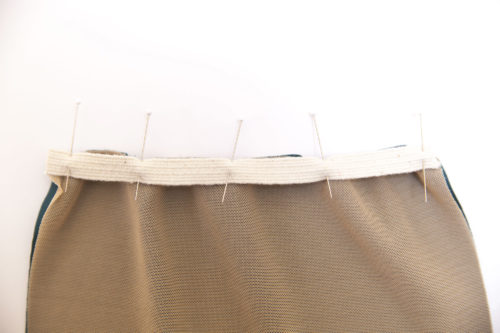
Step | 03
Pin elastic to the wrong side of the raw edge, evenly distributing fabric to elastic.
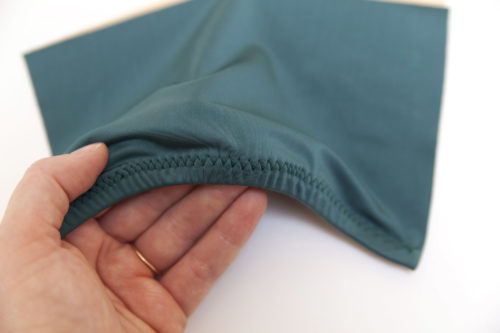
Step | 04
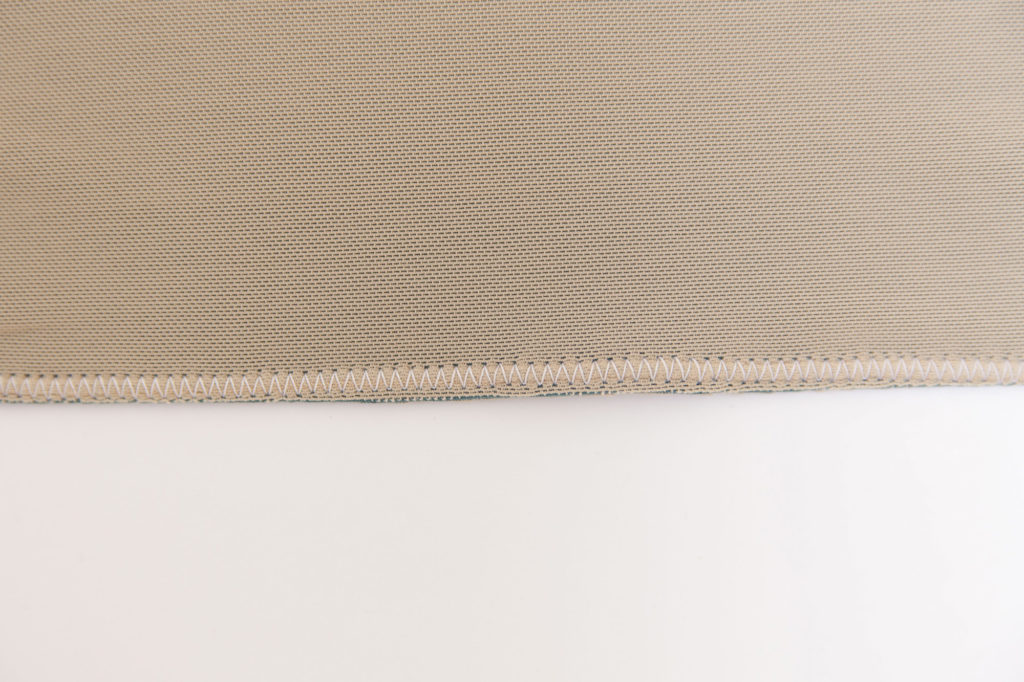
Use a serger, or a wide and short zigzag stitch to overcast the elastic and fabric together.
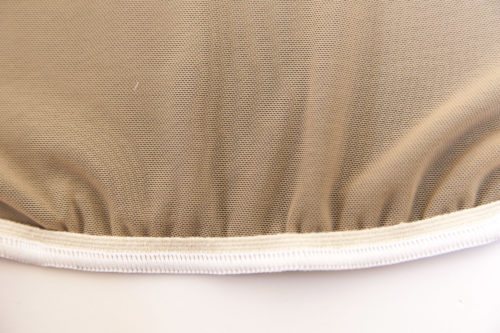
Step | 05
Turn elastic toward the wrong side of the garment, and use a standard or 3-step zigzag to topstitch in place.
Creating Support
Support is a huge concern when it come to swimwear. Though the idea of engineering a swimsuit to not only stand the test of activity, but also provide bust support, may seem daunting, these three techniques simplify the process of supporting your chest.
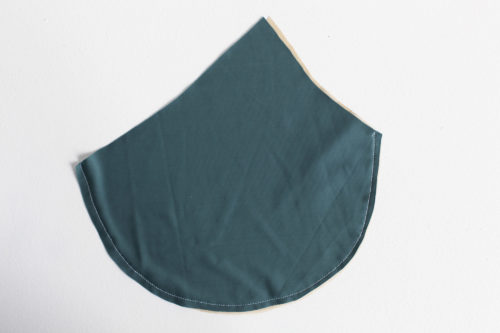
Cups
Foam cups are a popular option is ready-to-wear swimwear. Foam cups offer light support, and modesty in a wet swimsuit. If you plan on using foam cups, be sure to purchase ones that are specifically meant for swimwear. Foam cups intended for lingerie may not stand up to chlorinated or salt water, and may absorb large amounts of water.
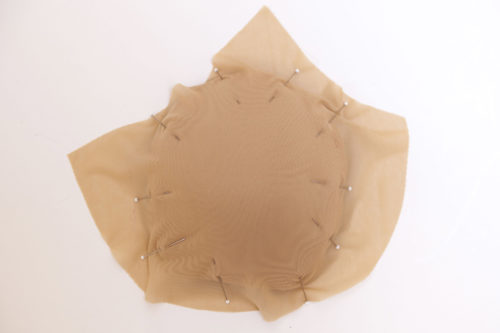
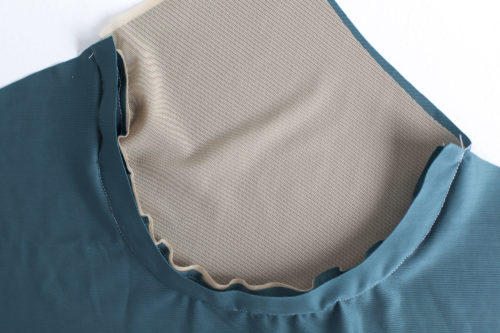
Step | 01
Hold lining over bust, place cup over lining and position to your liking. Mark cup placement.

Step | 02
Pin the cup to the wrong side of swim lining.
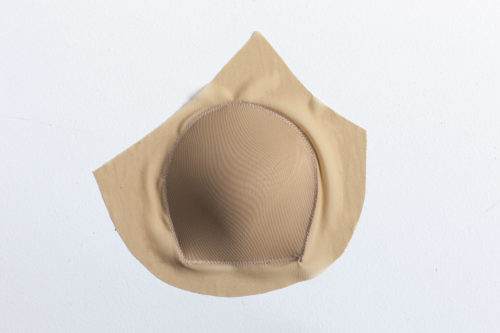
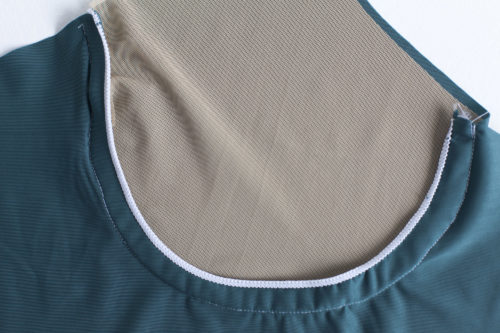
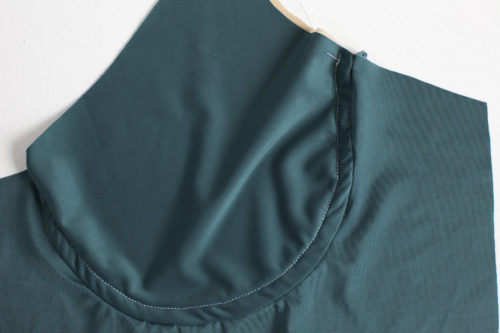
Step | 03
Use a zigzag stitch to edge stitch cup to lining.
Underwire
Underwire is my favorite way of achieve additional bust support. Not all swimsuits are designed to be compatible with underwire. If you know that this is a feature you must have in a swimsuit, look for a pattern that features cups that are attached to a full band, like Reno. Purchase underwire that corresponds to your bust size and the size swimsuit you are making.
Step | 01
Before cutting your fabric, alter your flat pattern so that the under-bust seam measures at 5/8" seam allowance.
Step | 02
Assemble the bra cups and attach cups to band using 5/8" seam allowance and a straight stitch.
Step | 03
Finish the raw edge with a serger, or an overcast stitch.
Step | 04
Use a straight stitch to top stitch seam allowance up and toward the bra cup, sewing 1/2 away from the seam.
Step | 05
Insert underwire into the channel.
Step | 06
Sew a small row of stitching at either end of the channel to keep the underwire in place during the rest of construction.

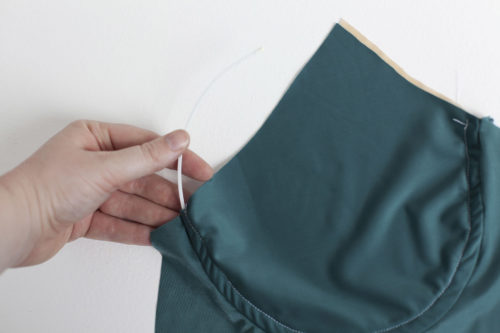
Stays
Though stays do not actually support the bust in the case of swimwear, they do support the swimsuit by making sure it doesn't end up around your waist. Stays are applied in a very similar fashion to underwire.
A channel is created by top stitching approximately 3/8" away from a seam. A stay is then inserted into this channel.
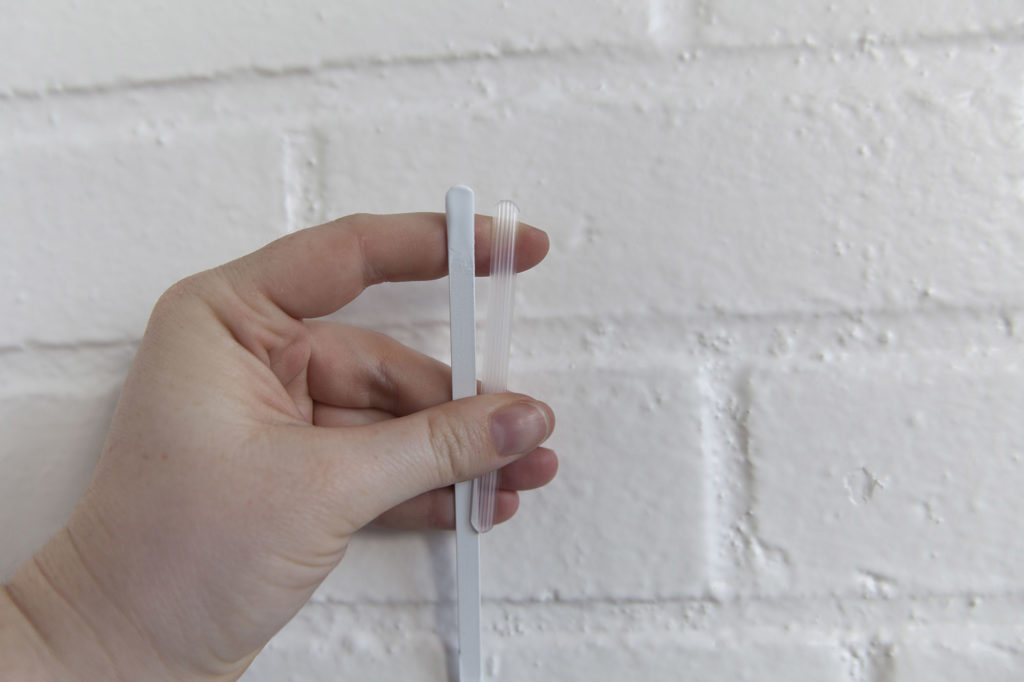
When choosing stays for swimwear, look for plastic options, as metal stays used for dress making will rust when exposed to water. Plastic stays can also be easily cut to size.
Always cut your stays to be 1/4" smaller than the finished measurement of your channel. This prevents the stays from stretching fabric unattractively. A nail file can be used to round the edges of plastic stays to prevent your stays from injuring you or your swimsuit.
Creating your own swimwear is a gratifying process. Having a swimsuit that is custom built for your shape and needs is even more of a thrill. Like most sewing projects, it all boils down to quality materials, planning, and technique. Armed with these three tools you will be ready to conquer any swimwear project.
And don't forget, you can learn more about swimwear in the swimwear sewalong class when you become a Seamwork member. Plus download any of our beautiful swimwear patterns, like Maggie and Crosby. Become a Seamwork member at half off the usual price today.

About the Author
Haley Glenn is a managing editor for Seamwork. She is a professional sewing writer and teacher based in Portland, Oregon.