Sign In
Silk is the ultimate luxury fiber. It's lustrous, strong, feels good against your skin—and it has a reputation for being a pain to sew.

In this guide, you’ll learn everything you need to know about sewing with silk.
- All the different types of silk
- How to sew with it
- And how to care for it
What is silk?
Silk is a natural fiber known for its luxurious hand, natural luster, and its strength.
It’s most commonly produced boiling silk worm cocoons until they unravel. The resulting fiber is then processed, spun into yarn, and woven.
Silk fiber transforms into a variety of different fabrics depending on how the yarn is spun or how the fabric is woven.
What are the different kinds of silk?
Generally, silk fabrics tend to be lightweight, but some silks have more drape while others have a bit more body.
In general, choose a drapier silk for patterns with more ease, flowing silhouettes, or draped elements like cowls or ties.
Silks with less drape tend to emphasize the cut of your garment. They have a tendency to sit away from your body, rather than fall against it.
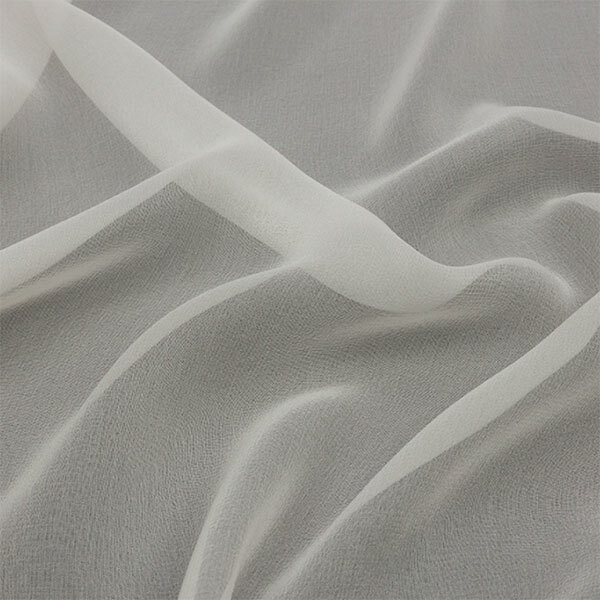
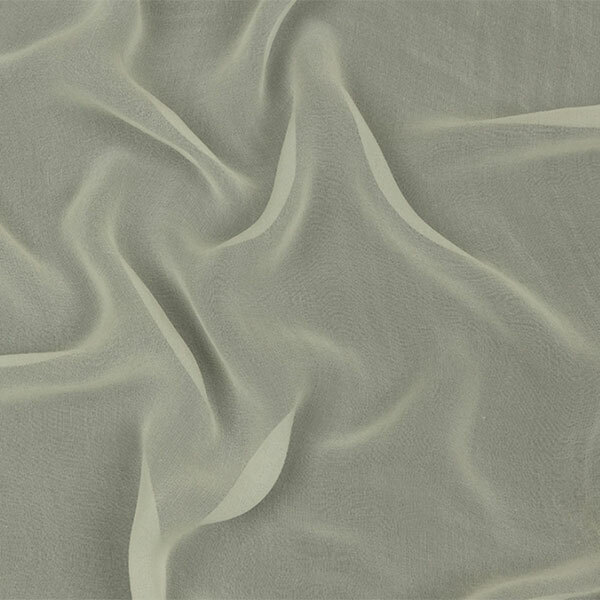
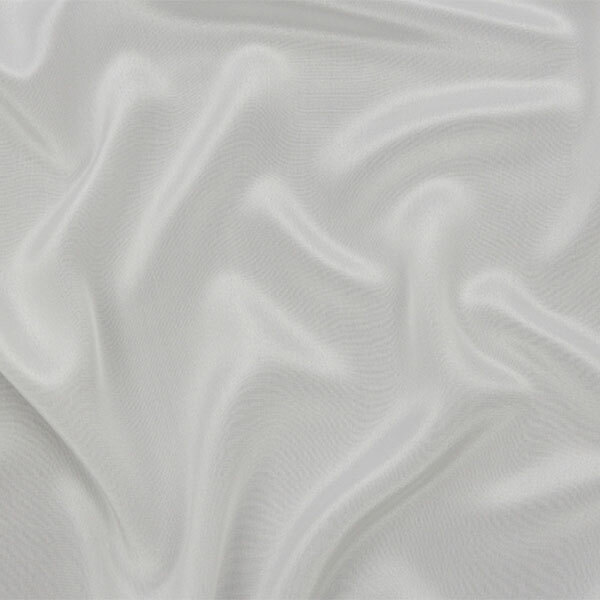
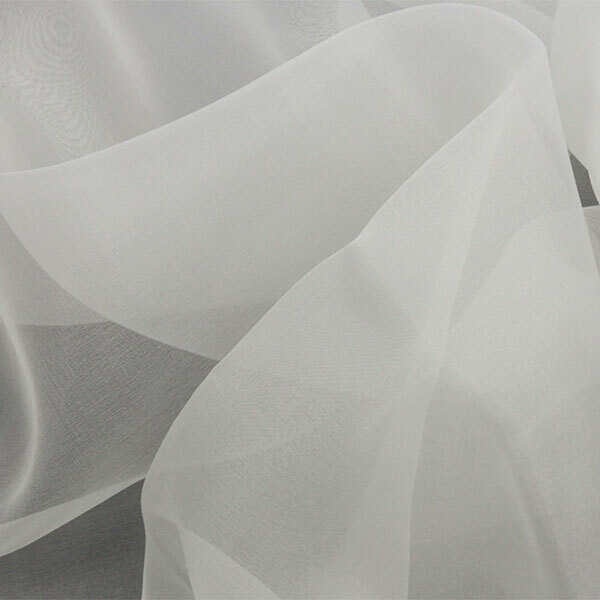
Silks with more drape
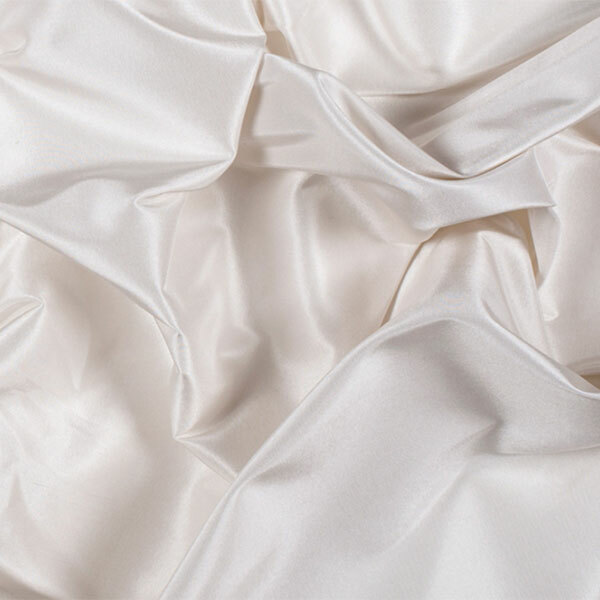
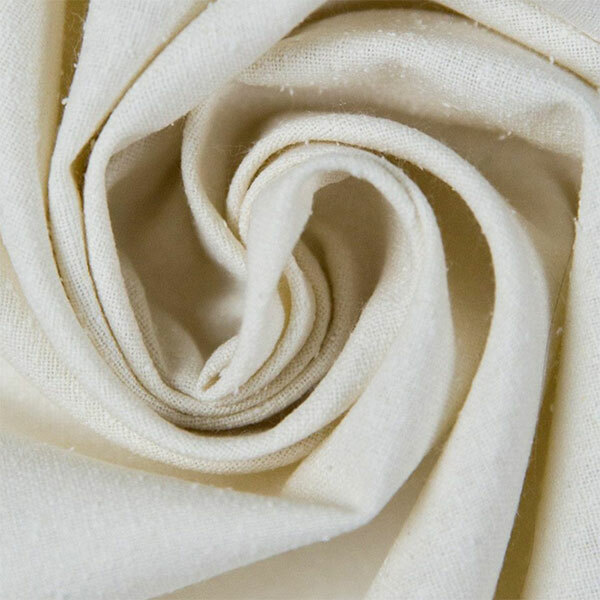
All of these silks will work for patterns that require drape so that the garment flows and hangs on your body. Many of these silks are sheer or semi-sheer. All the examples below are silk fabrics from Mood Fabrics.
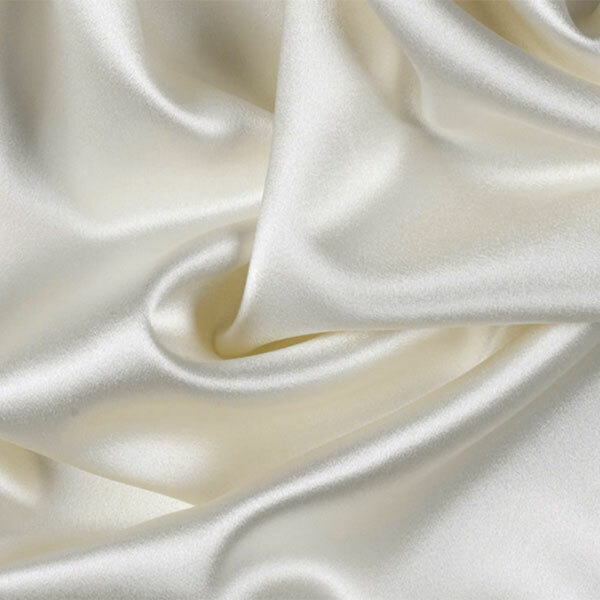
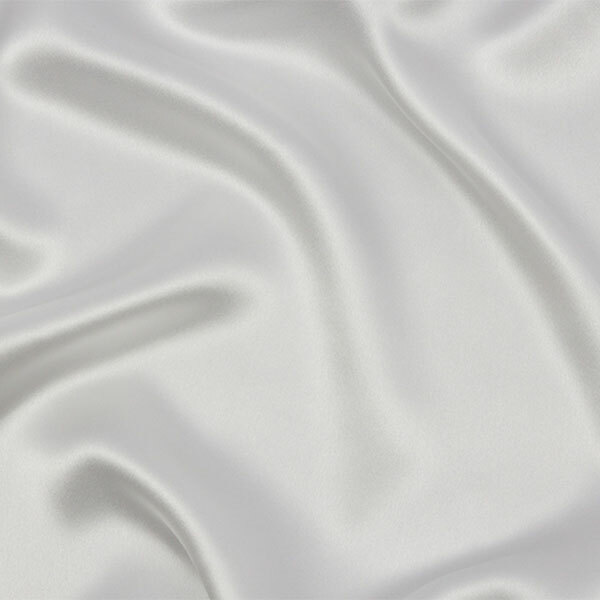
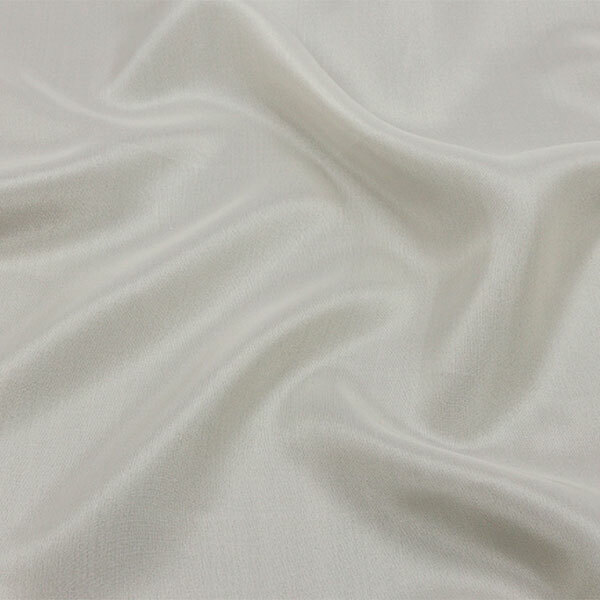
Silks with more body
These silks will sit further away from your body, so they will emphasize the silhouette of your garment. All of these images are silks from Mood Fabrics.

How to pre-wash and care for silk
Most manufactured silk garments are dry-clean only, and you can certainly dry-clean your finished garment, but here are tips for pre-washing and caring for silk at home.
Most silks will shrink and they each wash up a little differently, so always wash a test piece before treating the entire cut of fabric.
To pretreat or wash, soak in lukewarm (between room and body temperature) water. You can add a little distilled white vinegar and a very small amount of gentle detergent like Woolite.
Lightly agitate, then allow to sit for a few minutes. Rinse in lukewarm water and gently squeeze out the excess water. Roll your fabric in a clean towel to remove the excess water and lay flat to dry.
To release any wrinkles, press your yardage or garment while slightly damp. Be sure to use a low iron setting and a press cloth.
How to sew with silk
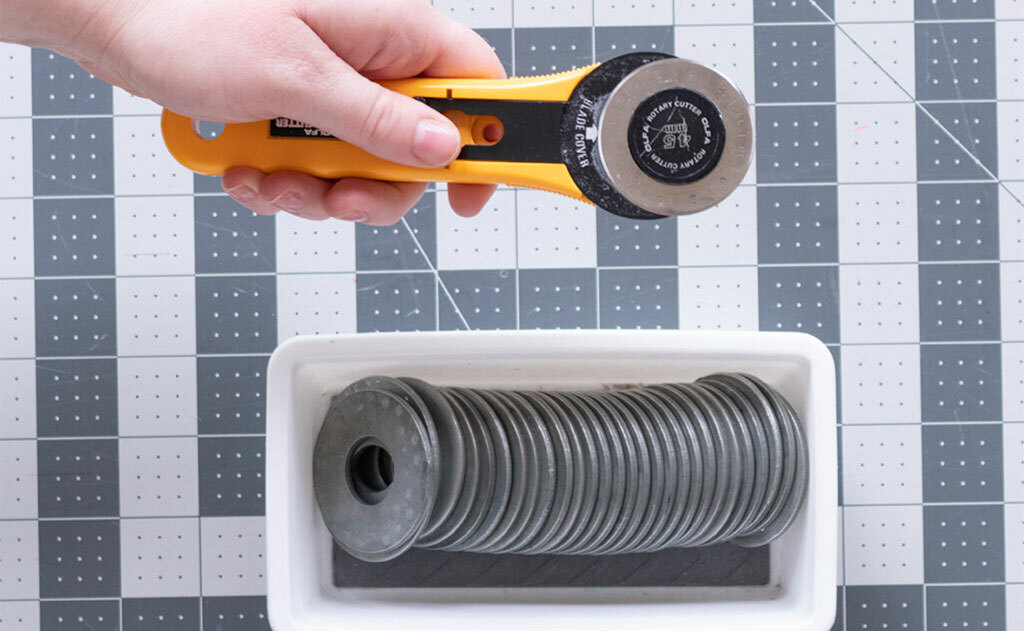
Cutting: Use a rotary cutter or very sharp shears to cut your fabric. If you are working with a slippery silk, consider cutting single layer to reduce slip.
Spray stabilizer: You can pretreat your silk fabrics with spray stabilizer. This will lend your fabric a paper-like hand, making it much easier to cut and sew. The only catch is that you will have to wash your fabric before applying the stabilizer to pre-shrink, then again after constructing the garment to remove the stabilizer. This won’t work for silks that are dry-clean only.
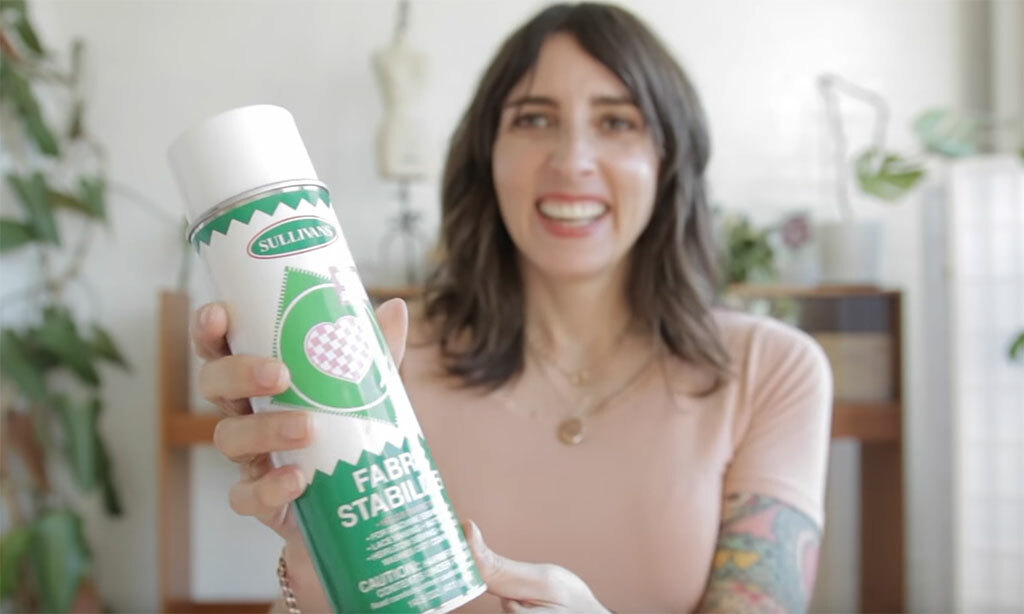
To spray stabilize, lay your dry, pre-washed fabric out on a flat surface in a single layer and apply the stabilizer according to package instructions. Allow your fabric to dry, then cut and sew.
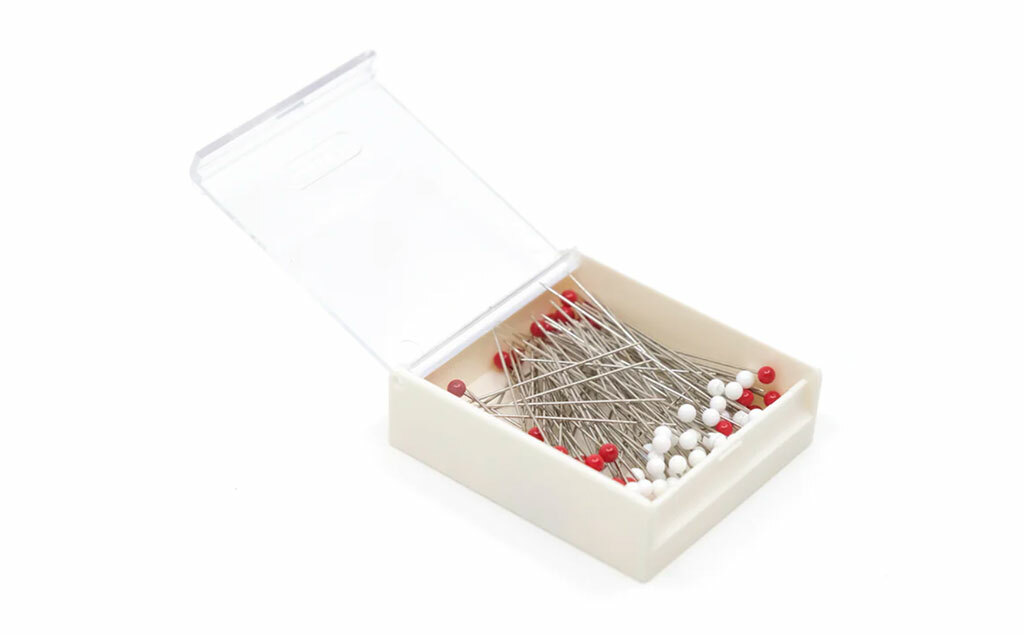
Needles and pins: Use sharp and lightweight pins and needles on silk to avoid damaging the fabric. Silk pins can be used during cutting and construction. For needles, try a Microtex needle in a size 60 or 70 depending on the weight of your fabric. These pins are Clover glass head silk pins from Blackbird Fabrics.
Thread: You might be tempted to use silk thread to sew silk, but silk thread is better suited for basting, because it’s so slippery. Cotton thread is not as strong as polyester, so it is less likely to cut into your fabric during wear, but high-quality polyester thread will work.
Stitching tips:
- Opt for a slightly shorter stitch length. For medium-weight silks use a 2-2.5 mm stitch, and for lightweight silks try a 1.5-2 mm stitch.
- While sewing apply gentle tension to your fabric by holding it both in front of and behind the presser foot.
- If your fabric gets sucked into your throat plate at the beginning and end of your stitch, try placing tissue beneath your fabric.
Pressing tips:
- Use extra care when pressing silk to avoid scorching or leaving any marks on your project. Use a low heat setting and a press cloth.
- Don’t use a back and forth ironing motion. Instead, use an up and down pressing motion to avoid stretching or warping your fabric.
Finishing tips:
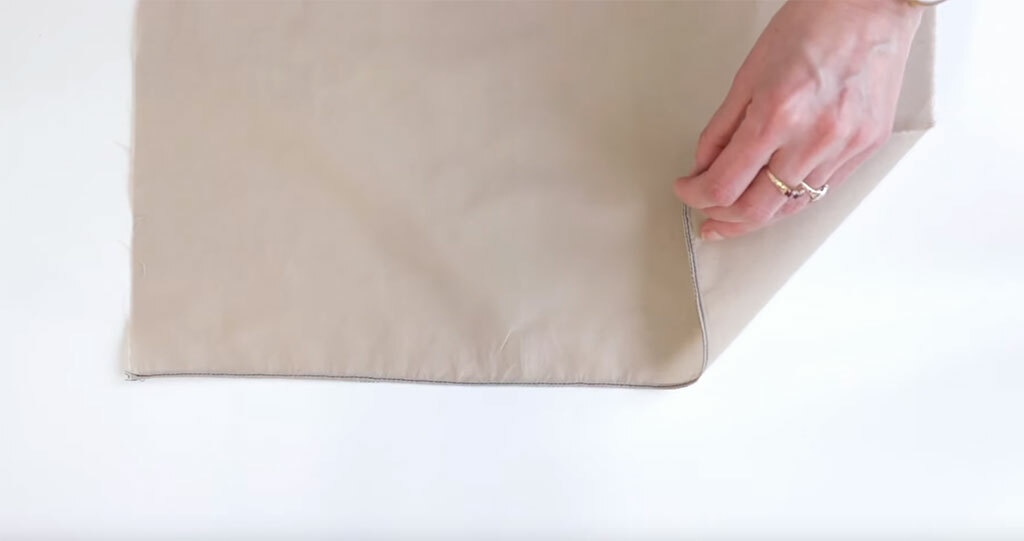
- For most silk projects, a French seam is the ideal finish because it addresses any unraveling and creates a clean look on sheer and semi-sheer fabrics.
- On lined silk garments, pinked seams will combat any unraveling.
- Use a serger for a more casual finish, but use the 3-thread set-up to reduce any bulk.
- On lightweight silks, use a baby hem or a rolled hem to finish. See this video tutorial for a baby hem.
- On heavier silks with a deeper hem, a hand-sewn hem with hem tape can be a lovely finish.
If you want to see a gorgeous silk project in action, watch this video about Sarai's Laura skirt.
Do you have any questions about working with silk? Or any tips to share? Comment and let us know!
Love the article? Pin it for later.