Sign In
Origins of Waxed Canvas
Early mariners discovered that wet sails worked better than dry ones, but they were heavy. In the late 1700s, Scottish company Francis Webster Ltd. perfected the process of treating sails with linseed oil. Linseed oil would crack in cold weather, though, and it yellowed with age. Remnants and old, unusable sails were recycled into capes to help protect sailors from inclement weather at sea. They were the predecessor to the modern, yellow fisherman's slicker.
In the 19th century, flax was replaced with lighter Egyptian cotton, and in the early 20th century, linseed oil replaced by paraffin, the method pioneered and patented by British Millerain. This combination made for lighter, more breathable weather-resistant sails and protective clothing.
Waxed canvas then started being used in military applications as the fabric of choice for the British armed forces, eventually extending from jackets to tents and duffles.
After World War II, waxed canvas started being sold commercially in Britain as heavy-duty rainwear. It found a new specialty market with motorcyclists, and on and on new uses evolved and continue evolving today.
Now you can find waxed cotton canvas online and in many fabric shops around the world. There is also a plethora of resources that outline how to wax your own fabric and many different types and brands of wax with which to do so.
Why use Waxed Canvas?
Waxed canvas is ideal for jackets or coats, pants, backpacks, messenger bags, and totes, canvas bucket planters, Dopp kits, lunch sacks—the list is endless.
The main reason to choose waxed canvas for a project is that it is water repellent. This is not the same as waterproof—anything seamed with a needle and thread can leak if submerged—but if rained on, water will simply roll off it. Waxed canvas is slightly stiff. A bag made with it will hold its shape nicely, and a jacket will have structure.
Waxed canvas has a memory, it will mark each crease and wrinkle, but this is also what gives it the rugged, lived-in look associated with it. It is easy to work with— it doesn't shift much while sewing and does not require a heavy-duty machine. Waxed canvas can be wiped clean or spot cleaned—it doesn't need to be washed or ironed!
Pre-waxed or DIY?
There are advantages to both pre-waxed canvas and to waxing your own fabric at home.
Commercially sold waxed canvas—what I am calling pre-waxed—can be easily found online and in many fabric stores. The fibers of pre-waxed canvas are impregnated with the wax, rather than being applied as a layer on top. This gives it a dryer, softer feel than when you wax it yourself. While it used to be primarily made in black and dark olive drab, it now can be found in many beautiful colors, even pastels. It is somewhat difficult to find in prints, though, which is one reason someone may choose to wax their own canvas. Another is that it can be more cost-effective to wax at home. Waxed canvas by the yard can be anywhere from $15-$50 per yard, with the lower end of the scale typically being dark, solid colors.
Waxing at home can be done for the cost of the fabric and a bar of wax. One caveat of DIY waxed canvas is that it tends to have a tackier feel to it, which is supposed to wear off after some time.
Either method can leave a residue on your sewing machine and equipment, but it is fairly easy to clean after sewing, even more so if you clean intermittently while sewing your project. Or you can choose to wax the fabric after your project is sewn, thereby eliminating the transfer of wax to your tools and machines.
While researching this article, I experimented with both store-bought waxed canvas and waxing some canvas at home. It is definitely more labor-intensive and messier to wax yourself, but the trade-off is that you have full control over fabric and print, which allows you to push the boundaries of creativity.
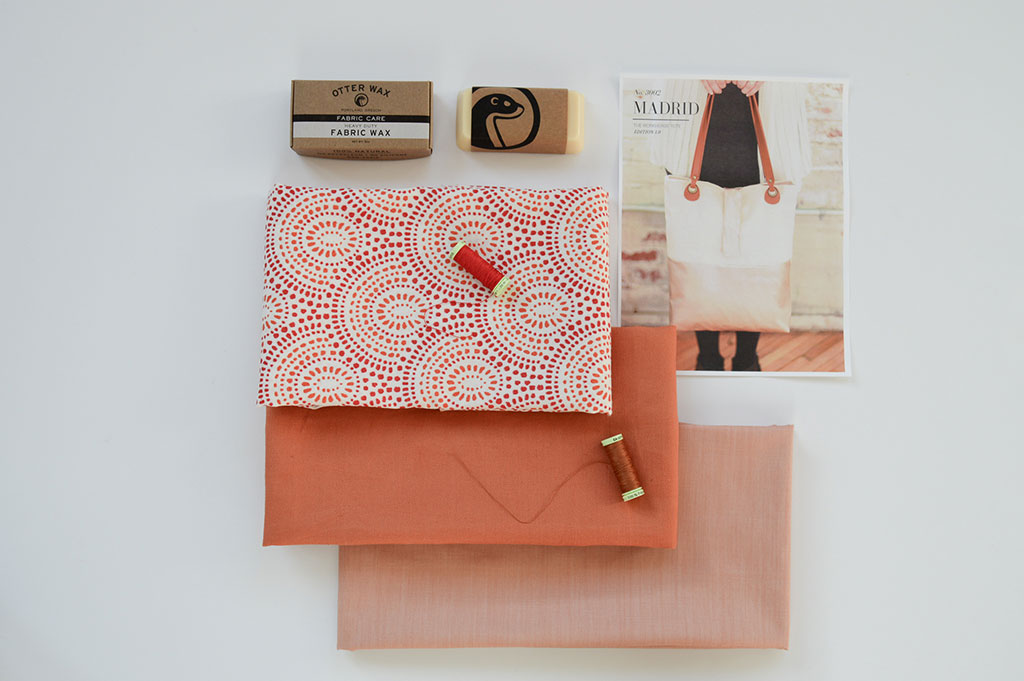
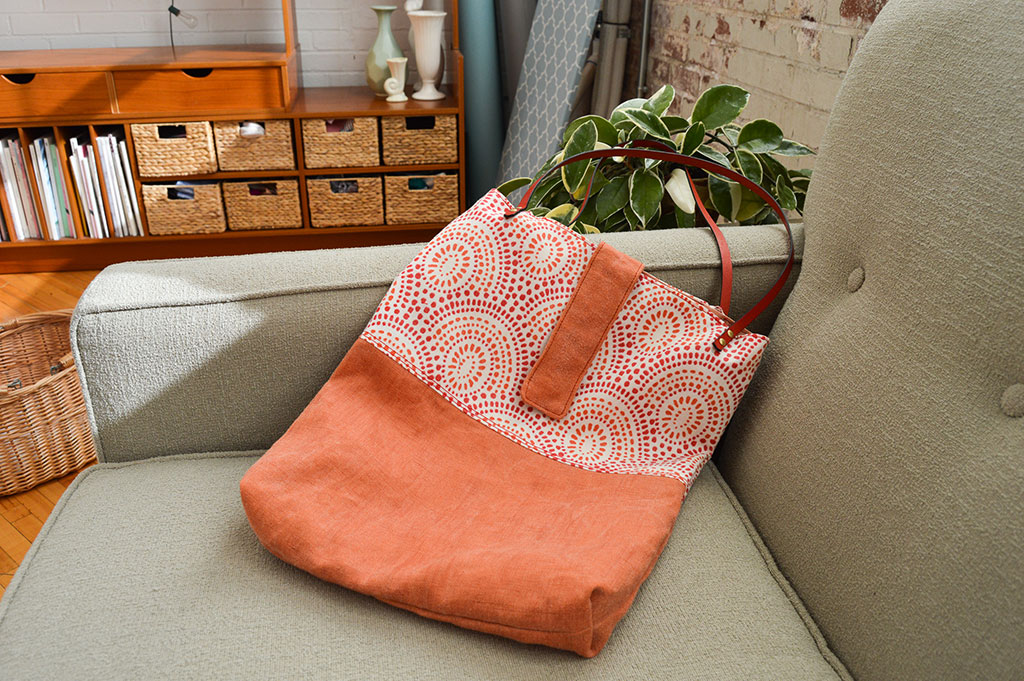
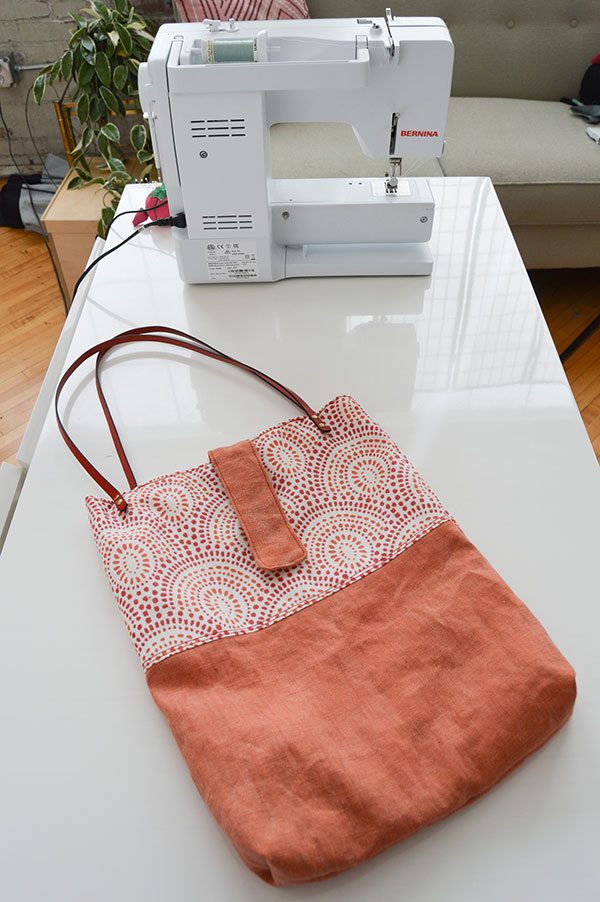
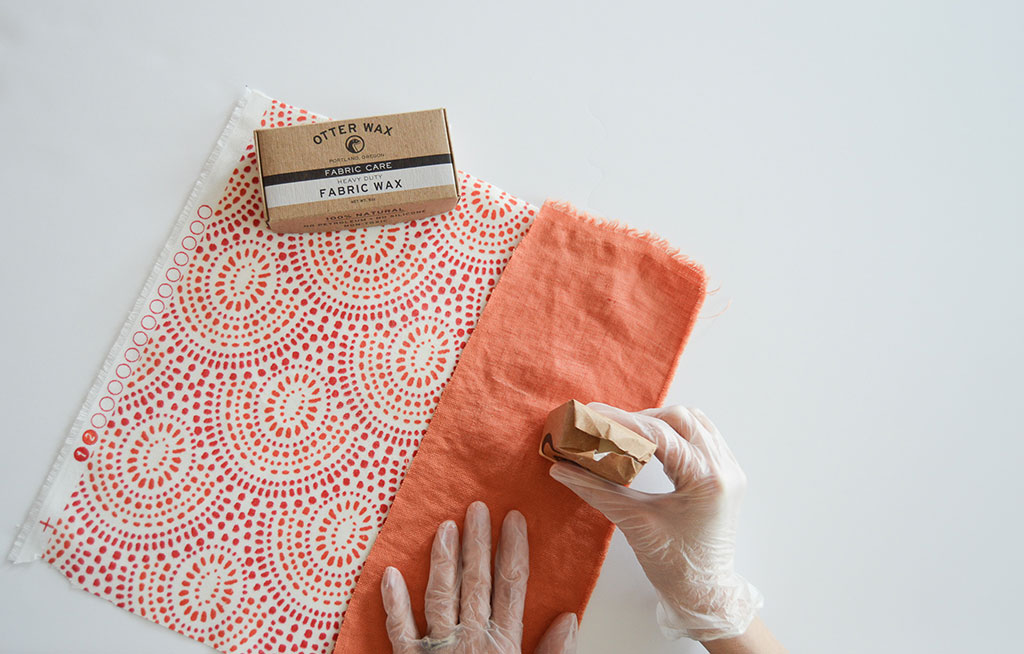
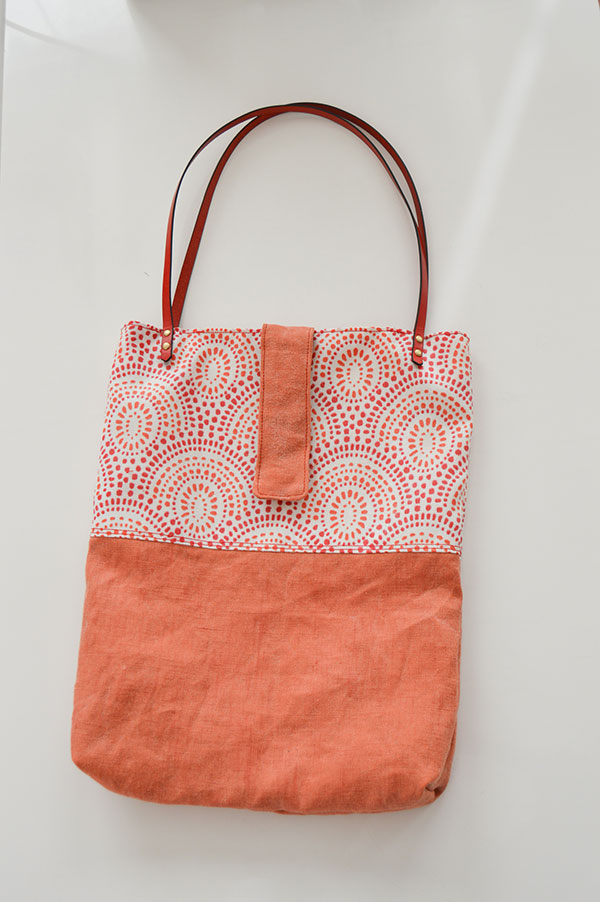
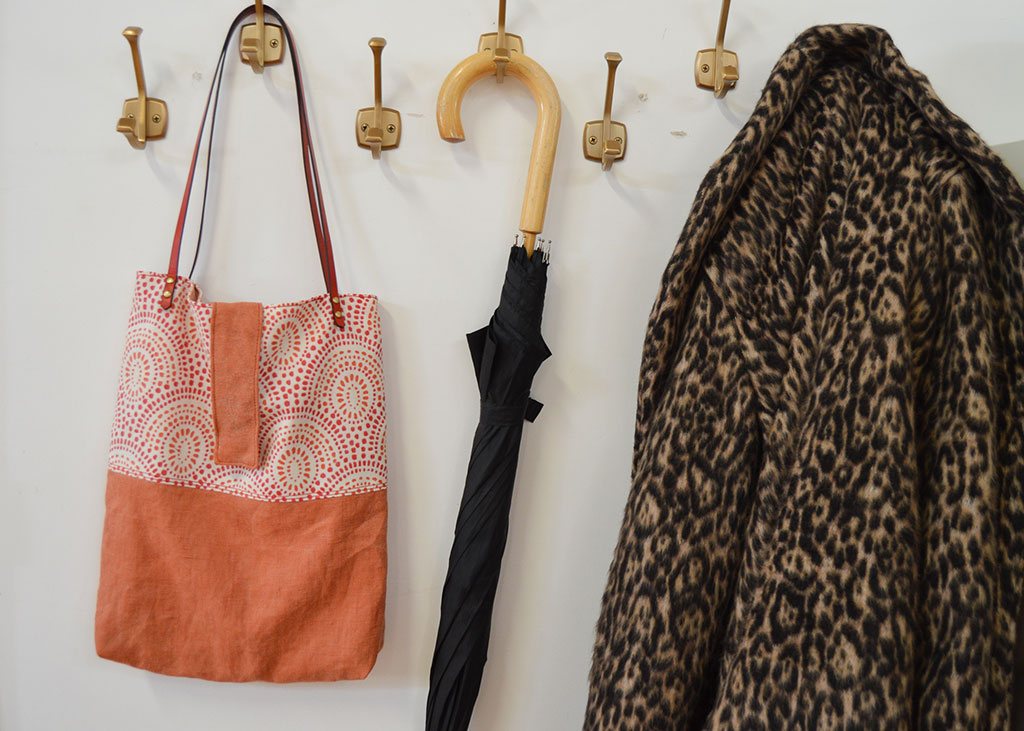
With my heart set on the Seamwork Madrid tote, I chose a bright red and orange printed canvas and a soft tangerine heavy linen, both found in the home decor section of my local fabric store. In the name of research, I decided to wax before I cut the pieces.
There are many tutorials online from both bloggers and retail companies and several different methods to choose from. Some instruct you to use a mixture of beeswax and paraffin, melting it down and brushing it on your fabric. This method isn't vegan, which may be important to some, but also, paraffin is a byproduct of petroleum, which is a no-go for me.
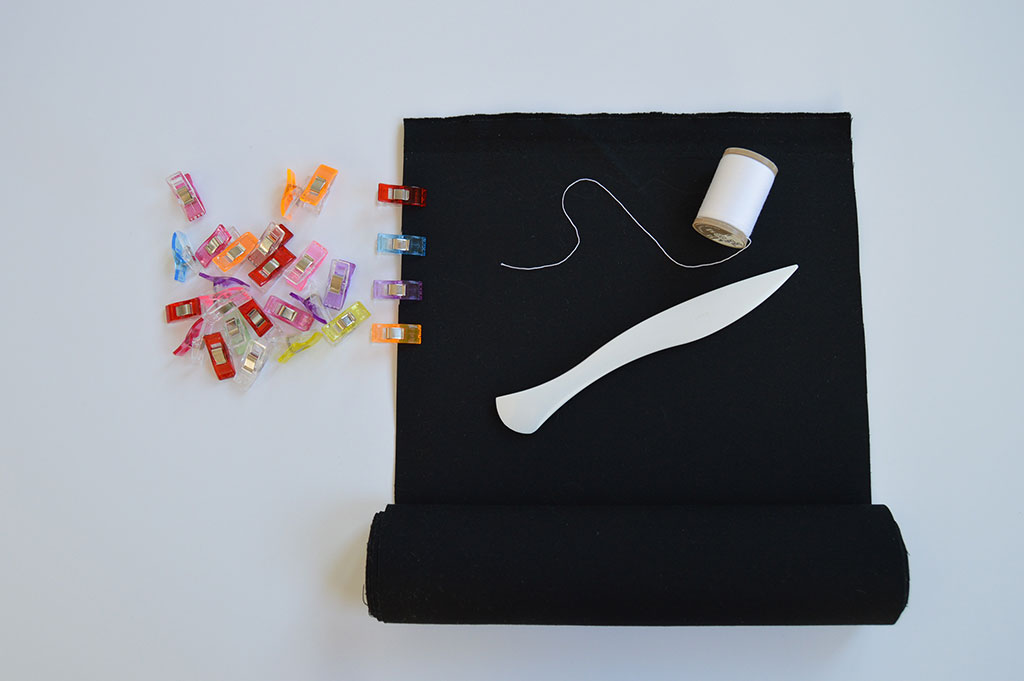
The other main method involves using either a wax "dressing," which is also warmed and brushed on, or rubbing a wax bar directly on your fabric. I chose the bar method for simplicity.
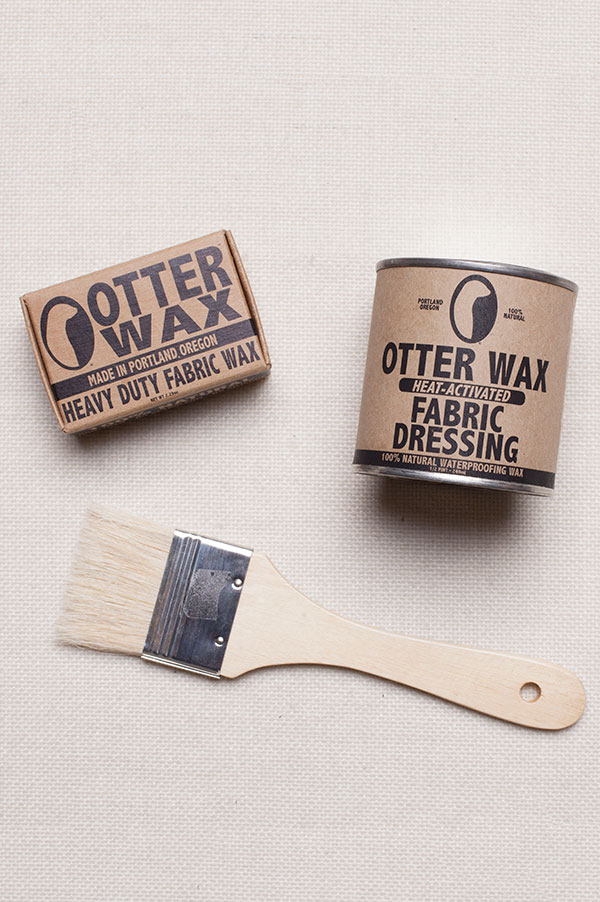
Several brands offer wax bars for sale, including Fjallraven Greenland Wax and Otterwax.
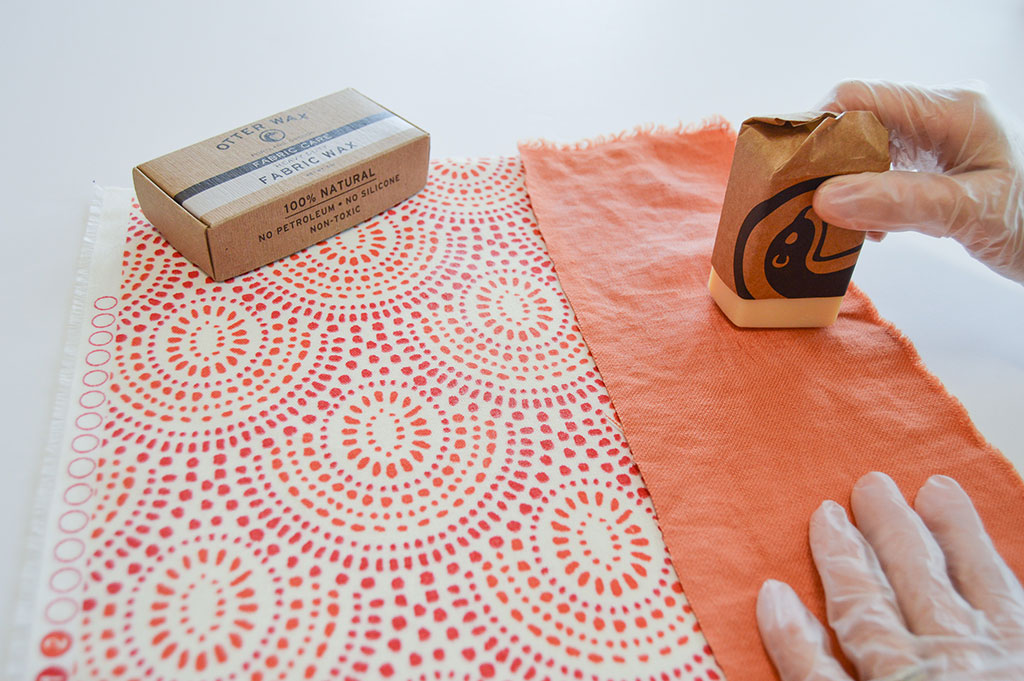
I chose Otterwax, made right here in Portland, Oregon, mostly because it is made from natural ingredients. The Otterwax website also has FAQ's and guides to help you through the process.
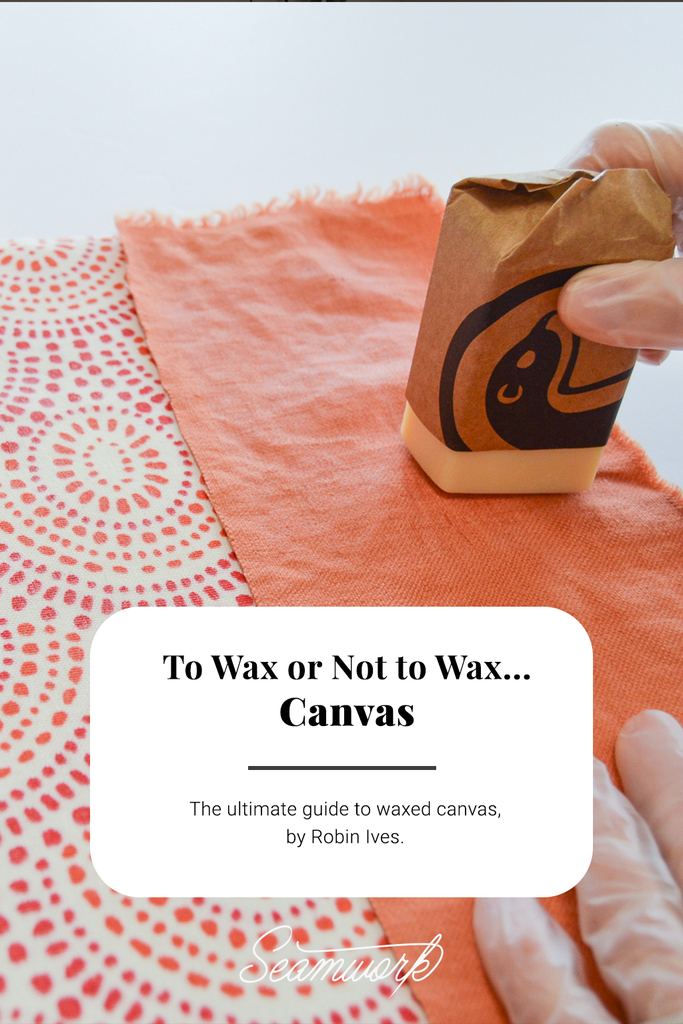
I found the process as simple as described—rub the end of the bar back and forth across your fabric. The friction warms the bar and helps the wax soak into the fibers. I worked in small areas until I had the whole piece covered. It is important to test a small area first because the wax can slightly darken the color of the fabric.
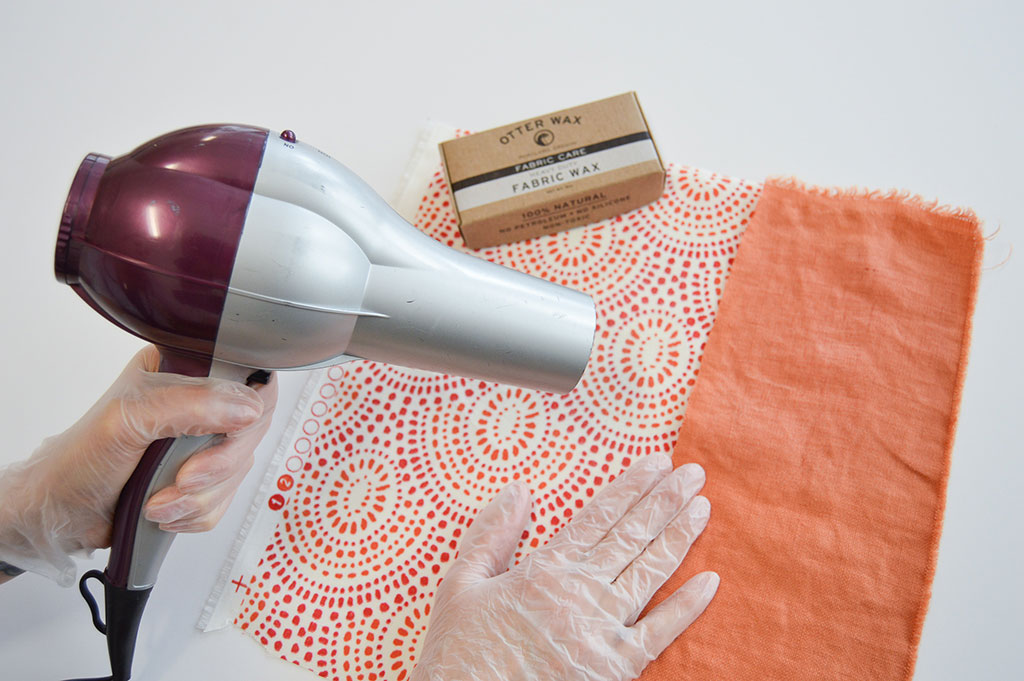
Once the whole piece was waxed, I used a hairdryer on high, about 8 -10" away from the fabric, to warm the wax, and then I used my fingers to even it out and help push the wax further into the weave.
They say to let it cure for 24-72 hours so that the oils evaporate and "set" the wax. I left it for about five days, and it was still slightly tacky, which bothered me a little, but once I handled it a bit more, I saw that the wax didn't transfer much to my hands or surfaces. Then I cut my final pattern pieces and began to sew!
Tips for Waxing Fabric
When researching and preparing to sew with waxed canvas, I started with our own set of tips on the Colette Blog.
Here are some other tips I discovered along the way.
- You should store waxed canvas rolled up, NOT folded. Remember, it will show every crease.
- Increase the stitch length to at least 3 or 3.5 for fewer holes, which can let water in.
- Use a new needle, #16 or higher, size 100 denim needle.
- Use clips instead of pins to avoid making extra holes.
- Run several tests of stitch length and tension to find the right combination.
- Use a clapper, finger press, or if necessary, iron with a medium setting and a press cloth.
- Make markings with a Hera marker, chopstick, point turner, or any other blunt pointy object.
- Use a hairdryer to remove unwanted creases or make it more pliable.
- If you make a mistake and need to rip a seam out, gently massage the holes with your fingers to make them disappear, or use the tip of your iron sparingly and with a press cloth.
- Clean your tools often—scissors, rotary cutter, needle, presser foot.
- Rewax every year with your wax of choice.
I have seen it recommended to use a roller or Teflon foot, but I didn't have any trouble with my regular presser foot on either the pre-waxed or the DIY waxed.
Most of the time, when sewing the fabric I waxed, I was sewing right sides together, so the waxed side of the fabric was not exposed to the machine parts. When topstitching, though, the waxed side was against the presser foot. It glided fine through the machine, but it did leave a waxy residue on the presser foot. To avoid build-up, I used a scrap of soft cloth to clean the presser foot and needle after every seam, and that worked well. There was one instance when topstitching where there was a waxed face on both the presser foot and the feed dogs. To avoid gunking up the feed dogs, I added a layer of tissue paper under the fabric, and voilà! No waxy feed dogs.
Caring for Waxed Fabric
So you've done it—you have jumped in, chosen your fabric, your method, your pattern, and sewn an amazing project in waxed canvas. How do you care for it?
Washing is not recommended. Instead, use a soft bristle brush to brush away dirt or, if necessary, spot clean. Use a drop of gentle dish detergent or baby shampoo, dab with a little water and use a gentle circular motion with a sponge or soft toothbrush. Dab the soap off, let air dry, and re-wax if necessary.
Reapply a coat of wax once a year to maintain, or more if your bag or garment gets heavy use.
Recap: Waxing and Waning
Since this was an involved project with lots of options and mini-experiments, I decided to do a post-mortem review to encapsulate what I learned.
My favorite thing about store-bought waxed canvas and DIY waxed canvas
- Store-bought: The hand feel is dryer than when you wax it yourself.
- DIY waxed canvas: You can use fun prints. Spoonflower is a great place to find amazing prints you can get in both canvas and denim fabric options.
What I learned
I don't love the tackiness of the canvas when using a DIY wax, and my lifestyle as it is right now isn't conducive to it, especially when used on a tote. The tackiness is supposed to wear off, but in the meantime, I don't want it rubbing off onto my clothes or furniture.
What I would do differently
I would only DIY waxed canvas again if the project would really benefit from a fun printed fabric. I think it would be good for a lunch bag. I would also wax after sewing it up. I can't think of a benefit to doing it before sewing, and it would be gentler on my tools and equipment to do it after.

Robin Ives
Pattern Development Manager
Robin dreams in patterns. When awake, she leads the Pattern Development Team here at Seamwork and is passionate about the importance of failing on a regular basis, sustainability, and having a well-stocked candy drawer.