Each month, Seamwork Magazine brings you two new wardrobe-building patterns along with inspirational articles and informative tutorials. Sewists tend to be detail-oriented by nature. We thrive when fussing over the perfect welt pocket or finding the perfect shade of thread to match.
Those times when we really slow down and cherish the details are when we shine the brightest. This series is dedicated to the small details that take your project to the next level. Whether it is a new seam finish or a fun embellishment, take the time to make your next me-made item one of a kind.
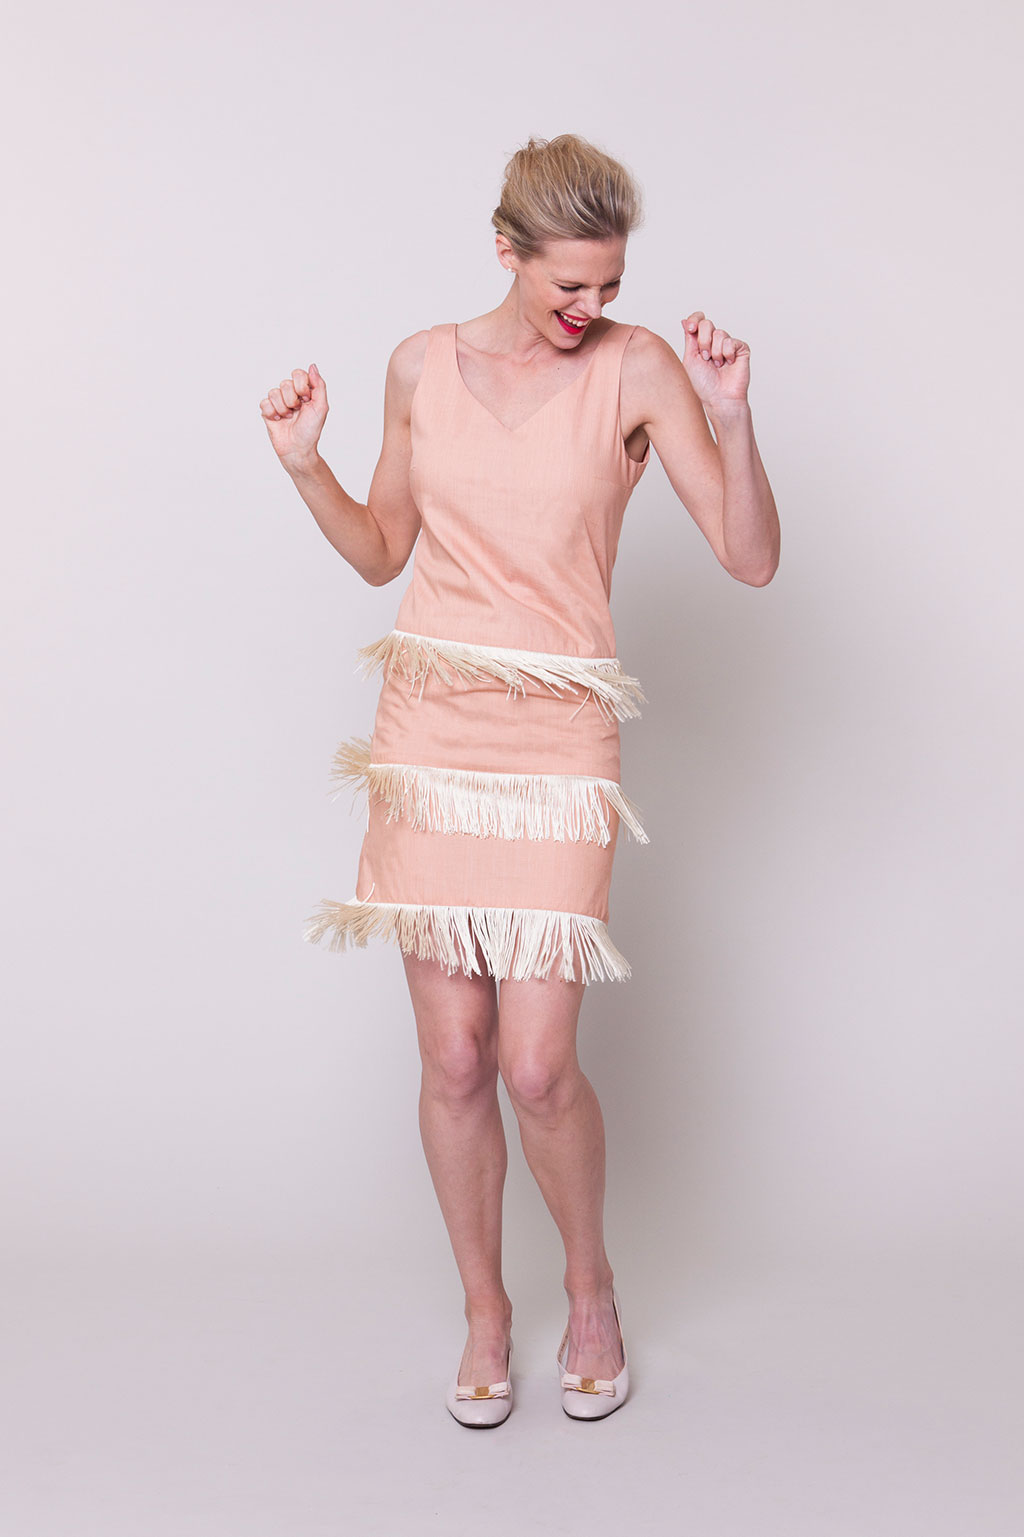
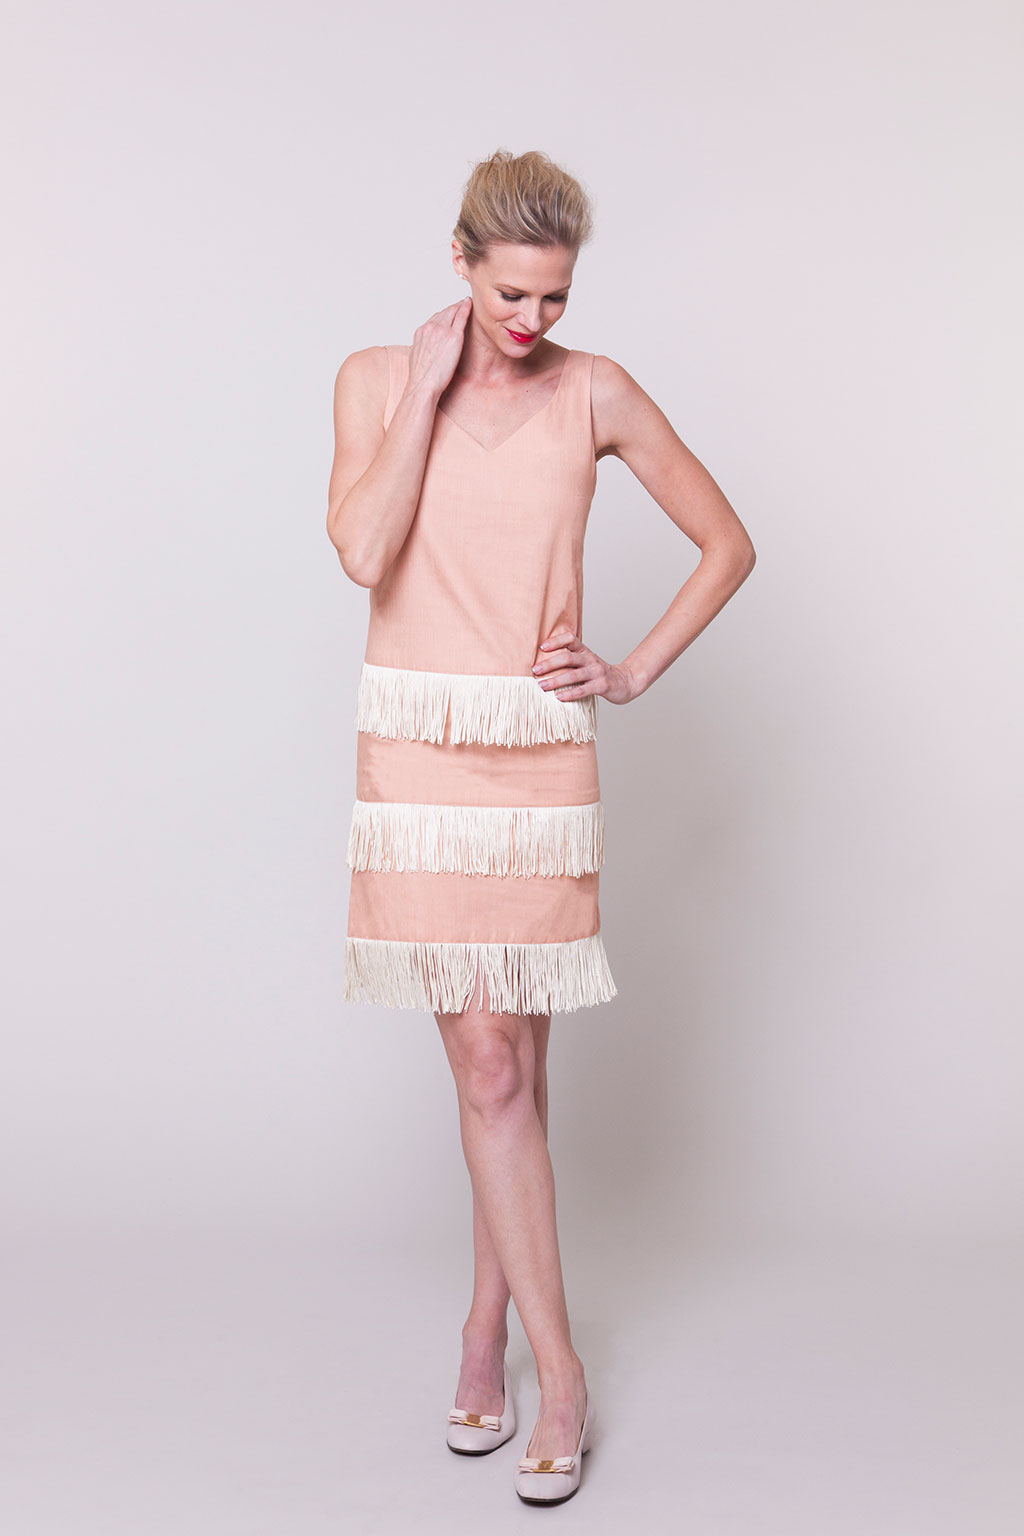
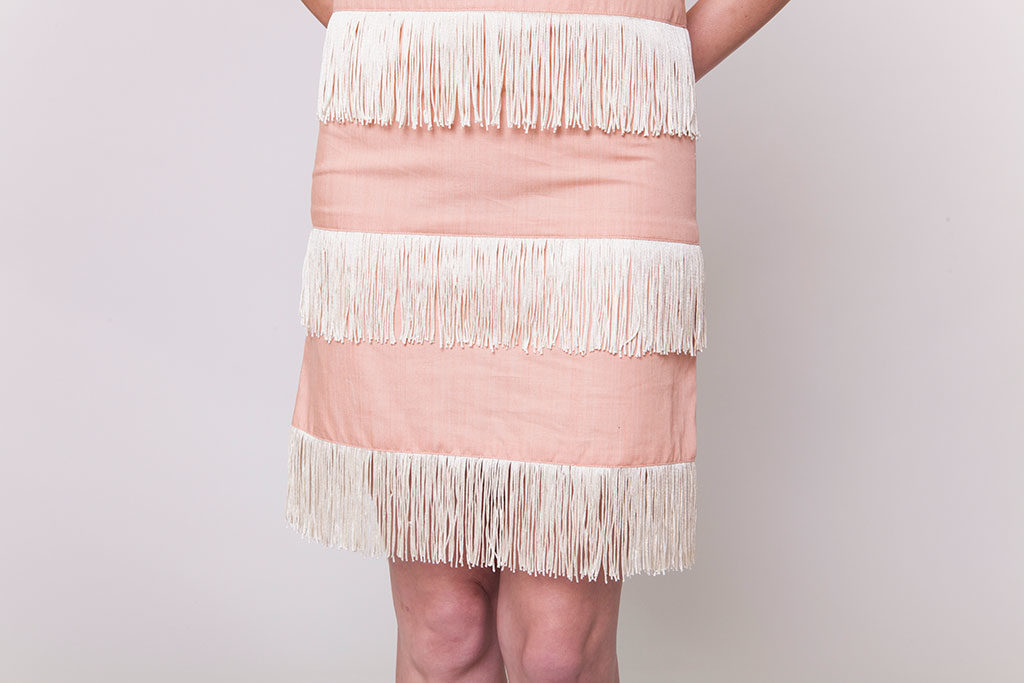
This month we will take an in-depth look at how to apply fringe to a seam and hem. This technique is perfect for shift dresses, like Willie, or any garment that could use a bit more fun.
You'll Need:
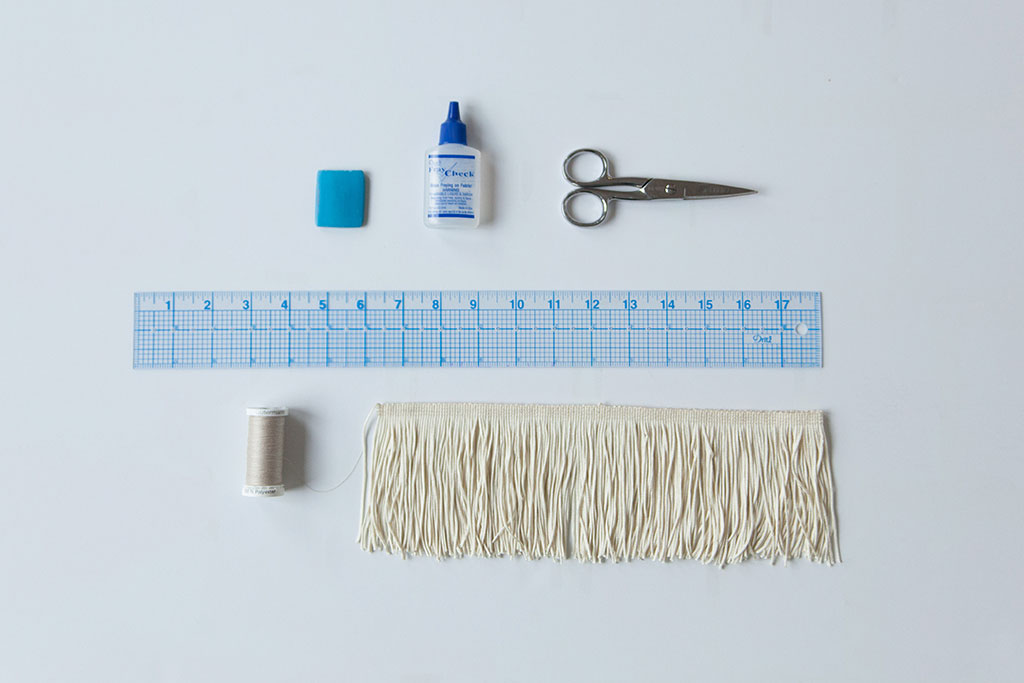
- Fringe: By the yard with at least ½” wide non-stretch selvage edge
- Thread, in matching color
- Standard sewing needle
- Liquid Seam Sealant
- Embroidery scissors
Fringe comes in all shapes and sizes. When applying fringe to a garment, the selvage edge of the fringe will be sewn while the rest flows freely. Be mindful of fringe’s reckless reputation and triple check that the fringe does not get caught within the seam allowance while sewing.
Cutting Fringe
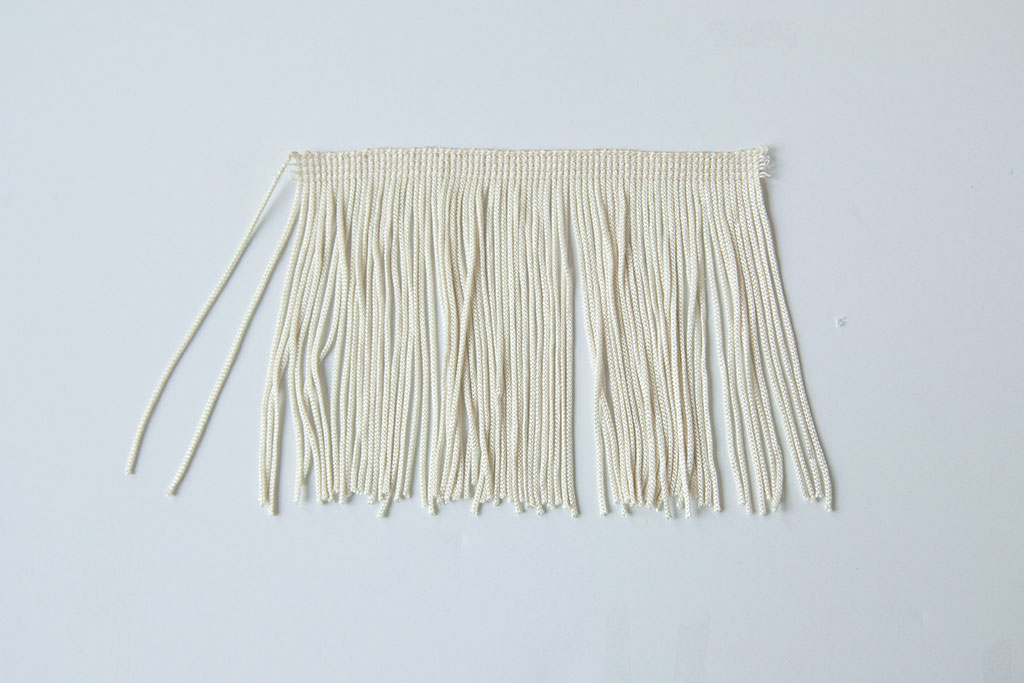
Classic fringe is created by a series of cording loops. These loops are sewn in place on the top portion of the fringe, creating a selvage. When cutting fringe, it’s best to cut between these sets of loops to keep the loops from unraveling.
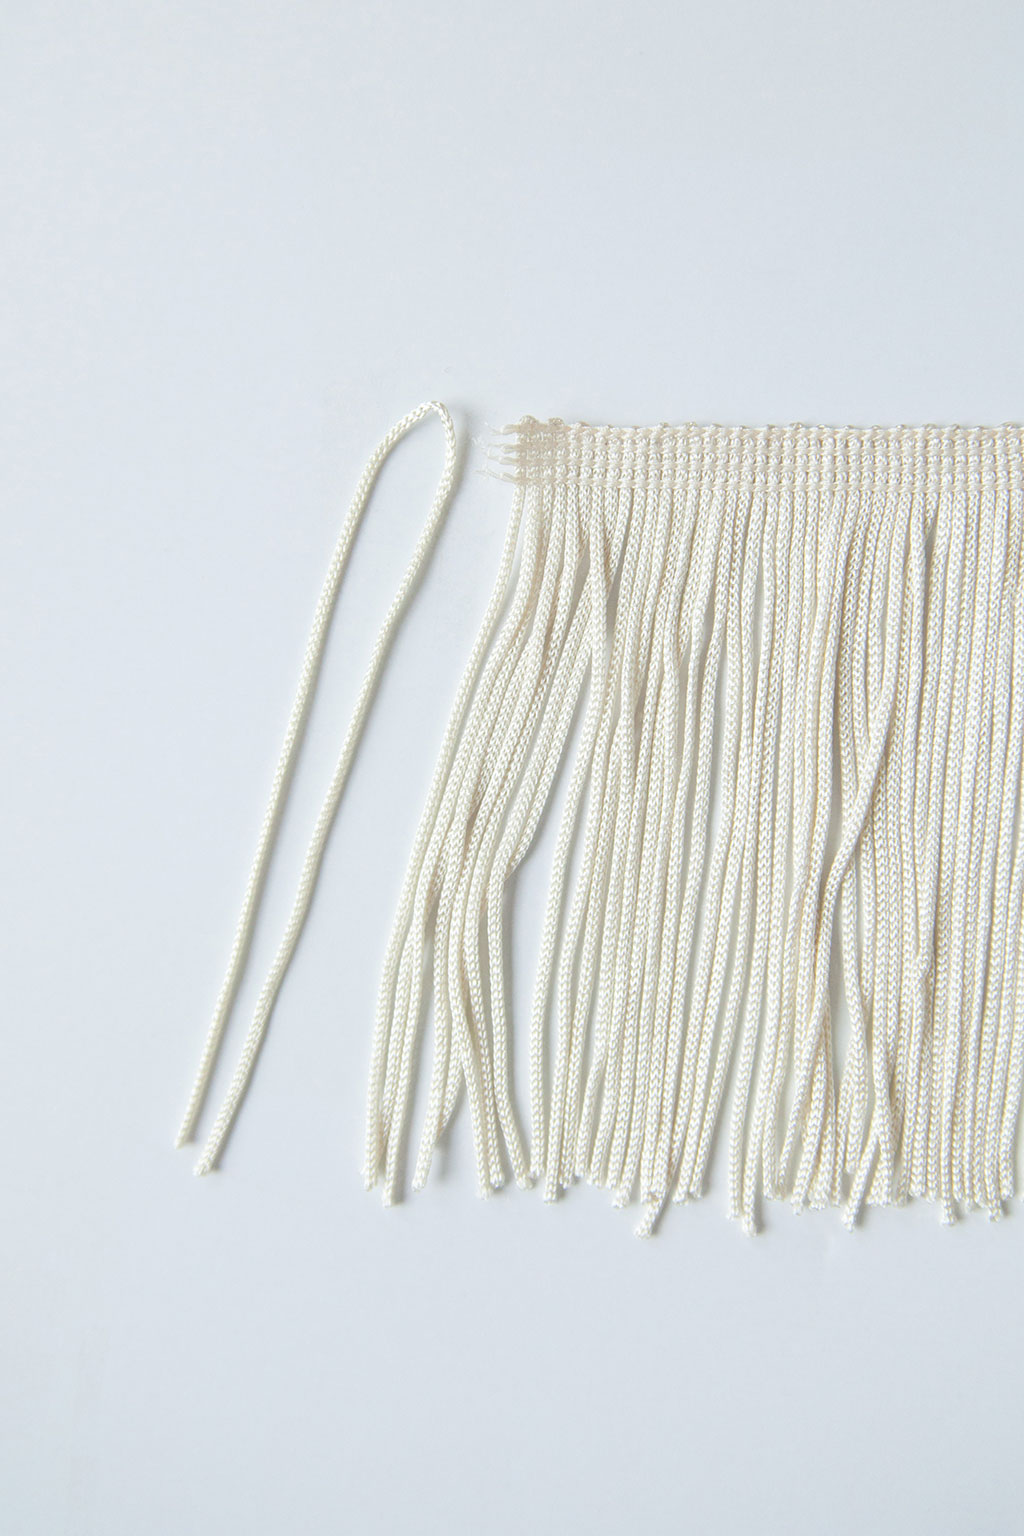
When cutting fringe, cut the selvage one loop beyond the desired start and end points of your fringe tape, then remove the additional loop at each end. The extra length of thread will help keep your fringe from unraveling.
In-Seam Fringe
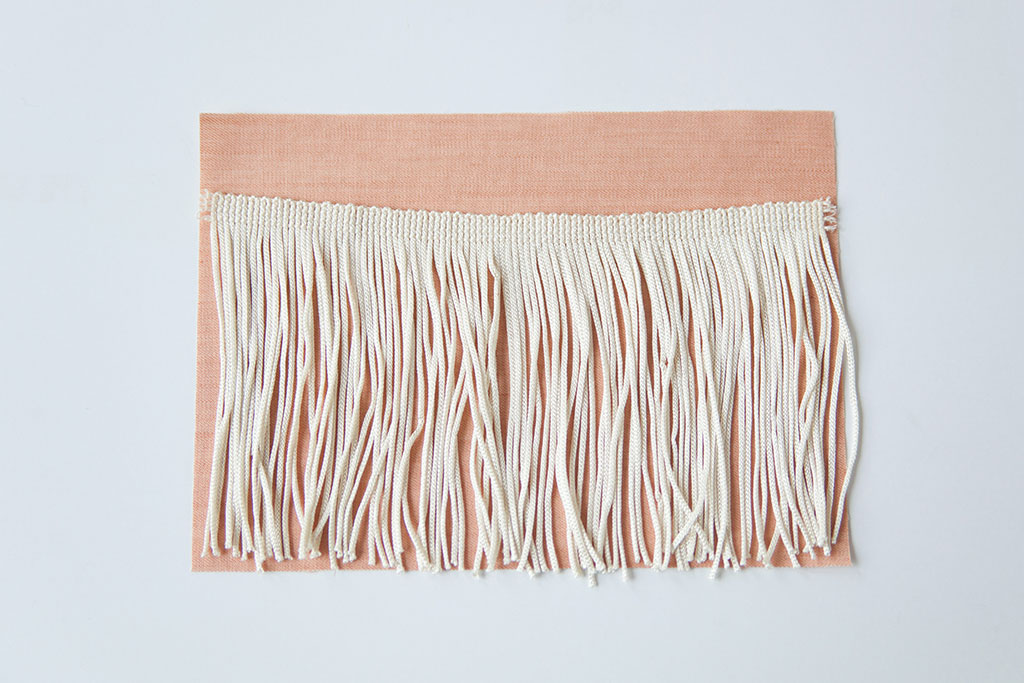
01: Measure the length of your seam and cut the fringe at this length. Use the tip from the cutting section above. Apply seam sealant to the raw edges of the fringe to prevent fraying.
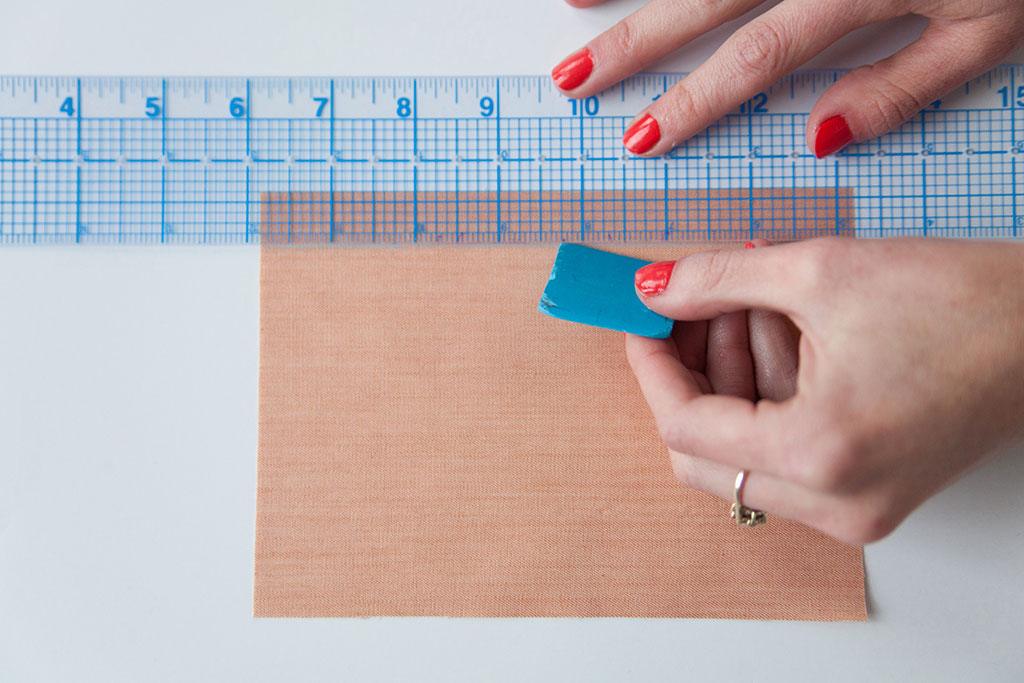
02: In order to insert fringe into a seam, you’ll need to sandwich the fringe between either side of the seam. To start, draw the stitch line on one side of your seam.
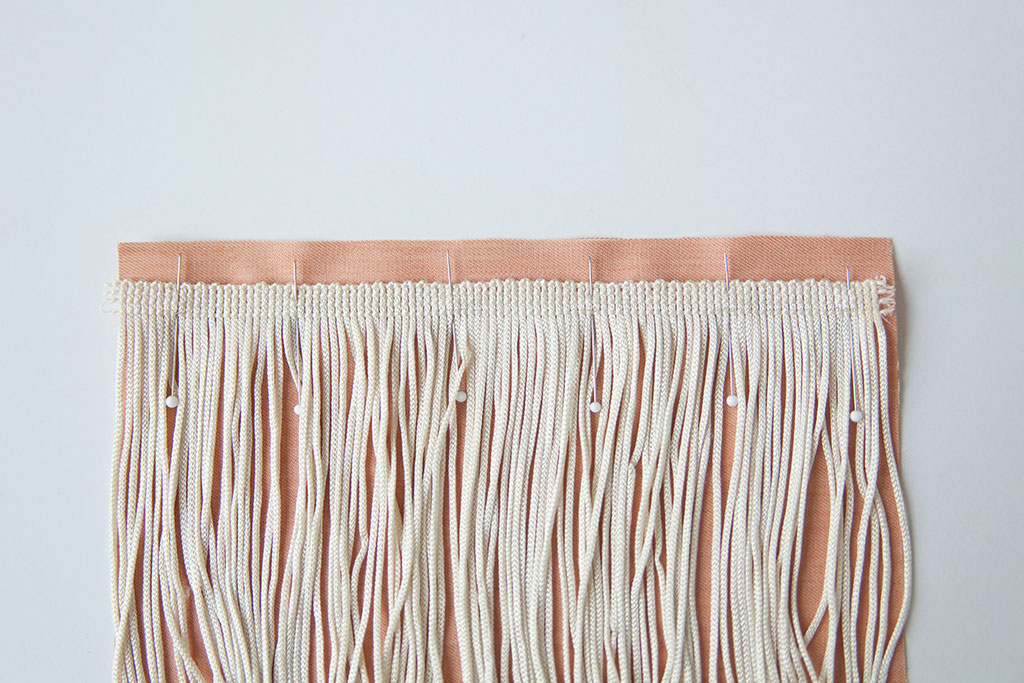
03: Align the inside edge of the fringe selvage to the stitch line markings. Pin in place.
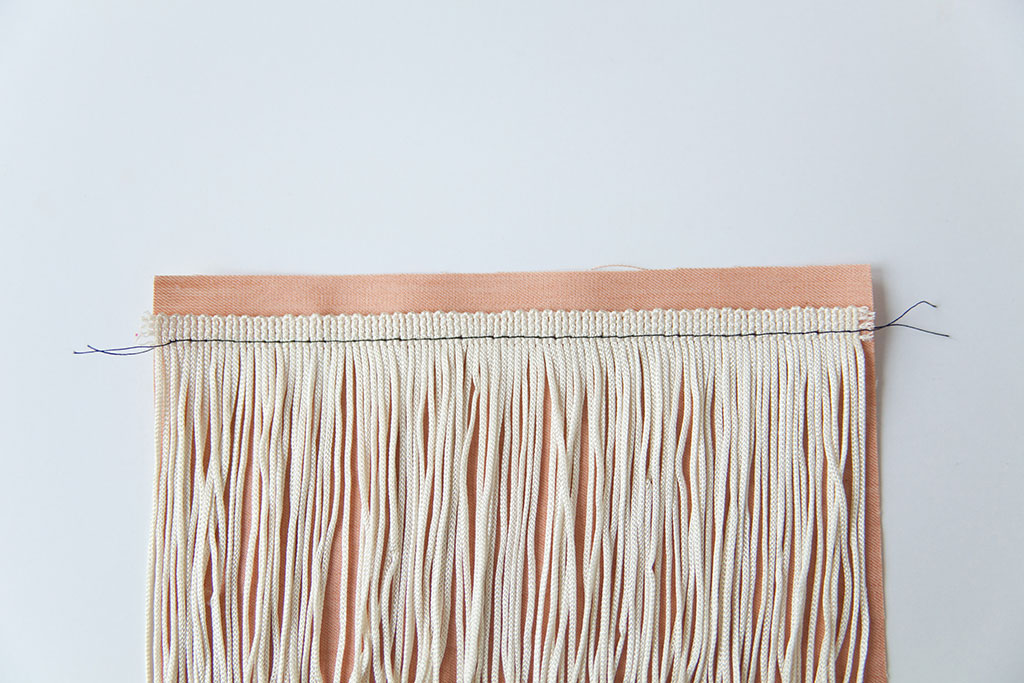
04: Machine baste the fringe along the stitch line.
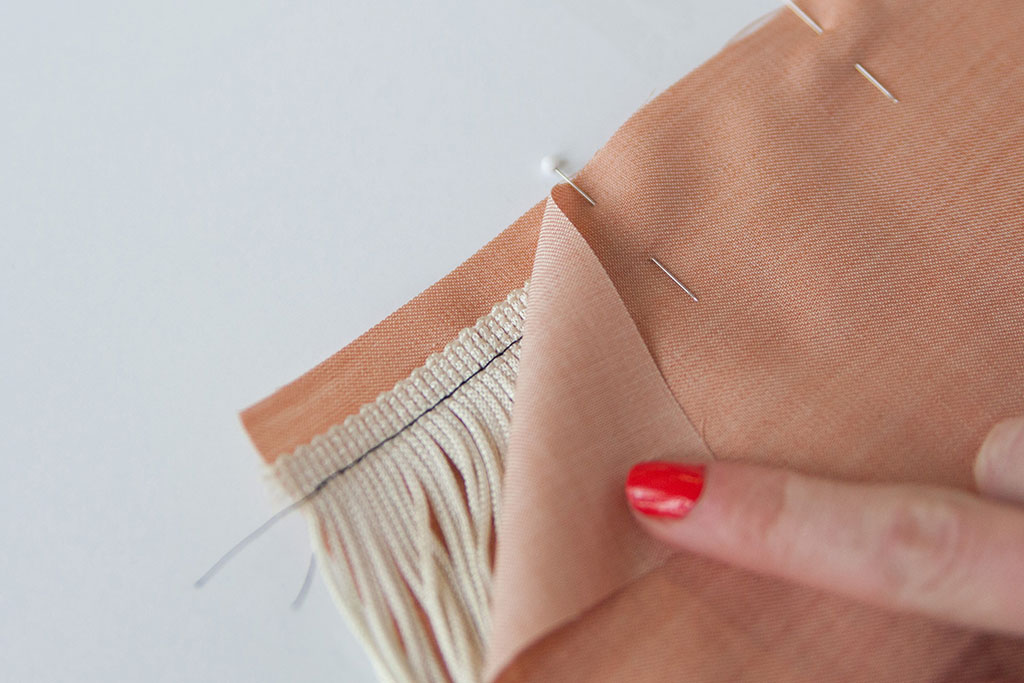
05: With right sides together, place the corresponding piece of fabric on top of the fringe, aligning its raw edge with the lower fabric's raw edge. Pin.
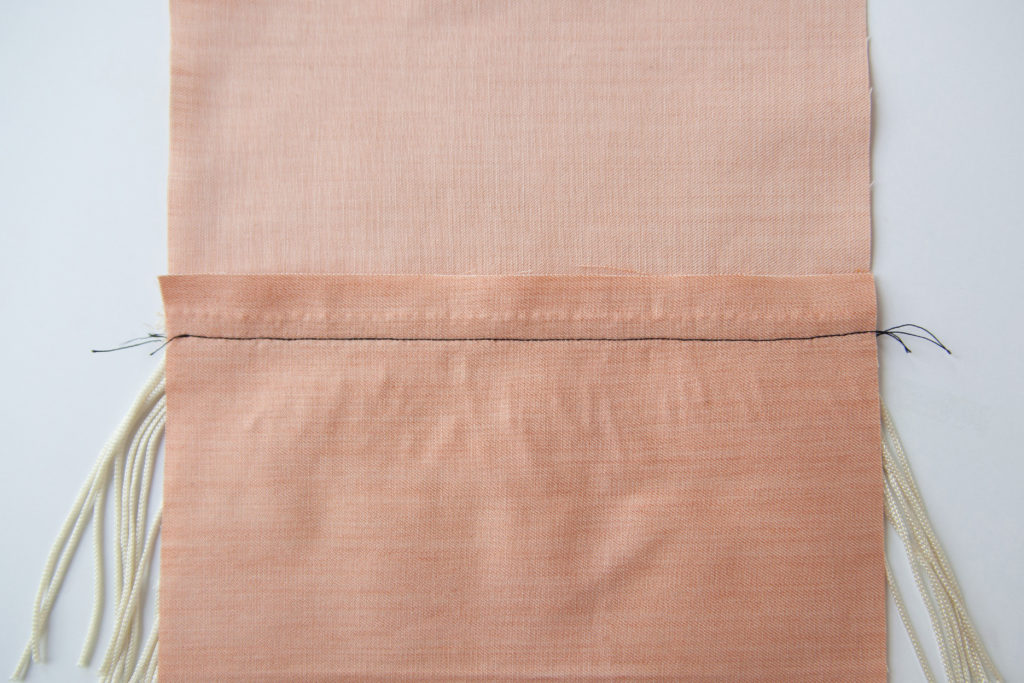
06: At a regular stitch length sew the entire seam at the designated seam allowance. While sewing, check that the fringe is not caught within the seam allowance.
Press the seam allowance away from the direction you would like your fringe to lay.
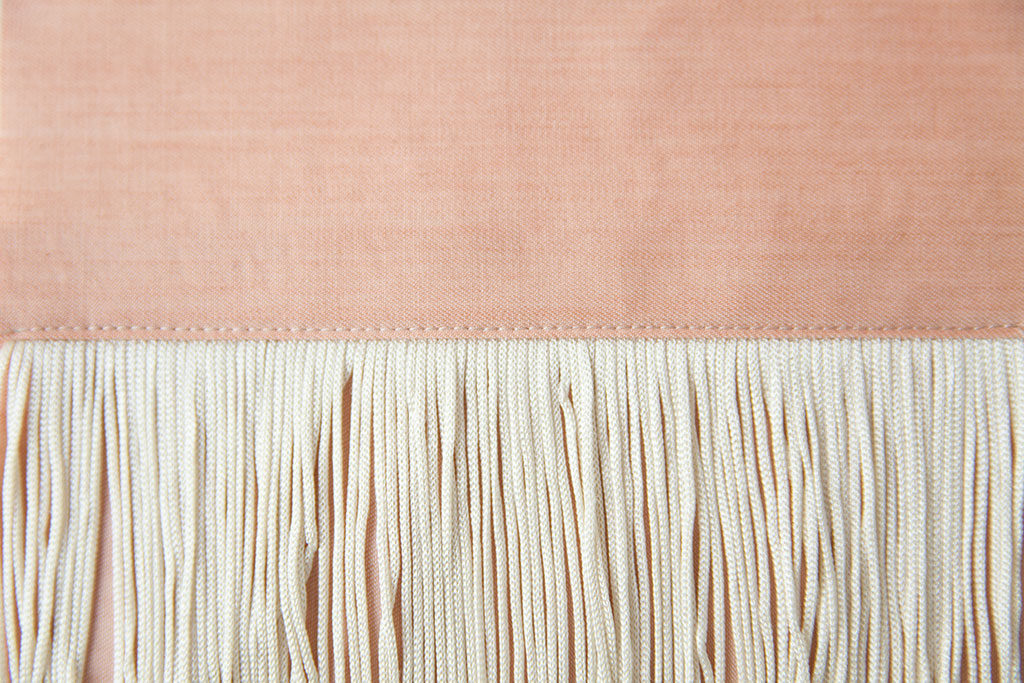
07: Edgestitch the seam allowance in place.
Fringe Hem
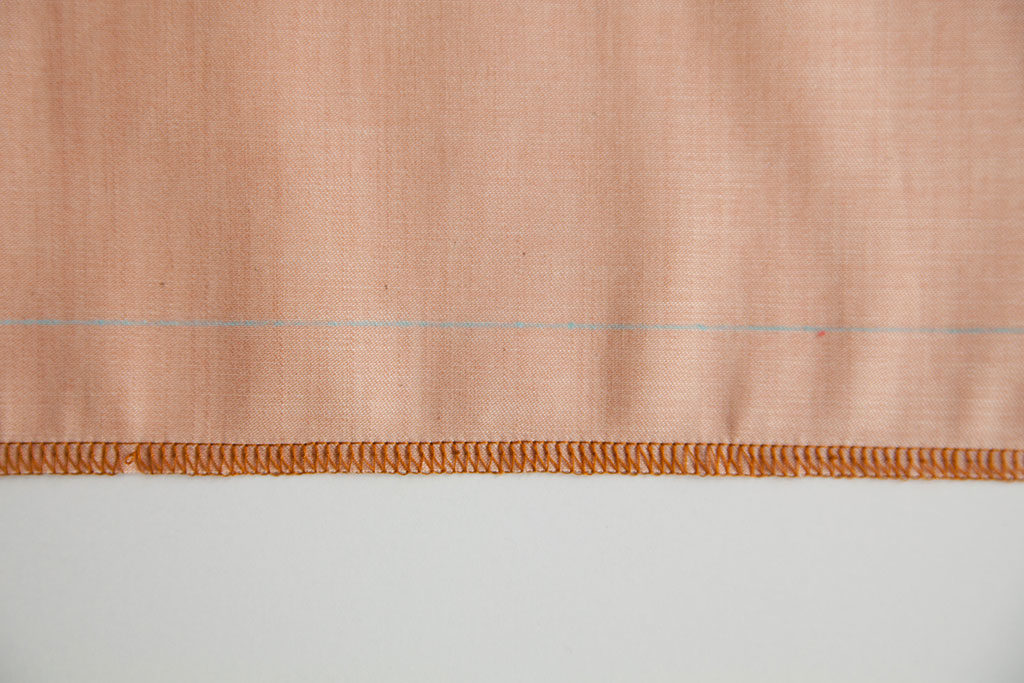
01: Finish the raw edge of your hem before beginning the process of attaching fringe. Next, measure the circumference of your hem. Cut your fringe at this exact measurement, using the tip from the cutting section above. Apply liquid seam sealant to the raw edges of the fringe to prevent fraying.
Draw in the hemline on the right side of the fabric.
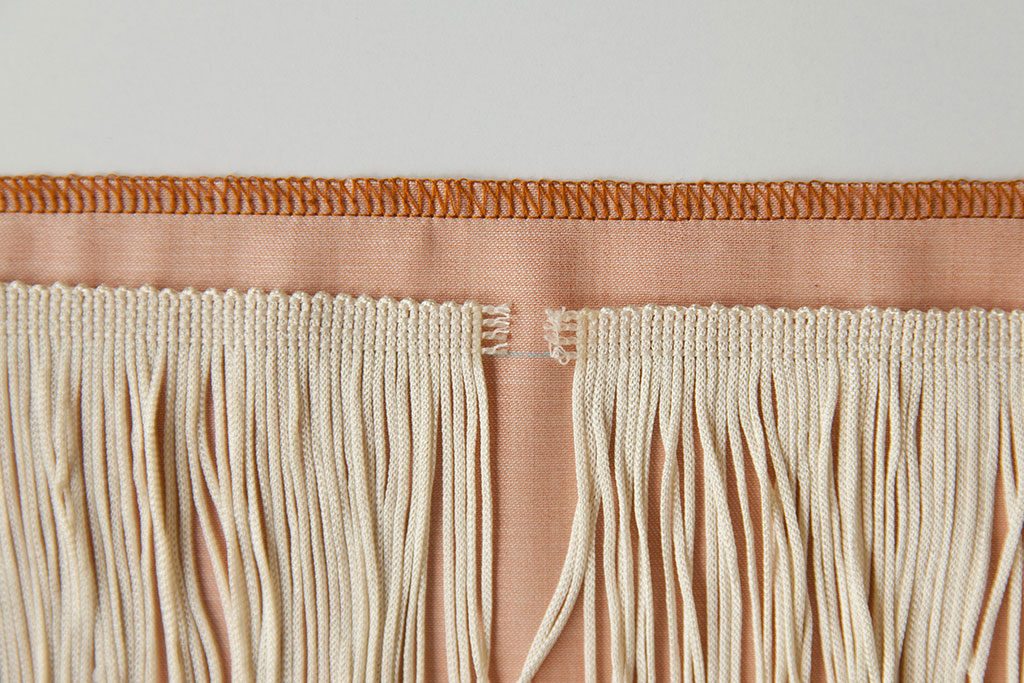
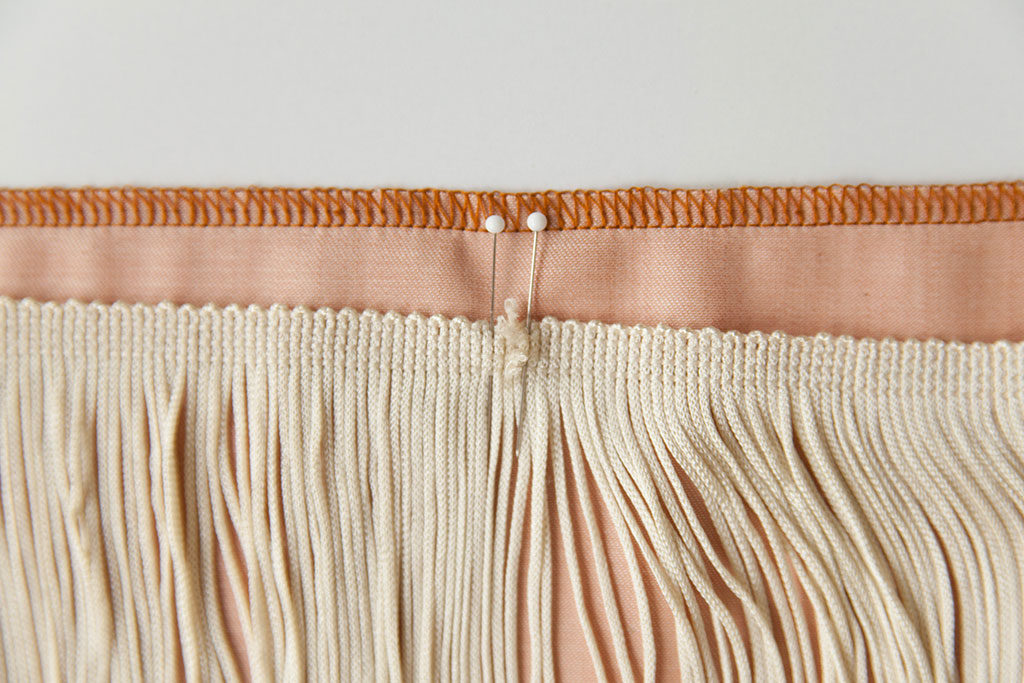
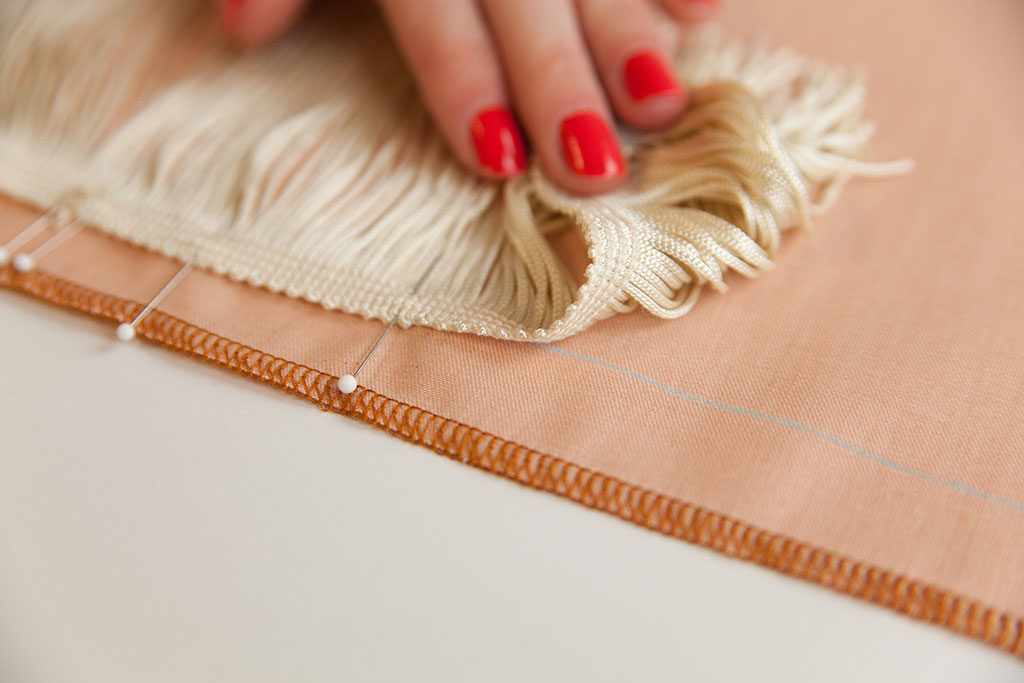
02: Start by matching the fringe’s raw edges together at the center back of the garment. Align the inside edge of the fringe selvage to the hemline marking, with the fringe laying toward the garment.
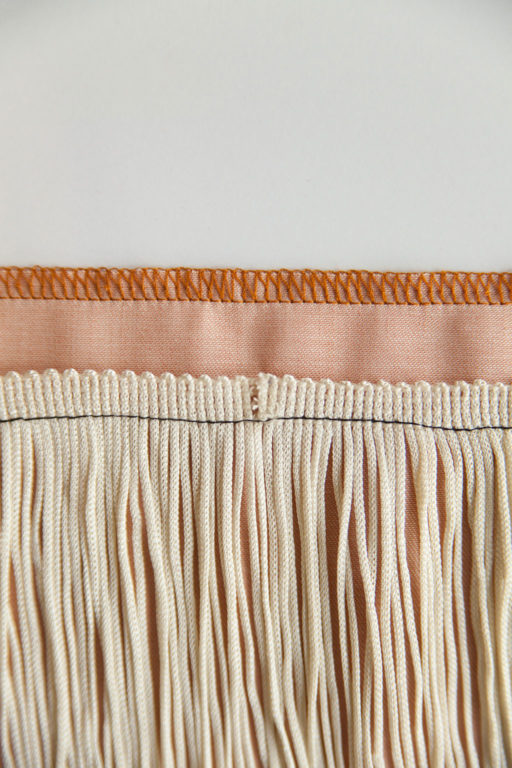
03: At a regular stitch length, sew the fringe at the hemline around the entire circumference of the hem. While sewing, check that the fringe does not get caught within the hem allowance.
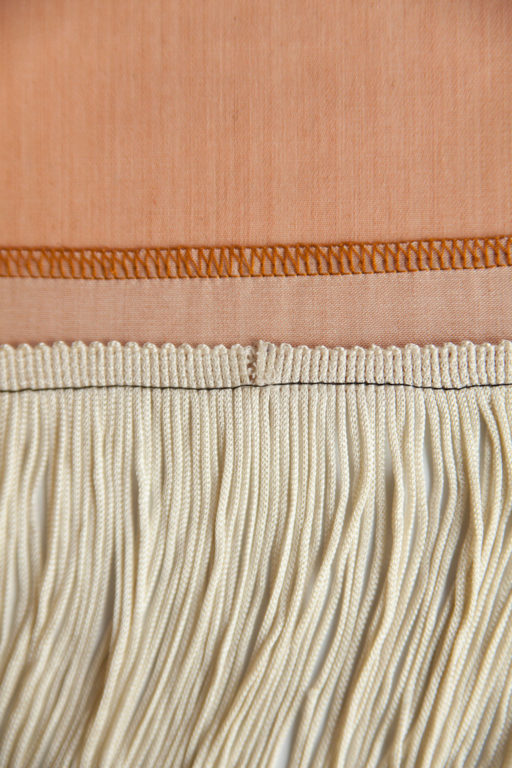
04: Press the hem allowance up, away from the fringe.
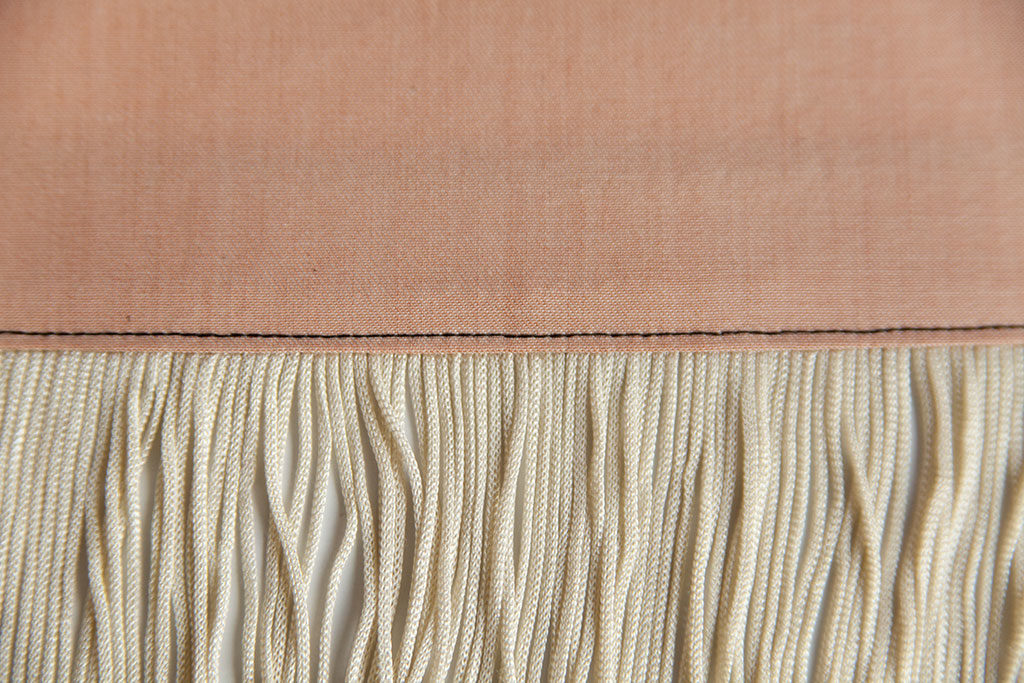
05: Edgestitch the seam allowance in place.

About the Author
Katie teaches new skills through in-depth tutorials, sewalongs, and articles for Seamwork Magazine and The Colette Blog. She’s all about encouraging sewers to try new techniques and create a personalized wardrobe that makes them feel great!
 Related Articles
 Best Articles