Seamwork Magazine helps you build your wardrobe with sewing patterns, special techniques, and inspiring style. Sewists tend to be detail-oriented by nature. We thrive when fussing over the perfect welt pocket or finding the perfect shade of thread to match.
Those times when we slow down and cherish the details are when we shine the brightest. Upgrade Your Sewing is dedicated to the small details that take your project to the next level. Whether it is a new seam finish or a fun embellishment, take the time to make your next me-made item one of a kind.
Is there anything more satisfying than a perfectly clean-finished garment? The answer is no, no there is not. I have never regretted putting the extra time into a polished seam finish. Garments with a clean finish usually wash and wear better, plus they are fancy.
Flat felled seams are where fancy finish and practicality meet. Not only are these seams gorgeous, but they also serve a practical purpose. Flat felled seams are strong, which is why they are the finish of choice for denim.
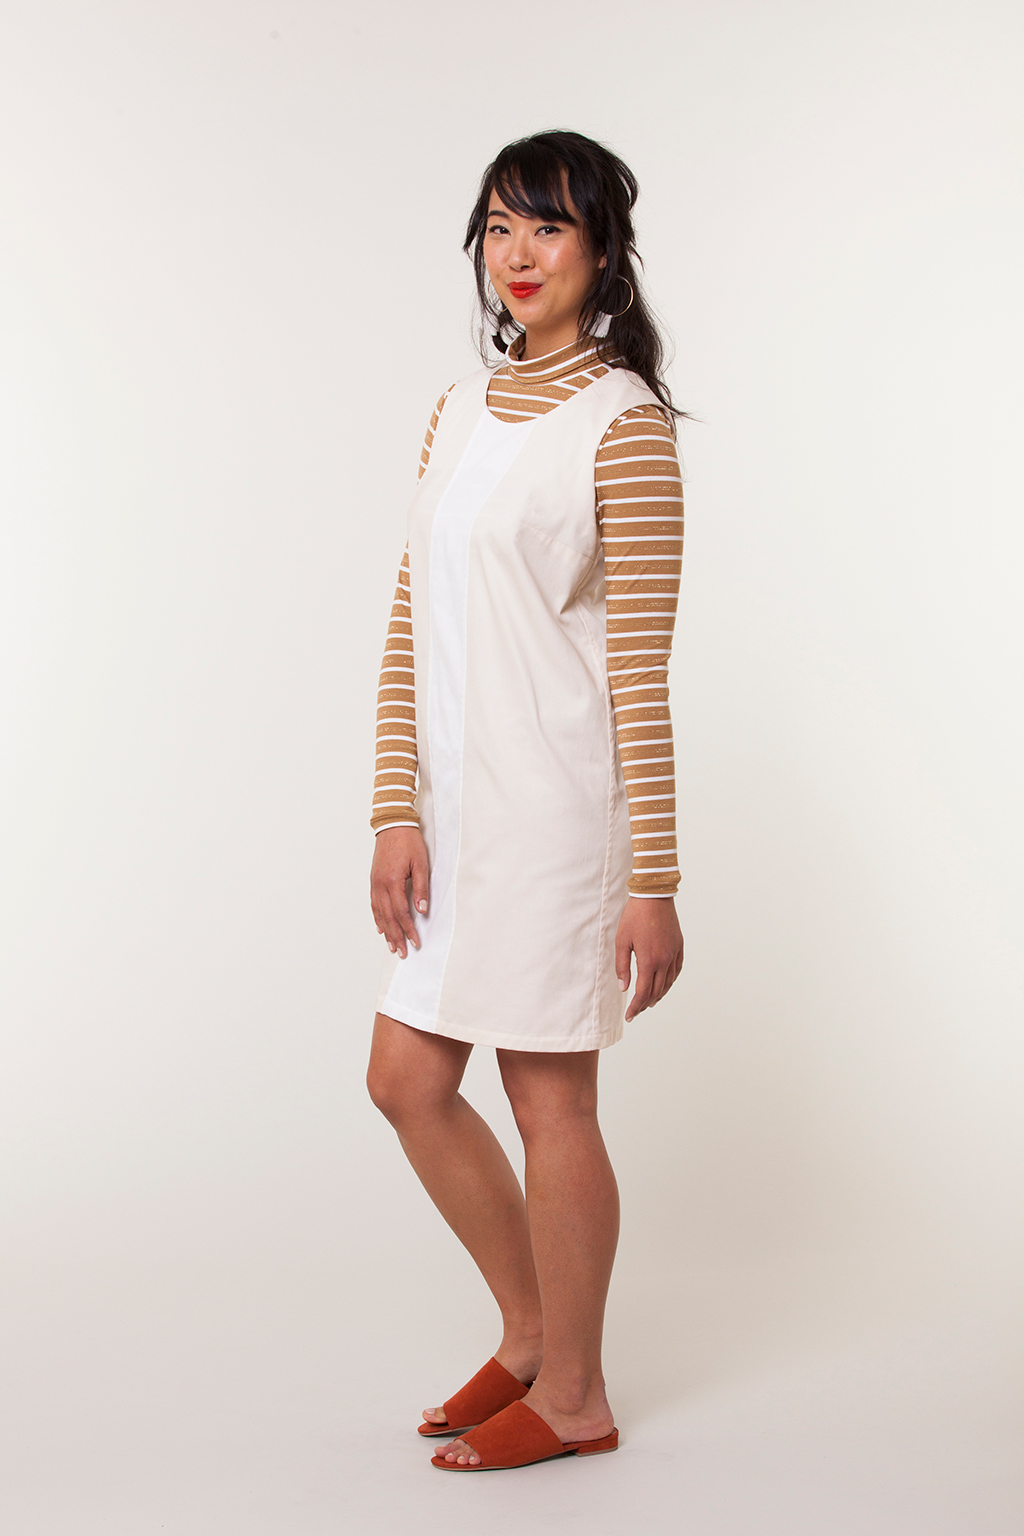
You can upgrade many garments with flat felled seams; the only requirement is that the seams this finish is applied to must be pressed to one side. In the case of the Sonya dress (pictured), the only seam that could not be finished with a flat felled seam is the center back, due to the zipper.
In this tutorial, you will learn how to create a traditional flat felled seam as well as a faux flat felled seam.
You'll Need:
- Sonya
- Fabric shears
- Pins
- Standard presser foot
- An iron
- Edgestitch presser foot (optional)
Flat Felled Seam
A 5/8” seam allowance is ideal for flat felled seams. If your pattern features a different seam allowance, trace the original pattern pieces and add or reduce the seam allowance to achieve the desired 5/8”.
To prepare, cut your pattern from fashion fabrics and mark as normal. Take extra care when snipping notches. If cut too long, they can make creating flat felled seams difficult. Make sure notches are 1/8” or shorter or consider marking notches with a water soluble marking tool.
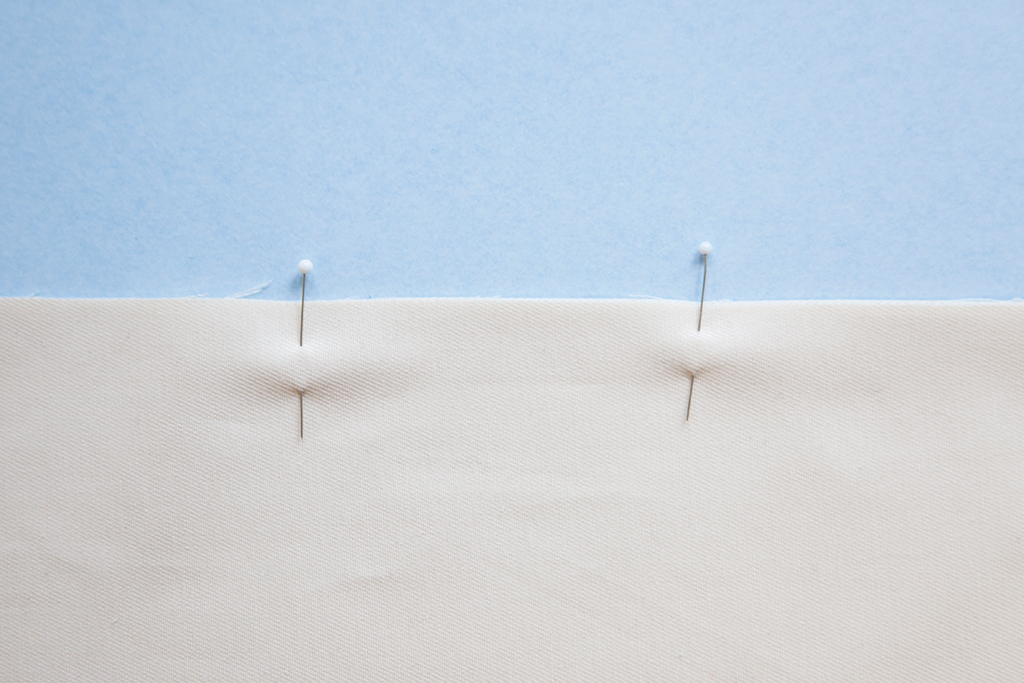
Step | 01
Pin corresponding pieces, with right sides together.
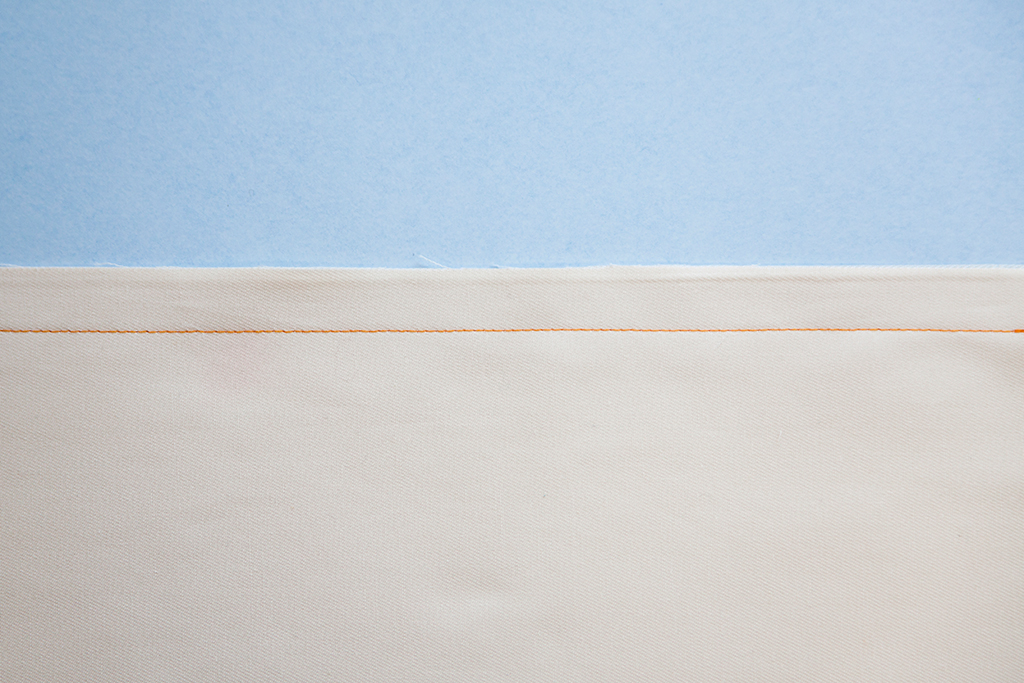
Step | 02
Using a straight stitch, sew a seam at a 5/8” seam allowance.
Step | 03
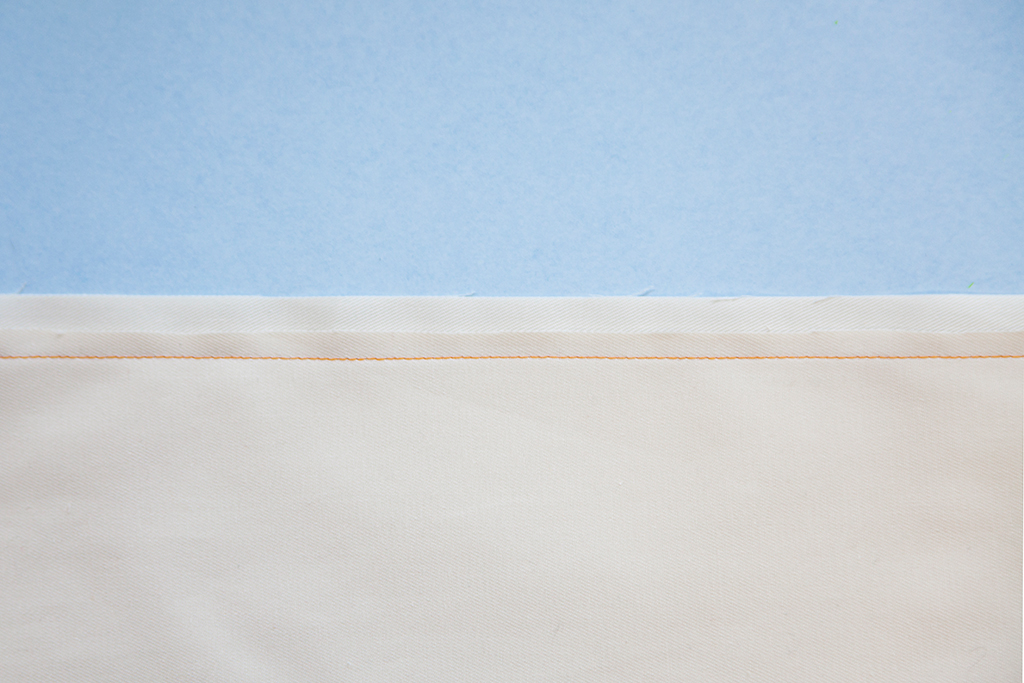
Based on the pattern instructions, decide which direction your seam will be pressed. If the seam is being pressed toward the left, trim the left seam allowance to half the original width.
Step | 04
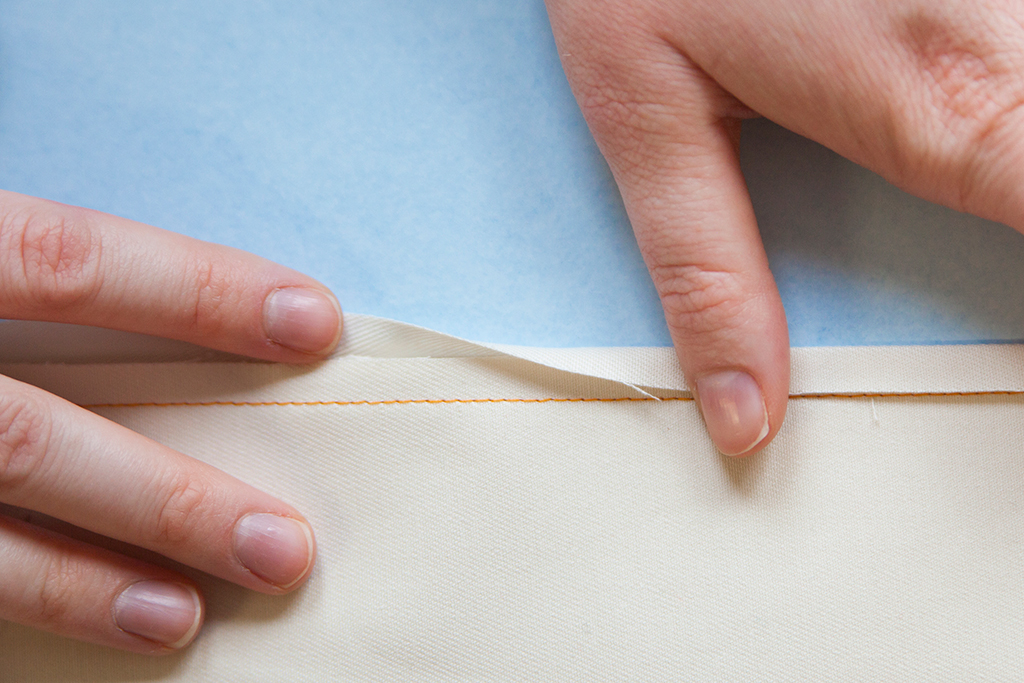
Fold the untrimmed seam allowance toward the trimmed one until the raw edge meets with the stitch line. Press.
Step | 05
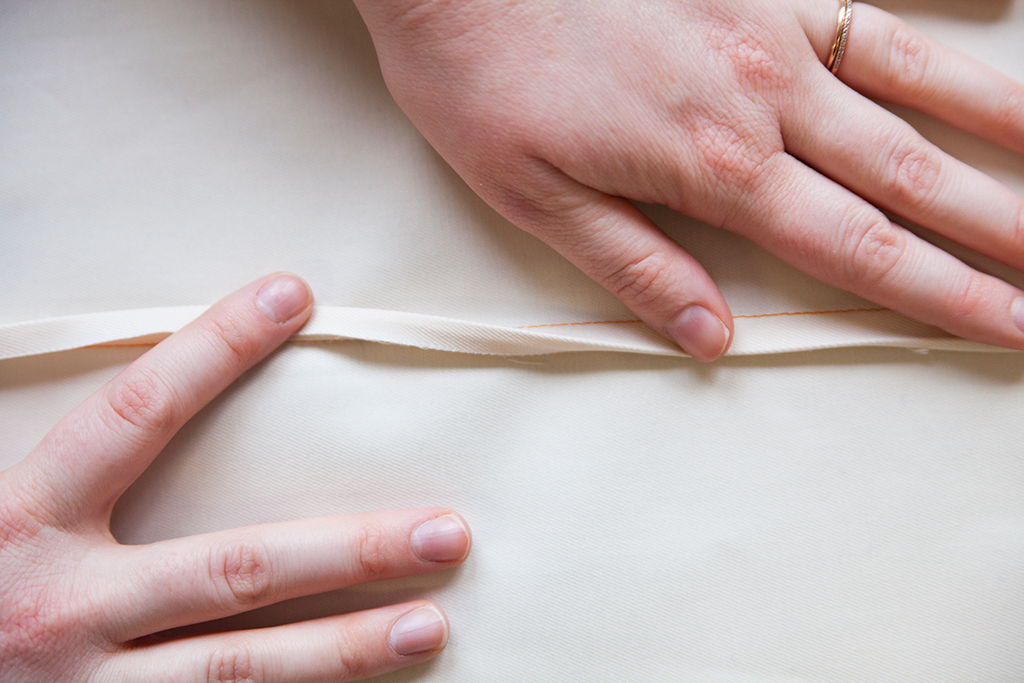
Fold the entire seam allowance to one side so that all raw edges are concealed. Press it flat.
Step | 06
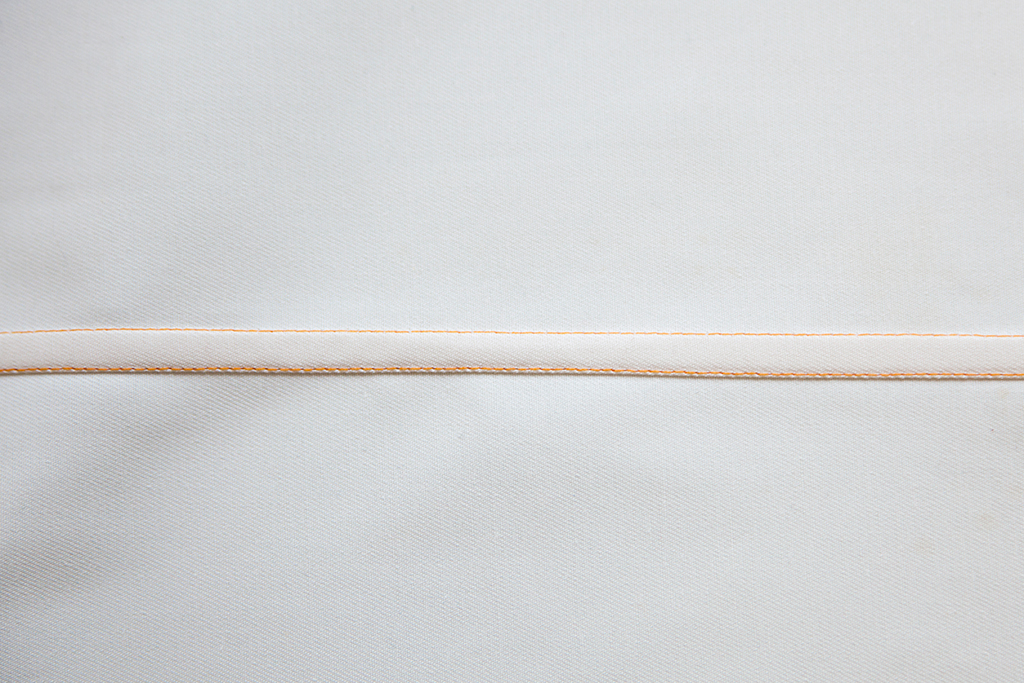
From the wrong side, edgestitch the seam allowance in place.
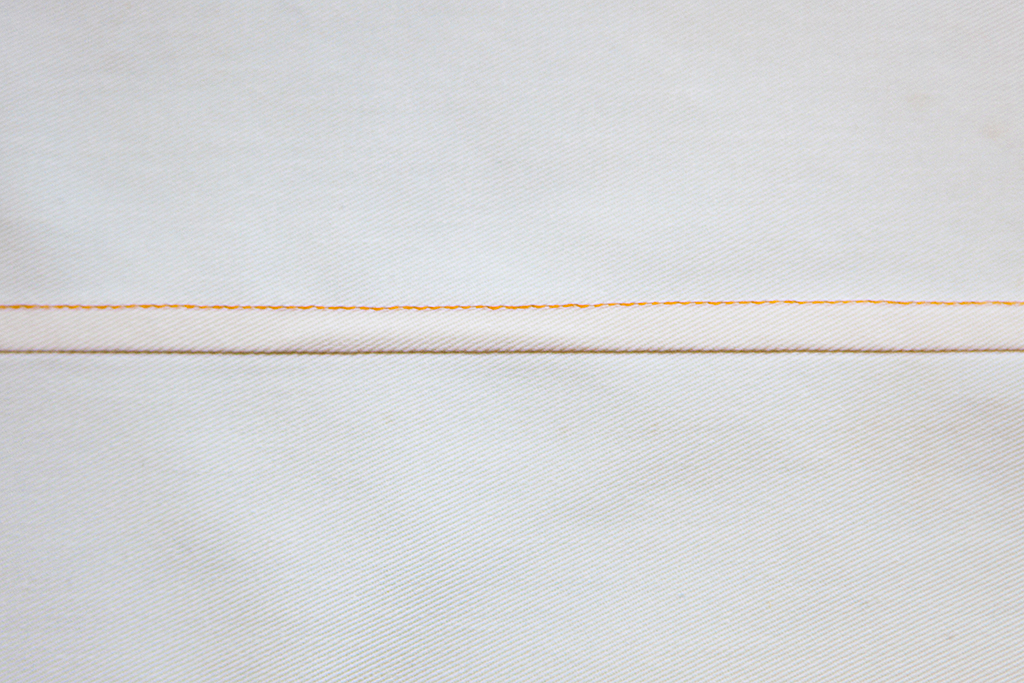
The right side of your finished seam.
Faux Flat Felled Seam
This seam finish is ideal for creating the look of a traditional flat felled seam without the bulk or additional time spent at the ironing board.
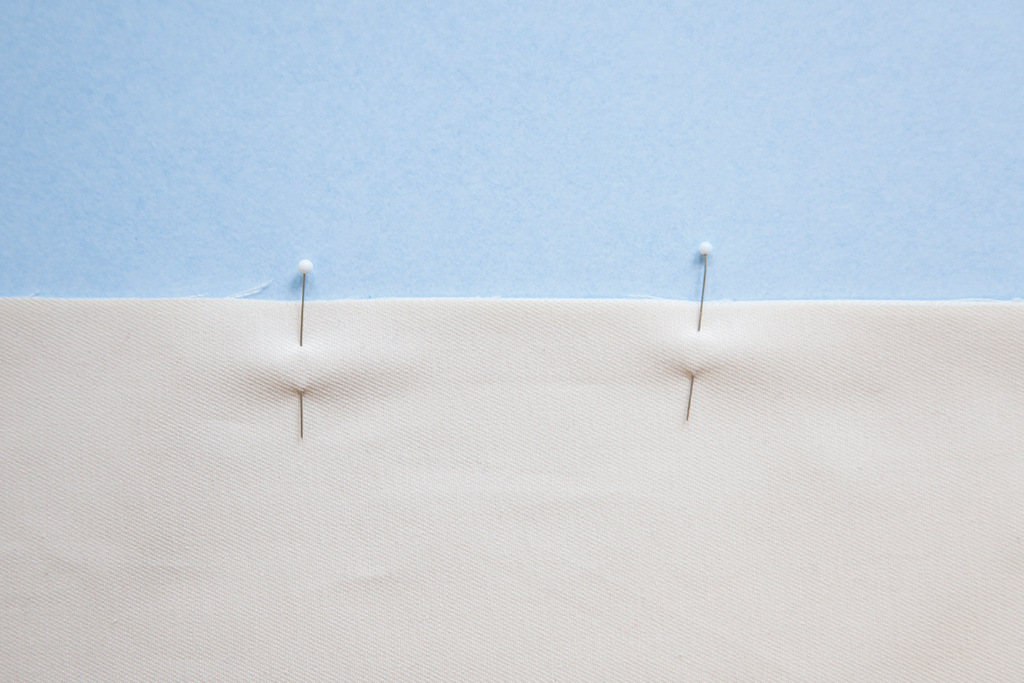
Step | 01
Pin corresponding pieces, with right sides together.
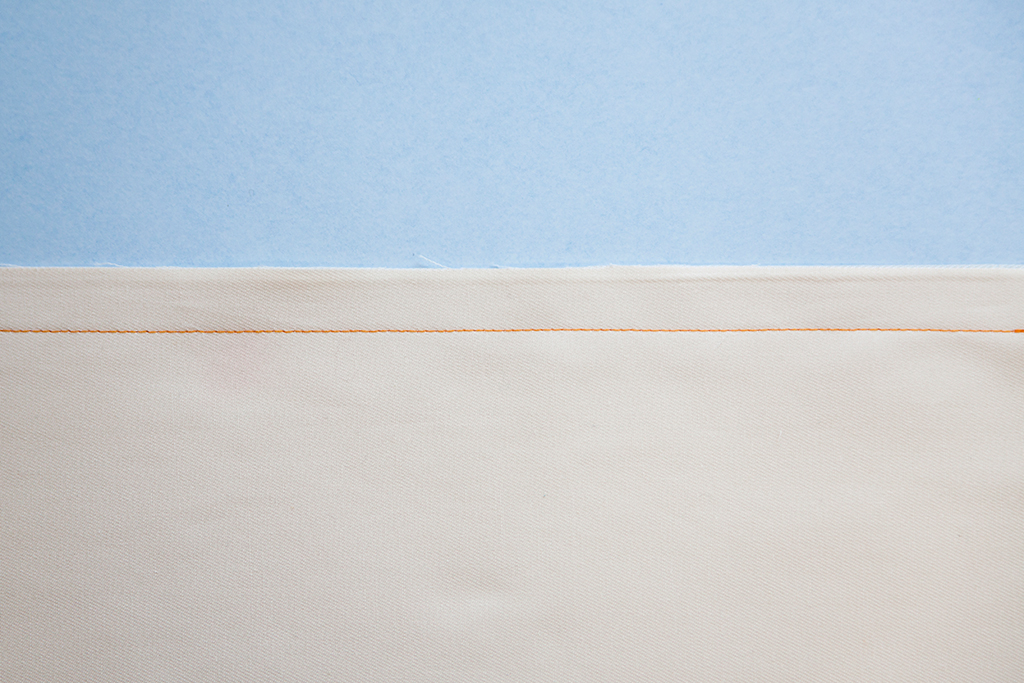
Step | 02
Using a straight stitch, sew a seam at a 5/8” seam allowance.
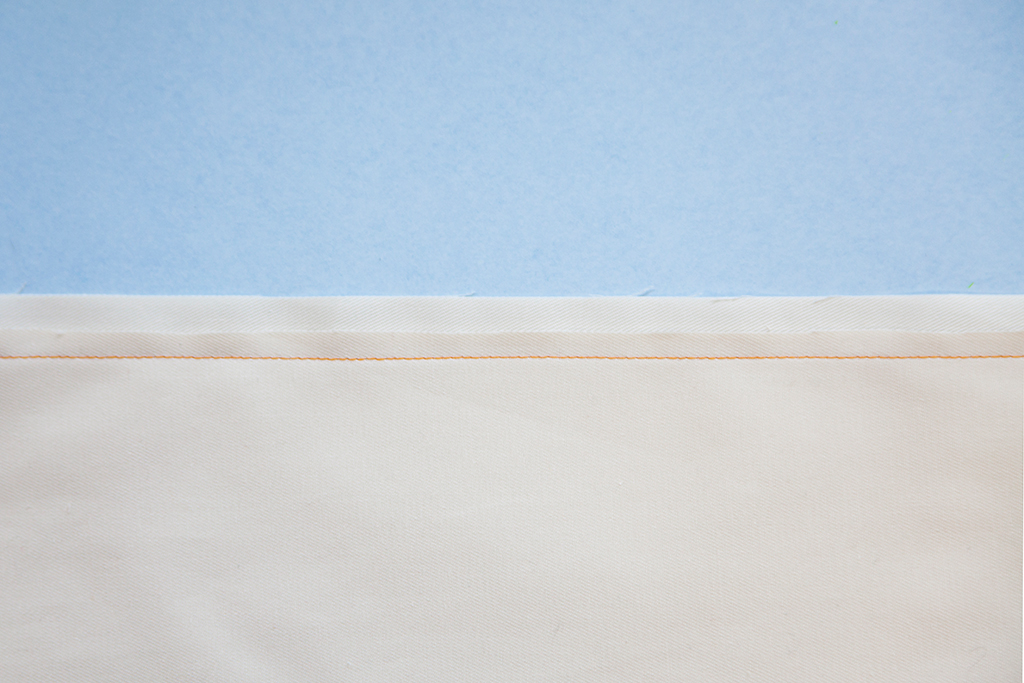
Step | 03
Based on the pattern instructions, decide which direction your seam will be pressed. If the seam is being pressed toward the left, trim the left seam allowance to half the original width.
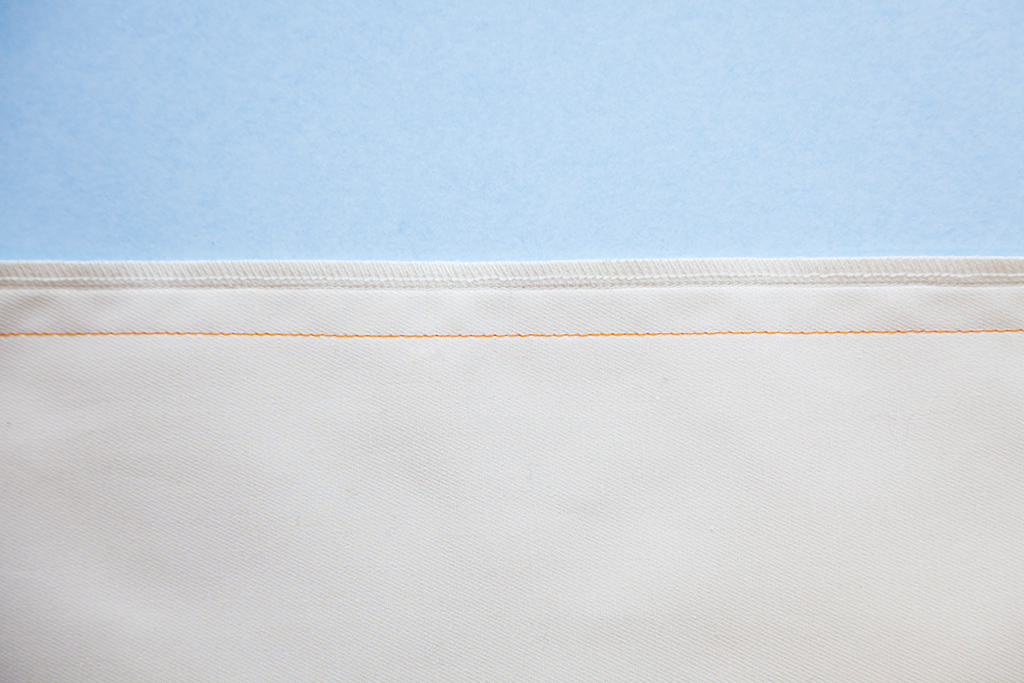
Step | 04
Use a serger to finish the other seam allowance, being careful to trim no more than 1/8” as you serge.
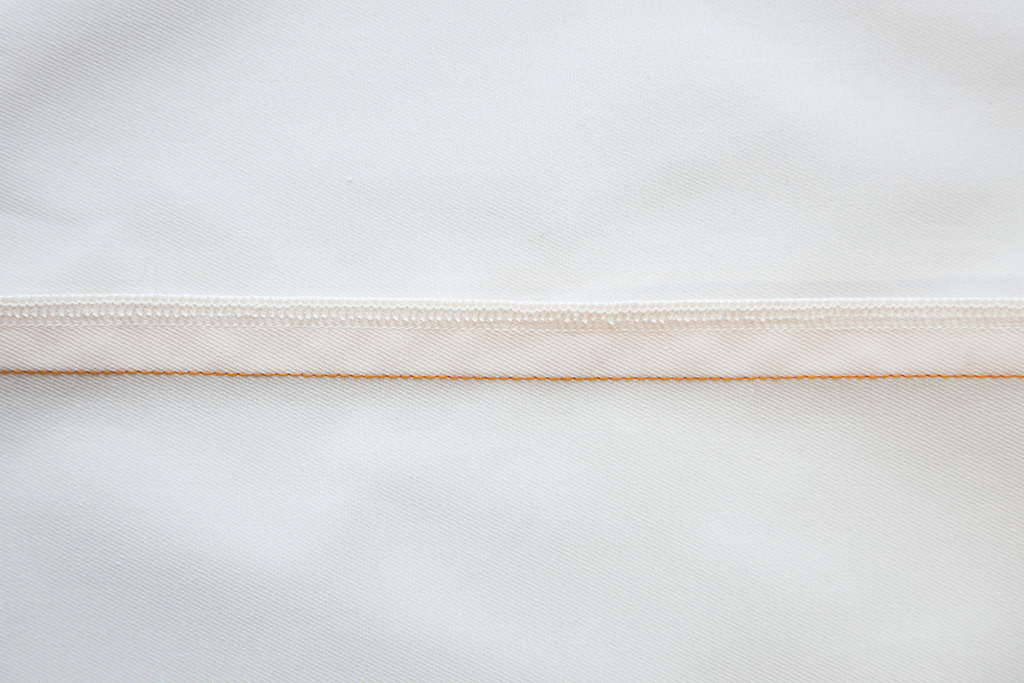
Step | 05
Press the seam allowance flat toward the trimmed side.
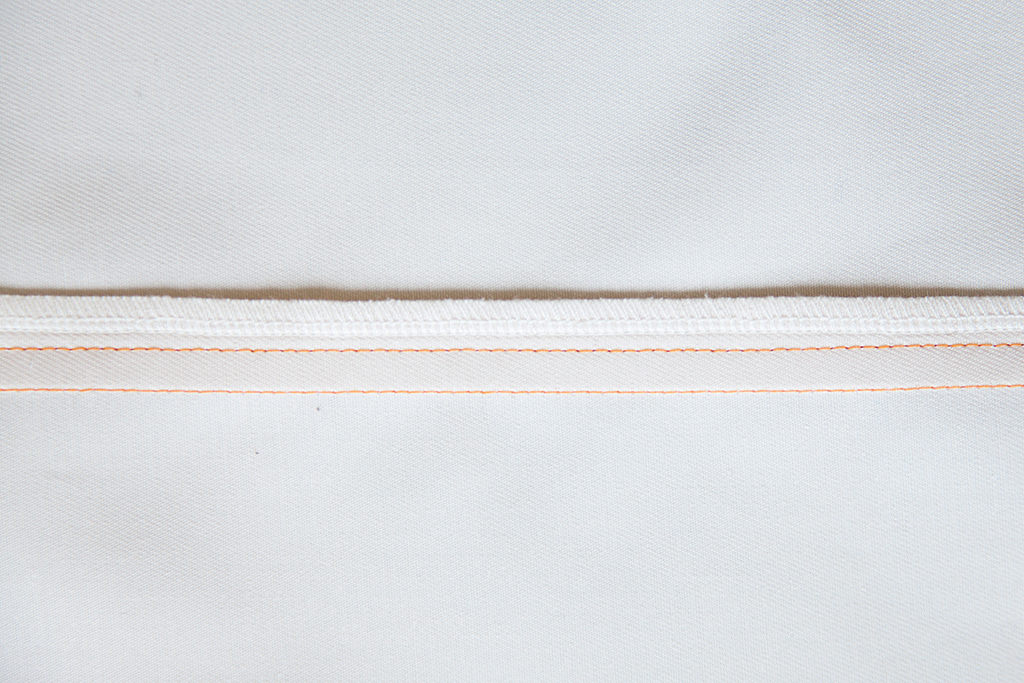
Step | 06
Lastly, from the right side, topstitch the seam allowance in place using a 3/8” seam allowance.
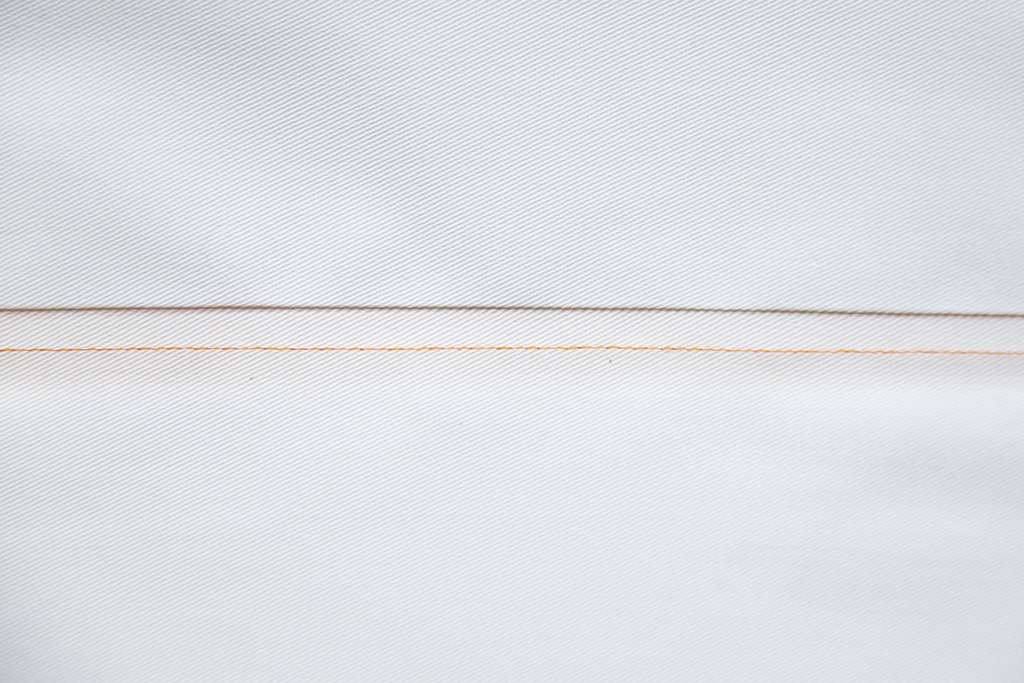
The right side of your finished seam.


