Sign In
If you like to sew, you probably really appreciate a time-saving shortcut. The best shortcuts are the ones that free up time during the moments of sewing that are most tedious for you. This might be cutting out fabric, pressing, or finishing seams. So latch onto the shortcuts that help you the most with the parts of sewing you like the least. Then you’ll not only save time, but you’ll conserve your focus, enjoy your process, and have more fun.
What really matters is how you feel in your clothes when you wear them—not how much time it took to make them. So while these shortcuts can trim some time off your sewing, don’t worry. Sewing is not a race.
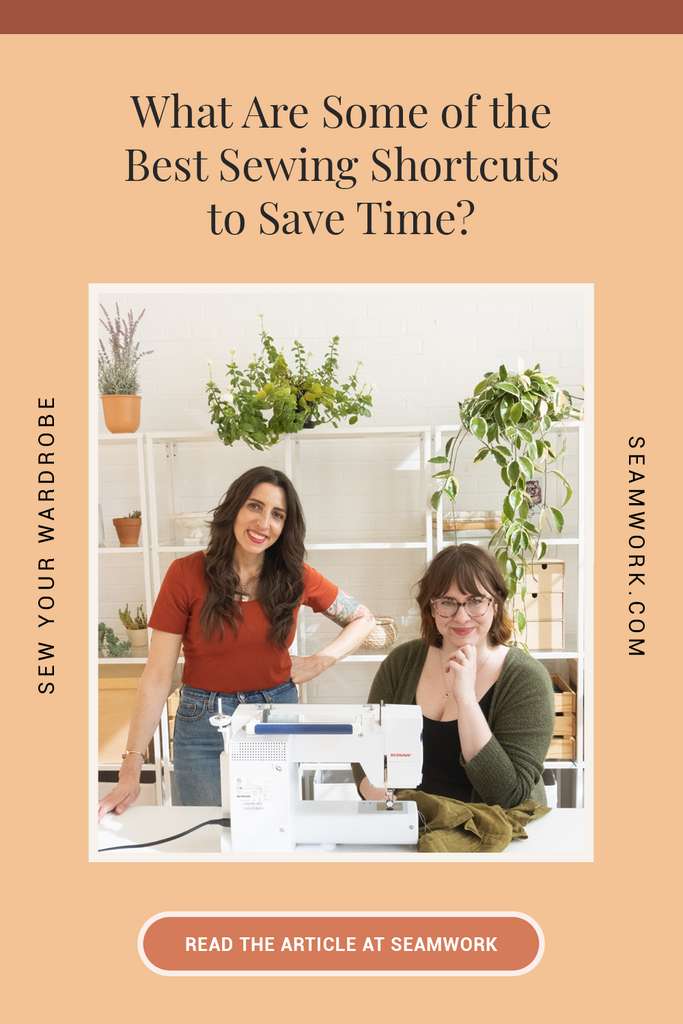
Our Favorite Sewing Shortcuts
-
Make a muslin. Ok, so this is not always a time-saving shortcut. However, it is a shortcut because you will spend more time trying to salvage a lousy fit than if you sew a quick test garment. Sewing a muslin will always make your final project move more quickly. -
Use a rotary cutter. Using a rotary cutter and self-healing mat instead of chalk and scissors can cut your cutting time in half. -
Properly prep your project. Make sure you transfer all pattern markings, apply interfacing, and staystitching at the beginning of your project. Don’t wait to do these things because they interrupt the flow you’re in when you’re constructing your garment. -
Use a screw punch to help you mark quickly. This tool is like a mini hole punch you can use to punch holes in your paper patterns so you can quickly transfer circle markings and dart points. If you don’t like transferring markings, it really helps. -
Press and snip threads as you go. You can even snip the start of your thread tails after sewing a few stitches. Then you don’t have to go back and hunt for the beginning of the seam to clip the threads. Also, keep a little trash container and snips near your ironing board so you can clip stray threads as you press. -
Speaking of ironing boards, lower yours. Set up your ironing board at the same level as your sewing table. This is especially great if you sew on a chair with a swivel to it because then you can just spin around and press. -
Use an old wine bottle with a pour spout to refill your iron. A larger water supply speeds up your pressing because you don't have to run to the sink as often. -
Learn how to spot opportunities to batch sew. Skim through your instructions ahead of time so you can find areas where you can batch sew. For example, if the next two steps are to sew and finish the underarm seam on the sleeve and the side seams, go ahead and pin all four of them, stitch all four of them, and then finish and press them all at the same time. -
See how long you can go without stopping to press. This doesn’t mean saving the pressing until the end! Complete as many steps as possible to press all of your seams at once. -
Mark hem fold lines with machine basting instead of chalk. The needle perforates the fabric, making it a lot easier to press hems under, especially if it’s a curved hem.
-
Try chain sewing. This little quilter’s tip works for sewing seams or serging raw edges. For example, if you are sewing the side seams on a bodice and then on a skirt, don’t stop sewing when you reach the end of the bodice side seam. Instead, sew a couple more stitches, creating a little chain, and then sew the side seam on the skirt. Quilters do this when piecing so they don’t have to stop and clip threads between each piece. It probably doesn't save a lot of time, but if you’re finishing many edges, it might. -
Use adhesives to baste. For example, quarter-inch quilter’s tape, or water-soluble Wonder Tape can help with hemming, temporarily holding buttons in place, matching plaids, and inserting zippers. Or use glue sticks to baste your hems or bias binding before sewing. -
Make a hem template. You can buy hem templates, but you can also make your own with a piece of cardstock or cardboard. Just draw lines at various standard hem widths and use your template to help you press your hem in place. -
Pin with the heads out. Who would have thought that pinning fabric could be a source of debate? If you’re looking for the fastest way to pin, place your pins with their heads toward the outside of the seam allowance so you can pluck them out as you sew.
Love the article? Pin it for later.

To hear more about these tips, listen to episode 94 of the Seamwork Radio podcast.