For slow-sewing adherents, our dream wardrobe includes staples that we reach for over and over. Excellent fit elevates an average garment into staple territory. Achieving that level of fit can require multiple attempts to get it right. If we want to sew in a way that minimizes our impact on the earth, how can we take waste out of the fitting process? By applying the 4 Rs (reduce, reuse, recycle, rot) to this problem, we can identify multiple opportunities to do just this.

Consider the Source
Upcycled Muslins
Some of us started sewing with thrifted fabrics, and even if you’re now buying yardage from a fabric store, there’s no reason upcycled materials can’t still be part of your repertoire. Those loud sheets that nobody wants? They’re perfect for wrestling with fit issues! Are they faded, worn, or sporting small holes? Even better. Most likely, you’ll be able to pick them up for a song, and you’ll truly be rescuing fabric that nobody else wanted.
All-Natural Muslins
All-natural fibers came from the earth and thus can be returned to the earth. For those with ready access to an easy way to take advantage of that fourth R, rot, this may be the way to go. Just be sure to use thread made from a natural fiber, like cotton. As with all composting, it’s a good idea to shred the fabric and mix it with other types of natural waste materials.
This idea caught on at FIT, where two students created a muslin composting system for the cotton muslin that was used in their classes. They point out that cotton muslin is free of the chemicals associated with dyeing, printing, and finishing fabric—a consideration worth keeping in mind as you consider what types of natural fabrics to use.
Decrease Your Footprint
Once you’ve picked your muslin material, here are a few strategies for decreasing the amount of material you actually use.
Hone in on what’s Important
A muslin is a test run for both fit and construction, but you don’t need to mock up the entire garment to get a sense for these key elements. Before starting in on a muslin, it’s a good idea to first ask yourself what information you’re primarily interested in. A fitted bodice, skirt, or trousers might need to be muslined in its entirety, but if you’re working with a less-fitted garment you may be able to check the finished measurements against clothes you like. This also applies if parts of the garment are less fitted—a fit-and-flare dress may only need the bodice muslined, for example. Likewise, if you’re making a semi-fitted shirtdress but have never sewn tower plackets before, maybe the plackets are the only thing you actually want to try out.
Linings can be eliminated. So can certain kinds of pockets—instead of mocking up welt pockets, for example, draw them on with chalk so you can check their size and placement. You can do the same with patch pockets, just be sure to fold out the seam allowance when tracing them onto your muslin. You can even eliminate yoke pockets, or at least one yoke pocket, in your muslins.
Similarly, for many of us, our arms are relatively symmetrical, so we’ll only need to muslin one sleeve, one lapel, etc. Just remember that a muslin will tell you about a garment’s overall proportions, including the relative size of details like cuffs and collars, so don’t get too aggressive with your muslin skimping.
Itsy Bitsy Teenie Weenie…Muslin Pieces
It’s entirely possible to reuse muslin pieces, especially larger pattern pieces. Princess-seamed bodices, two-piece sleeves, collars, pockets, yokes, and waistbands are all potential candidates for smaller pattern pieces that can be cut from old muslins. How far you take this depends on your willingness to keep tiny scraps of fabric around. In general, if a piece is somewhat rectangular and at least 15 inches in one direction, I will consider keeping it.
Eliminate Muslins Entirely
The ultimate way to minimize waste in the fitting process is to do away with muslins entirely. Get ready for a walk on the wild side! Here are a couple tips to help you eradicate muslins from your sewing life.
Know Your Numbers
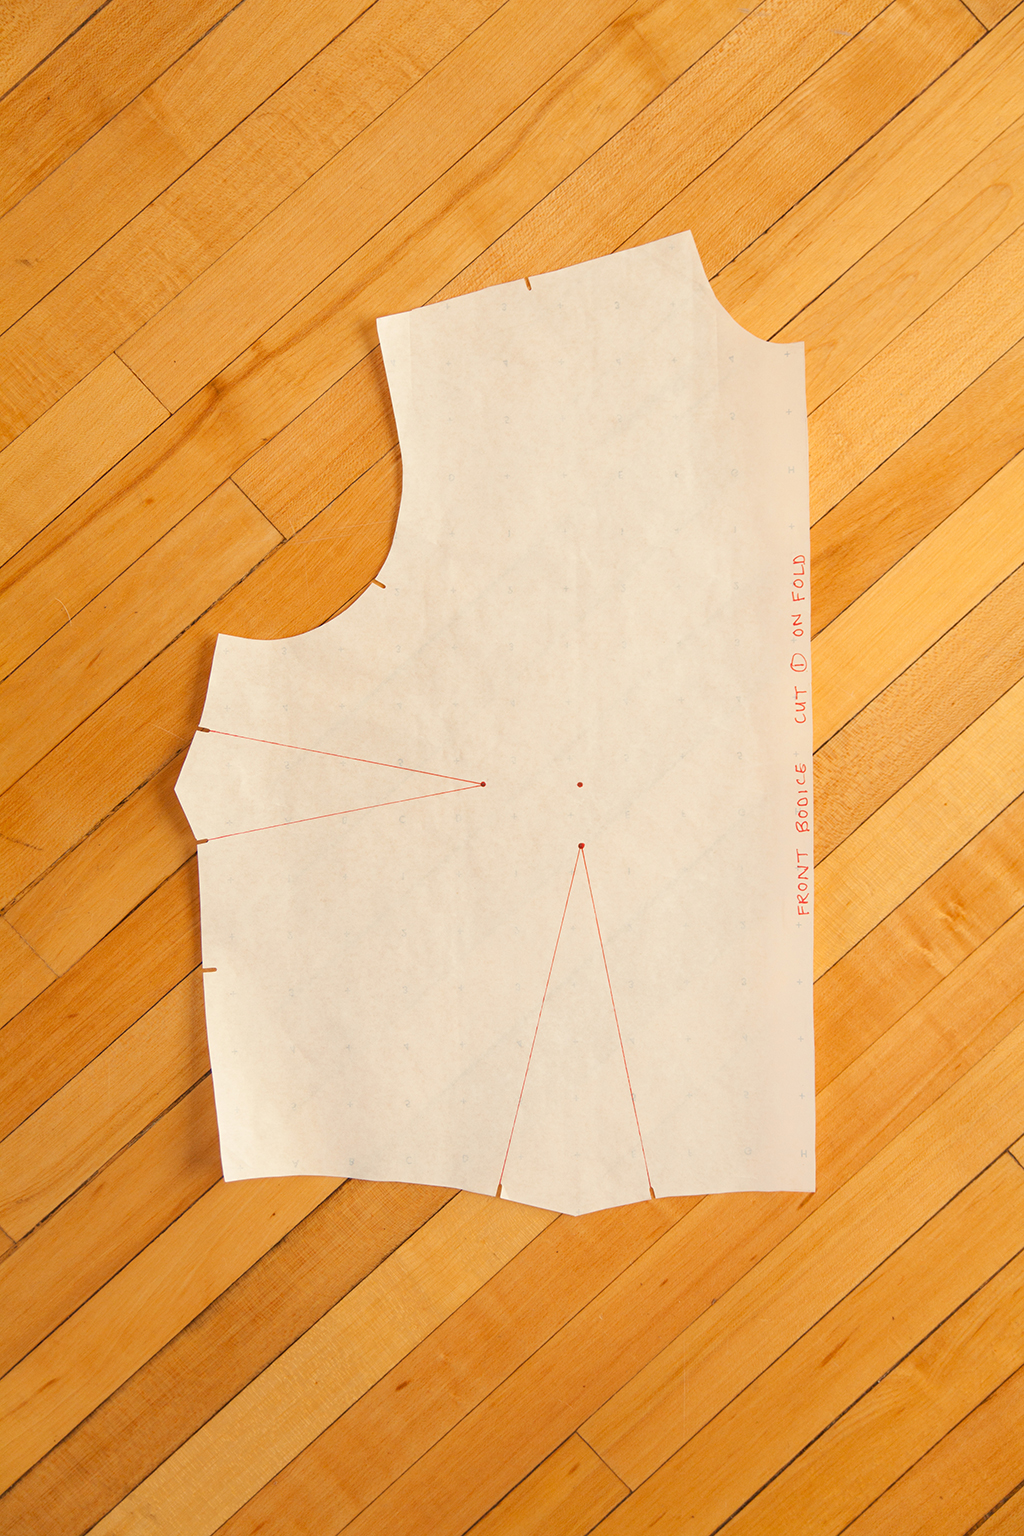
Flat pattern adjustments are the changes you make to a pattern piece before you cut your fabric. The better you get at these, the fewer surprises you’re likely to run into when you sew up the garment. Bust, waist, and hip are typical starting points for flat pattern adjustments, but there are many other measurements you can track. The better you know your own measurements, the more up-front adjustments you can make. Another option is to take a pattern that fits you well and compare those pattern pieces to the pattern you’re currently working on. As you continue to sew, keep a running tally of which adjustments you typically make.
Widen Those Seam Allowances
The Royal Shakespeare Company creates costumes with one-inch seam allowances to allow for weight fluctuations throughout a season, and the same concept can be used here. It’s a good idea to widen it to a two-inch seam allowance for items that are notably difficult to fit, like trousers, or for the types of patterns where you often run into fitting difficulties. This approach is most successful when combined with flat pattern adjustments.
Which strategy you use will depend on your sewing experience, the type of pattern you’re using, how many adjustments you typically need to make, as well as your personal preferences and circumstances. For the most part, if you combine two or more strategies into one project, you’ll produce less waste than if you use just one strategy.
Muslining with upcycled fabrics reuses fabric, but muslining with upcycled scraps puts these salvaged materials through two or three use cycles. Likewise, if you have a detailed list of flat pattern adjustments that you are confident about, you may feel comfortable using one-inch seam allowances (or even regular seam allowances) on a tricky pattern. Regardless of the approach you choose, you’ll be closer to a handmade wardrobe filled with clothing that’s both well-fitting and kind to this planet.


