

You spend hours choosing a pattern, cutting your fabric, and sewing everything together... and somehow the finished project still doesn't look right.
Most of these problems start long before you ever sit down at the machine.
We'll cover the 10 most common fabric mistakes I see over and over again, and show you exactly how to avoid them — so you can choose fabrics with confidence and create clothes that actually look and feel the way you imagined.
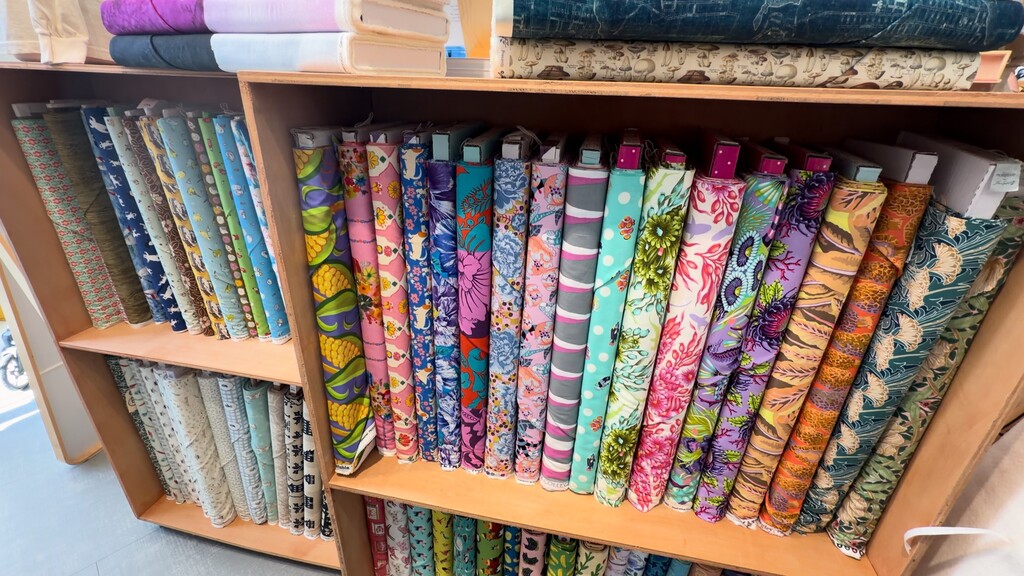
Buying Mistakes
Let's start with the mistakes that happen at the very beginning, when you're still choosing and buying your fabric.
Mistake #1: Ignoring the Pattern's Fabric Recommendations
This is one I see a lot, especially with newer sewists. You find a pattern you love, but the recommended fabric isn't quite what you have on hand, or isn't what you're drawn to, so you swap it for something else you like better. It feels like a small substitution.
But that recommendation isn't arbitrary. The designer built the entire silhouette around a certain drape and hand, and that recommendation exists to protect that shape.
Ignore it without knowing why, and you can end up with a garment that technically matches the instructions step by step but doesn't look anything like the picture. Maybe the fit is off. Maybe it just hangs differently than you pictured. And it's easy to blame the pattern, when really, it was the fabric switch all along.
Now, once you've got some experience, deviating on purpose is totally fine—some of my favorite makes came from breaking that rule intentionally. But if you're new to a pattern, treat that recommendation as a guidepost, not a suggestion you can take or leave.
Mistake #2: Using Quilting Cotton for Everything
If you've spent any time in the sewing community, you know using quilting cotton for garments is a bit of a debated topic. Some sewists swear by it, others avoid it entirely. And honestly, I get both sides, because quilting cotton really is everywhere—it's affordable, it comes in so many fun prints, and it's just so easy to work with.
But that same crispness that makes it a dream to cut and sew is exactly what fights you the moment your pattern actually wants some drape.
Quilting cotton is a perfectly fine option for the right project. The key is knowing what it's actually suited for, so it becomes a deliberate choice rather than a default one. If your pattern wants a little body—think a structured shirt dress or a full circle skirt that needs to hold its shape—quilting cotton is going to shine. But hand it a flowy slip dress or a blouse with soft gathers, and it's just never going to fall the way the design intended. Save it for the right project, and you'll get a lot closer to what you were expecting.
And honestly, that's exactly why fabric recommendations are worth paying attention to in the first place. They're already accounting for exactly this kind of thing.
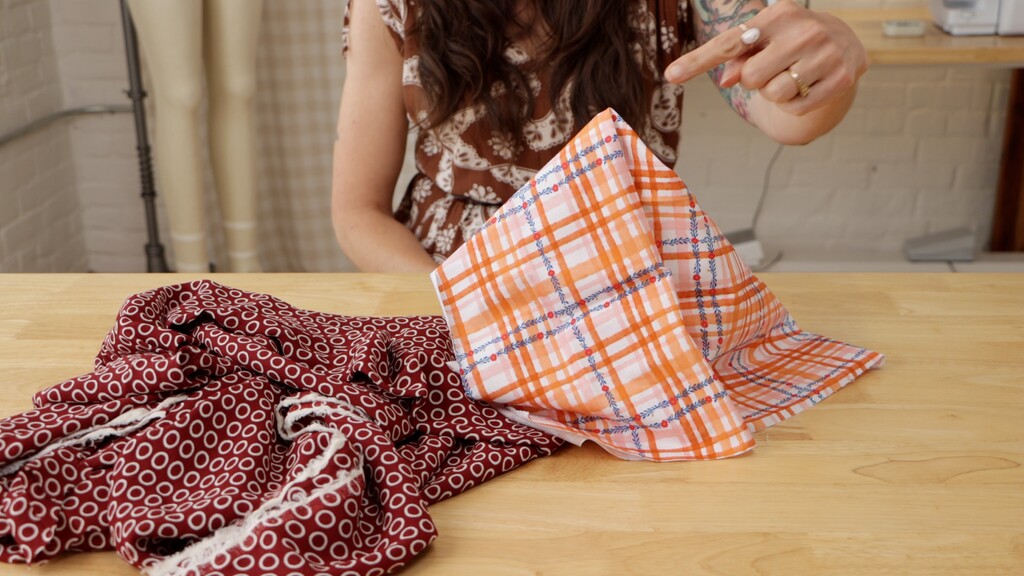
Mistake #3: Not Considering Fabric Width
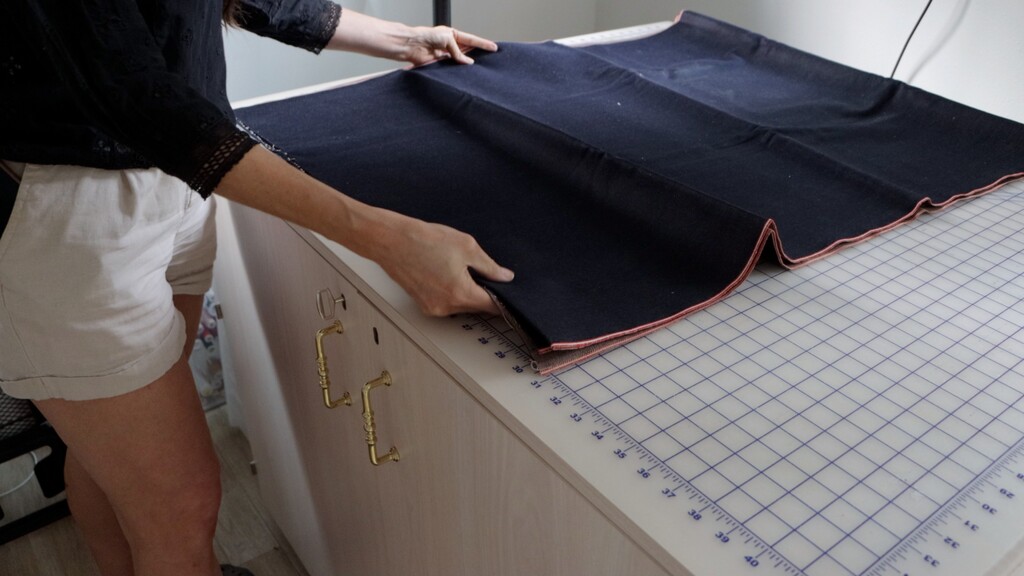
This one comes up more than people realize, and I actually ran into it myself recently with my Noah pants project this season. I decided to make them in a selvage denim, which is a beautiful option, but it usually runs narrower than standard denim width. So I had to buy extra just to make sure I had enough.
Your pattern's yardage requirement is tied to a specific fabric width, usually something like 45 inches versus 58 or 60. Buy narrower than what the pattern assumes without adjusting, and you can run out of fabric mid-project.
The good news is swapping widths is completely fine, you just have to do a little thinking first. Most patterns make this easy—Seamwork patterns, for example, list yardage for both 45 and 60 inch fabric, plus meterage for 114 and 152 centimeters. But some patterns actually require the wider option—larger sizes, or pieces cut on the bias—so it's always worth double-checking before you buy.
But if you're using a super narrow fabric like I am, it's worth taking out your pattern pieces and laying them on your cutting table to determine how they'll fit. For example, two pattern pieces might fit side-by-side on a standard fabric width, but need to be laid out end to end when the fabric is narrow. If you're making pants, that could mean that you need 1 or even 2 yards extra. It's well worth double checking, so you have exactly what you need.
Mistake #4: Not Accounting for Print Matching
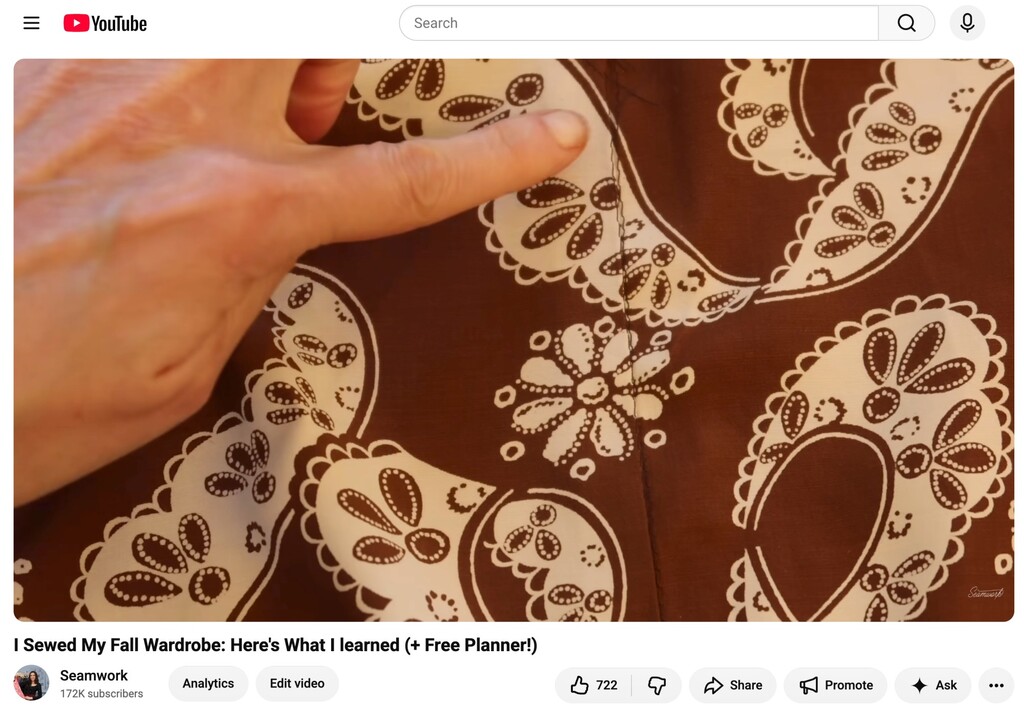
If you're someone who gets real satisfaction out of a perfectly matched print—where the seams practically disappear—this is such a common one to trip up on, because a lot of times you just default to buying exactly what the pattern calls for.
When you fall for a fabric with an obvious print motif, buying only the base yardage doesn't leave you any room to actually match that print at the seams. Print scale matters a lot here too—most people wouldn't notice a mismatch on a tiny ditsy floral, but the bigger the repeat, the more obvious it gets.
My rule of thumb: for a small-scale print, add about half a yard. For a large-scale print, add a full yard. That extra fabric also gives you room to play with placement before you commit to a cut.
Prep Mistakes
Now let's move into the mistakes that happen once you've got your fabric home—after you've bought it, but before you've cut into it.
Mistake #5: Skipping Prewashing or Pretreating
I get the impulse here completely. You've just bought this beautiful fabric, you want to get straight to cutting and sewing it, and prewashing feels like one more thing to do before the fun part starts. So it's really tempting to skip it.
But almost every fabric shrinks, wrinkles differently, or pills more than expected after that first wash. And if you skip pretreating, you might not find out until after all your construction time is already invested.
If your fabric is washable, prewash it and get that shrinkage out before you cut, especially if you're planning to care for the finished piece at home rather than dry clean it. And if you're working with something non-washable, like wool, you can still pretreat it. Steam it thoroughly with your iron, on the setting you'll actually use throughout construction, so the shrinkage comes out early instead of shifting your fit later.
Mistake #6: Not Pressing Before Cutting
Here's one that's easy to let slide, especially when you're excited to get going. Your fabric comes off the bolt a little rumpled, or it's been sitting folded in your stash, and you just cut it as is, because pressing first feels like an extra step between you and starting your project.
The problem is that a wrinkle compresses the fabric slightly, so when you smooth that piece back out later, it ends up just a little bit bigger than your pattern intended. Those little inaccuracies compound fast across a whole garment.
Here's a habit of mine that helps: I plug in my iron the second I walk into my sewing shed—before I thread my machine, before I even touch my scissors. That way, by the time I need to press something, it's already hot and ready, and the temptation to skip pressing "just this once" is already gone.
I sew because I want clothes I actually love wearing, and pressing with care is a big part of what gets me there.
Mistake #7: Not Considering Directionality, or Nap
If you're used to following the cutting layout that comes with your pattern for placing your pieces, this one might sneak up on you. Most of the time, that layout works perfectly well exactly as printed. But certain fabrics—the ones with a texture or a print that reads differently depending on which way it's turned—don't quite play by that same layout, and it's easy not to notice until the pieces are already cut.
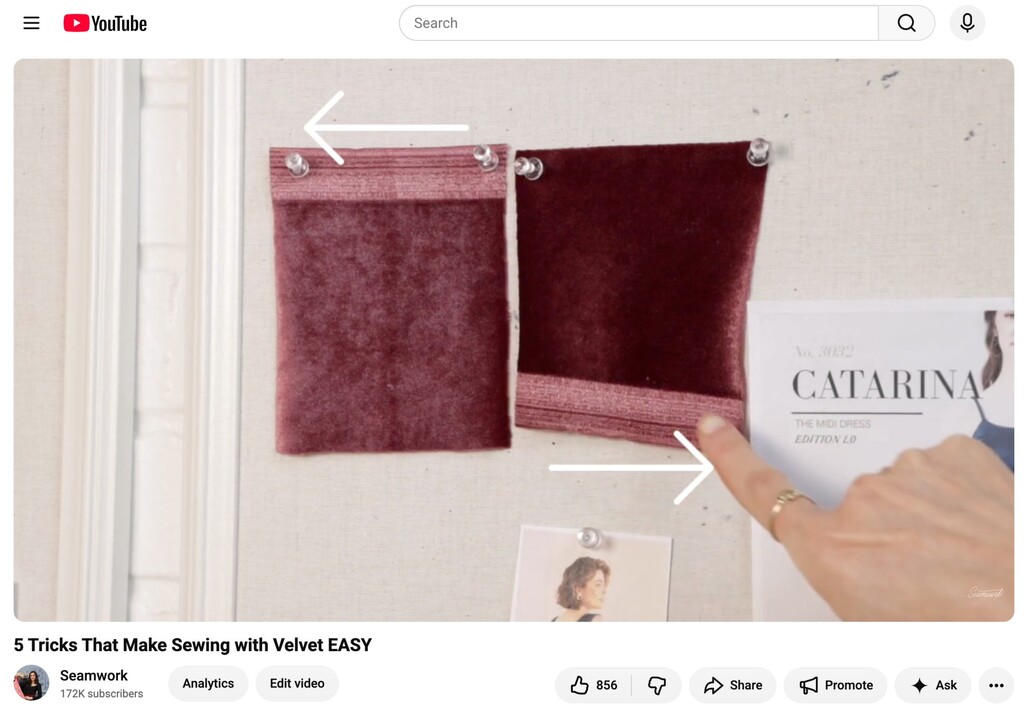
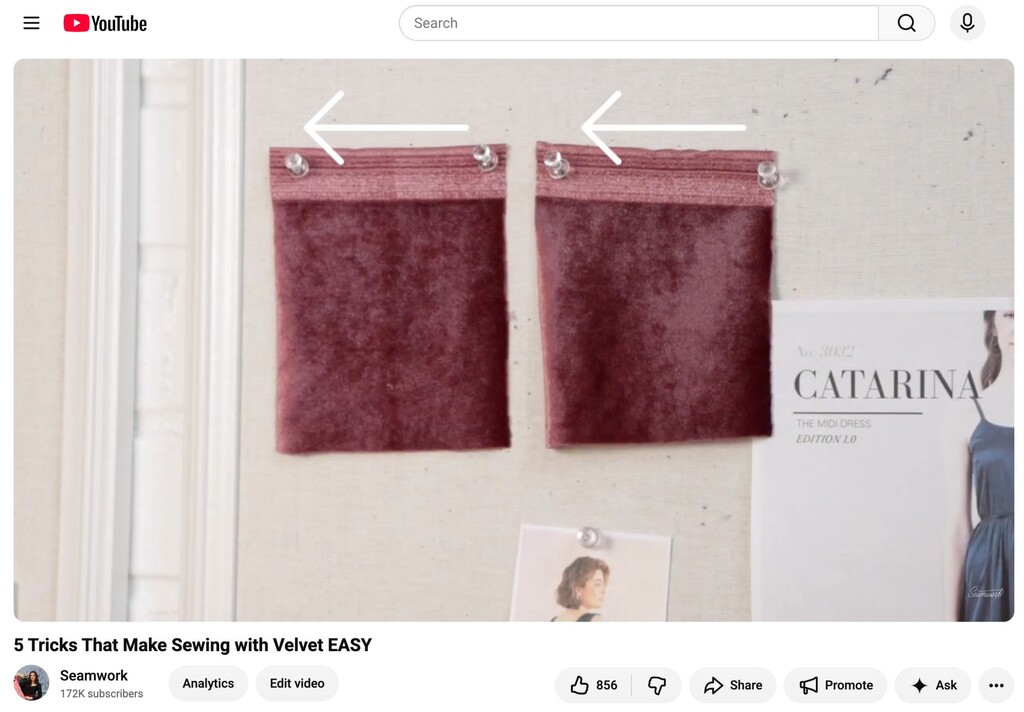
Fabrics like flannel, corduroy, or velvet have what's called a nap—that brushed, directional quality you can actually feel by running your hand over the fabric in different directions. One way feels smoother; that's your correct nap direction. And because nap affects how light bounces off the fabric, the exact same piece can genuinely look like a different color or texture depending on which way it's turned.
Cut your pieces facing mixed directions, and that mismatch shows up on the finished garment—sometimes really obviously. My rule of thumb: plan on roughly 10 to 25% more fabric than the envelope suggests, depending on your layout, so every single piece can face the same way. A small trick that saves so much confusion later—mark the nap direction with a little arrow on each cut piece before you start sewing.
The same exact issue shows up with directional prints—think a floral where the flowers only read as upright facing one way. And it's the same fix, too: buy a bit extra so every piece can be cut facing the correct, consistent direction.
Construction Mistakes
Now for the mistakes that show up once you're actually putting the garment together. They can seem small in the moment, but they end up having a big impact on how your finished garment actually wears.
Mistake #8: Using the Wrong Interfacing for Your Fabric Weight
I think this one happens because interfacing can feel like an afterthought—you just want something in there to add a bit of stability, so you reach for whatever you already have on hand.
But interfacing comes in different weights just like fabric does, and the goal is always to add stability exactly where you need it without changing the overall hand or drape of the rest of the garment.
To be clear, necklines, plackets, and waistbands often genuinely need interfacing. The fix is matching the weight so it reinforces instead of fighting your fabric's natural drape. My rule of thumb: choose an interfacing similar to or even lighter than your fashion fabric's weight, with a little less drape. That gives you structure without over-stiffening the area.
Mistake #9: Choosing the Wrong Seam Finish
This is one where I think people default to whatever's fastest or most familiar, without stopping to think about whether that finish is actually suited to the fabric in front of them.
Seam finishes do real structural work. Fraying threads travel toward the stitching line over time, and eventually you get gaps, holes, or a seam that pulls apart. Raw edges also snag on zippers and on everything else in your closet.
A serger works well across most fabrics, but not everyone has one, which is exactly why it's worth knowing the fabric-specific alternatives. Pinking shears work by breaking up the fabric's woven grid, which anchors the threads—but only on tightly woven fabrics like cotton lawn, silk, or a crisp shirting. On a looser weave like rayon, it's still going to fray even with a pinked edge, and pinking does nothing for knits at all. French seams are beautiful for thin, slippery fabrics like rayon, but put them on something bulkier like denim, and those extra folded layers just add unwanted bulk.
Mistake #10: Not Dealing With Bulk in Seams
This one can sneak up on you if you're working with heavier fabrics for the first time, because your normal seam allowance and pressing routine has worked just fine for everything else you've sewn.
Coating, heavy denim, and pre-quilted fabric all need a little extra seam management, or the bulk builds up fast.
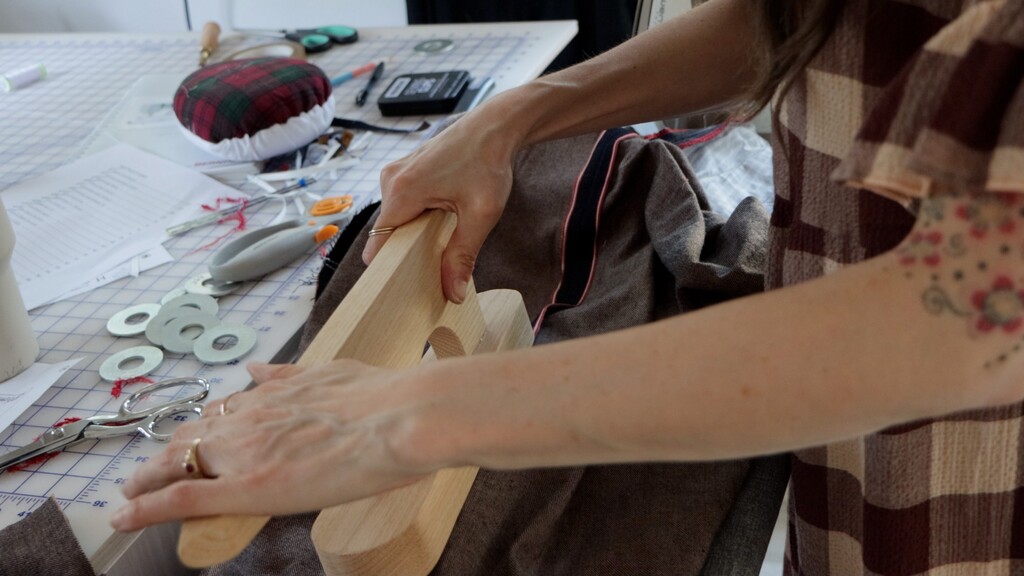
Here are a few of my go-to bulk management tips. First, trim and grade your seam allowances down—sometimes to a quarter inch—just leave enough for whatever finishing method you're using. Second, use a clapper while you're pressing. It's a rounded wooden block that pulls the heat and moisture out fast right after you hit the seam with steam, which is what actually sets a flat, crisp press into thick fabric. And third, consider using topstitching to flatten seams that are too bulky to press fully flat. Keep in mind it'll be visible on the outside of your garment, so it's a style choice too, if you want to lean into a sportier look.
Choosing Fabric With Confidence
So much of what makes a handmade garment look polished comes down to decisions you make before you ever sit down at your machine. Once you start paying attention to drape, width, nap, and finish, you'll find yourself choosing fabric a lot more intentionally—and your finished projects will start looking a lot more like what you pictured in your head.
If you want to go deeper on any one of these, our guide on prewashing fabric is a great next stop.
Which of these mistakes have you made before—and which one are you going to watch out for on your next project?
 Related Articles
 Best Articles

