Sign In
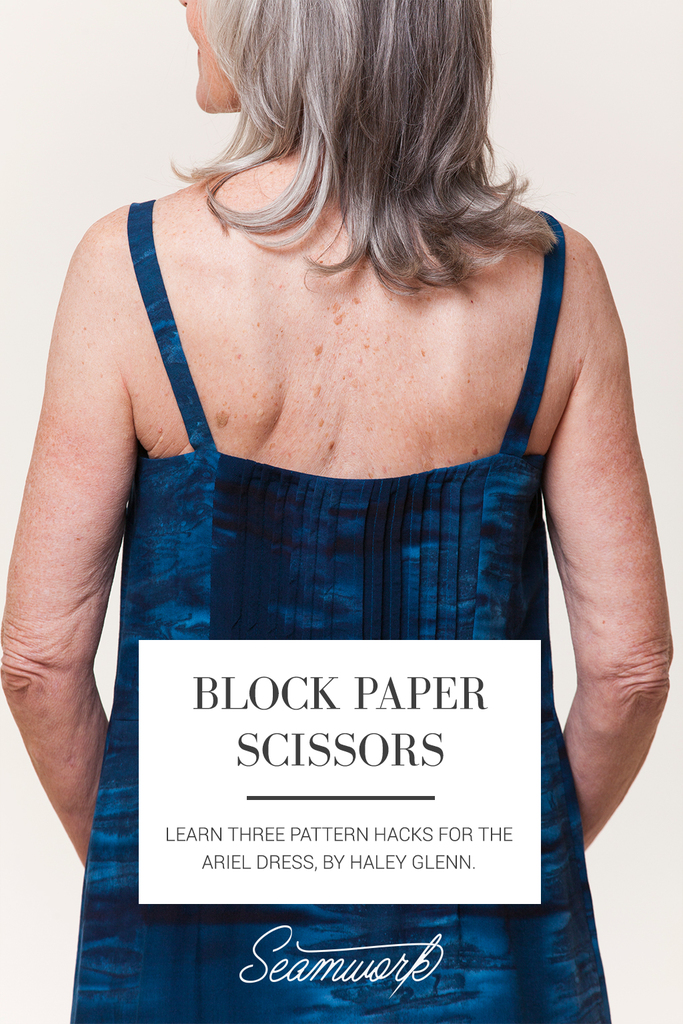
Block Paper Scissors is a monthly column that helps you to gain confidence in pattern hacking. Each month, we will show you how to draft and sew one new pattern hack, and we’ll share links to two additional pattern hacks from our pattern hacks library.
These hacks help you give your Seamwork patterns a custom spin—all you need is paper, a ruler, and a pencil!
This month, we teach you how to create a center back pleated panel for the Ariel dress. You can also check out two additional hacks. One will help you create a trapeze silhouette and add a neckline flounce, and the other adds a center front button placket.
Note: For best results, be sure to make any necessary fit adjustments before hacking your pattern.
You'll Need:
- The Ariel dress pattern
- Paper
- Pencil
- Scissors
- Tape
- Removable tape
- Clear ruler
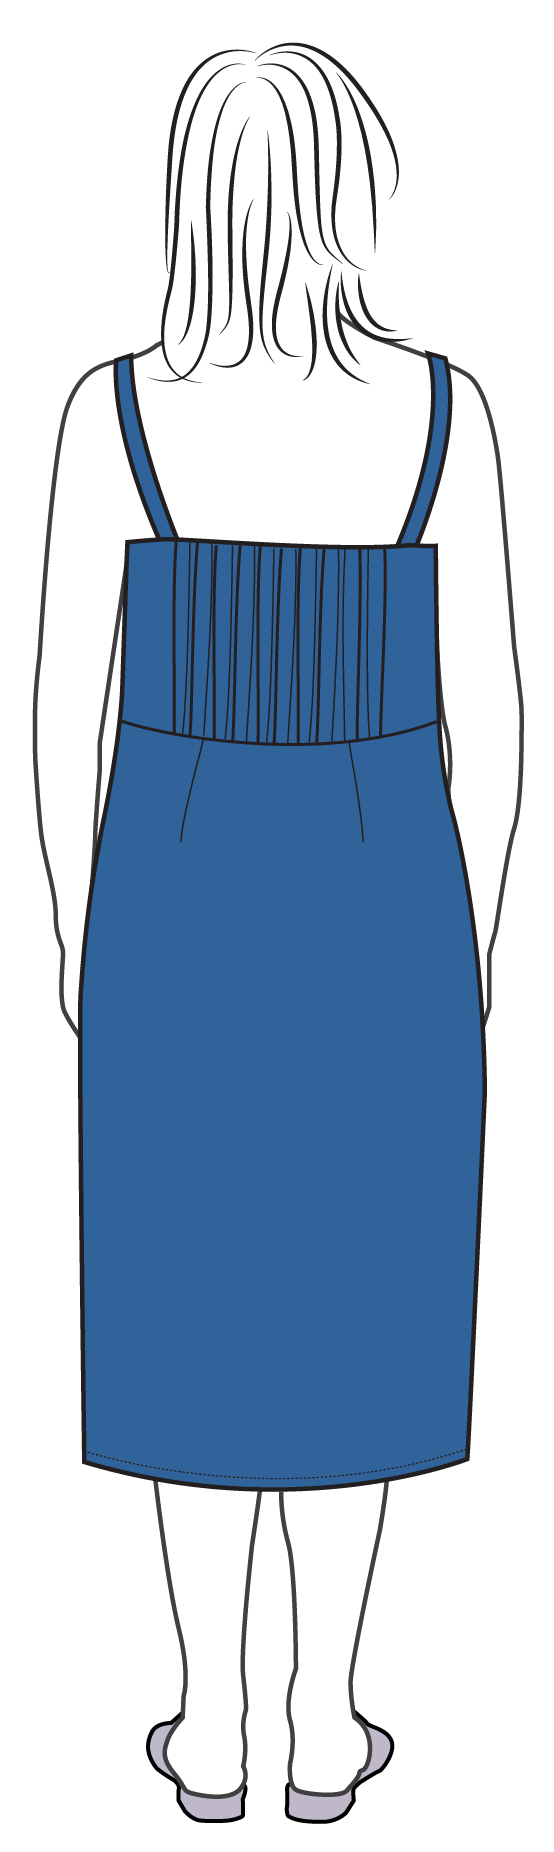
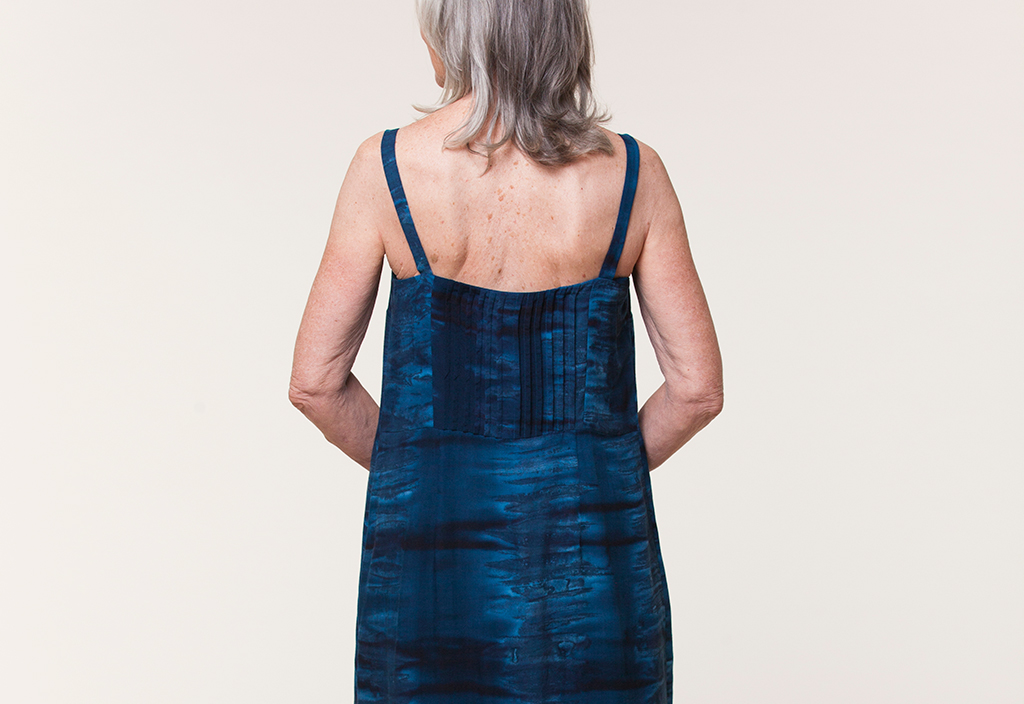
HACK ONE: Pleated Back Bodice
Want to add a touch of understated texture to your garment? Pleats are an easy way to bring visual interest to a garment.
Drafting Instructions
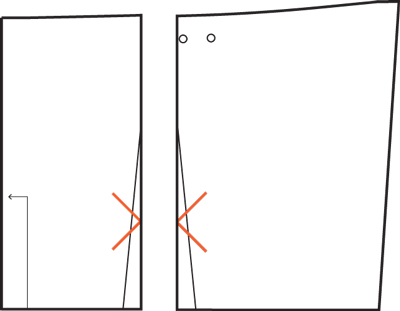
01 | On the back dress piece, use a clear ruler to draw a line perpendicular to the center back seam, intersecting the widest point of the dart. Cut along this line.
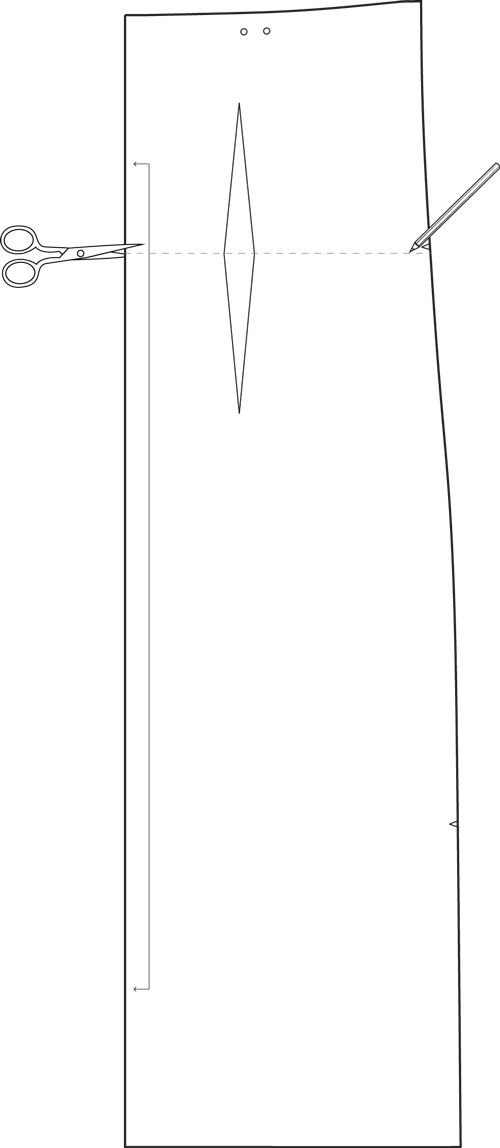
02 | On the upper pattern piece, measure the width of the dart and reduce the side seam at the waist by this amount. Cross out the dart.
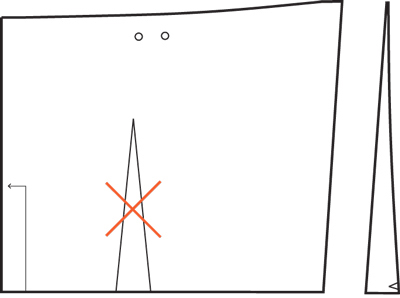
03 | Draw a line parallel to the center back through the apex of the dart. Cut along this line.
04 | Label the center back panel “center back bodice.” Transfer the grainline to the side back panel and label “side back bodice - cut 2.” Also, label the skirt “back skirt - cut 1 on fold.”
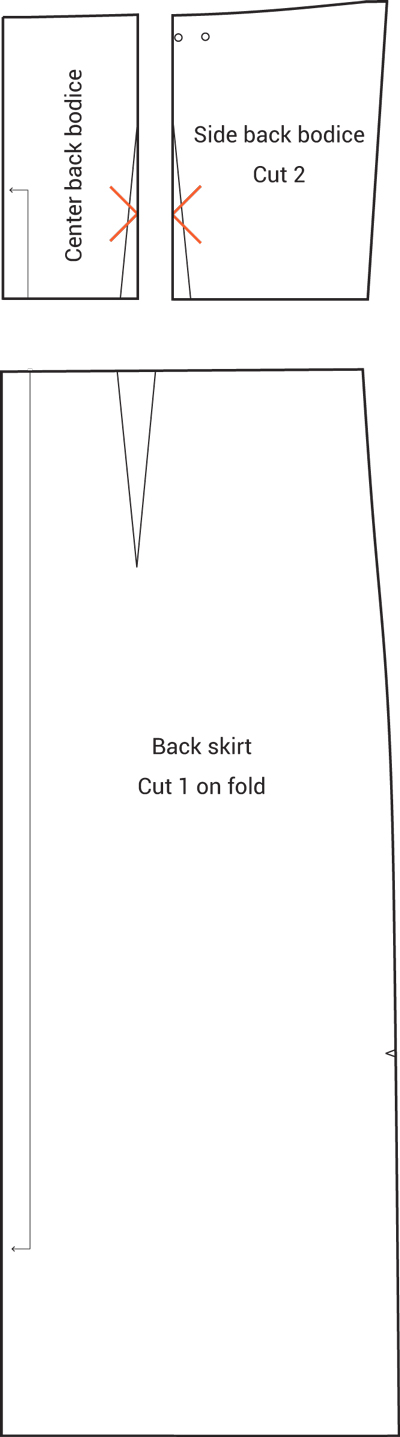
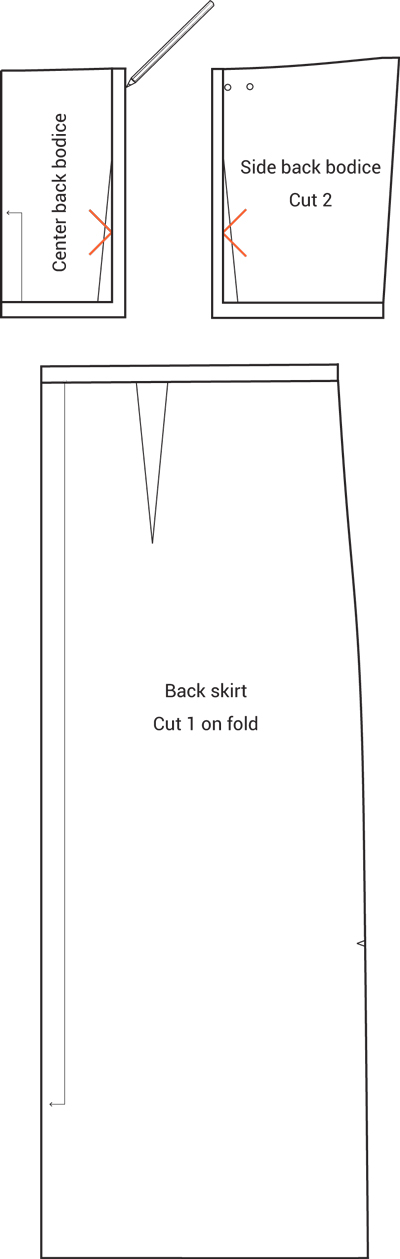
05 | Add a 5/8” seam allowance to the waist and style lines on the center back and side bodice pieces. Add a 5/8” seam allowance to the waist seam of the back skirt.
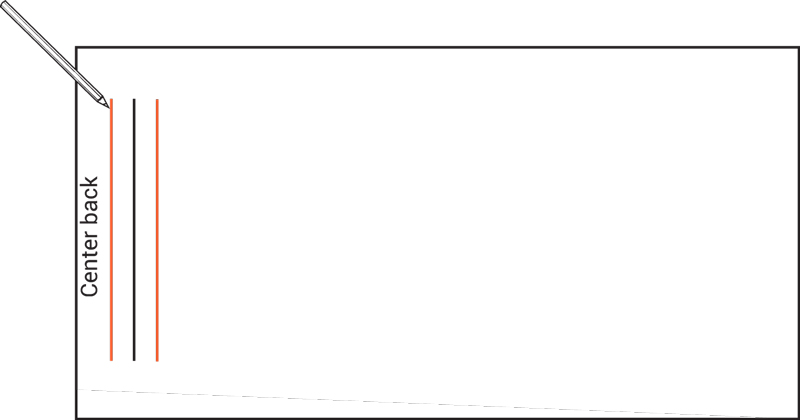
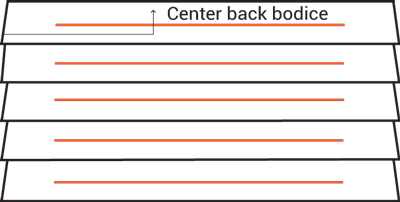
06 | On a separate piece of pattern paper, use a clear ruler to draw a vertical line approximately 3” longer than the length of the center back bodice. Label this line “center back.”
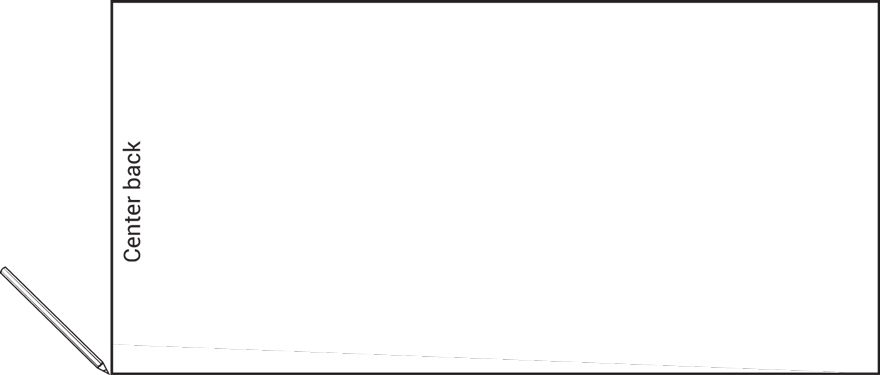
07 |
Draw a series of three parallel lines, 1/4” away from, and parallel to, each other. Use a colored pen or fine point marker to draw the first and third lines.
Note: This series of three lines creates our first pleat. The pleat will be formed by bringing the first and third lines (these are the lines drawn in color) together, and then stitching.
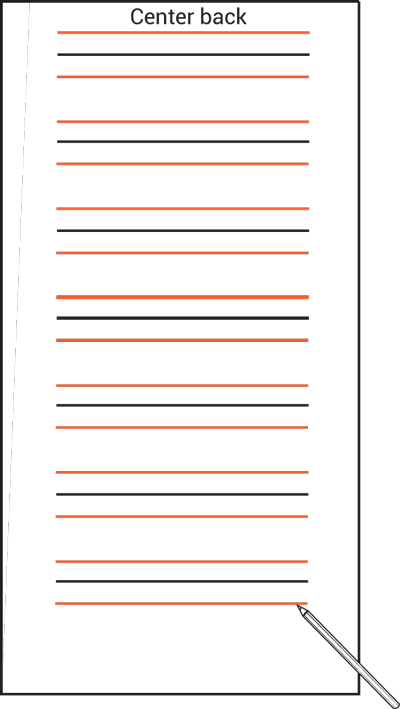
08 | Use a colored pen to draw another parallel line 1/2” away from the first pleat.
Note: This creates the space between each pleat, and it becomes the first line of your second pleat.
09 | Repeat steps 7-8 until you have created 6-10 pleats.
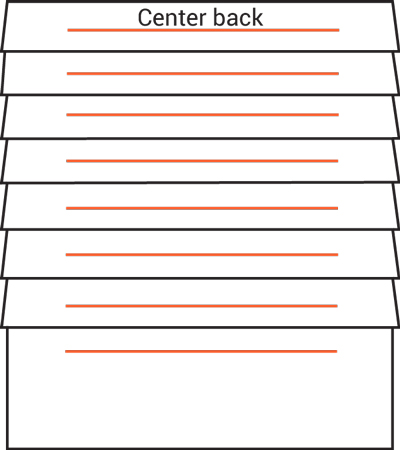
10 | Fold the pleats as if they were sewn, and use removable tape to secure.
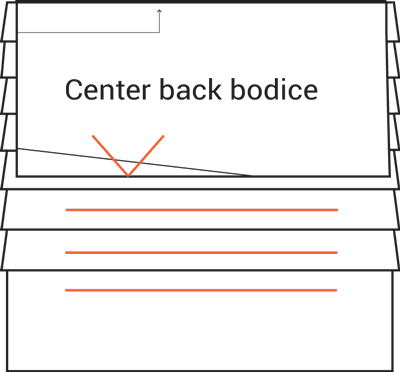
11 | Place the center back bodice piece over the pleated paper, aligning the center back lines. Use a pencil to trace the shape of the center back bodice to the pleated paper. Cut.
Note:: If one of your pleats intersects with the seam line, eliminate this pleat.
Sewing Instructions
01 | Transfer all markings (including pleat lines) to the cut fabric pieces. It can be helpful to use a second chalk color to transfer the colored pleat lines.
02 | To sew the pleats, bring the colored pleat lines together and stitch.
03 | Repeat step 2 until all pleats are sewn. Press all pleats toward the side seams.
04 | With right sides together, sew the side back bodice pieces to the center back bodice pieces. Finish seam allowances together and press toward the side seams.
05 | On the skirt back, sew the darts and press towards the center back.
06 | With right sides together, sew the back bodice unit to the back skirt at the waist. Finish seam allowances together and press up.
07 | Finish assembling the dress according to the pattern instructions.
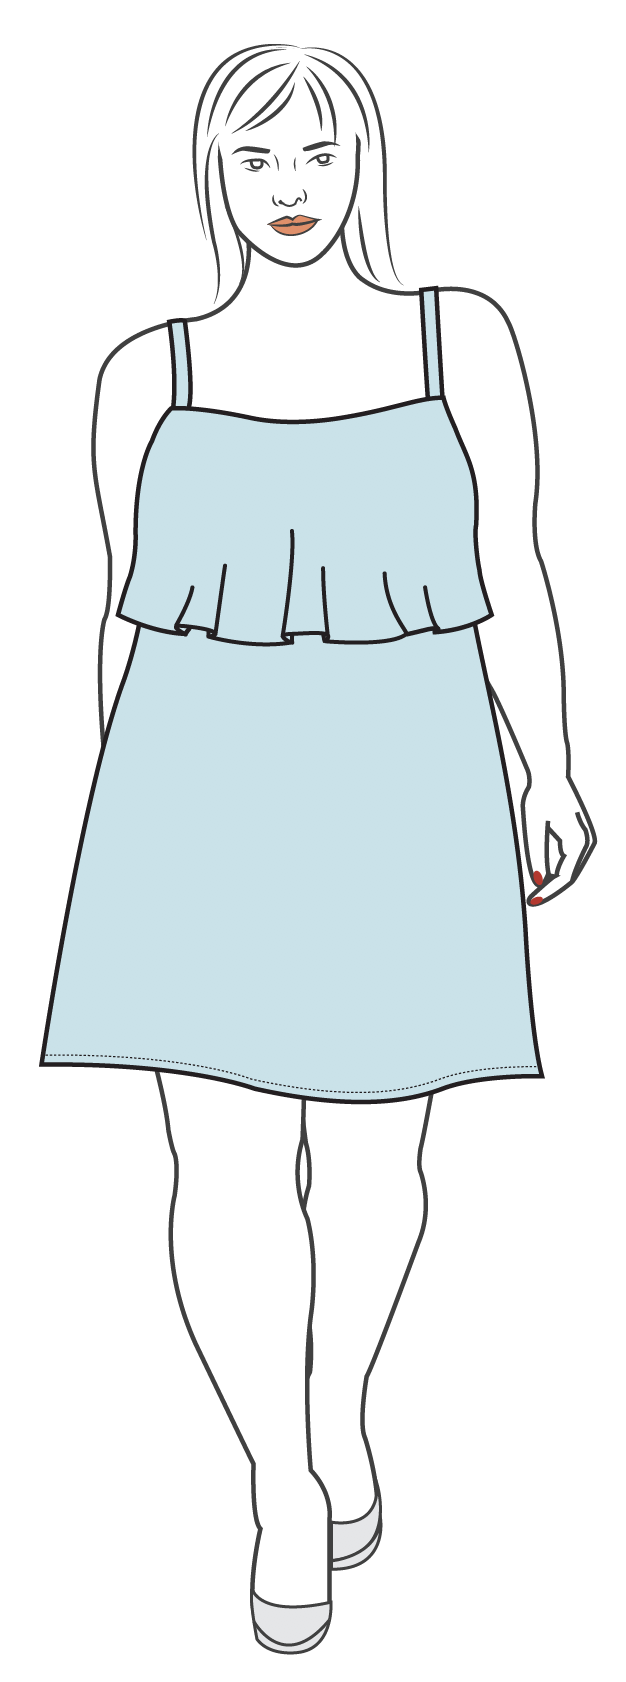
HACK TWO: Trapeze Dress with Flounce
It only takes three simple steps to achieve this look! First, shorten the pattern to your desired length, then use this hack to create a trapeze fit. Lastly, apply this hack to add a sweet neckline flounce to your Ariel dress.
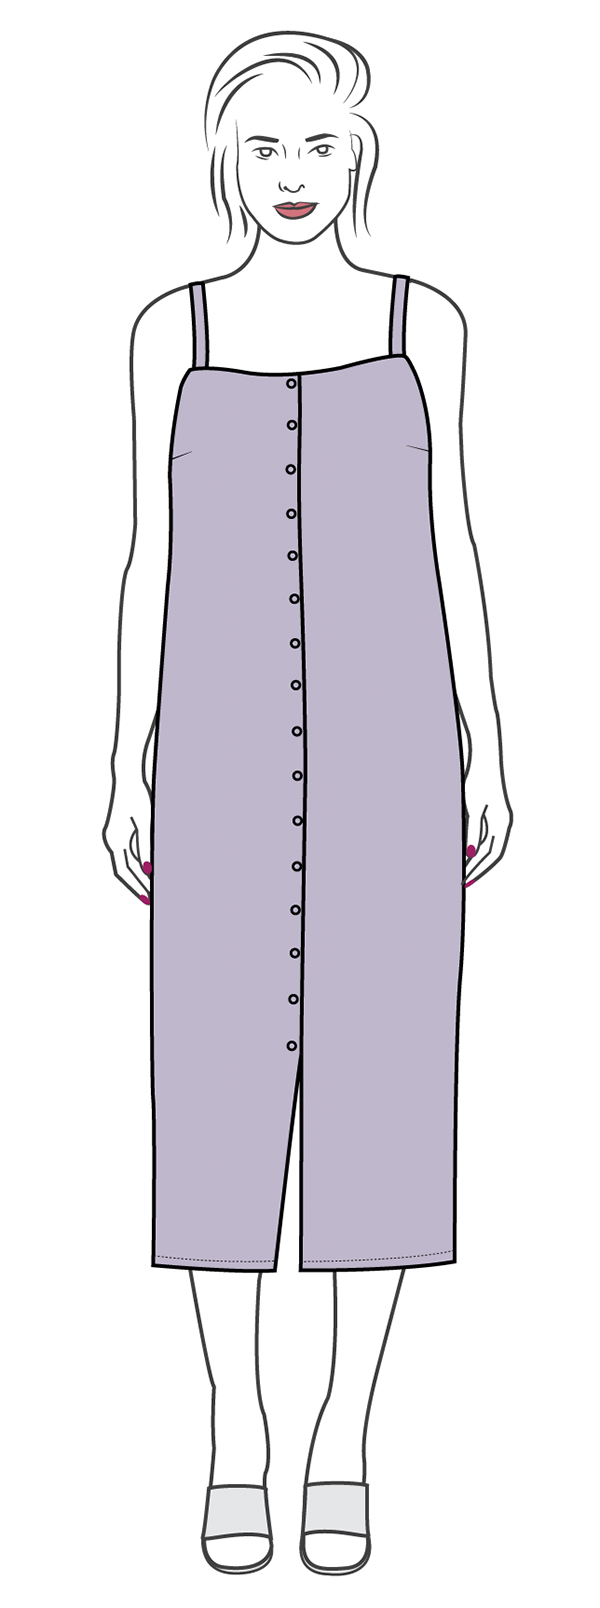
HACK THREE: Button-Front Dress
Try adding a center front button placket to Ariel by using this hack. *Note: If you want to keep the vent and add a button placket, you also need to draft a facing for the entire center front of the dress.

About the Author
Five years ago, Haley left the apparel industry to join the world of home sewing. She has been empowering women to sew ever since—first through years of in-person teaching at Sew LA, and now through her work at Colette. Haley writes tutorials and articles on our blog, teaches sewalongs, and writes and edits for Seamwork magazine.