Sign In
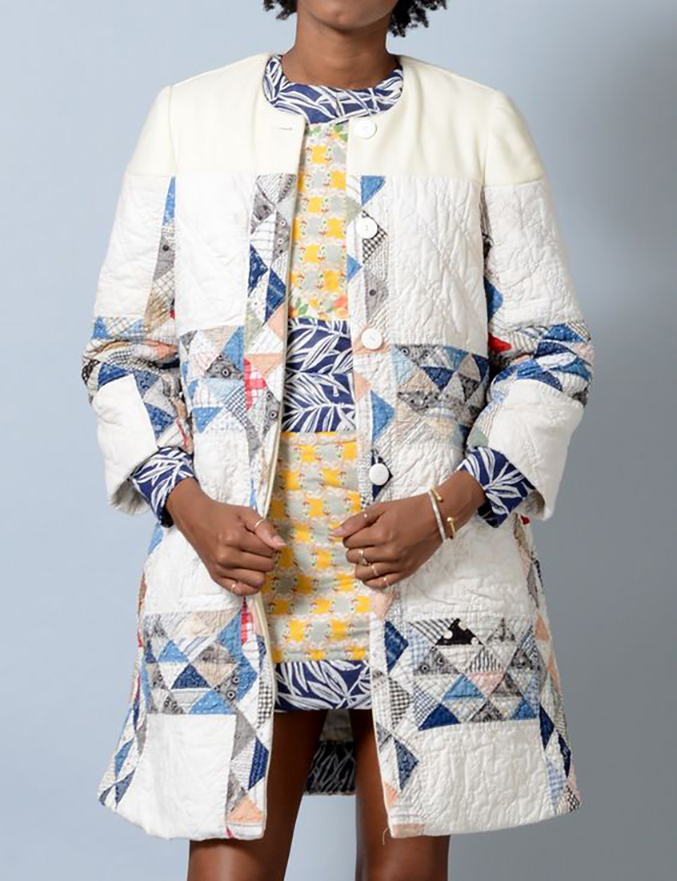
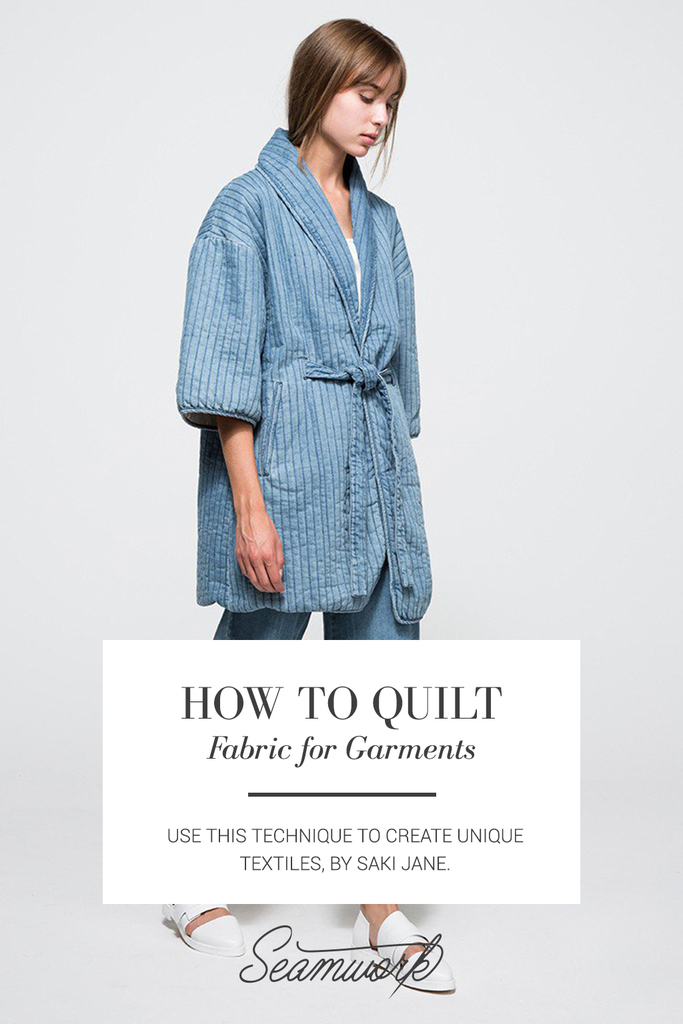
We're in the middle of winter in the Northern Hemisphere, and it's currently hard to think of anything besides curling up in cozy layers to stay warm. But as we're gearing up for (slightly) warmer weather, quilted jackets can easily take you from winter to spring because of their layering quality. And surprisingly, quilted garments can run the gamut from heavy parkas and down jackets to flowy dresses. Let's take a closer look at how to turn (almost) any pattern into a quilted garment!
How to Choose a Pattern:
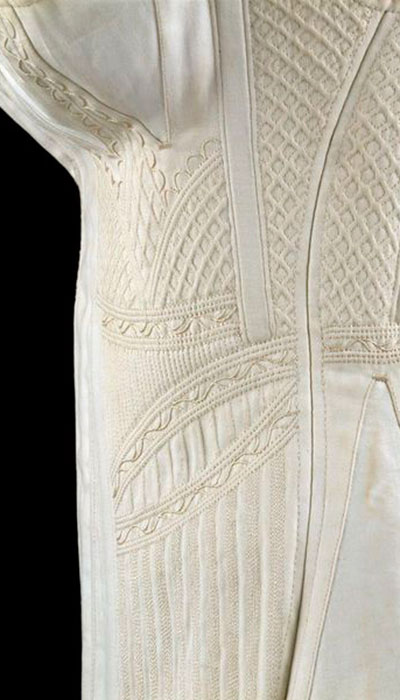
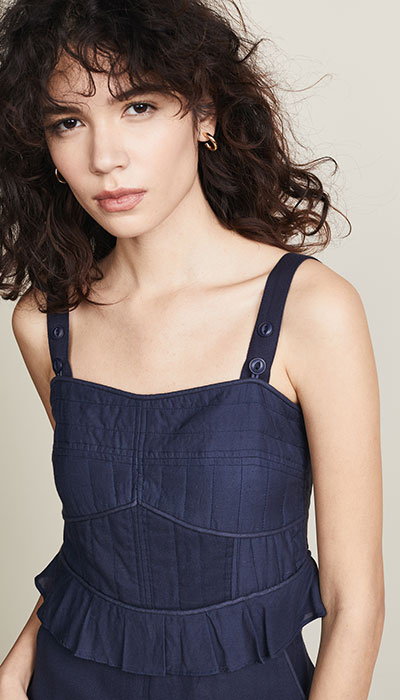
Quilting adds structure and bulk and reduces drape, so it generally works best for garments where structure is a plus. Think jackets, coats, bags, and in some creative cases, pants. But quilting can also work in a more elegant garment, such as the bodice of a dress or even a corset with thinner batting, and when you forgo the batting entirely, it can even shine in a drapey garment such as a summer robe or breezy dress.
By definition, quilted textiles are made when you stitch several layers of fabric together. You might also use patchwork techniques when quilting, which involve stitching different colors, textures, or shapes together to create a unique textile. This article will show you how to quilt textiles and give inspiration for both quilting and patchwork techniques.
For this tutorial, I'll be showing you how to quilt a multi-layer garment. Consider sizing up when determining your size. The extra volume of the batting can take up quite a bit of ease, and the quilting stitches can shrink the garment up a bit too—sizing up creates room for batting and error! One more thing to consider is that because the layers of lining and batting add stability, quilting is not suitable for garments that require stretch.
Once you've chosen a pattern to convert into a quilted garment, you'll need to decide which pattern pieces are necessary. Essentially, you'll only need the pattern pieces that are visible on the outside of the garment, so you can ignore any lining and facing pattern pieces.
Patterns That Work Great for Quilting
How to Create Quilted Fabric
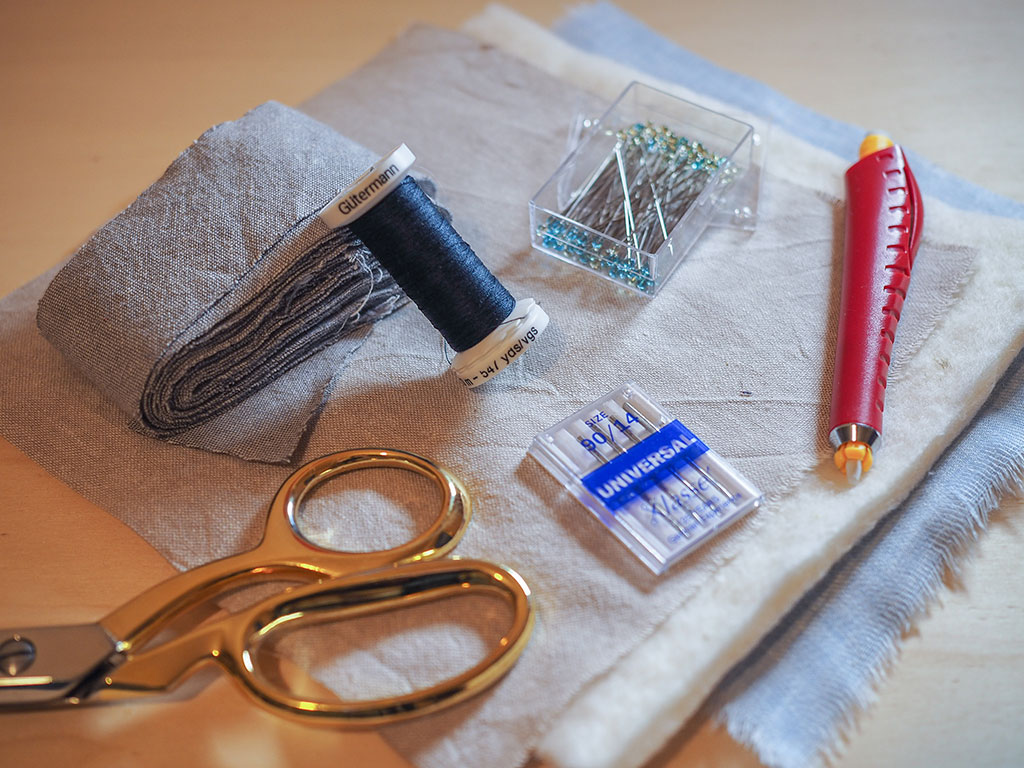
You'll need:
Pattern of your choosing
Outer shell fabric to meet the pattern's main fabric requirements
Batting to meet the same fabric requirements
Lining to meet the same fabric requirements
Thread
Machine needle (I used size 90/14)
Hand-sewing needle
Pins (quilting pins, or long, flexible pins)
Ruler
Tailor's chalk or other marking tools*
Walking foot (Recommended)
Safety pins (Optional)
-
A note on erasable pens: Some of the erasable ink pens that have become popular lately in the sewing world, such as Frixion or Muji, disappear from heat and reappear with cold. While they can be really handy for summer garments, I strongly advise against using them for winter garments for this reason. If in doubt, give your pen a test on a scrap of fabric, iron to erase, and toss the scrap in the freezer. Check back later, and if the ink has reappeared, you know your answer!
01 | To start, cut three different layers of each outer pattern piece; one of the outer shell fabric, one of the batting, and one of the lining. We'll be creating what we call a quilt sandwich. Note: because I'm not creating a full garment with today's tutorial, my pattern piece is a square.
02 | Lay the lining down on a flat surface that's large enough for your entire pattern piece. Then, lay the batting on top of that and match the edges, and the outer fabric on top of that. You're making a sandwich where the batting is the filling, and the two fabrics are the bread.
03 | Pin the outer edge of your quilt sandwich with your quilting pins. This will help keep the outer edges from shifting as you sew.
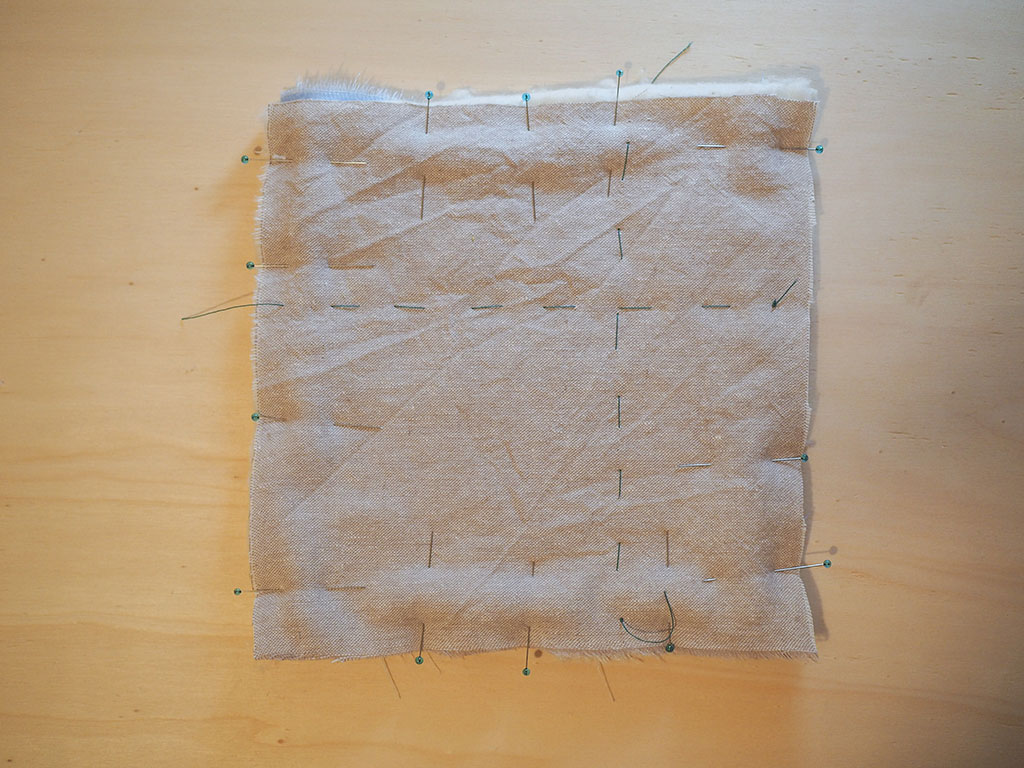
04 | Using your hand sewing needle, baste a long line of stitches near the center of your pattern piece, lengthwise and crosswise. Keep your quilt sandwich on a flat surface while basting so as not to warp your garment. Quick tip! Only one end of the basting thread needs to be knotted. This will help with quick removal later on by just pulling on the knotted end.
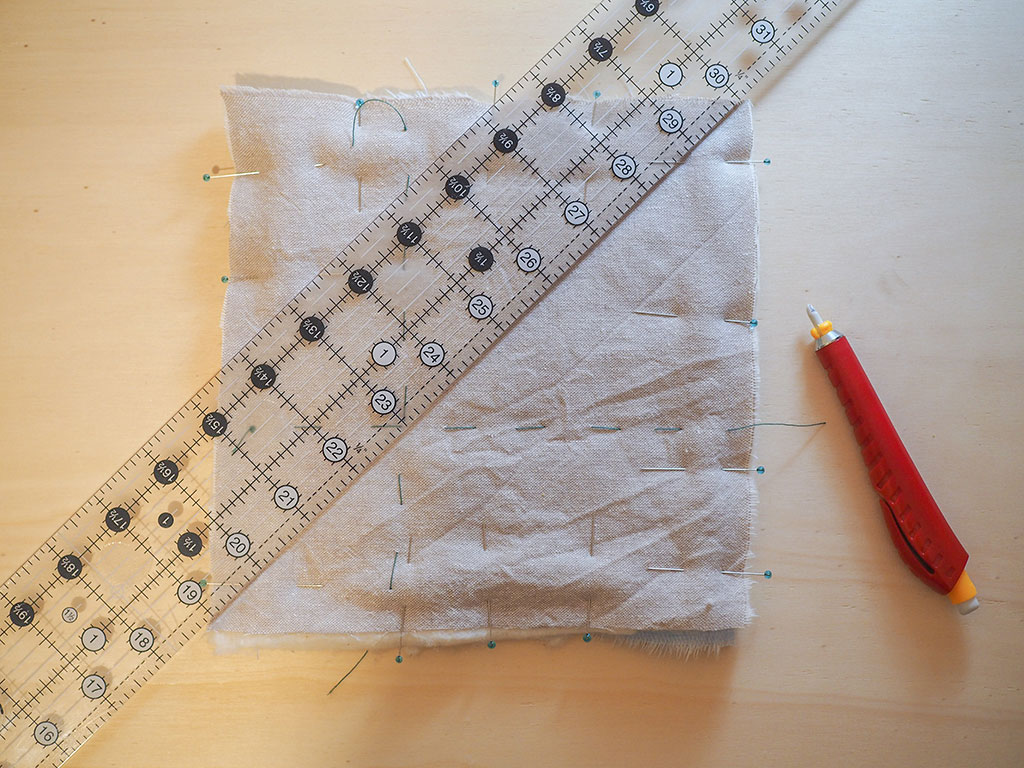
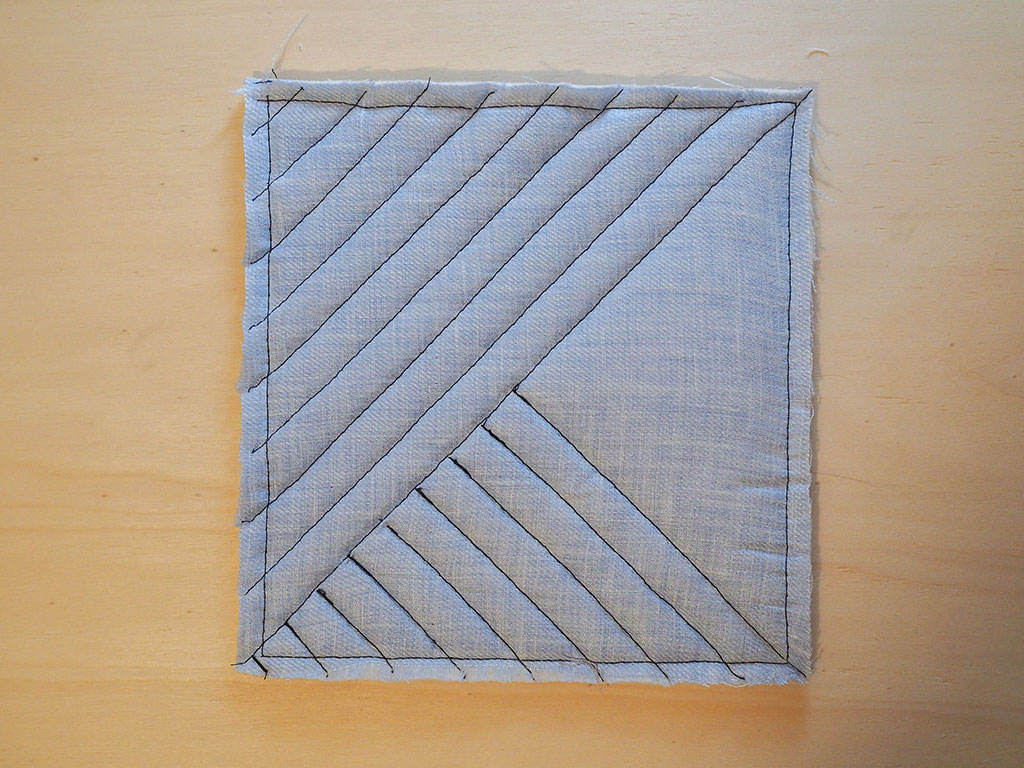
05 | Decide on a quilting pattern. Working from the center of your garment piece and using your marking tool and ruler, mark out the first few quilting stitches. Always work from the center outward so that any extra slack in either fabrics or batting can work itself out in the seam allowance. You'll only want to mark a few stitches at a time if you're working with tailor's chalk, as the chalk can rub off as you're sewing other stitch lines.
06 | Now it's time to sew! As always, test your stitch length, tension, and thread color on a scrap of the quilt sandwich. A walking foot is recommended and makes for a cleaner result, but I've been able to create all of my quilted garments without one.
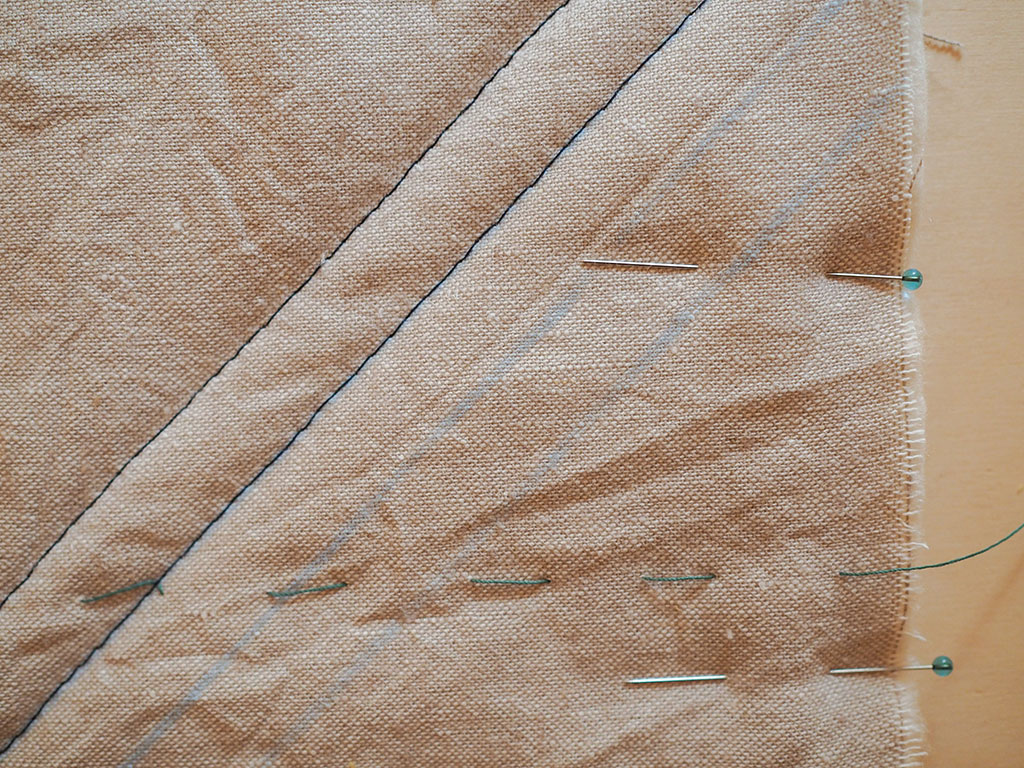
07 | Starting in the center of your garment, stitch along the marked lines. If you don't have a walking foot, alternate which side you start your stitches. For example, if you start one line of stitches at the top of a garment, start the next from the bottom, to help balance any extra tension caused by the feed dogs. You can also remove the outer needles as your quilting stitches begin to secure your garment.
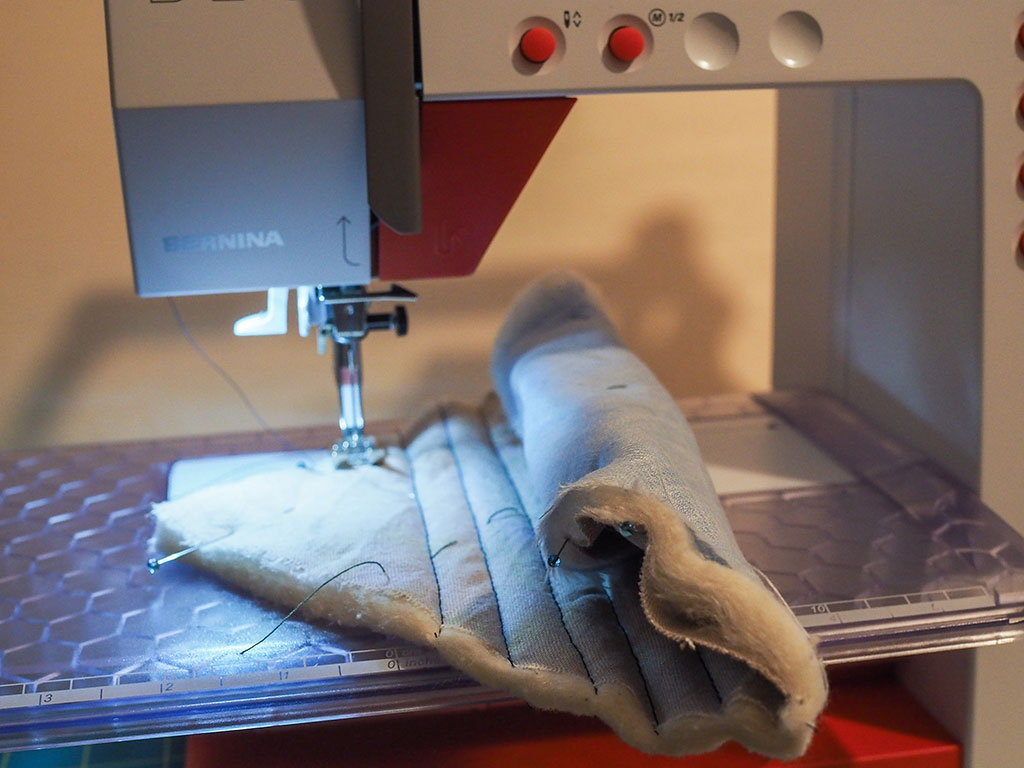
08 | As you work your way outward, you may find it difficult to fit your garment piece under the arm of the sewing machine. A quick solution is to roll up the side of the garment piece you're not working on.
09 | Once you've finished your quilting stitches, baste a line around the outer edge of your garment piece, inside the seam allowance at around 1/4". This will keep all your layers together inside the seam allowance. Then, remove all the pins and basting.
10 | After you've completed all of your garment pieces, you're ready to sew them together as you would a normal garment. You'll finish your seams bound together with bias binding to keep everything neat on the inside.
11 | When your garment has been constructed, you can finish your outer edges with bias tape, too!
Other Quilty Ideas and Tips
For extra warmth, add a layer of Thinsulate between your batting and lining layer. Thinsulate is the brand name for a synthetic material that makes your garment extra cozy.
Consider your batting. If you primarily plan to use your new garment in the winter, splurge on wool for real insulation. But if you'd like it to be multi-seasonal, consider cotton, and you can wear it as a layering piece in the spring.
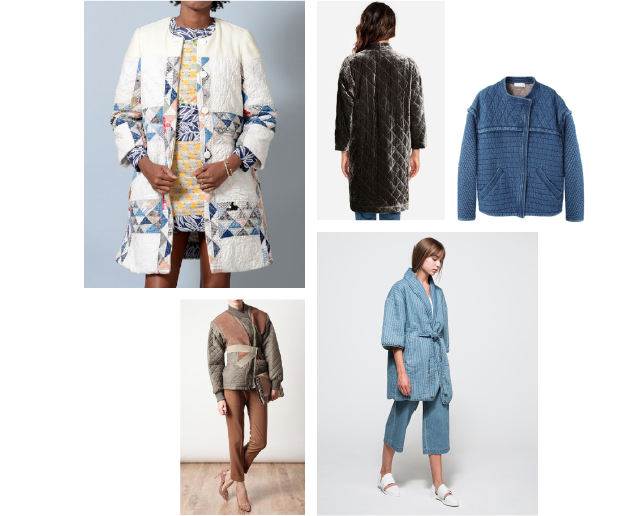
Quilted denim by Need Supply Co., A quilted velvet jacket by Johnny Was, Quilted jacket by Isabel Marant, Quilted jacket with suede patches by Acne Studios.
Try quilting an unconventional fabric for an interesting texture. Cotton isn’t always the go-to for quilting. Many different fabrics stand up to quilting. Some conventional fabrics might be wool or flannel, but velvet, leather, lightweight denim, or even vinyl can produce a beautiful look, too.
Try to steer clear of slinky fabrics. They have a greater tendency to shift while being sewn.
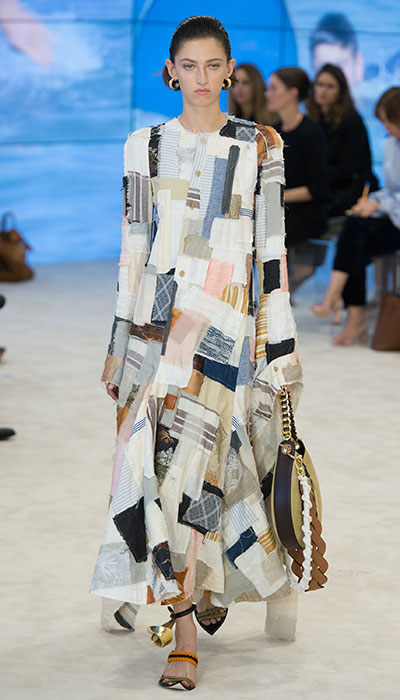
Quilting doesn’t have to be limited to stripes and squares! You can play with the style lines and add color-blocking to create more intriguing garments.
Create your own pre-quilted fabric. To create that rippled look of a well-loved quilt, sew large rectangles of quilt sandwiches that are just slightly larger (2-3 inches) than your pattern pieces, without prewashing your fabric first. In effect, you're creating your own pre-quilted fabric like you can buy at the store. If your fabric is prone to fraying, serge the edges, then wash the rectangle as-is. The fabric, batting, and lining will shrink to create the rippled look.
Instead of creating your own "vintage" quilt, why not just buy one? While some may find it sacrilege, hitting up your local thrift store or even eBay for used quilts is a quick way to find a textile to work with. I say this with the caveat that I learned how to sew as a child because my mother was a hand-quilter, and I would be devastated if I ever learned of anyone else cutting up her handwork. But if a handmade quilt has landed in a thrift shop, I'm going to guess that it's probably already lived a long and full life and is ready to live a second life as a jacket. Ethically, I leave it up to you!
If You Like Quilting, You Might Like…
Patchwork often goes hand-in-hand with quilting. Hacking a pattern piece into patchwork is a similar process to color blocking. Start by tracing your pattern piece onto a fresh piece of pattern paper, so you aren't messing with your original. Draw style lines on the pattern piece where you would like each patchwork piece to begin and end. Slash each style line, making sure to add a seam allowance to each new pattern piece. It can help to number your new pattern pieces to keep them in order. Cut out your fabric, then sew them together to create your larger pattern piece.
There are a bunch of traditional quilting, hand-sewing, and patchwork methods across the world that result in unique, handmade textiles. I’ll leave you with a few other methods to get your gears turning.
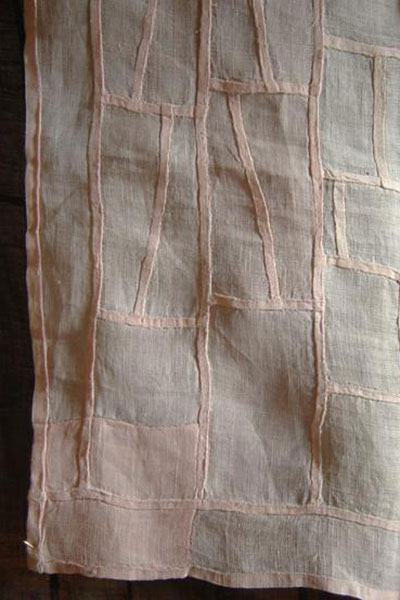
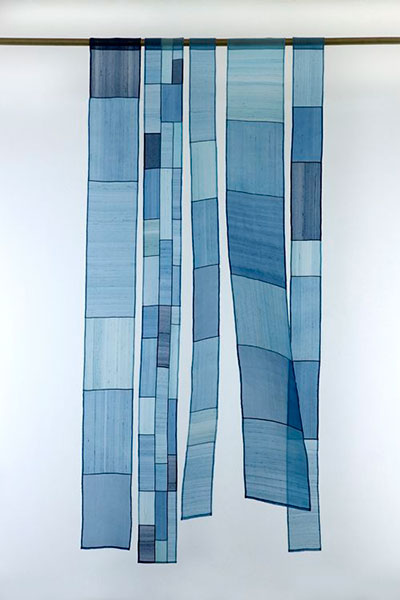
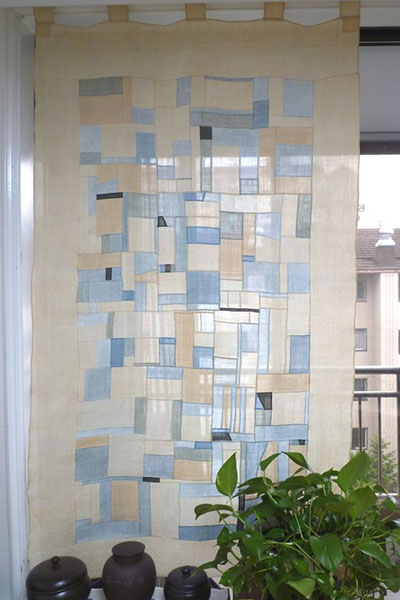
Pojagi is a traditional Korean patchwork method that uses a seam similar to the flat-felled seam to create fabric out of scraps. It’s beautiful on either side and creates a stained-glass effect. If you're looking for a summer-weight way to quilt, Pojagi could be it! This method of quilting doesn't require any topstitching, batting, or lining, so is best used for a summer robe, such as a linen version of the Quince day robe.

Sashiko stitching on the York top from Seamwork issue no. 17.
Sashiko is a traditional Japanese stitching method that uses visible hand stitches to create patterns.
Boro is a method of mending clothing historically used by Japanese peasants in whatever scraps they could find. The scraps were patched together in running sashiko stitches, creating beautiful textures and stories in the way the clothing was mended.

About the Author
Saki Jane has been sewing for over two decades, with a background in fashion and bridal design. Now, she finds pleasure in crafting her own wardrobe and sharing the joy of sewing with others through workshops and tutorials. You can find her work on Instagram (@sakijane) and at her blog at sakijane.com.