Sign In
Who doesn't love throwing on loungewear—or pajamas or even athletic wear—after a long, hard day? Is there anything better than the feeling of soft knits and stretchy elastic to make all your worries melt away and give yourself over to ultimate comfort?
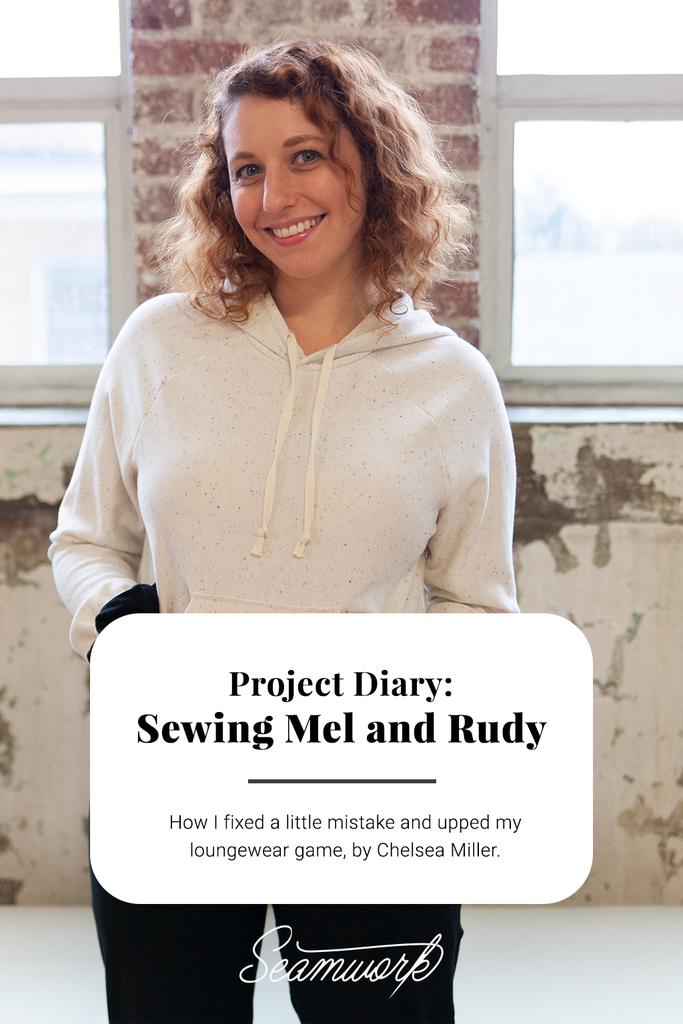
I'll admit, my loungewear game has been lacking for a while—or rather, my collection of old T-shirts and stretched-out yoga pants—but once I took a peek at our upcoming designs and saw the Mel joggers and Rudy sweatshirt, I knew it was time. Time to retire that old T-shirt and sew up my own, cute, comfortable loungewear!
Today, I'm walking you through my Mel + Rudy journey. You'll see the triumphs, the mistakes, and my finished look. I'll even show you an easy hack for the Rudy sweatshirt.
But before we dive into that, you know what else screams comfort? SCRUNCHIES! I also have a scrunchie tutorial out this month; you can read all about it here.
So get ready to sew up some loungewear—and maybe top off your outfit with a scrunchie or two.

The Fabric
Here's a run-down on the fabric I used for my set.
I made the Rudy sweatshirt in French terry from Stonemountain and Daughter Fabrics and it is perfectly soft and so nice to sew with.
The Mel joggers are also sewn in French terry but from Blackbird Fabrics. It's so buttery soft, and I feel very spoiled getting to wear it. I also used some matching ribbing for the leg cuffs!
French terry is one of the best knit fabrics to sew with, if you ask me. It feels great on the skin, wicks moisture, and sewing with it is a breeze. It doesn't stretch out nearly as much as some other knits, but it still provides a comfortable amount of stretch. French terry will also have some structure and generous recovery, making it a real go-to, in my opinion. The fabrics I choose for this project were all described as having amazing hand feel, and isn't that one of the most important aspects when sewing something for lounging?
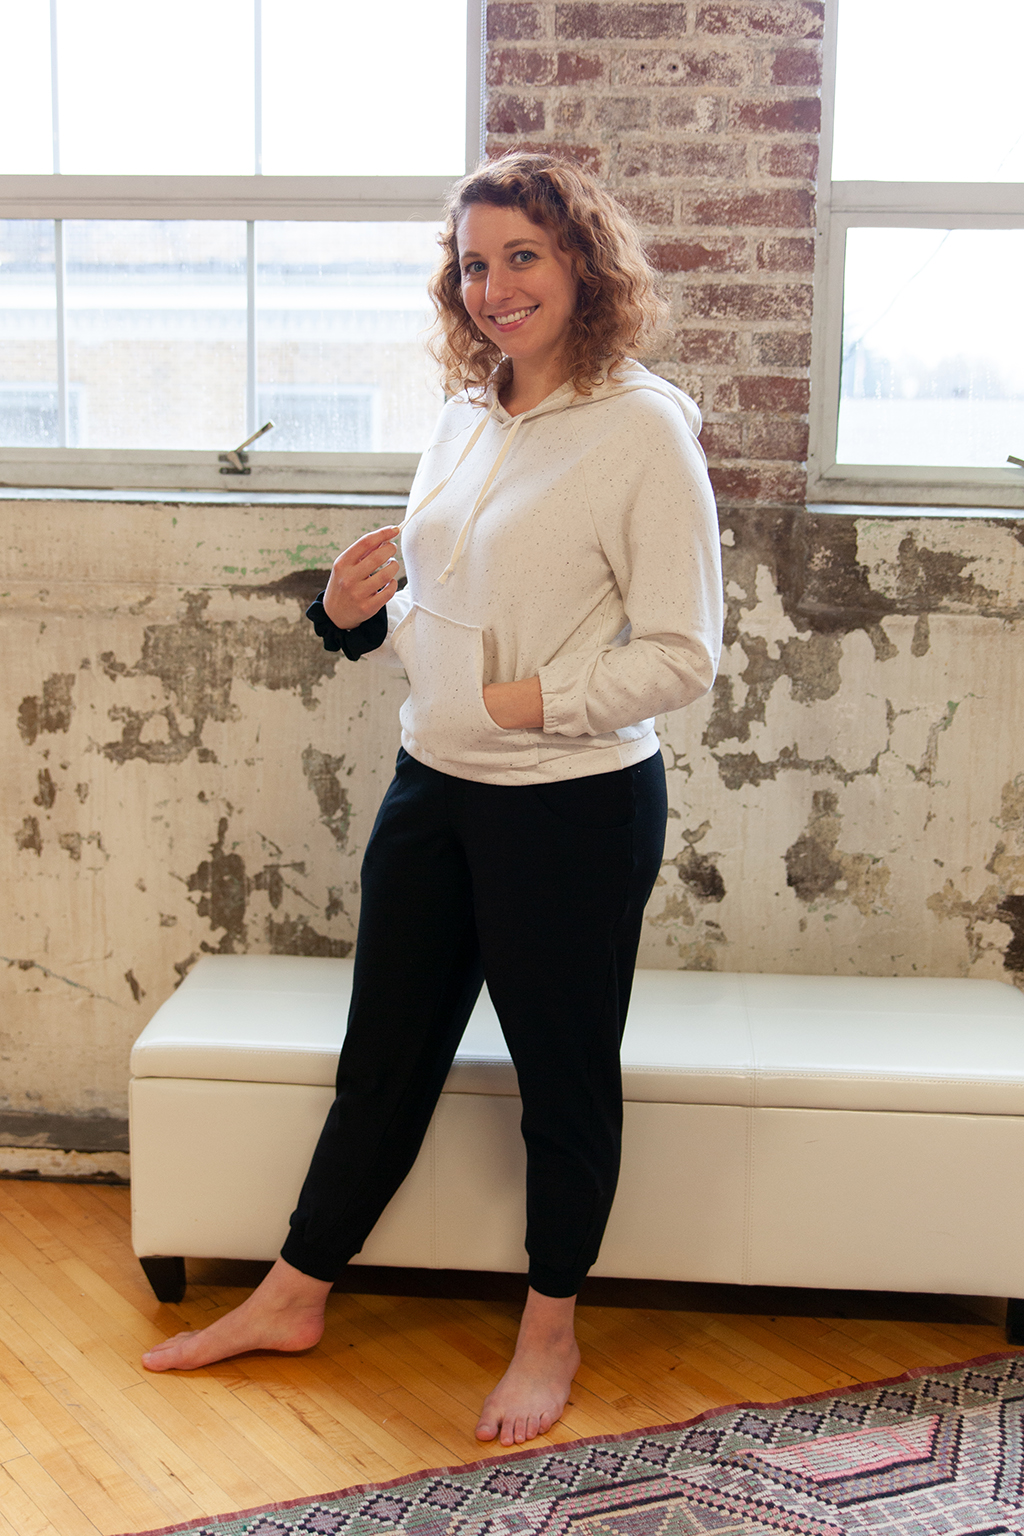
I had dreams of making a matching set for my Mel + Rudy combination, but going all black made me long for a little more interest. I found that the black speckles in the cream-colored French terry perfectly complemented the black joggers, without being too matchy-matchy. The cream drawstring also helps tie the hoodie and joggers together so that it feels like a more cohesive set.
If you don’t want to make a fully matching set, it’s easy to play with coordinating colors like this. Here are a few more ideas:
- Sew a monochromatic look, which just means you pick different shades of one color
- Find matching ribbing for your loungewear project to give it a ready-to-wear look
- Have fun with contrasting ribbing
- Match your ribbing to your drawstring
- Pick a print for the top and a solid for the bottoms, or vice versa
Sewing Mel + Rudy
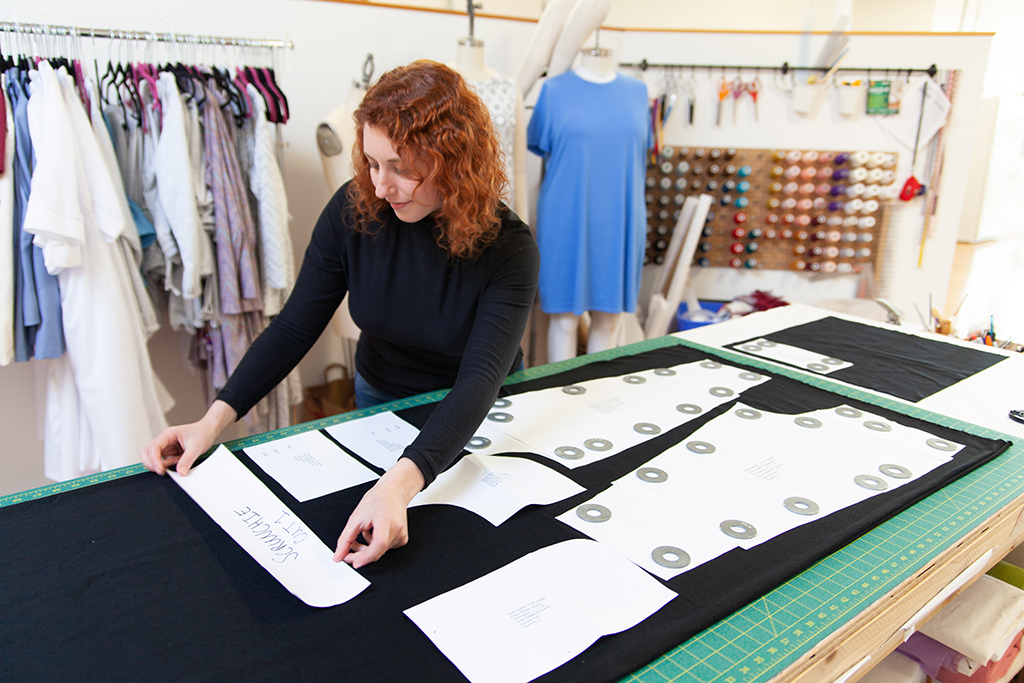
After laying out my pieces—including my scrunchie pattern pieces—I got to work, using my rotary cutter to ready my pattern pieces. I like using a rotary cutter and pattern weights for knits since I'm less likely to stretch the fabric by pinning.
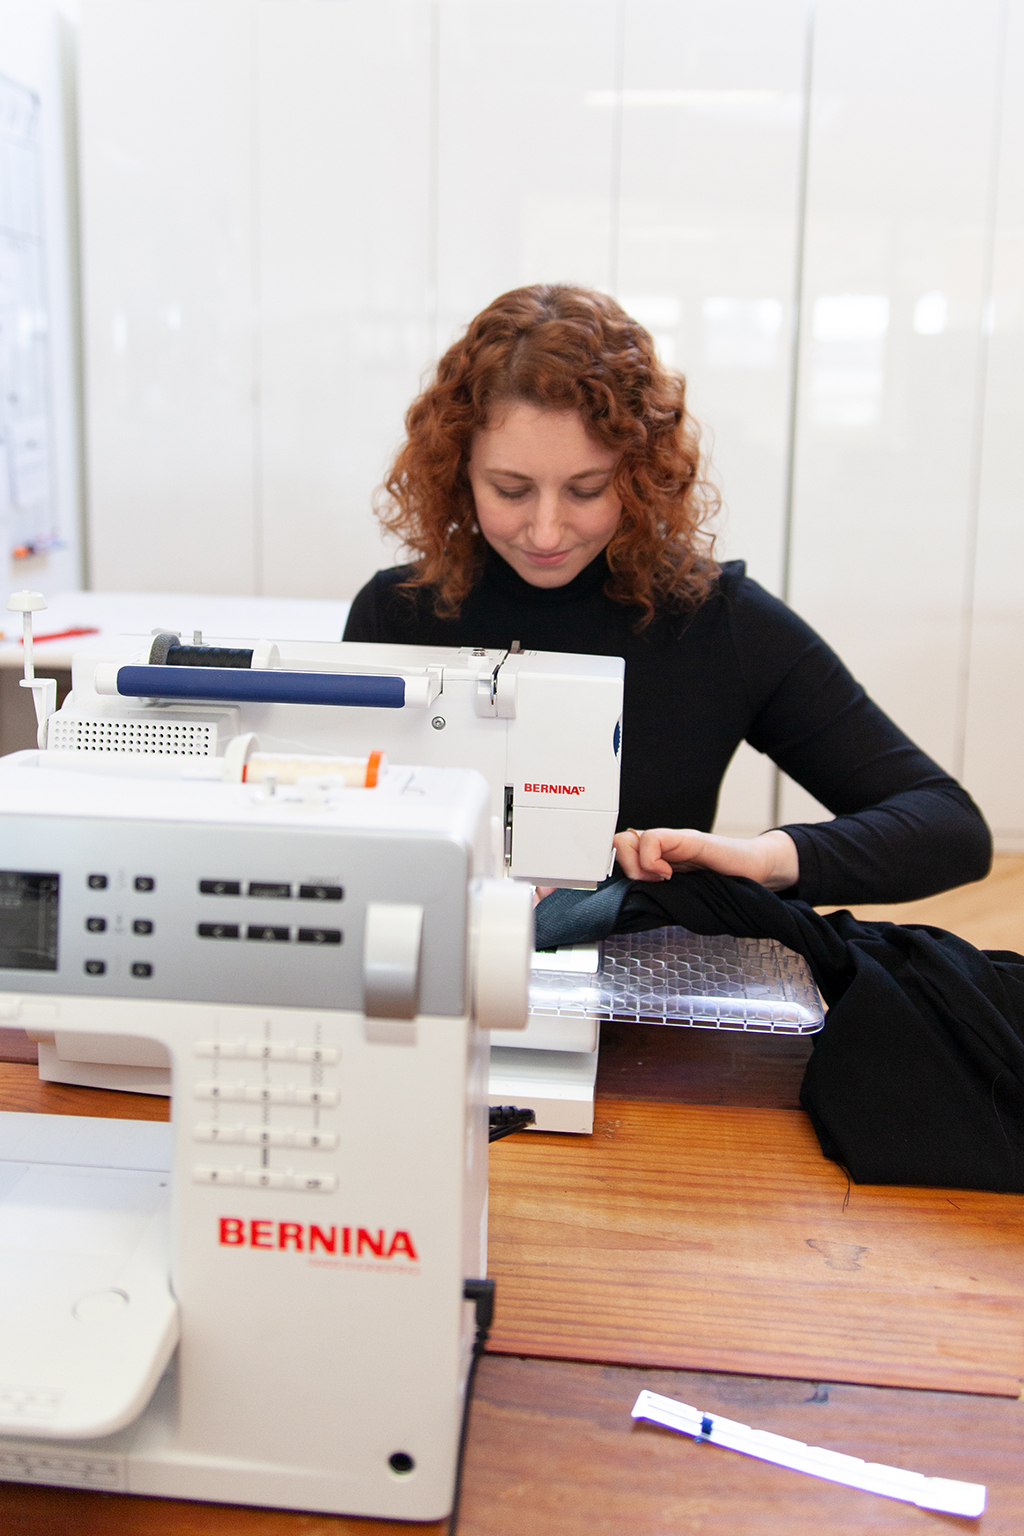
Sewing knits is great, especially if you have a serger. The Rudy sweatshirt and Mel joggers are easy to sew up, the trickiest parts being inserting the elastic (make sure it doesn't twist) and topstitching the Mel waistband (gotta stretch it as you sew). They're all-around great patterns for beginners, and knit projects like these can be done in the blink of an eye once you get in the sewing zone.
However, just because you think you're on easy street and don't have a sewing care in the sewing world, doesn't mean you won't run into any obstacles!
Oops! I made a mistake.
After very carefully placing the pocket for the Rudy sweatshirt onto the front and topstitching it as accurately as I could, I made a startling realization. I have shortened the front TOO MUCH.
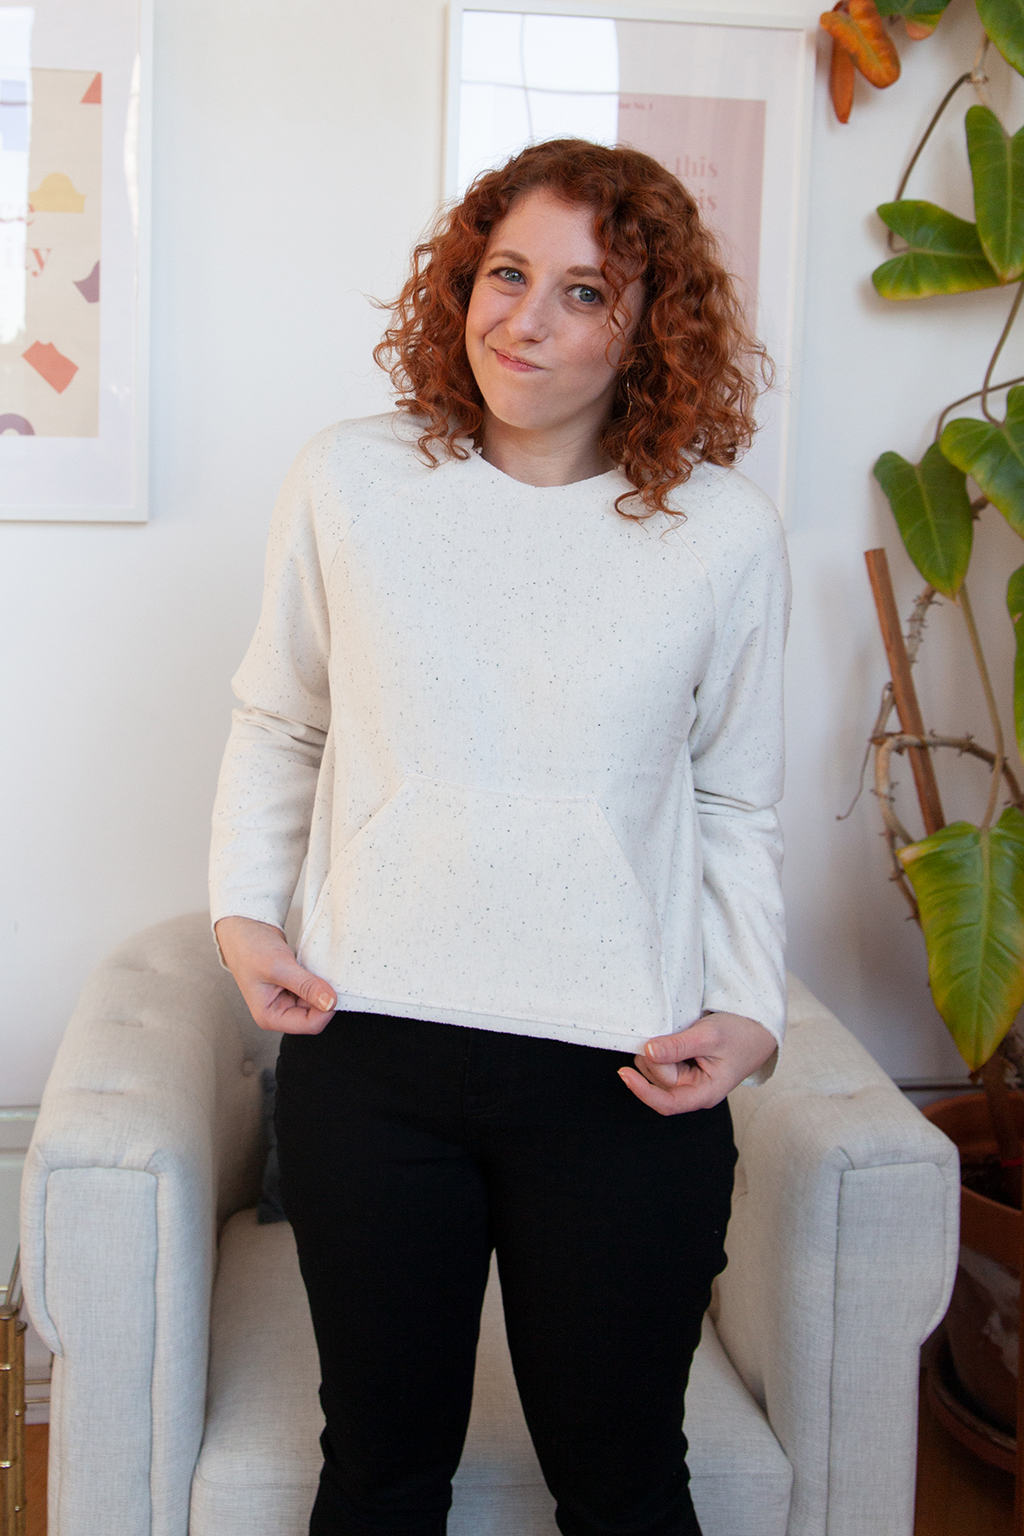
Since I'm short (5'2"), shortening pattern pieces is always one of the very first things I do. However, when I shortened this sweatshirt, I failed to notice how that would affect the pocket placement. The pocket was now lying on my chest. Not cute.
However, because sewing is magic, as they say, I knew how I could fix this! Here's Chelsea's simple-no-worries-you're-just-fine hack.
First off, I moved my pocket down to where I wanted it to be. But then, I didn’t have enough seam allowance at the hem to do the elastic casing. So instead, I made a hem band! This is a super easy hack to do whenever you need either a little extra length, want to do a different hemming method, or you're like me, and you went a little crazy shortening your pattern pieces.
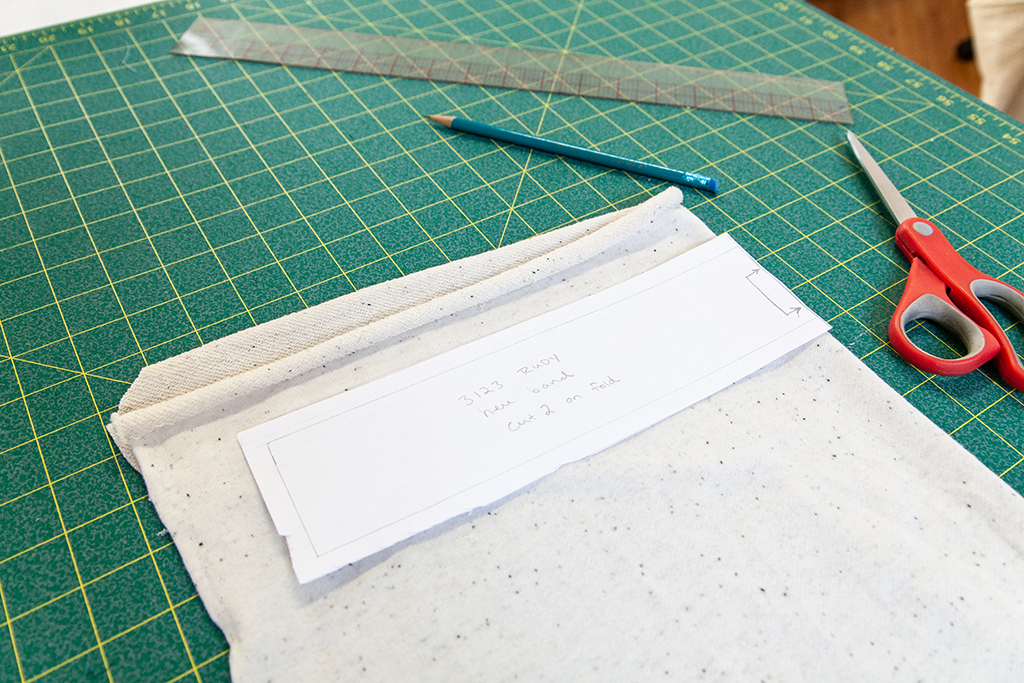
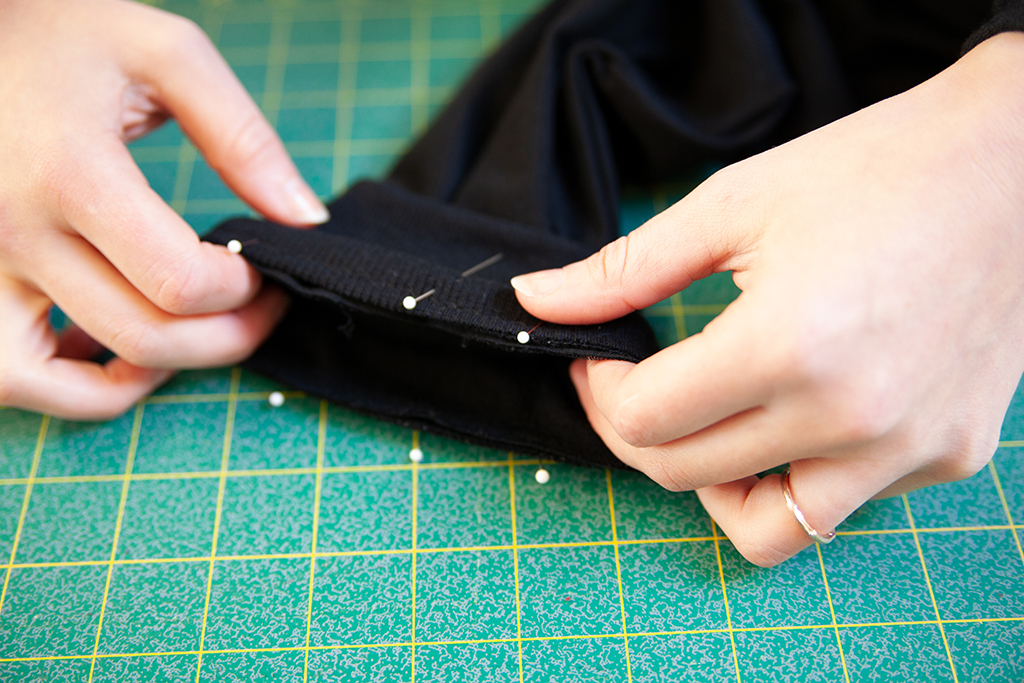
To make the hem band, I measured the hem of the sweatshirt and drew a rectangle half that length so that the pattern piece could be cut on the fold. Since I really did like the elastic look of the design, I knew I could add elastic to the hem band. I had some 1" elastic on hand, so I made my band 2 1/4” wide. That way, when I folded it in half, I had 1/4" for a little extra wiggle room while serging the band, to play it safe.
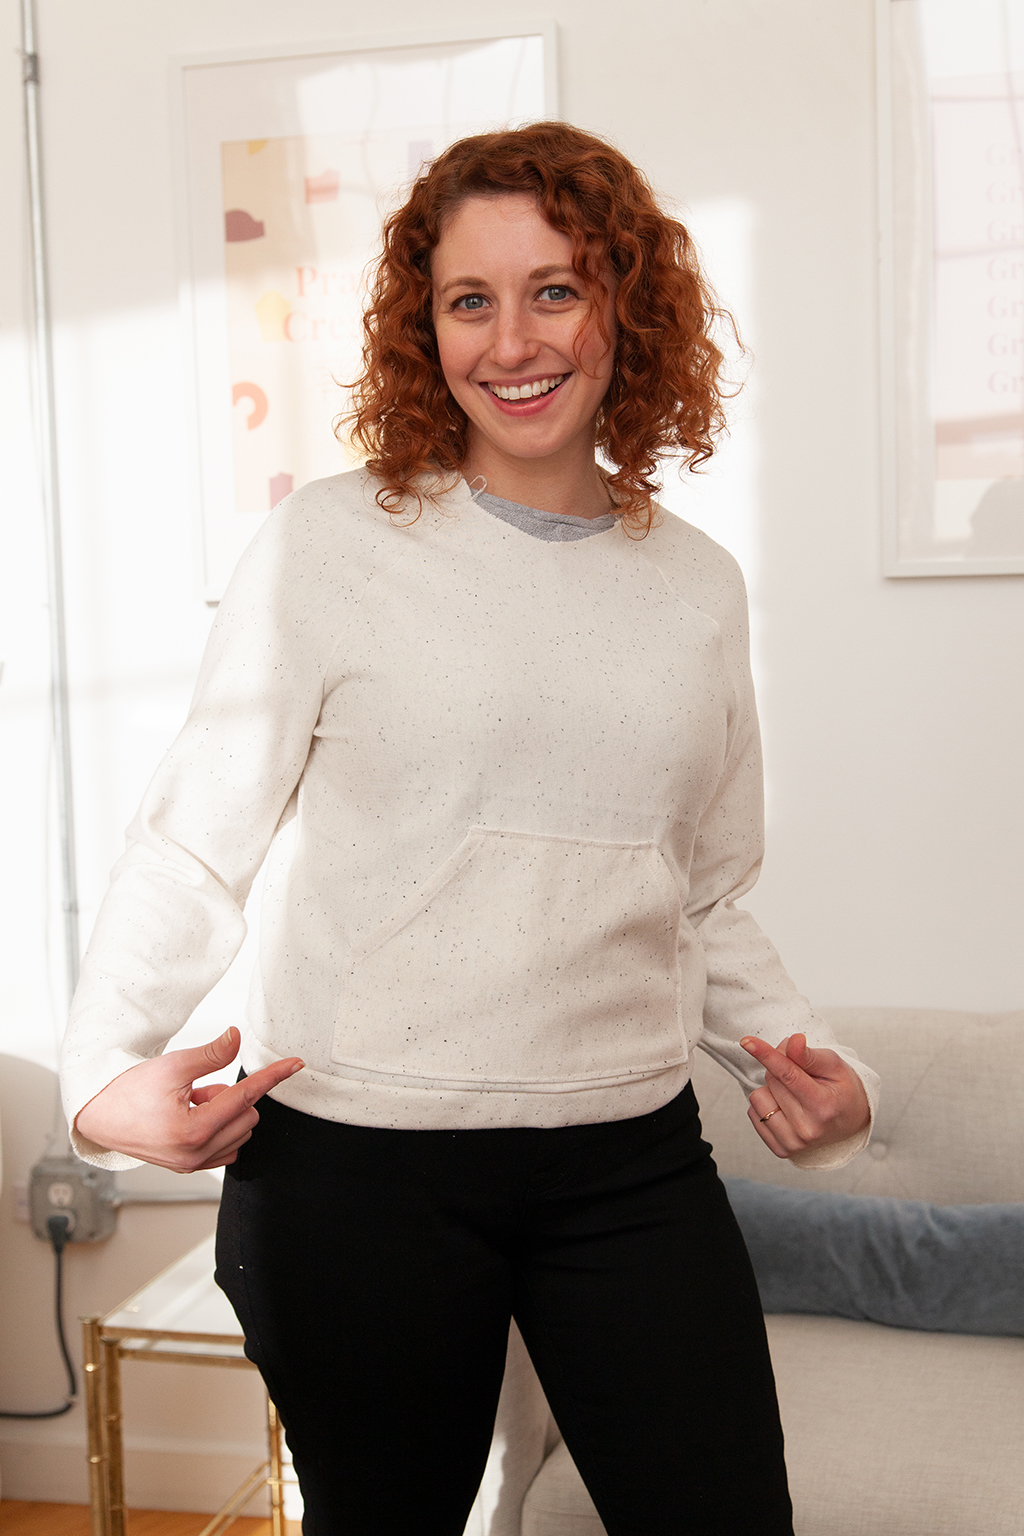
With wrong sides together, I folded the band in half lengthwise, gave it a press, and basted it on. I left a gap and inserted the 1" elastic and then closed the gap. Then I gave it all a finishing with the serger. Easy peasy, and now the length fits me just fine! This simple trick has saved me a handful of times, I'll admit.
Little errors like this can sometimes derail your project, but remember that you can fix nearly any sewing mistake. You have total control over your project. Whether it's mending a hole when your serger eats your fabric, adding a clever design detail to cover up an error, or improvising with a quick pattern hack, you can usually find a solution to create a wearable garment. Try not to let mistakes deter you.
Back on track
Thankfully, after my little hurdle, the rest was back to being a nice, easy sewing time.
Before we wrap everything up on this loungewear journey, let’s talk drawstrings. For this project, I’m using some cream twill drawstring, purchased locally, but there’s plenty of options out there. You can make your drawstring out of self-fabric (sewing a tube and pulling it right side out), cording, twill tape, or even shoelaces.
Looking for more drawstring resources? Check out this article all about drawstrings.
Even though these are garments I plan to wear while being on my couch or running out to get my mail, it still feels just as accomplishing to make! Loungewear is one of those categories that easily get overlooked, but for how easy they are to sew up—who could resist? Let’s make it a point to make 2020 the year of upping our loungewear game!

Chelsea Miller
Technical Illustrator
When she isn't pattern hacking, Chelsea is drawing step-by-step pattern instructions in Illustrator. As the Technical Illustrator here at Seamwork, she loves to make our instructions easy to follow and fun to read.