Sign In
Sewing is literal magic to me. It gives me the ability to use my creative powers to create things for my wardrobe that I know I'll wear and love. I love the process and challenges that it comes with. It helps me forget about my daily routines and get out of my head and into a physical space.
Sidenote: I really enjoyed reading about why all of you Seamworkers love sewing when we put together this month's issue.
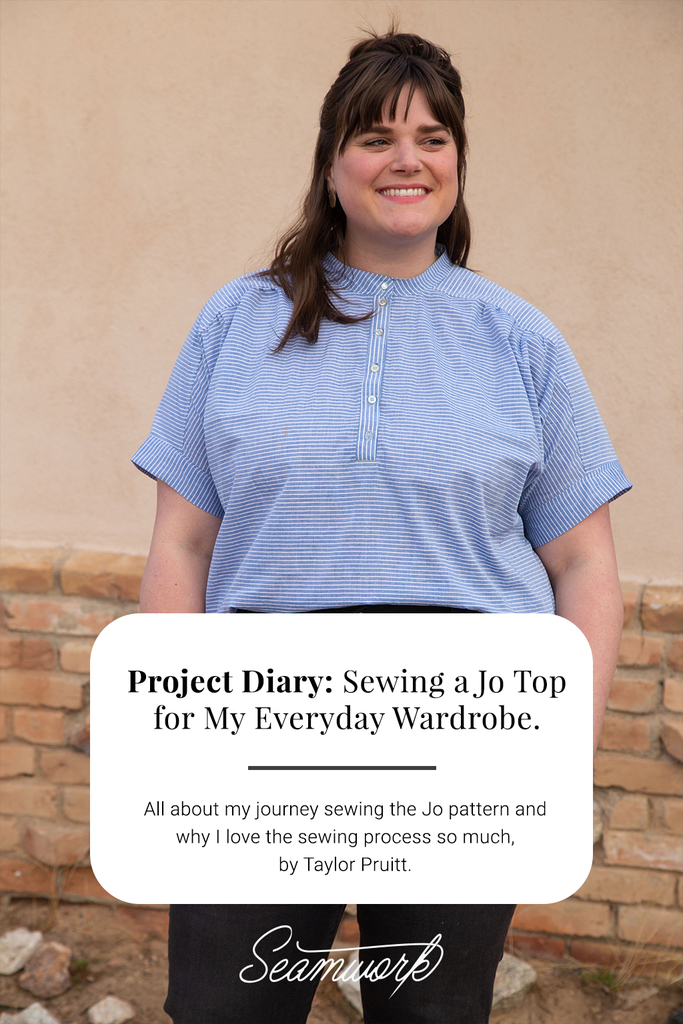
To tell you a bit about how much I love sewing, I want to take you through my process of sewing the Jo pattern from this month's release.
Do you have a perfect shirt that you wear all the time? I have one, MAYBE two, and definitely would like to have a few more. When I saw Jo, I was so excited about the potential for how chic yet comfortable it looked—which are definitely two of my favorite words to describe the style I strive for. Currently, dresses don't really catch my eye—I'm more of a pants-and-top type of person, and so I was happy that Chelsea planned to show us how to hack the Jo dress into a top!
Prep
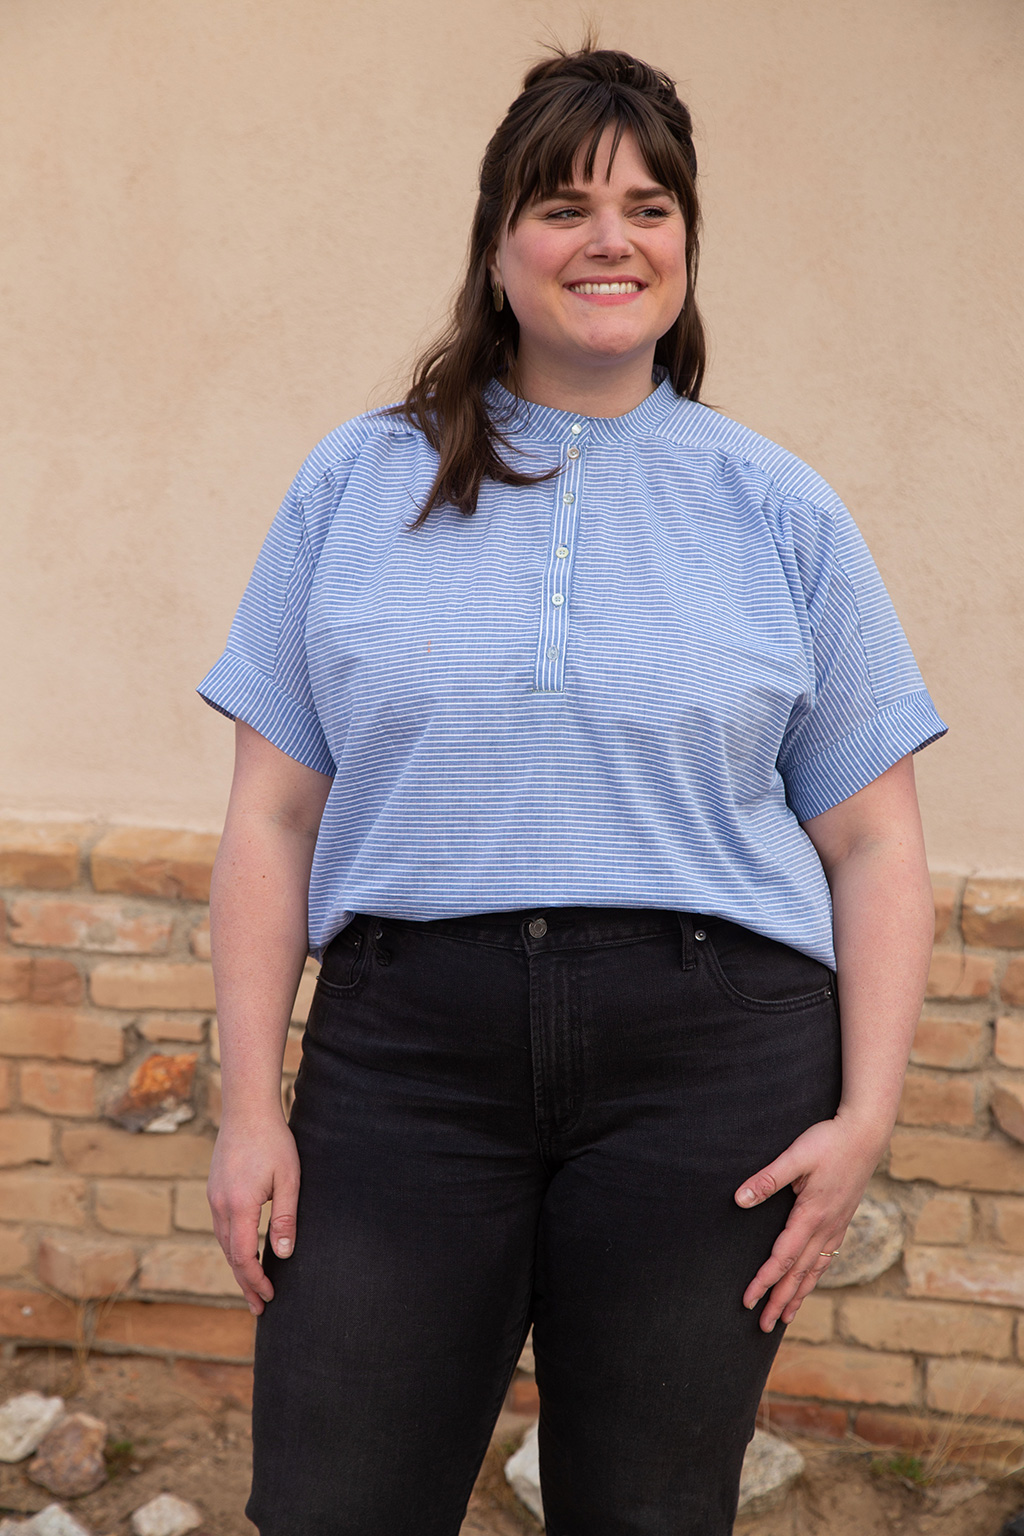
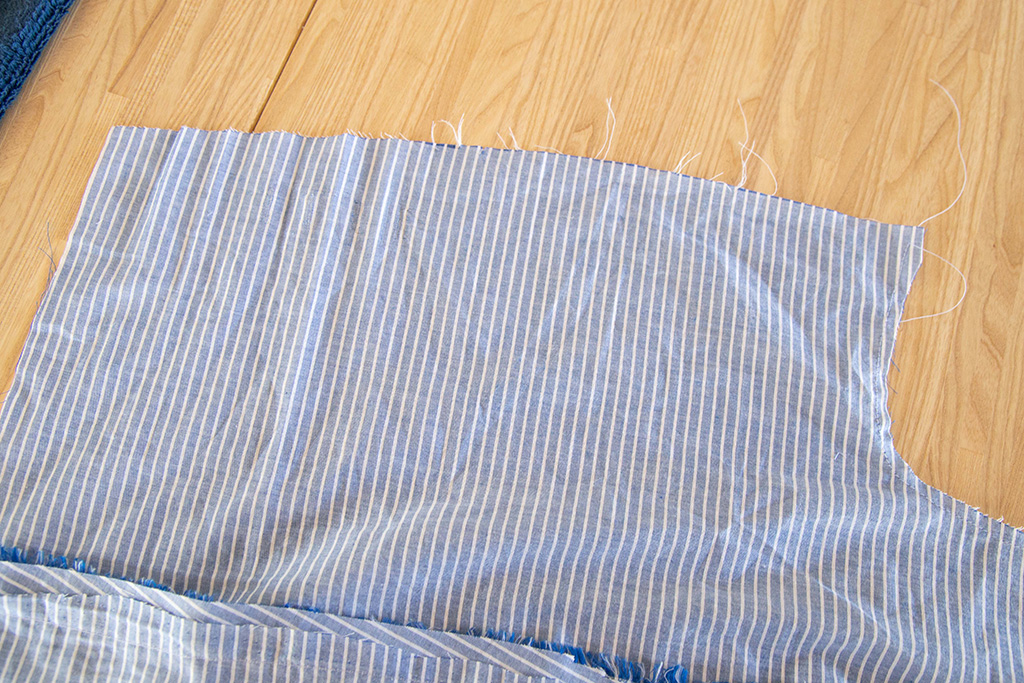
When preparing for the project, I thought about the fabric I should use. I've been trying not to spend as much money on fabric these days, so I went shopping in my stash and found a few great contenders for this project. I ended up using a lightweight cotton shirting that I've had for a few years now. I think it will be the perfect weight for a nice and easy top to go with a variety of layers. Since the fabric is striped, I thought playing with the direction a bit would be nice. I planned out that the placket and yoke would be vertical while the rest of the pieces would run horizontally.
Since I wanted to make a top instead of a dress, I measured both the front and back and made a judgment call by laying the pattern up against my body. I figured out that I wanted to take around 16" off the front and the back. So, I measured from the bottom up and hacked both pieces at the mark I made. You can also follow this month's Pattern Hackers to get the same effect. I knew that the bottom of the dress was narrower than I wanted, so that's why I just ended up hacking it off completely rather than properly shortening the pattern.
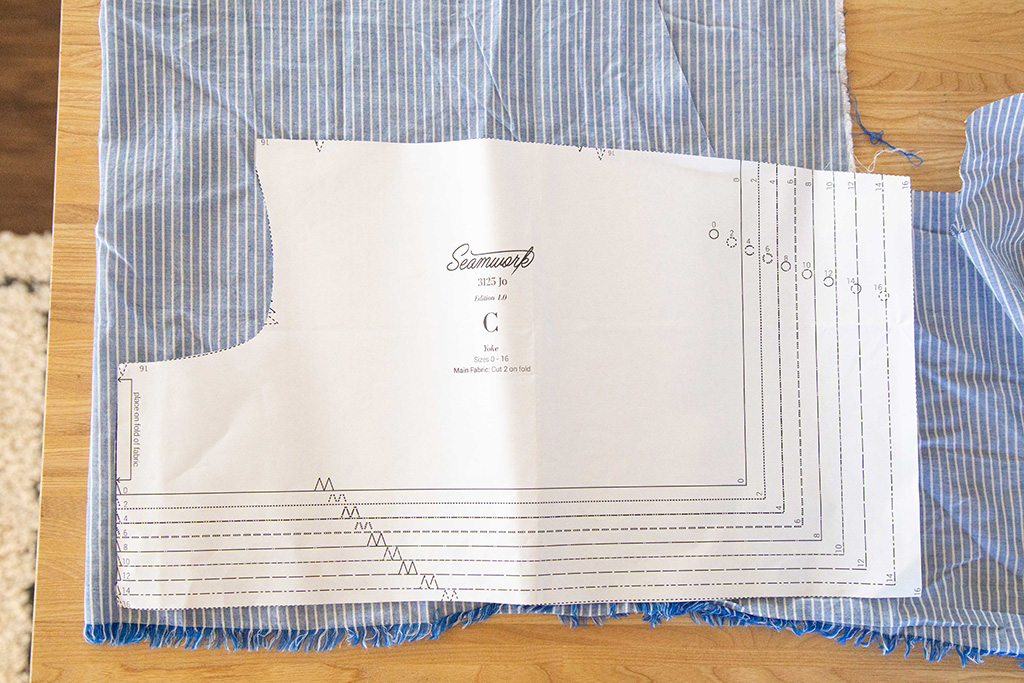
One thing I didn't plan for was when I hit a hiccup in planning my cutting layout. I misread one of the pattern pieces for cut 1 and not 2, so this is a reminder to always remember to read carefully! But luckily—LUCKILY—I could squeeze one more piece out of the amount I had in the direction I wanted it to be.
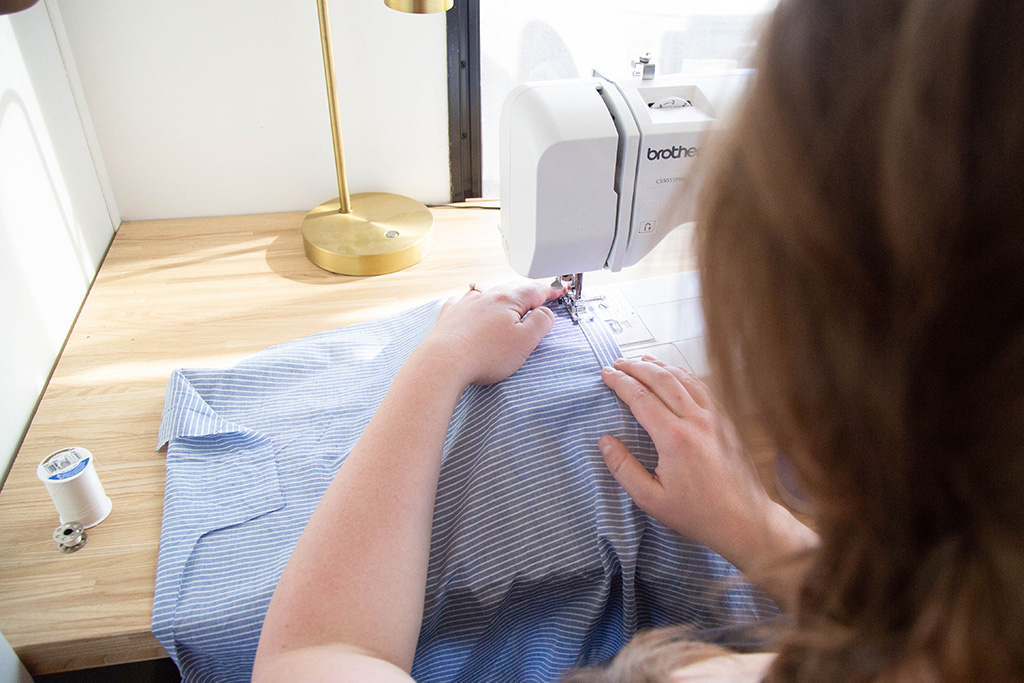
Start sewing
Something I noticed when I started sewing was that my fabric grew quite a bit after cutting the pattern pieces out. I knew this would affect some of my other pieces down the road, so I made sure to staystitch and stabilize according to the instructions.
As time went on, I was at the step to sew buttonholes on the placket. I always like to do a test buttonhole because my brain can never remember if my buttonhole stitch starts at the bottom or the top. So, I pulled out a scrap piece of fabric and did a nice little test and put it away to start sewing buttonholes on to where I was actually supposed to have them—or so I thought. I finished up all my buttonholes on the placket, and after some seam ripping and re-sewing, they looked great!

Remember that test buttonhole I was just telling you about? Later, as I was assembling the yokes, I noticed my fabric wasn't laying down the way I wanted it to, and I saw that there was the freaking "test" buttonhole that I did earlier in the process. I was bummed, but also thought it was hilarious. Talk about a sewing blooper. I thought I did such a good job by testing something, but it turns out it was on something not testable. Overall, it ended up okay. Good thing I had ripped out so many buttonholes earlier on, so I was well-practiced.
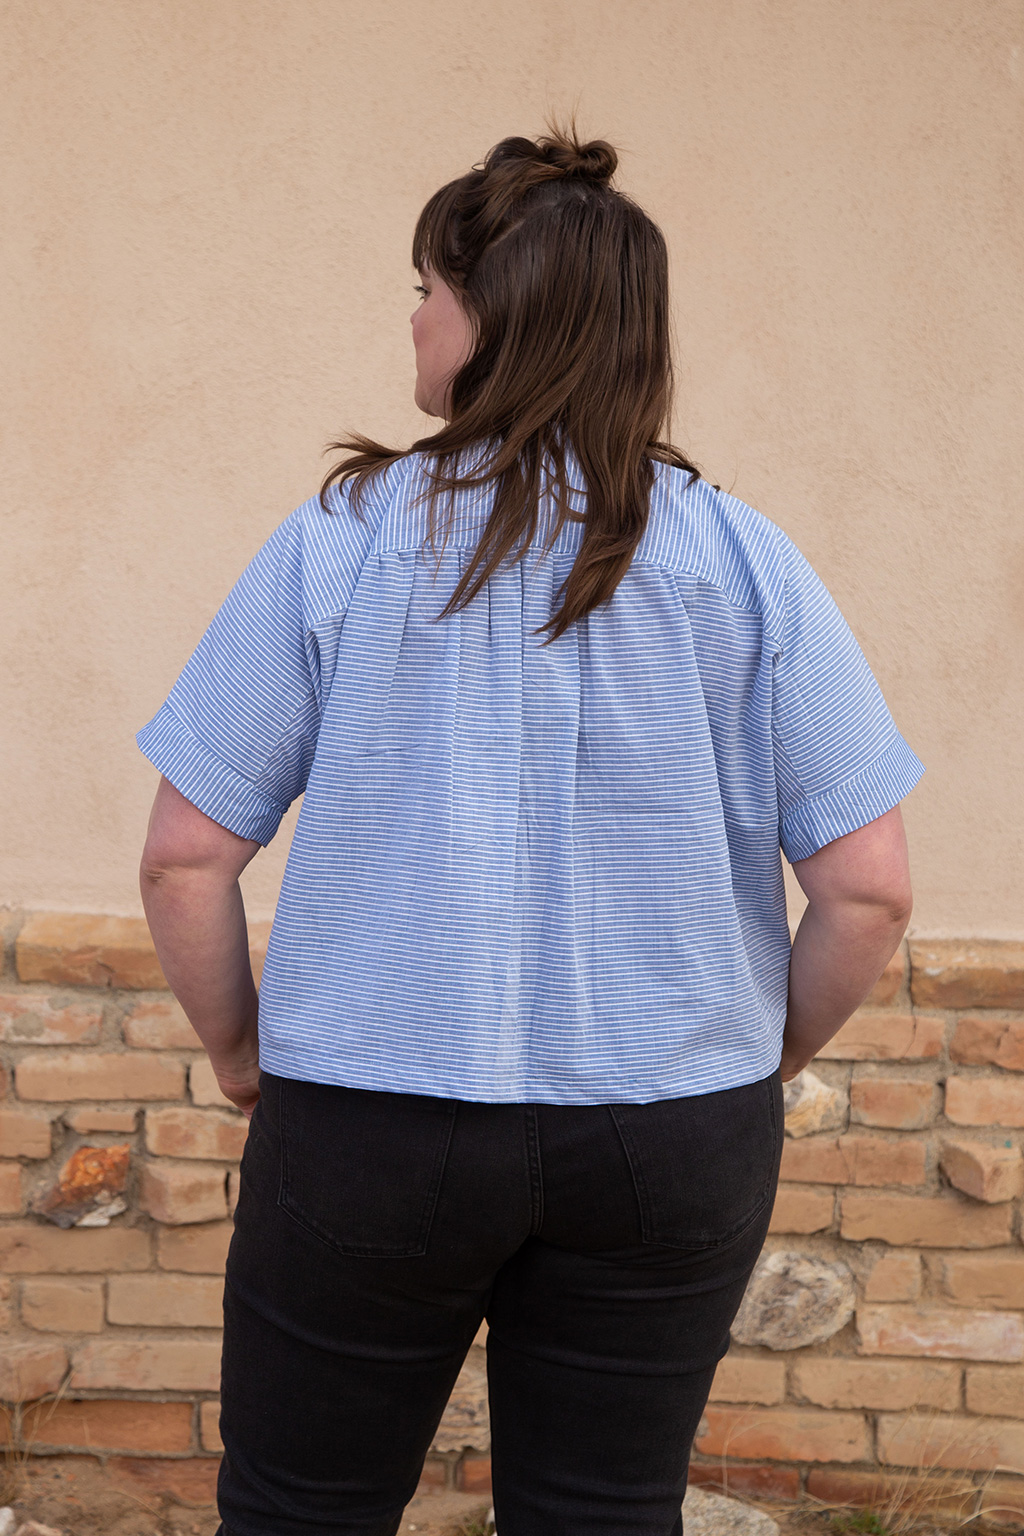
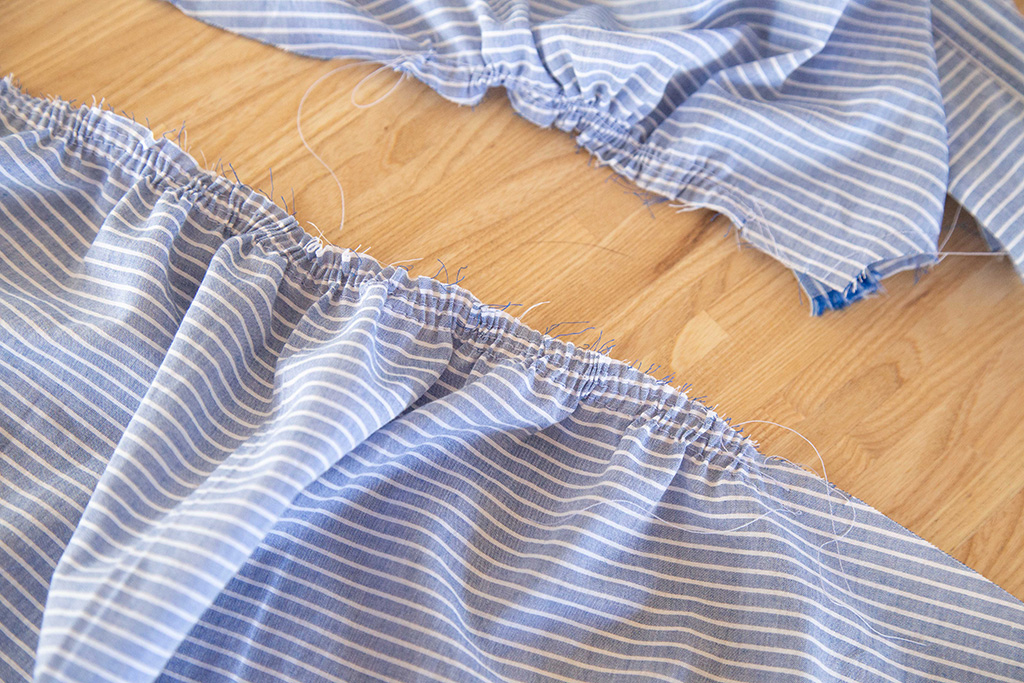
As time went on, I really wanted to sit and admire all the little details that I did on this shirt. The gathers might be my favorite part. Making gathers is fun for me. I used to think it was a pain in the butt, but after really doing them properly, I love it when a project incorporates them.
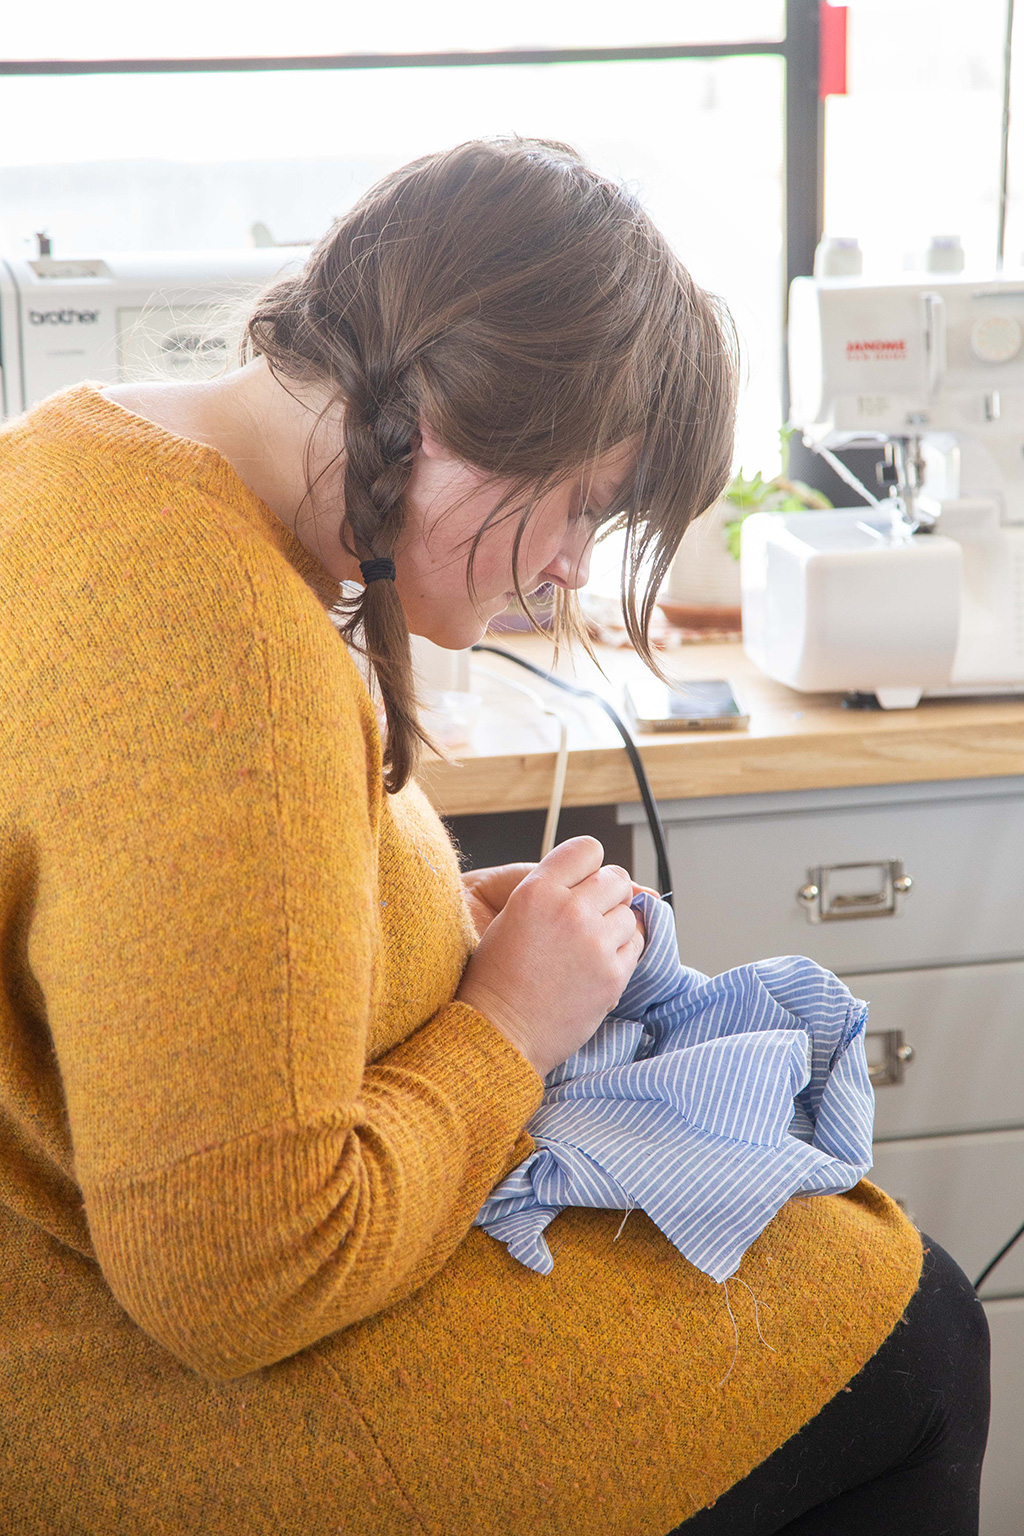
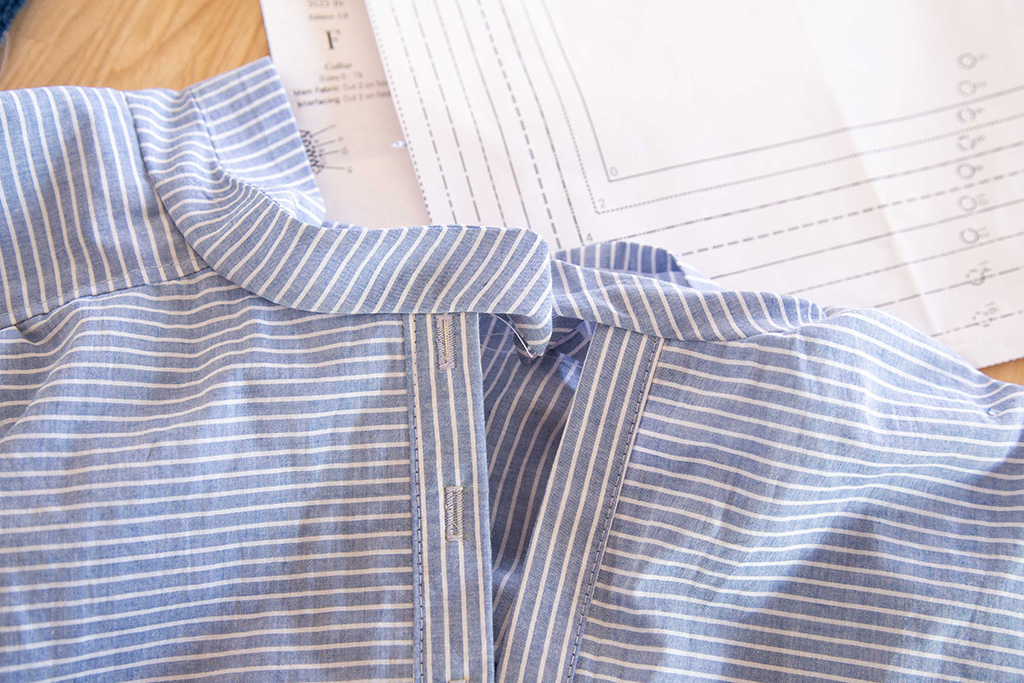
The collar mishap
Remember when I said earlier that my fabric grew a lot? Well, it REALLY grew in the collar. I was getting to one of the last steps with the collar, and my notches weren't aligning that perfectly. I realized that it was probably due to the fabric stretching over time, so I made it work and tried my best to get it as evenly as I could. I ended up with around 1" longer on each side. It was an easy fix, and I knew that, but it can still derail the process. Luckily, I had the time to sit back and assess what I should do and move forward. I made sure it would fit by trying it on and then trimmed and sewed it to the correct length it needed to be to match the other pattern pieces it ultimately attached to.
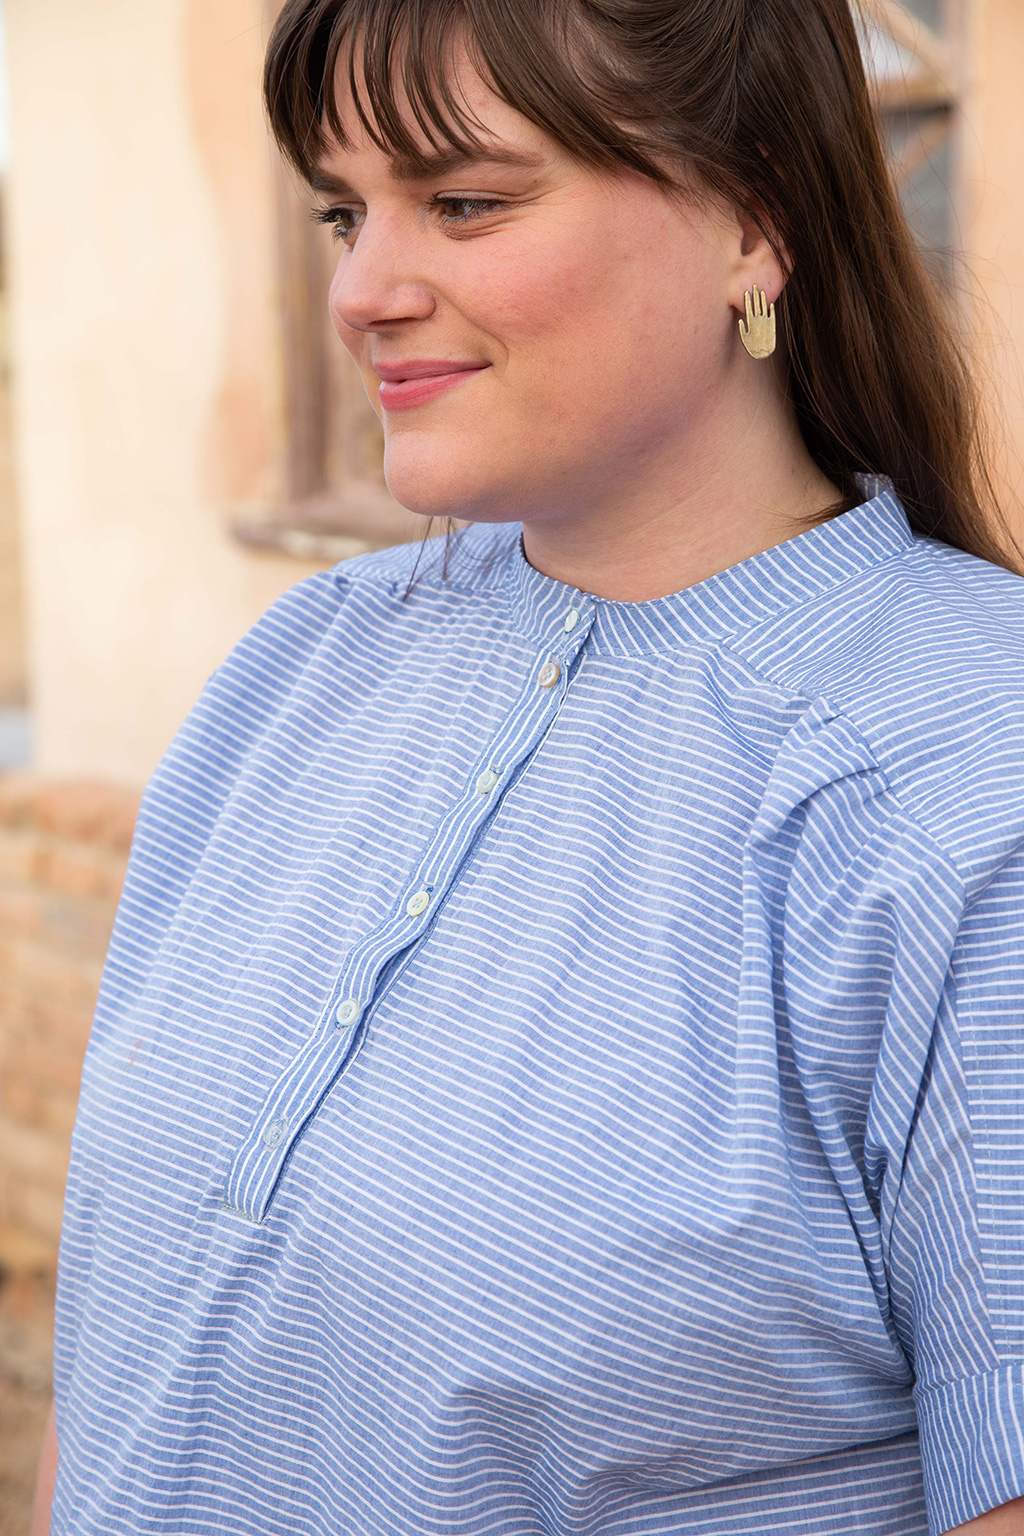
Final product
Stuff like this happens to me a lot. But I always try and just make it work. You can always unpick and try something different, especially on smaller pieces like a collar or placket, because more than likely you'll have some extra fabric to cut out a new one.
By no means is this shirt without flaws. There are flaws here and there, but I'm really proud of how this shirt came together. It feels truly like something I'm going to keep for a long time, and I'm so happy I got to spend time sewing it.


Taylor Pruitt
UX Designer
Taylor has an eye for design. As the UX Designer for Seamwork and Colette she wants to make sure your online experiences are fun and enjoyable.