Sign In
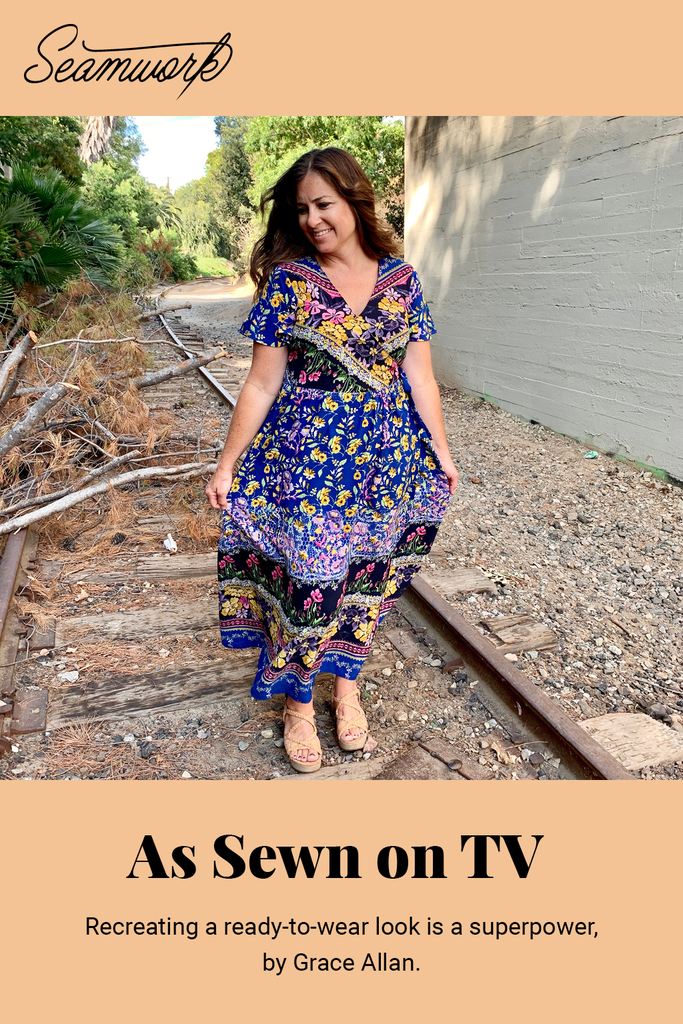
If you sew, you already know you possess a superpower. It can manifest at any time—while out running errands or even while on your couch watching television. Like Spiderman detecting danger, my sewing senses tingle when I see an enviable garment. I immediately search the recesses of my brain to locate a pattern that most closely matches the look.
I want to take you on my most recent journey channeling these sewing powers, inspired by none other than…. Netflix. It’s 2020, where else will my superpower get activated? First, I’ll share my inspiration, then my pattern of choice, followed by adjustments made to the pattern, and finally selecting the right fabric to most closely recreate the look.
The Inspiration
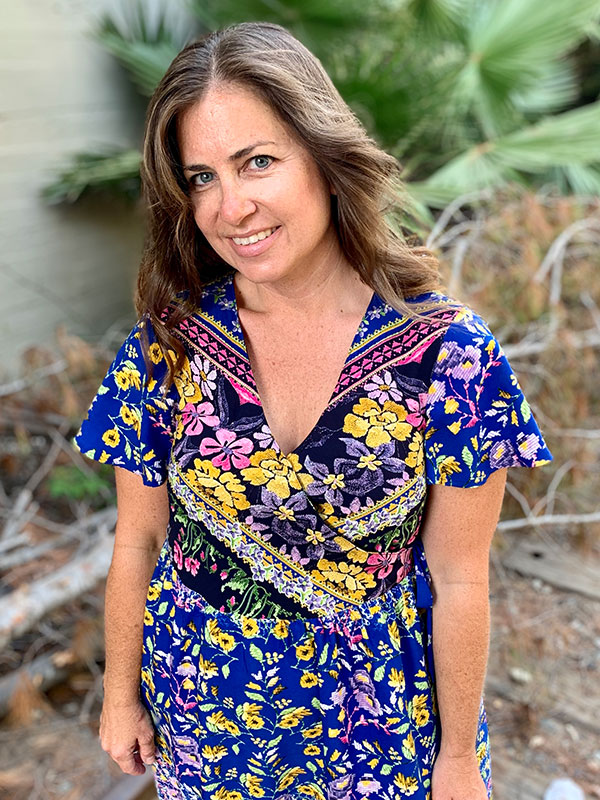
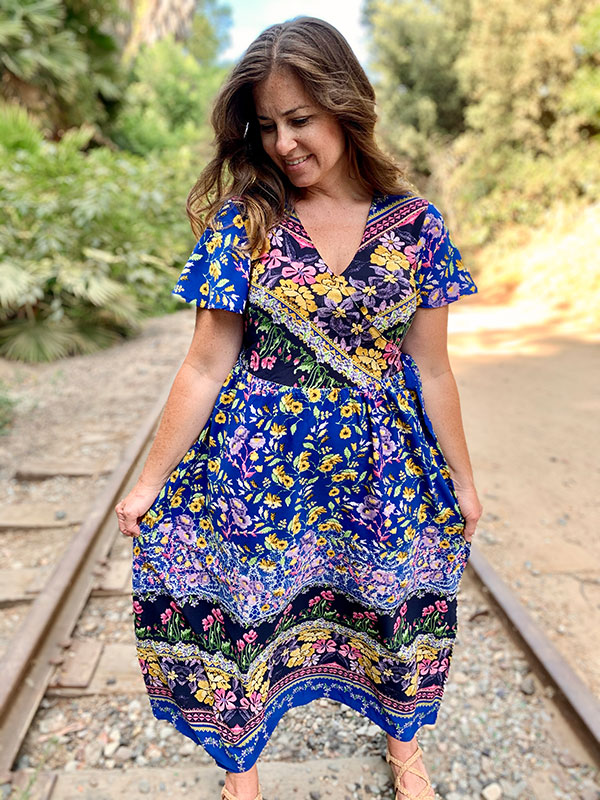
Everyone I know who has seen the Netflix show Dead to Me comments on the wardrobe stylings of Linda Cardellini's character, Judy Hale. Judy is a free-spirited artist living in a Southern California beach community, and her wardrobe reflects that with perfection. A little bit retro, a lot beachy boho, her clothes draw me into the show almost as much as the quirky characters and dark humor.
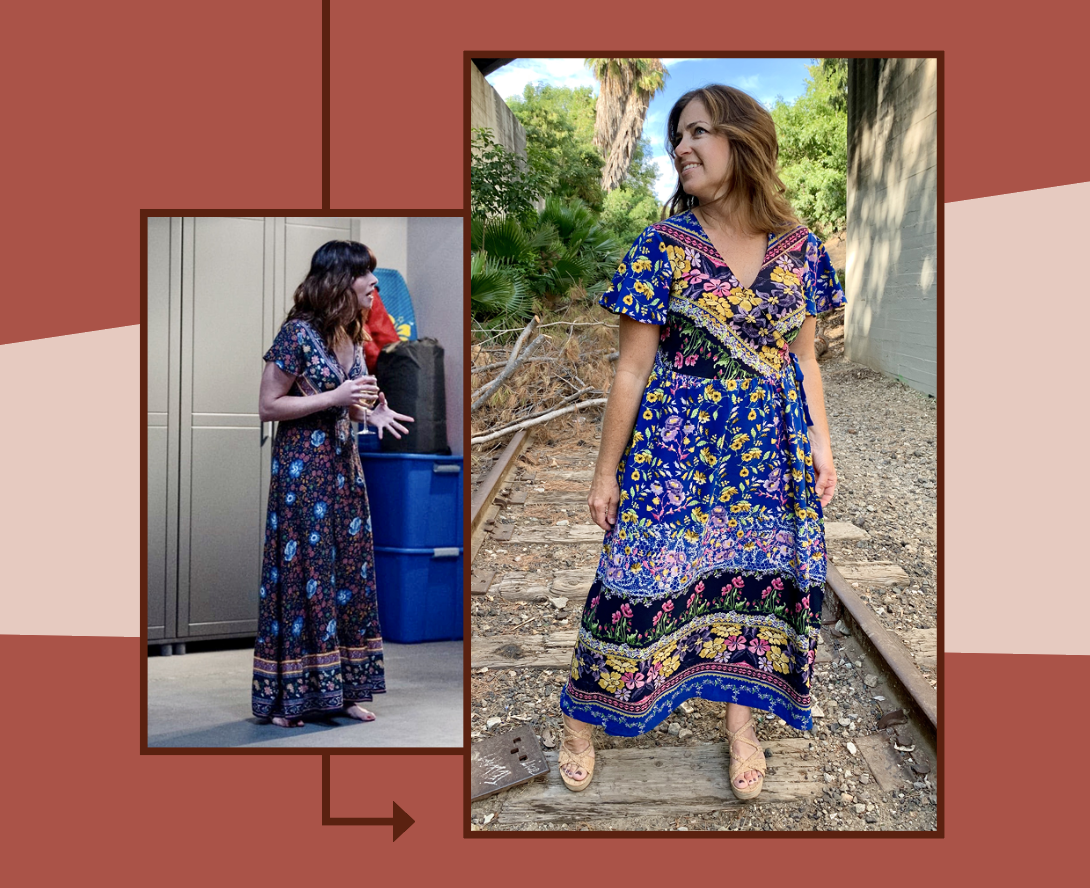
In season 2, episode 2, Judy wears a floral, floor-length wrap dress with flutter sleeves. During that episode, my sewing senses tingled, and my brain began searching, but first, I needed to find pictures of the dress to get a closer look at the details.
The website wornontv.net highlights garments seen on television and provides information on the designer, as well as a link to purchase the item. I discovered my inspiration dress is by Zesica and can be purchased on Amazon for $19.99! Well, stop right there. You may be thinking, it will cost more to recreate that dress than to buy it!
This may be true, and while there are times that recreating a ready-to-wear look can save a ton of money, this is not one of those times. Of equal importance and power in sewing your own clothing is custom-fitting a garment to your body.
I have a hard time finding ready-to-wear wrap dresses because they often gape at the neckline. I am also petite at 5’3”, so anything maxi-length in ready-to-wear is usually too long for me. Making this dress will guarantee a better fit.
Pattern and Bodice Adjustments
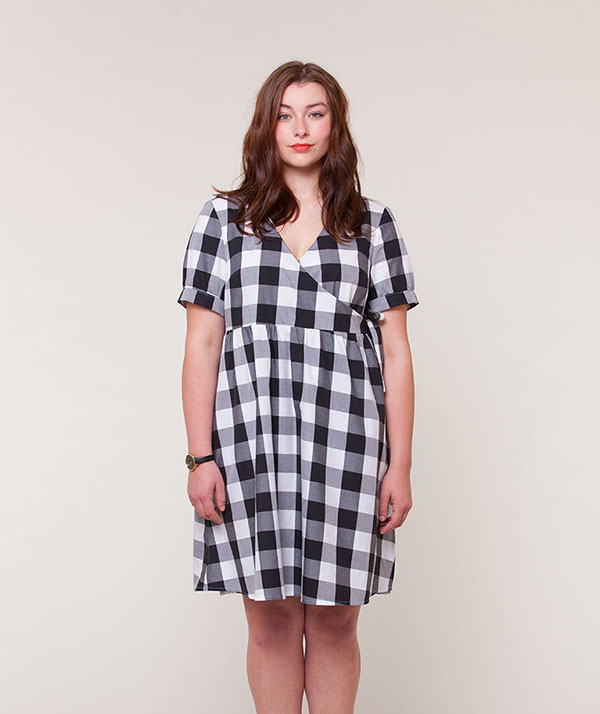
After searching through wrap dress patterns, I decided on the Seamwork Reggie dress. Like Batman with his utility belt, my subscription to Seamwork augments my superpowers by providing the tools to access a variety of patterns.
In its basic form, the Reggie dress needs some easy adjustments to achieve the look of the inspiration dress.
1| Size Down
First, the pattern has a loose-fitting empire waist, but I am looking to make something slightly fitted that sits at the natural waist. I examined the finished garment measurements for the Reggie dress and decided to size down two sizes to achieve a more fitted bodice.
2 | Lengthen Bodice
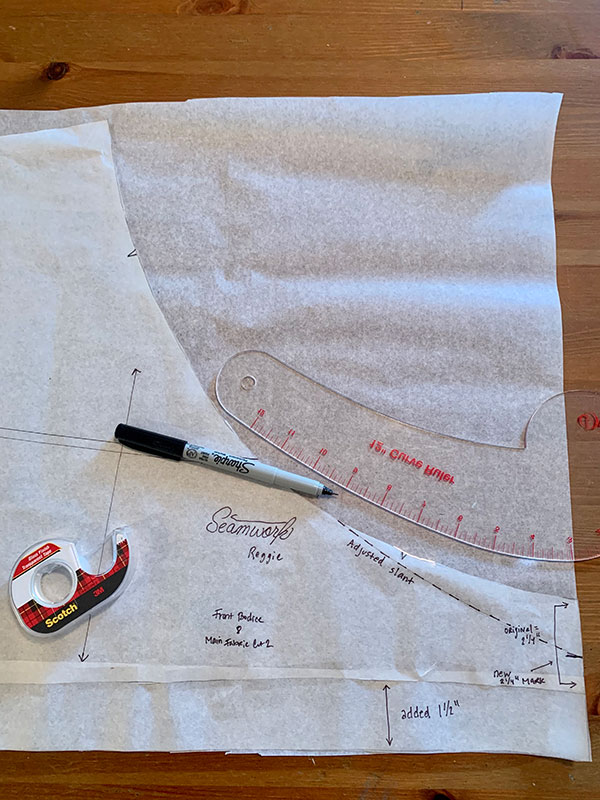
I then lengthened the bodice by 1 1/2” inches so it would sit at my natural waist. For the front bodice piece, I did not lengthen at the recommended shorten/lengthen line, which would have changed the bust dart's location. Instead, I added the length to the bottom of the bodice, which meant I had to shorten the side seam (where the tie is placed) from the top to maintain its intended length of 2 1/4”.
3 | Adjust Facing
Since I added length to the bottom of the bodice, I measured 2 1/4” down from the top of that side seam and placed a mark. I then used a curved ruler to blend the slanted front to that mark. I also had to adjust the front facing to fit the new curve. The picture shows a detailed look at the bodice pattern piece marked with the listed changes.

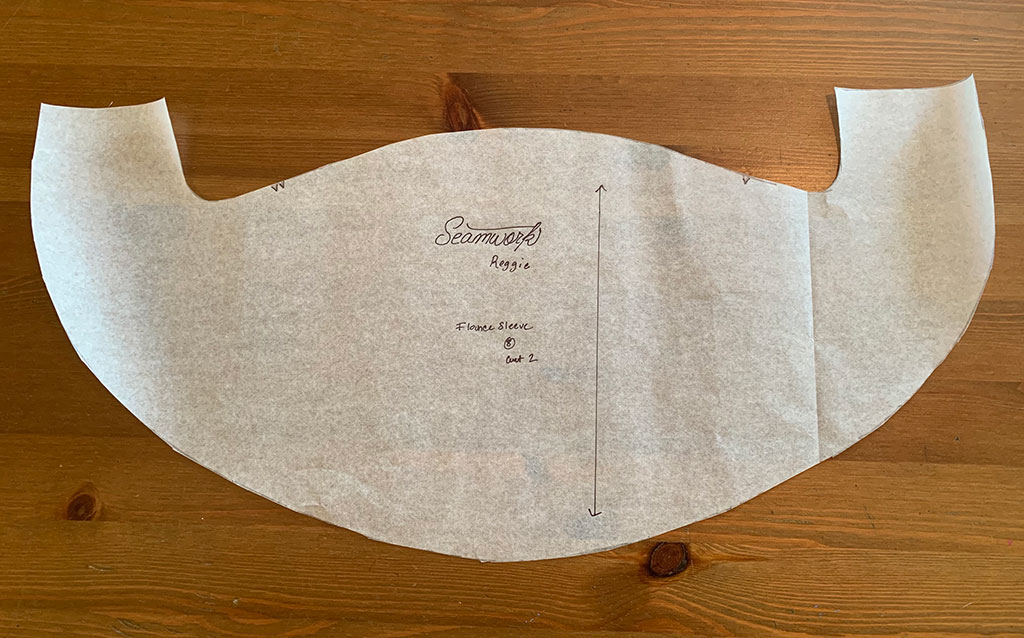
4 | Flutter Sleeves
The sleeves were next to undergo alterations. I needed to change the Reggie pattern into a flutter sleeve. Another way my Seamwork membership enhances my superpower is the access to archived pattern hacking articles from past issues. Like Superman searching for answers in his Fortress of Solitude, I can find an article detailing the desired sewing hack with step-by-step instructions. I used this pattern hack to create a flutter sleeve. The picture shows the sleeve pattern after following instructions for adjustments.
5 | Muslin
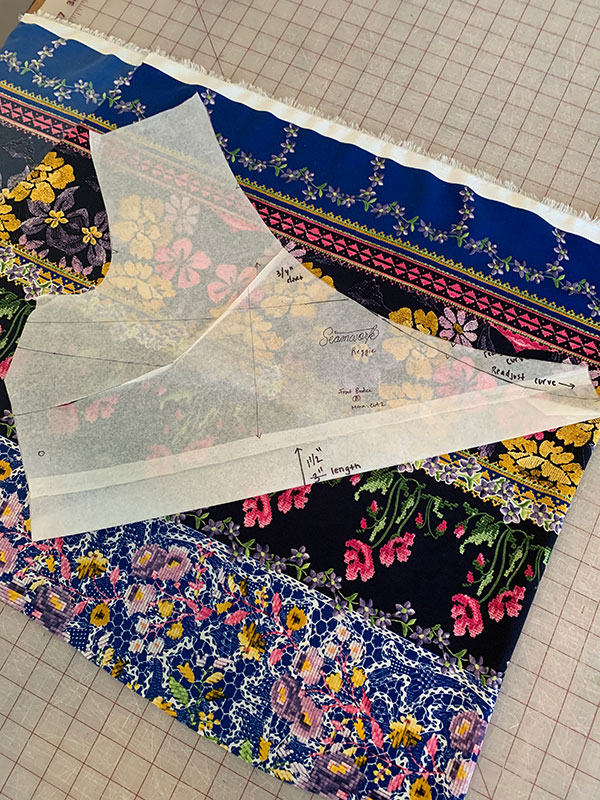
At this point, I stopped to make a muslin. The only change I made to the pattern after fitting the bodice was to put a small ½" dart halfway down the angled wrap front. Since the wrap style tends to gape on me, pinching out some of the paper pattern shortened the angle, helping it lay nicely across the front.
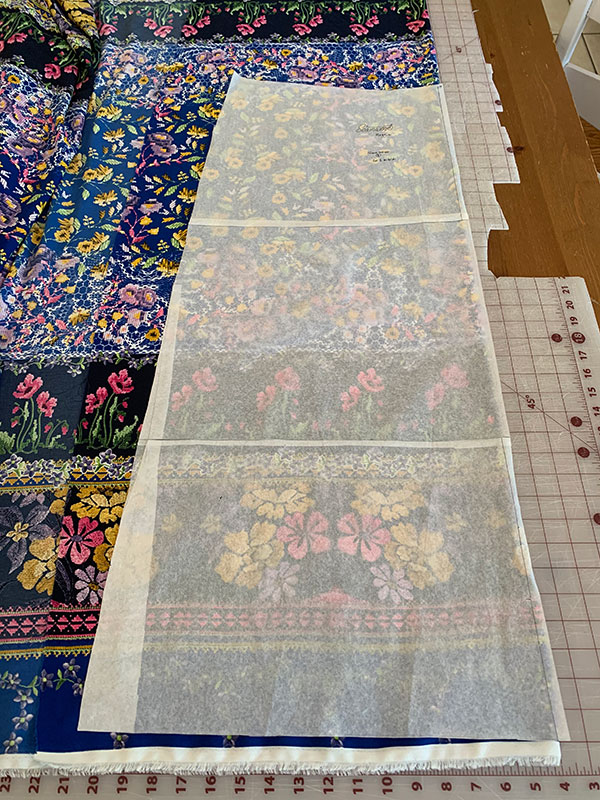
A Note On Border Prints
Finding the right fabric to achieve this look is crucial. The inspiration dress uses a border print fabric, which is a fabric that has a design running parallel to the selvage. The bodice pieces are cut at an angle so that they match the floral border at the hem.
Border prints give you some creative options for hems, but you do have to pay attention to the placement of the border design on your pattern pieces. There are many online fabric options, just search for “border print fabrics” at your favorite shop.
Skirt Adjustments
Finally, just two easy changes to the skirt pattern pieces, and the adjustments are done!
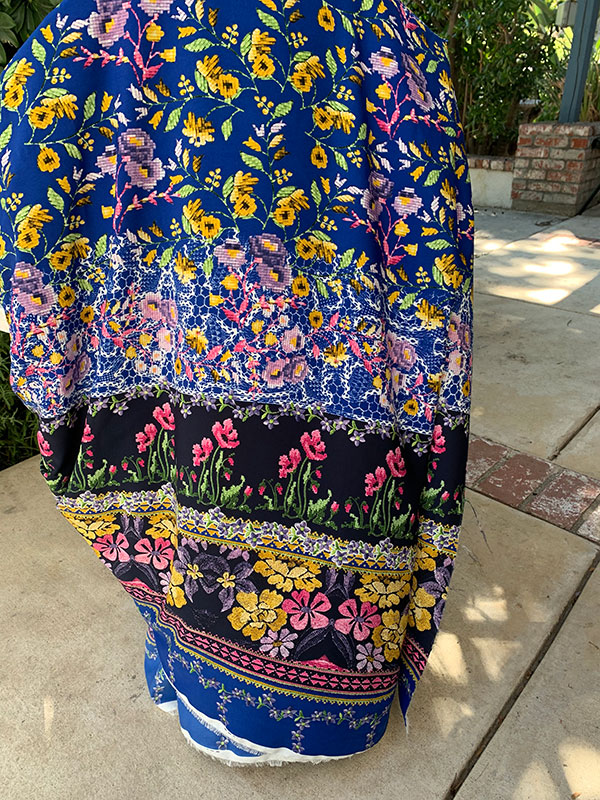
1 | Add Maxi Length
First, the inspiration dress is maxi-length, so I needed to add length to the original pattern. For me, this meant cutting at the lengthen/shorten line and adding 13”.
2 | Straighten the Hem
I also needed to straighten the hem of the dress. On the inspiration dress, the border design runs along the hem, which means the hemline needs to be straight to accommodate the design lines. Reggie's hemline has a slight curve, so I laid the skirt pattern piece on my cutting board and used a long ruler to straighten the hemline of the skirt. I then positioned the skirt pattern piece on the fabric so that the border design ran along the hem.
Once I made the pattern adjustments and considered the border design, I just needed to follow the instructions to sew the dress. The only exception was the hacked flutter sleeves, which deviated from the original instructions, but the flutter sleeve pattern hack provided details for completing the sleeves.
Pattern Hacking is a Superpower
Pattern hacking isn't an exact science, so you'll need to do a little experimenting. For example, if you were to sew this same project, you might need to add more or less length than I did, or you might not need to adjust the wrap.
I used the less conventional superpower of “winging it” to determine how much length to add. This involved holding the paper pattern up to my body and guessing at the amount. Sometimes it’s ok to guess. Just remember to double check your side seams and sew a muslin.
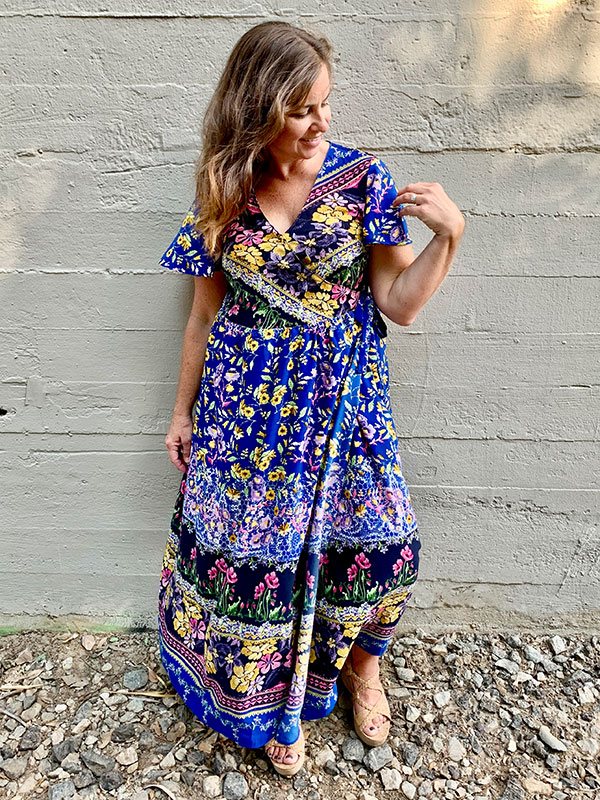
After adjustments and fitting, this pattern was quick to sew with maximum impact! I felt like a free-spirited artist the moment I put it on. Let’s be honest, that is the real superpower of sewing!

Grace Allan
Contributing Writer
You can find Grace Allan in sunny Southern California wrangling the dramatic energy of three daughters (with her very reluctant, but oh-so-supportive Instagram husband) and picking up occasional per diem assignments as a social worker. She's addicted to sewing clothing not only for the peace and quiet of hiding in her sewing area, but for the creative outlet, empowerment, and confidence boost of custom made garments! Recently a Seamwork Ambassador! Check out her projects on Instagram @sew.it.like.gracie.