Sign In
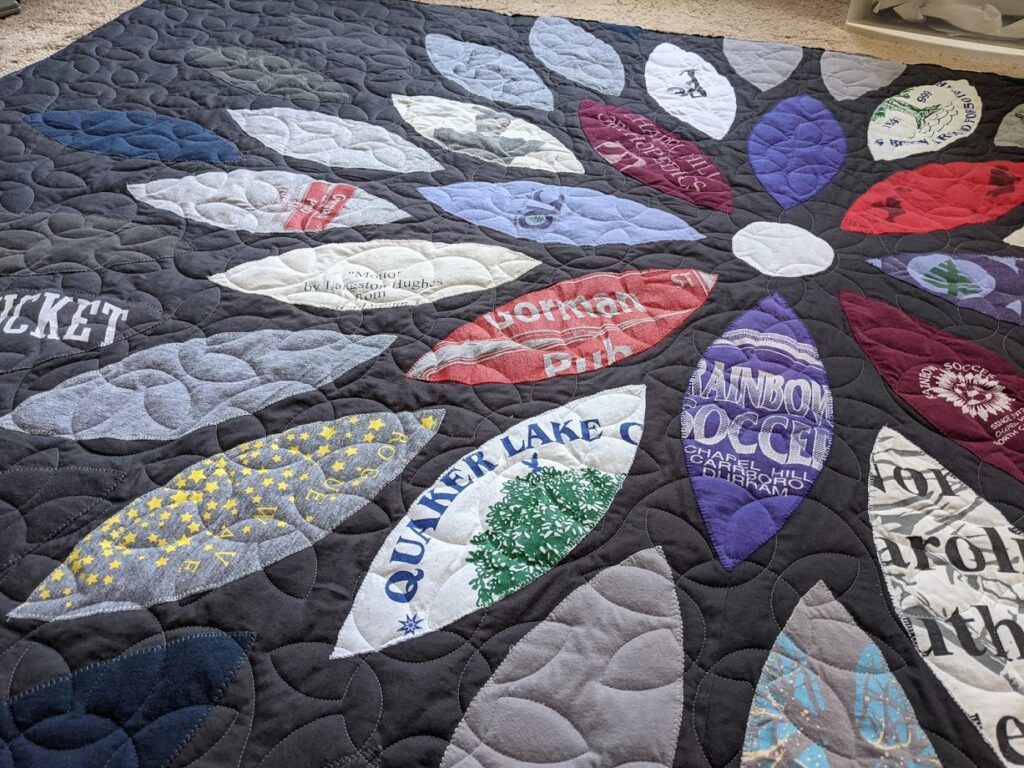
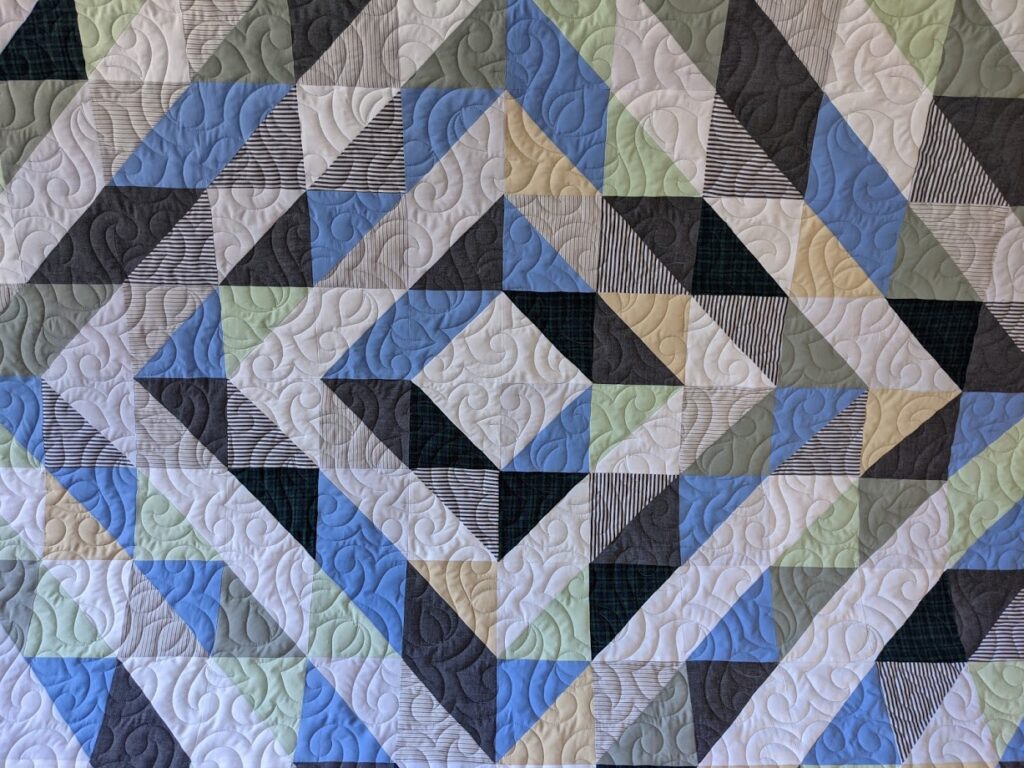
You’ve decided to make your first quilt! Now that’s exciting. You’ve picked the perfect pattern, bought fabric, cut your pieces, stitched it all up, and even sandwiched your layers.
Who knew you’d ever use so many safety pins? Now you roll up what you once thought was a small quilt and start to stitch everything together. But you’re having a heck of a time getting that quilt roll through the tiny throat of your sewing machine. And your fabric is starting to get this weird ripple to it as you sew each line. And then you realize your backing fabric unknowingly puckered, and you’ve got fabric folds caught in those straight stitch lines that you thought would be so easy to sew. Now you think, “There has to be a better way to do this, right?!”
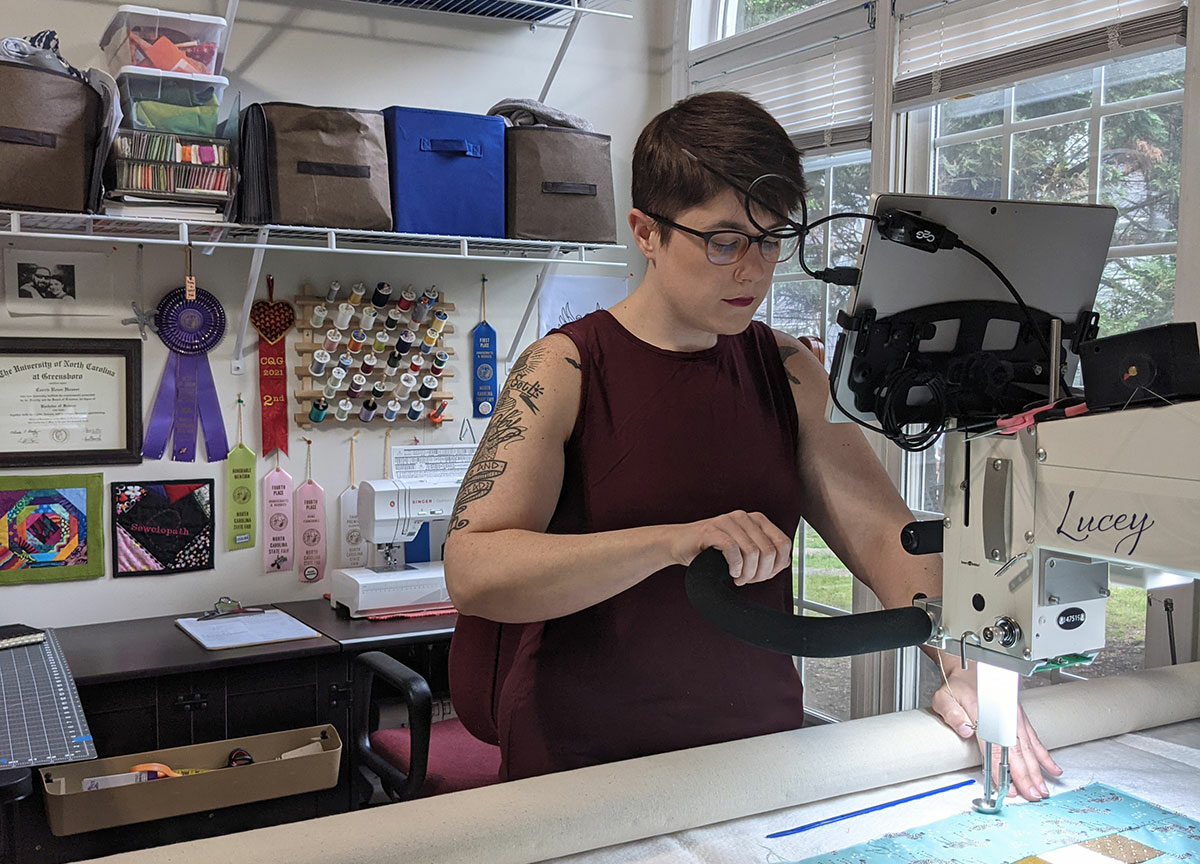
Good news—there is! It’s called longarming. What a word that is, longarming. When most people hear that, they picture someone with really long arms, which always makes me laugh. But the term “longarm” actually refers to the style of the sewing machine itself.
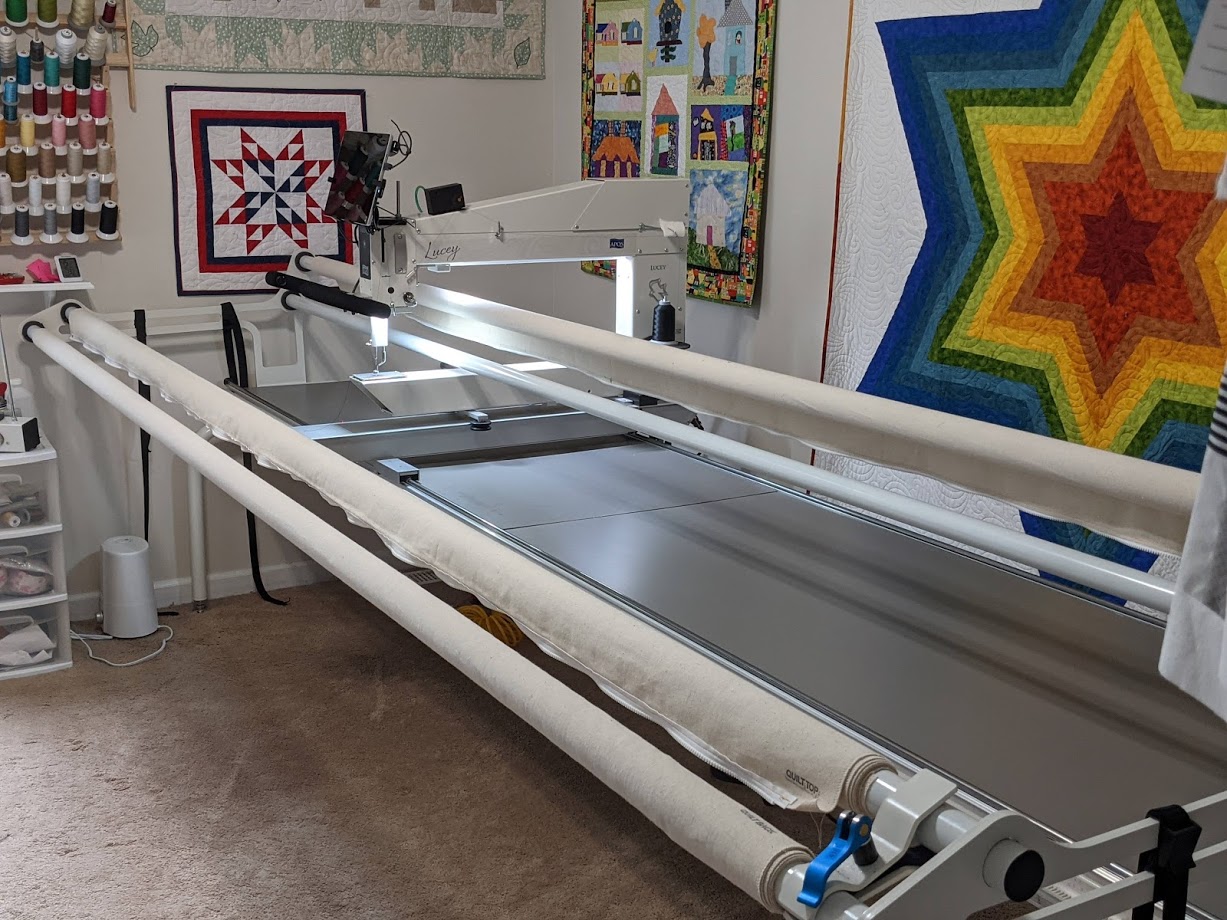
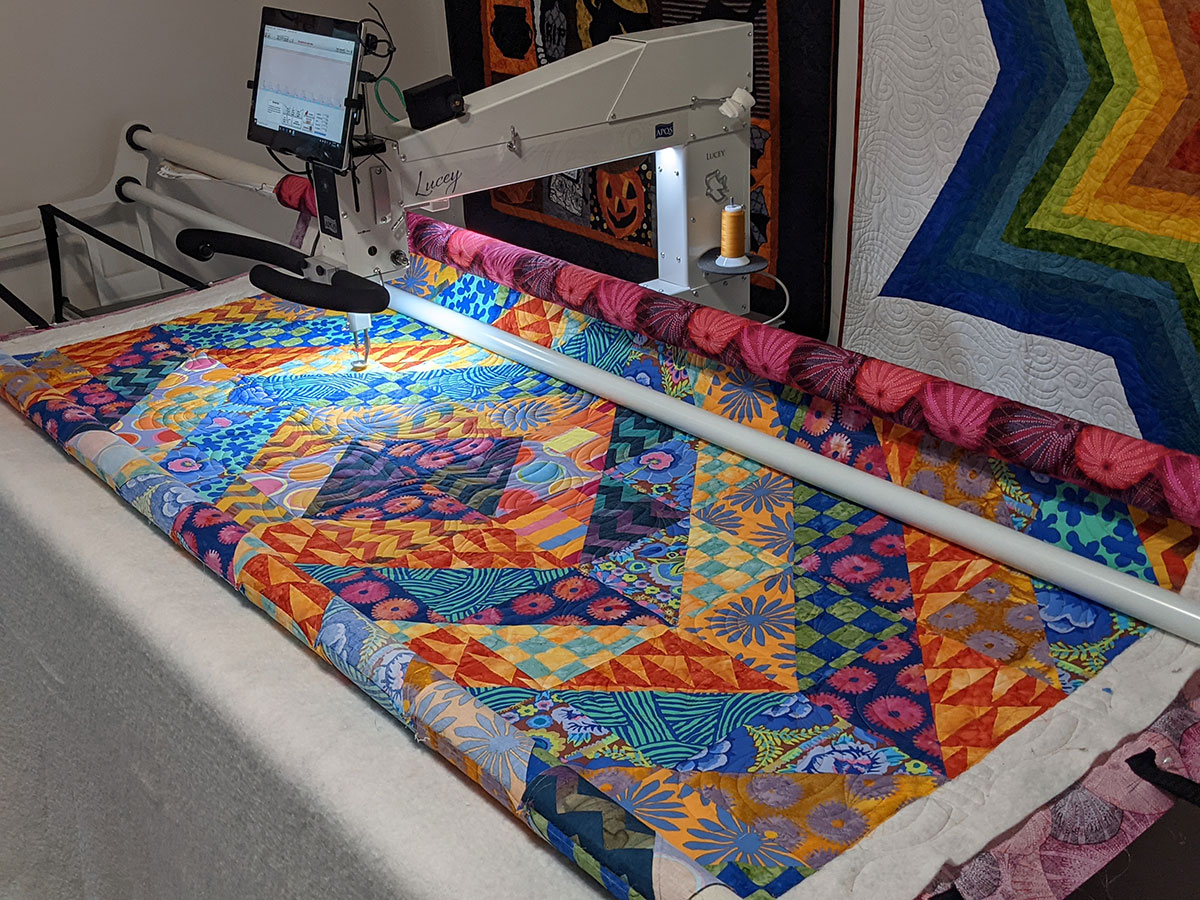
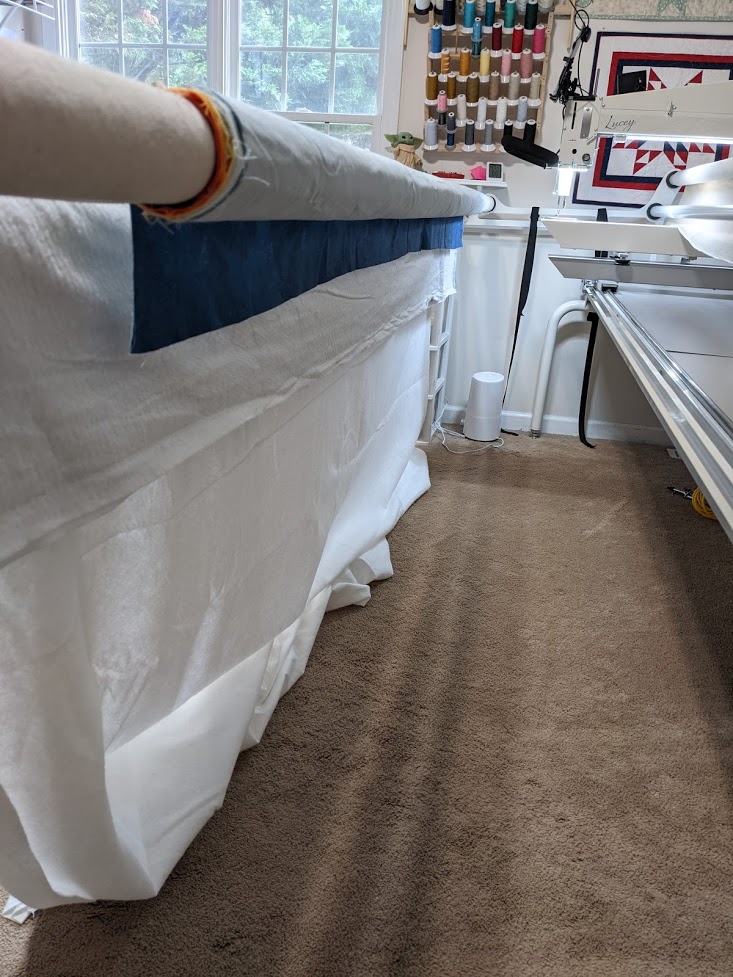
A longarm quilting machine is, in essence, a large sewing machine with a really long throat (sometimes up to 30 inches), and it sits on a rail system that lets the machine swing back and forth. It has multiple bars that sit across it, made for rolling on your quilt top and quilt back.
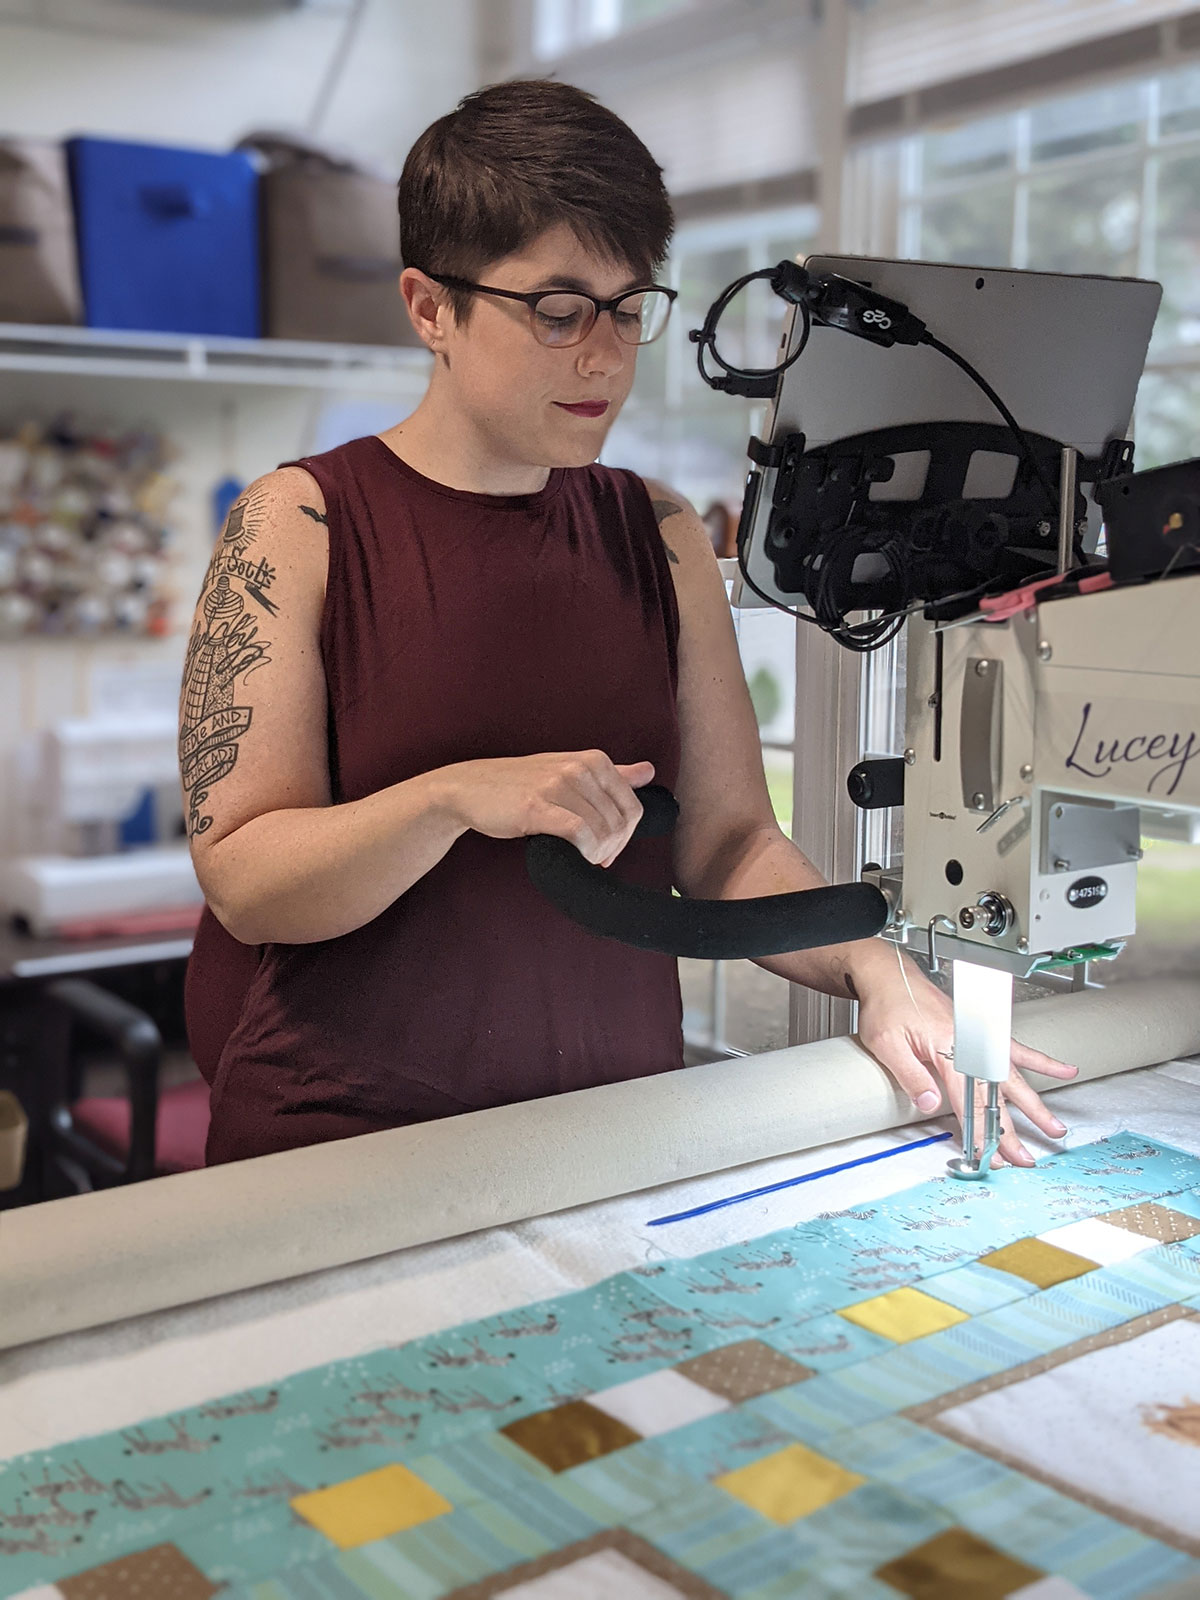
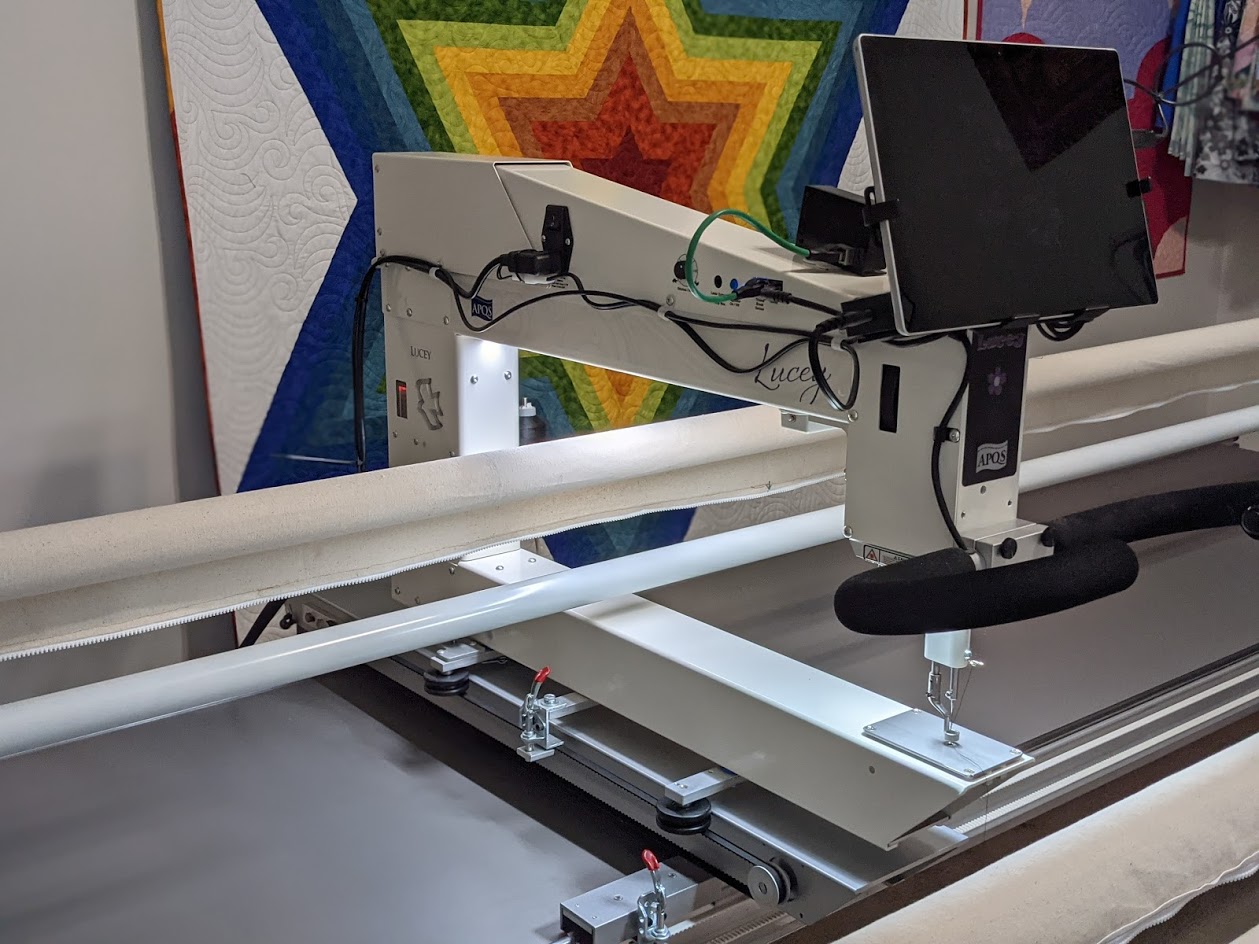
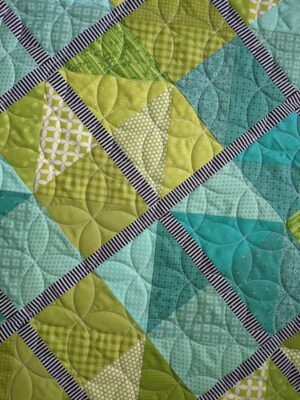
When you use a longarm, instead of moving the quilt through the sewing machine, you move the sewing machine across the quilt. Your quilt top and quilt back are rolled onto the frame separately, at the front, then pulled out together and attached to a roller at the back, with batting inserted in between those two layers. The fabric gets pulled taut, and then you can start stitching.
I’m going to introduce you to my longarm machine and the longarming process.

How Do I Get My Short Arms On A Longarm
The best thing about longarm quilting is that it’s more accessible than you think. Now, if you look up the price of buying a machine for yourself, you’ll be more than a little shocked to learn that it’s the same price as buying a car. If you plan to make A LOT of quilts, it can be worth it. You’ll need more space than you realize. Most longarms start at 8 feet wide. And if you plan to make a quilt bigger than a full size, you’ll want a frame bigger than that as well.
Another way to do it is to find a local longarm dealer that rents time on their machines. Typically, you take a few classes to get certified to use their machines, and then you can rent time by the hour to quilt your quilts. It’s going to seem intimidating at first, but with the right guidance, you’ll be quilting in no time. Quilting on your domestic sewing machine will be a thing of the past.

But if there aren’t any rental spaces near you or the idea of using one of those massive sewing machines seems scary, you can always send your quilt off to a professional longarm quilter as well—someone like me!
A Professional Quilter? That’s a thing?
Yes, it is! And I must say, even I didn’t know what longarm quilting was until I was in my mid-20s, long after I’d learned to sew and even earned a degree in fashion design. I happened upon a job listing for a local quilt shop looking to hire a longarm quilter. Sewing and creativity? My first thought was “Sign me up,” and I had never even made a quilt before, let alone watched a longarm operate.
I went to the interview with the saddest looking little quilt blocks I managed to whip together and got my first look at a longarm. I was amazed (and a little intimidated). Somehow I got the job and jumped right into the deep end of quilting for other quilters, a task that’s not every quilter’s cup of tea. I learned a lot, made a lot of mistakes, but never woke up feeling like I was ready to be done with quilting.
Five years later, I was able to buy my own longarm quilting machine and start my own quilting business, Lovebug Longarming. I converted my master bedroom into my sewing studio (the only room large enough to fit a 12-foot frame), and now I quilt from home every day. I’m located in North Carolina, and I quilt for customers as far away as Oklahoma and Iowa. So if you feel silly sending a quilt out for longarming, just know there are plenty of quilters who send their quilts hundreds of miles so that they don’t have to deal with quilting it themselves.
Alright, Alright. You’ve Talked Me Into It! Now What?
You can find rental space near you to quilt your own—or a dealer near you to buy your own longarm. Or, find a longarm quilter near you who quilts for others! If you aren’t sure where to start or how to find this information, contact your local quilt shop and they should be able to lead you in the right direction. There are so many options but remember, none of it is required to make a beautiful, special quilt of your own. If you want to quilt on your domestic machine at home, you absolutely can. If you want to make your quilting life just a little bit easier, longarming is the way to go.
A Few Longarm Tips
If you plan to send your quilt to a professional longarmer, here’s my best advice so you’ll get back a beautiful quilt:
Make sure your backing fabric is bigger than your quilt top. Longarmers need 3 to 4 inches of extra fabric on ALL sides of the quilt. You might think this is wasteful, but we truly need extra material because your quilt shrinks as we quilt through it. Can we make it work with less? Yes, but your quilt isn’t going to turn out as nice. The extra material is worth it.
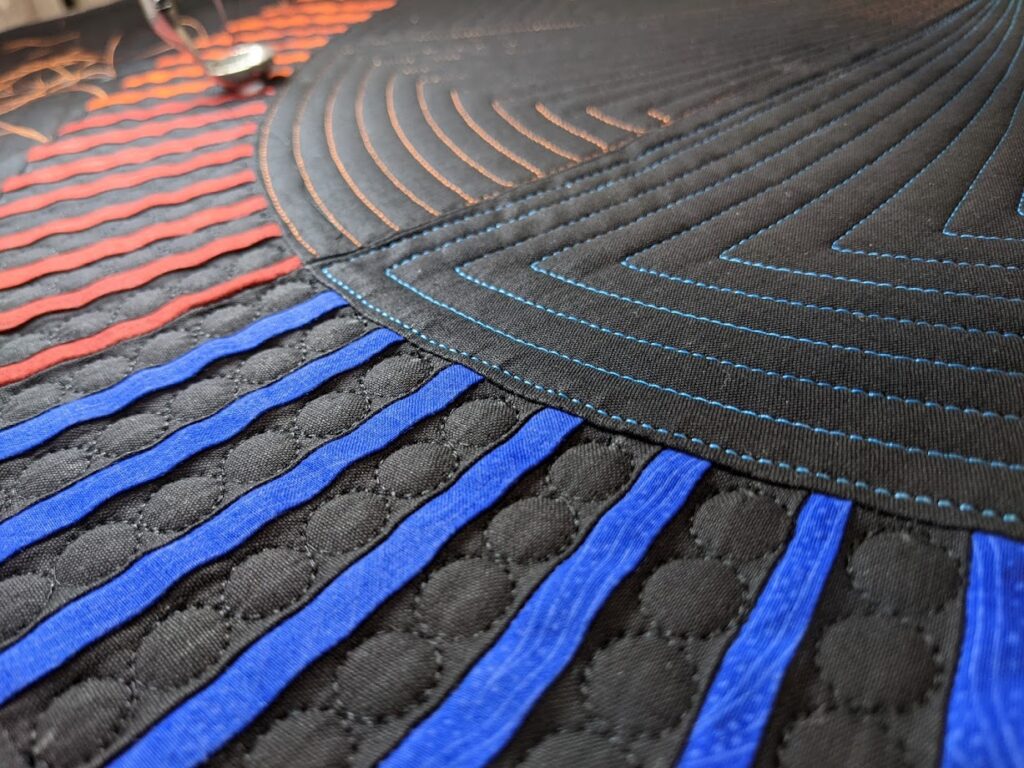
Clip all your excess threads and press your quilt top as flat as you can. Try to reduce bulky points by “pinwheeling your seams.” (Look this technique up. It’s worth it.) Nothing scares a longarmer more than when a needle hits an incredibly bulky seam, and the machine struggles to get through the fabrics.
Use extra-wide fabrics for backings when you can. A super scrappy backing is great for using up excess material but doesn’t always lay as nicely as you think. Longarmers need backings to lay as flat and smooth as possible. If you’re seaming a backing together, orient your seam horizontally and use at least a 1/2 inch seam allowance.
Now that you know about a few different ways to finish a quilt, I hope it inspires you to quilt even more. Go make a dent in that scrap stash! Happy sewing.

Carrie Hauser
Contributing Writer
Carrie Hauser has been sewing for over a decade. From quilts to clothing to accessories, she loves to make it all! When she’s not at a sewing machine, she’s listening to true crime podcasts and playing with her only child, a husky/german shepherd mix named Maisie. To check out more of her quilty good stuff, visit her website or check her out on Instagram.
Related Articles
My Grandma’s Hands: A Crafting Tradition with Purpose
Grandma Ruby sewed quilts made to survive a winter, protect vulnerable bodies, and tell stories. By Lori Caldwell.
A Transgenerational Quilt
An imperfect lap quilt connects three generations of women, by Megan Hippler.

Candid Art: Bold, Unscripted, and Artistically Unapologetic
Candice Cox creates goods influenced by the modern African Diaspora and Cosmic Geometry. An interview by Lori Caldwell.