

Block Paper Scissors is a patternmaking series featuring dart manipulation – no experience necessary to join in! Every month, we start with a basic bodice pattern (also called a "block" or a "sloper") with an underarm bust dart and a waist dart. We use that as a jumping off point to create a different bodice design each time.
This month, we’ll be transforming our basic block into a bodice with French darts. French darts are diagonal darts that reach from the lower side seam of a bodice toward the bust.
How to:
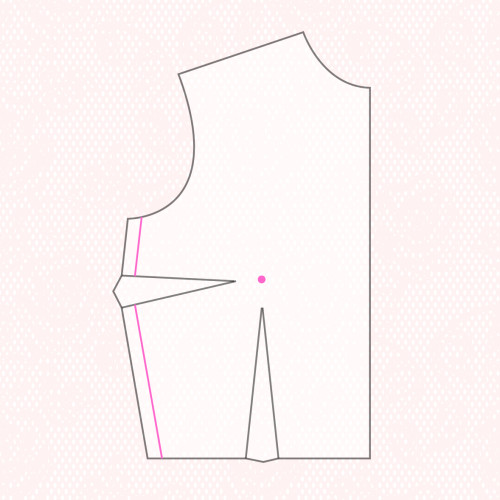
Step | 01
Mark your bust apex on your pattern piece by placing the pattern piece over your body and aligning the center front and side seam. Mark the fullest point. Also mark the seam allowance (stitching line) on the side seam.
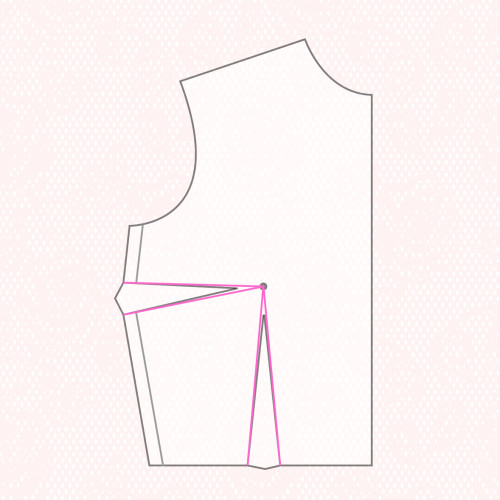
Step | 02
Draw a line from the base of bust and waist dart legs to the bust apex.
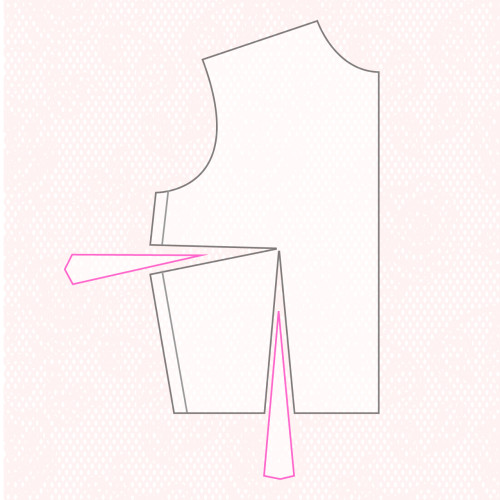
Step | 03
Cut along these lines and remove wedges. When you cut, cut to but not through the apex.
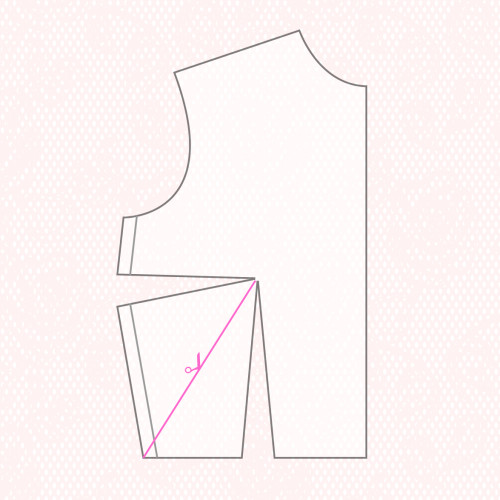
Step | 04
Draw a line from the waist seam/side seam corner up to the bust apex. Cut along this line to but not through the apex.
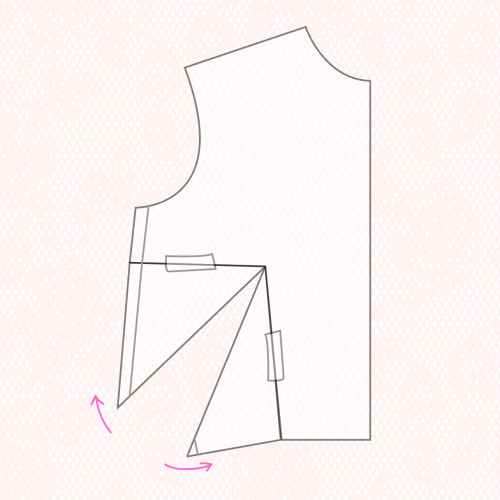
Step | 05
Pivot the pattern pieces to close the bust and waist darts. Tape closed.
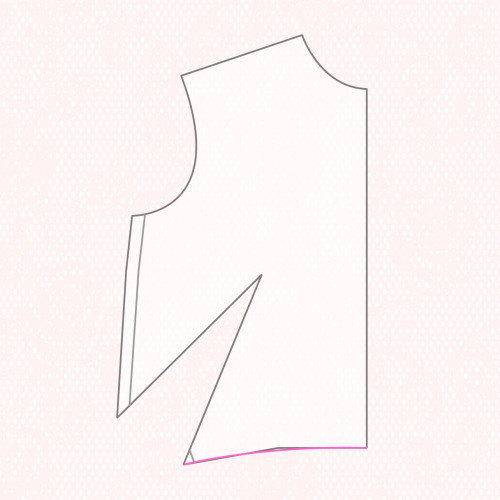
Step | 06
Use a curved ruler to redraw the bottom edge, blending any jagged points.
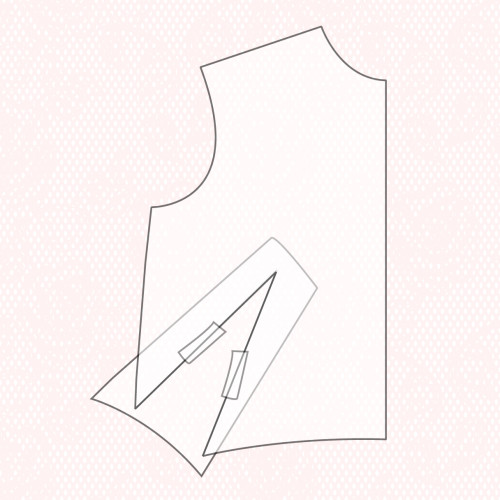
Step | 07
Tape some new paper under the open space.
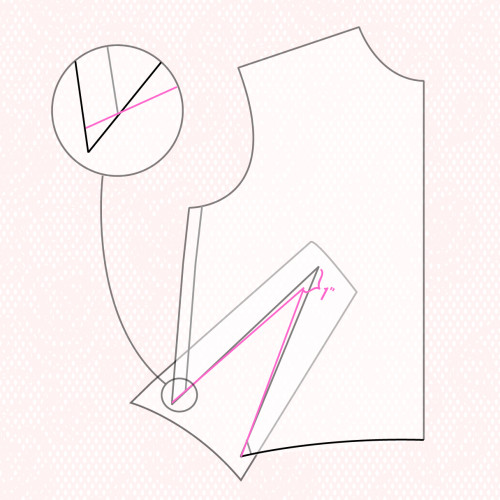
Step | 08
Mark a new dart point about 1 inch from the bust apex, centered in the new open space. If you’re less busty, you can mark it a little closer; if you’re bustier, then a bit further. Draw new dart legs out from the bust point. Make sure that your dart leg intersects with your stitching line right at the edge of the opening. It probably won’t make a big difference if you don’t, but you could accidentally change the side seam length if you aren’t accurate about it. (see inset in picture).
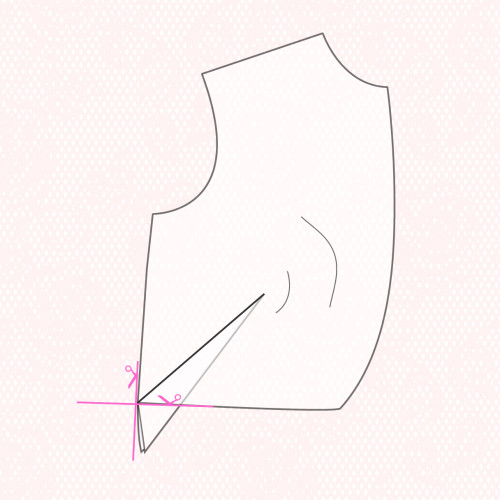
Step | 09
Bring the dart legs together as if they are sewn and fold the excess towards the waist. (Tip: it helps to use the corner of a table to support the pattern piece as you fold.) Trim the excess paper flush with both edges.
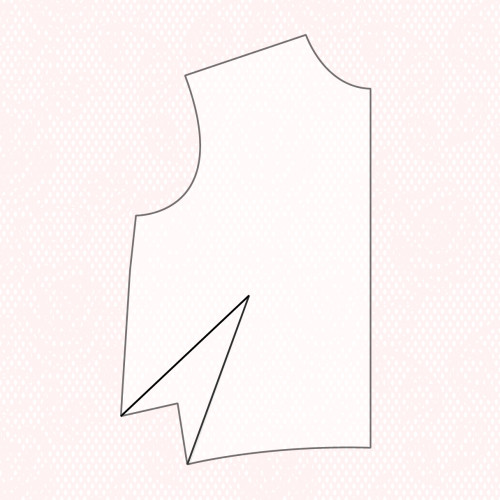
Step | 10
Reopen and flatten paper. Label and date.

 Related Articles
 Best Articles

