Sign In

I have often found darling dresses at vintage stores that inevitably look like a potato sack on my body. Due to my lack of hips, and noodle-esque frame, I’m always more comfortable in a silhouette with a defined waist. Shirring gives us the opportunity to breathe new life into existing garments or add shaping without fiddling with pattern alterations. With just a few rows of shirring stitches, a loose-fitting garment transforms into a shapely little number.
Machine shirring involves sewing rows of stitching 1/2" apart while using elastic thread in the bobbin and all-purpose thread in the needle. The elastic thread evenly gathers the fabric between stitches, creating texture and elasticity.
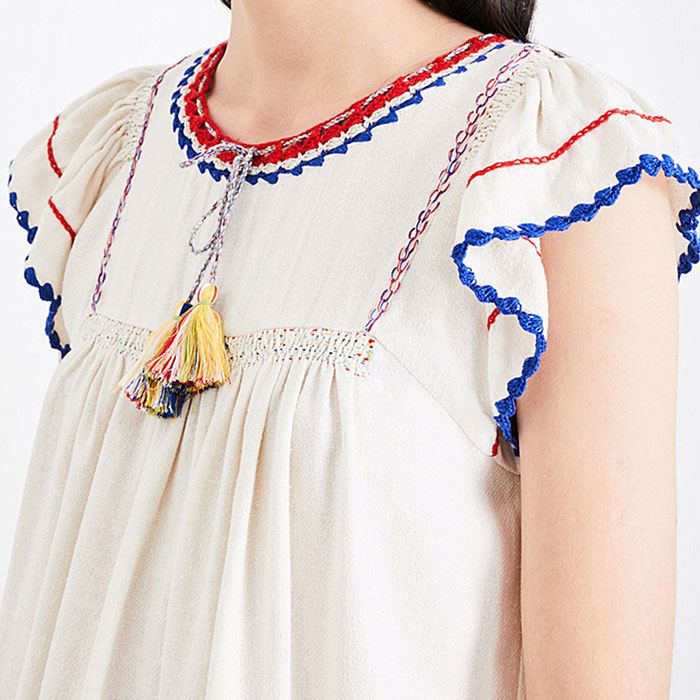
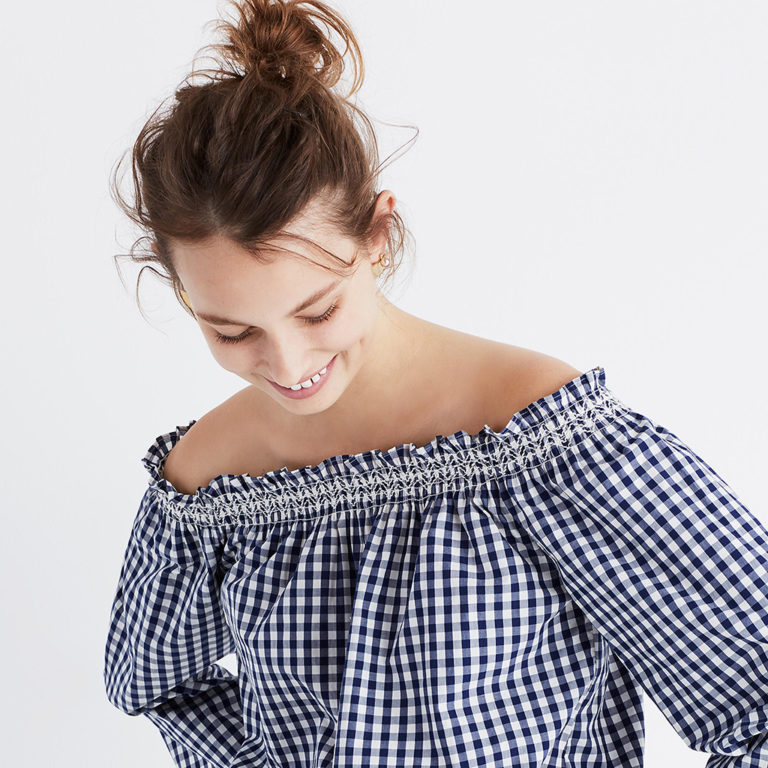
Although you can add shirring to any part of a garment, it’s most commonly used to create shaping at the neckline, bust, or waist.
Oh, and while you're thinking about all the creative ways you can use shirring, we have tons of patterns this would work on, or you could try it on a dress like Carter, which was designed with this detail.
And right now, you can get access to all 200+ patterns (that's a total value over $3,200) when you join Seamwork Unlimited, and readers even get half off their membership using this link. Check it out.

Is shirring the same as smocking?
Shirring and smocking are not quite the same thing. Smocking uses embroidery stitches to gather fabric to help create stretch—and add decorative patterns at the same time—without the use of elastic thread. Smocking is often done by hand, utilizing pleats to create intricate designs and manipulate the appearance and fit of a garment.
Choosing the Right Project


When selecting a pattern, look for at least 10" of ease in the area you will be shirring.
Depending on the fabric, shirring will reduce the width of the garment by approximately half of its original size. If the garment has ample ease, there will be enough fabric to gather attractively.
The lighter the fabric, the more effective shirring will be. The thin elastic thread on the backside of the fabric creates the shirring, so if the fabric is too thick, the elastic will be too weak to gather it. Great fabrics to shirr include voile, double gauze, lawn, and rayon challis. Avoid heavier fabrics such as flannel, canvas, and wool suiting.
Machine Set-up
To start, select the straight stitch on your machine and change the stitch length to a longer setting—around 3-4. When shirring, the fabric gathers between stitch links, so a longer stitch length creates more shirring whereas a shorter stitch length creates less.
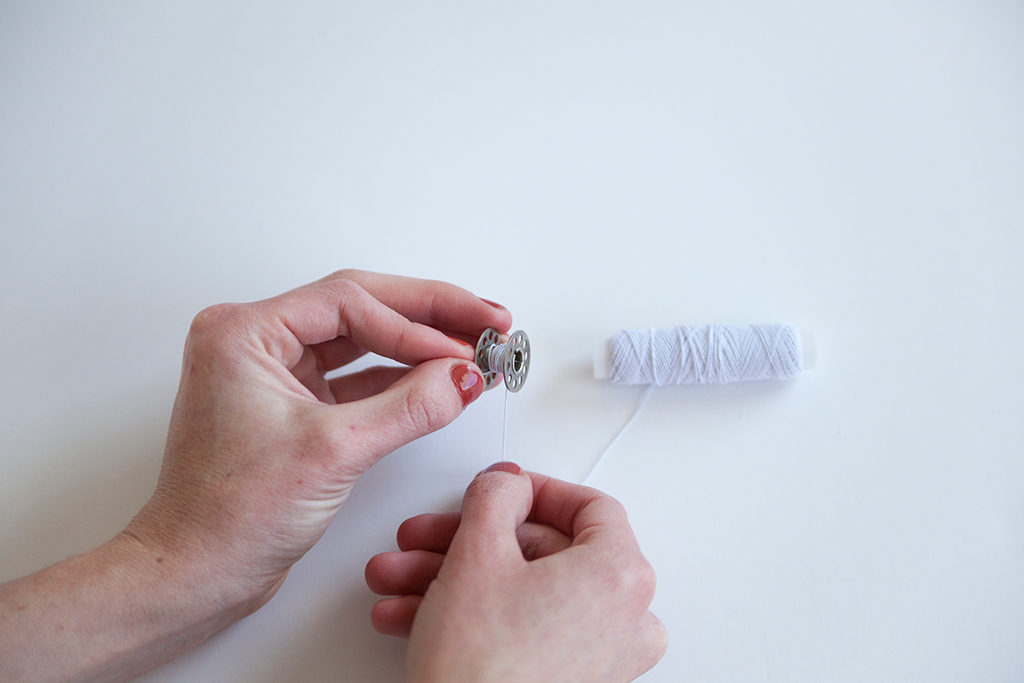
Wind the bobbin by hand with the elastic thread. Some sewists like to stretch the elastic thread slightly when winding, while others insist that stretching should be avoided at all costs. The truth is that it all depends on the sewing machine and its tension.
Experiment with a few variations of winding and test on a scrap piece of fabric to find what works best for your machine. Either way, these variations in tension are exactly why you need to wind the bobbin by hand rather than by machine. If the bobbin is wound by machine, the tension disc will stretch the elastic thread too much. Depending on the amount of shirring added to your project, you may need to wind more than one bobbin with elastic thread.
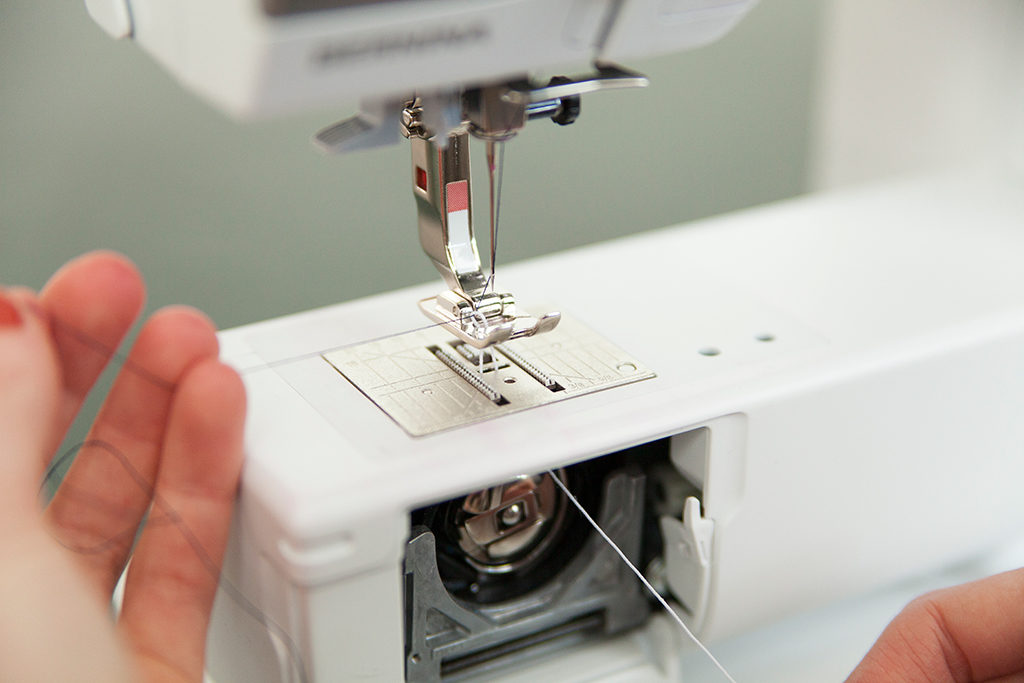
Insert your bobbin into the sewing machine per usual. Thread the needle with all-purpose thread. Pull up the elastic thread. Leave a 2-3” tail of both all-purpose thread and elastic thread.
A walking foot will help keep the stitch length and shirring consistent throughout the garment. If you do not have a walking foot, a standard presser foot will do just fine.
Troubleshooting

If your shirring is still not turning out quite as you’d like after varying the stretch in bobbin winding, try slightly increasing the bobbin tension, which helps the elastic thread pull the top thread to the back side just a bit more. This increase in tension tightens the shirring and will often make the difference between lackluster shirring and a professional finish.
To increase bobbin tension, simply turn the screw on the bobbin case to the right. Typically, one full turn of the screw will work. Make sure to remember how far the screw was turned so you can easily reset the bobbin tension after shirring. Of course, test on a scrap of fabric before working with the final garment.
Preparing Fabric
You can add shirring before or after garment construction. Shirring on a blouse will usually be sewn mid-way through construction, after sewing the side seams, which ensures that the shirring aligns throughout the waist and at the side seam.
In this example, the side seams on the Akita dress are pre-finished with bias binding. Shirring was added to the dress front and back before constructing the garment, to create a professional finish.
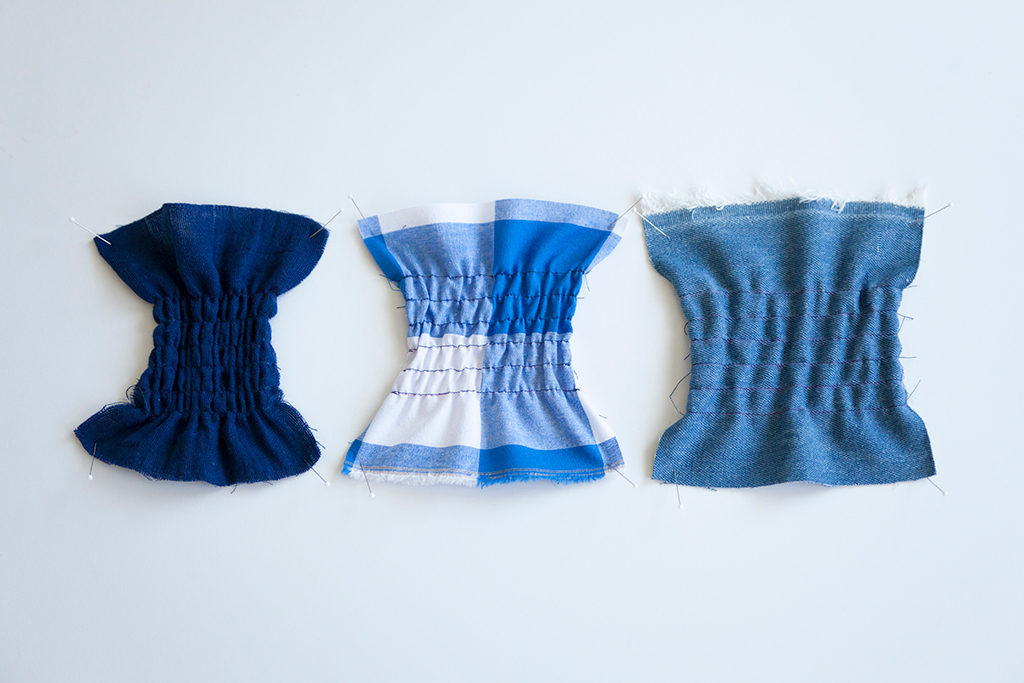
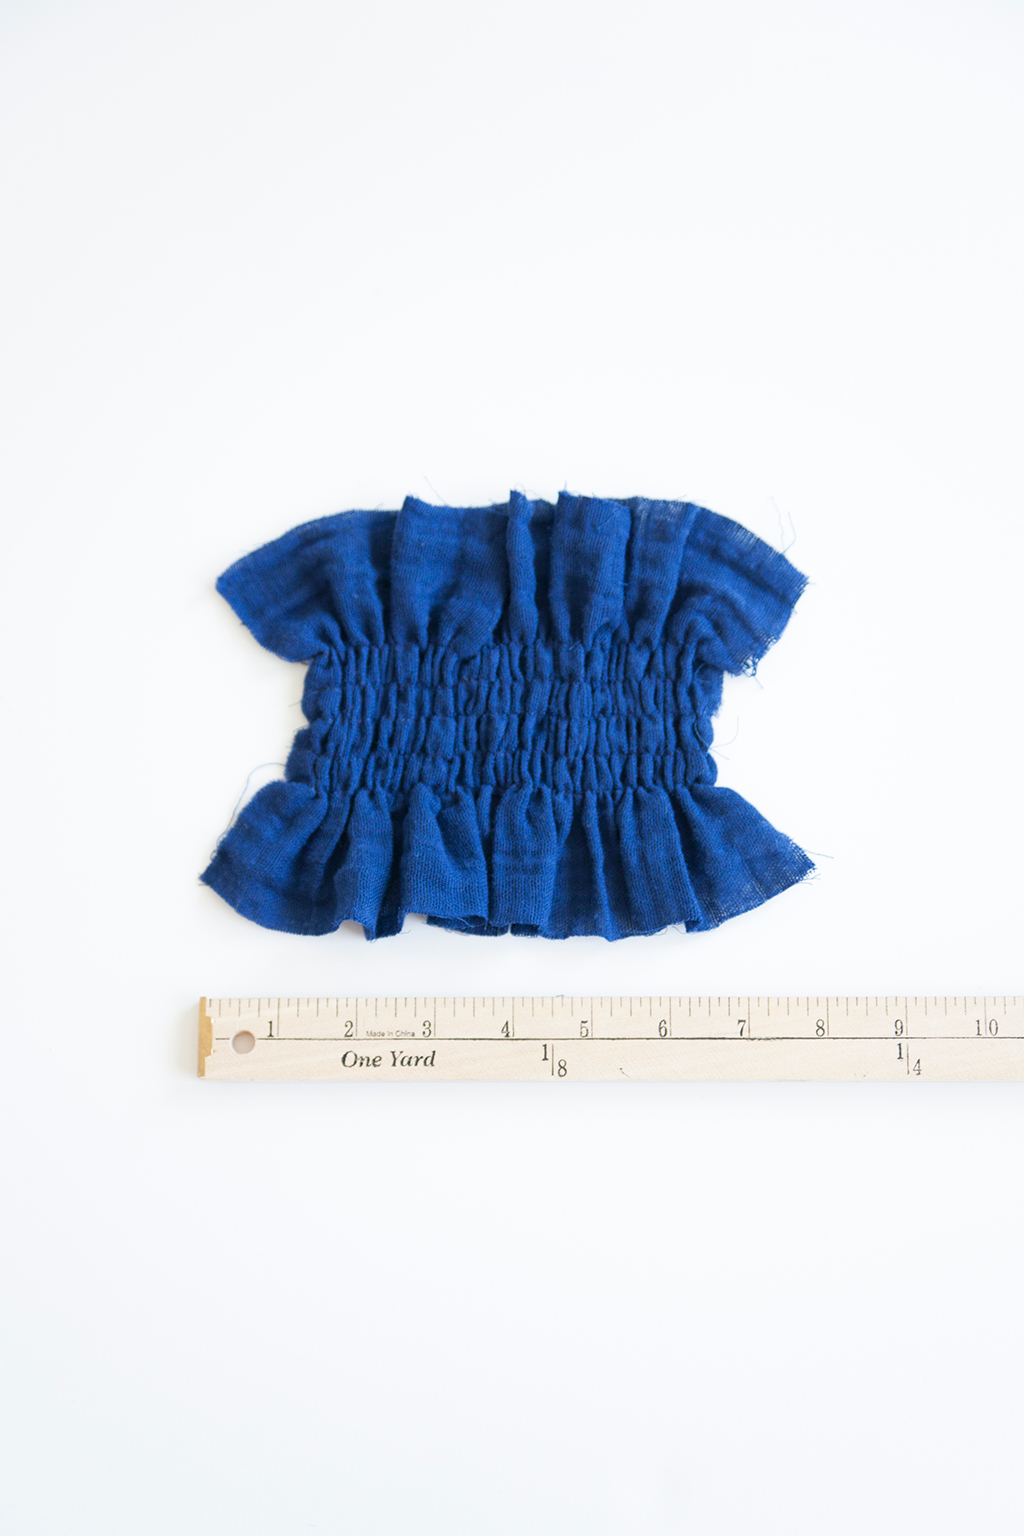
Shirring is created by sewing multiple parallel rows of stitching. If you only sew one row of stitching with elastic bobbin thread, it will hardly gather the fabric. The more stitching lines you sew, the more gathered the result will be.
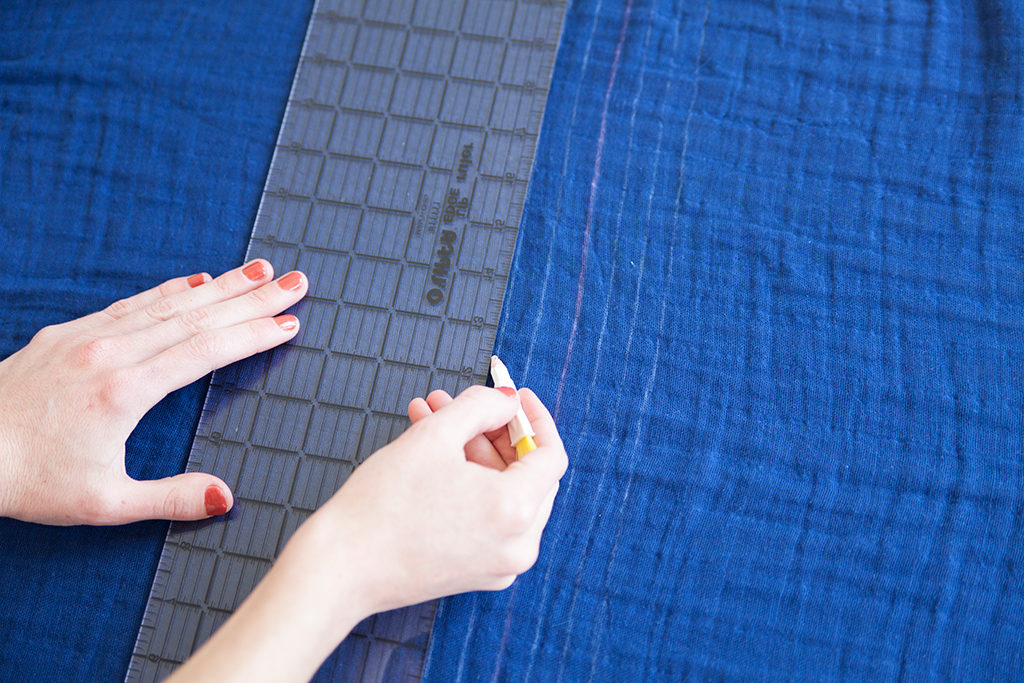
Mark the shirring lines on the garment using chalk and a ruler, 1/2” away from each other.
To create a 3” section of waist shirring on the Akita dress, first, locate and draw a line along the waistline on the bodice front and back. Mark 4 shirring lines above and below the waistline on both the bodice front and back, 1/2” away from each other. After marking, the bodice front and back should both have nine horizontal lines drawn at the waistline. Before sewing, double check that the stitching lines are equal distances away from each other and the marking at the armhole. This will ensure that the stitches are evenly spaced and will align when sewing the side seams.
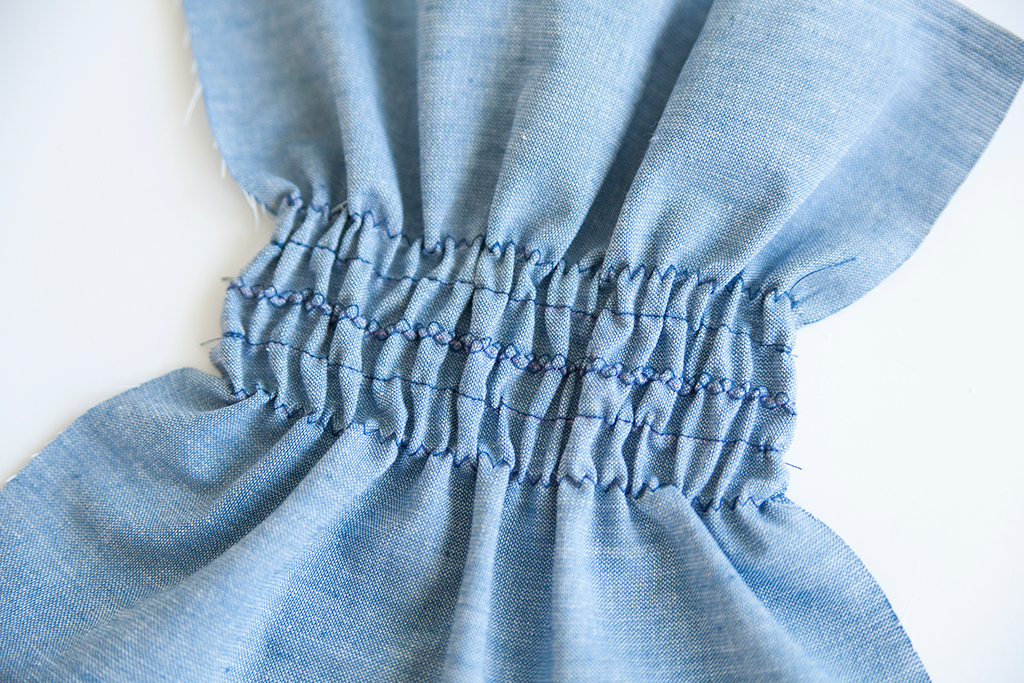
Machine Shirring with Elastic Thread
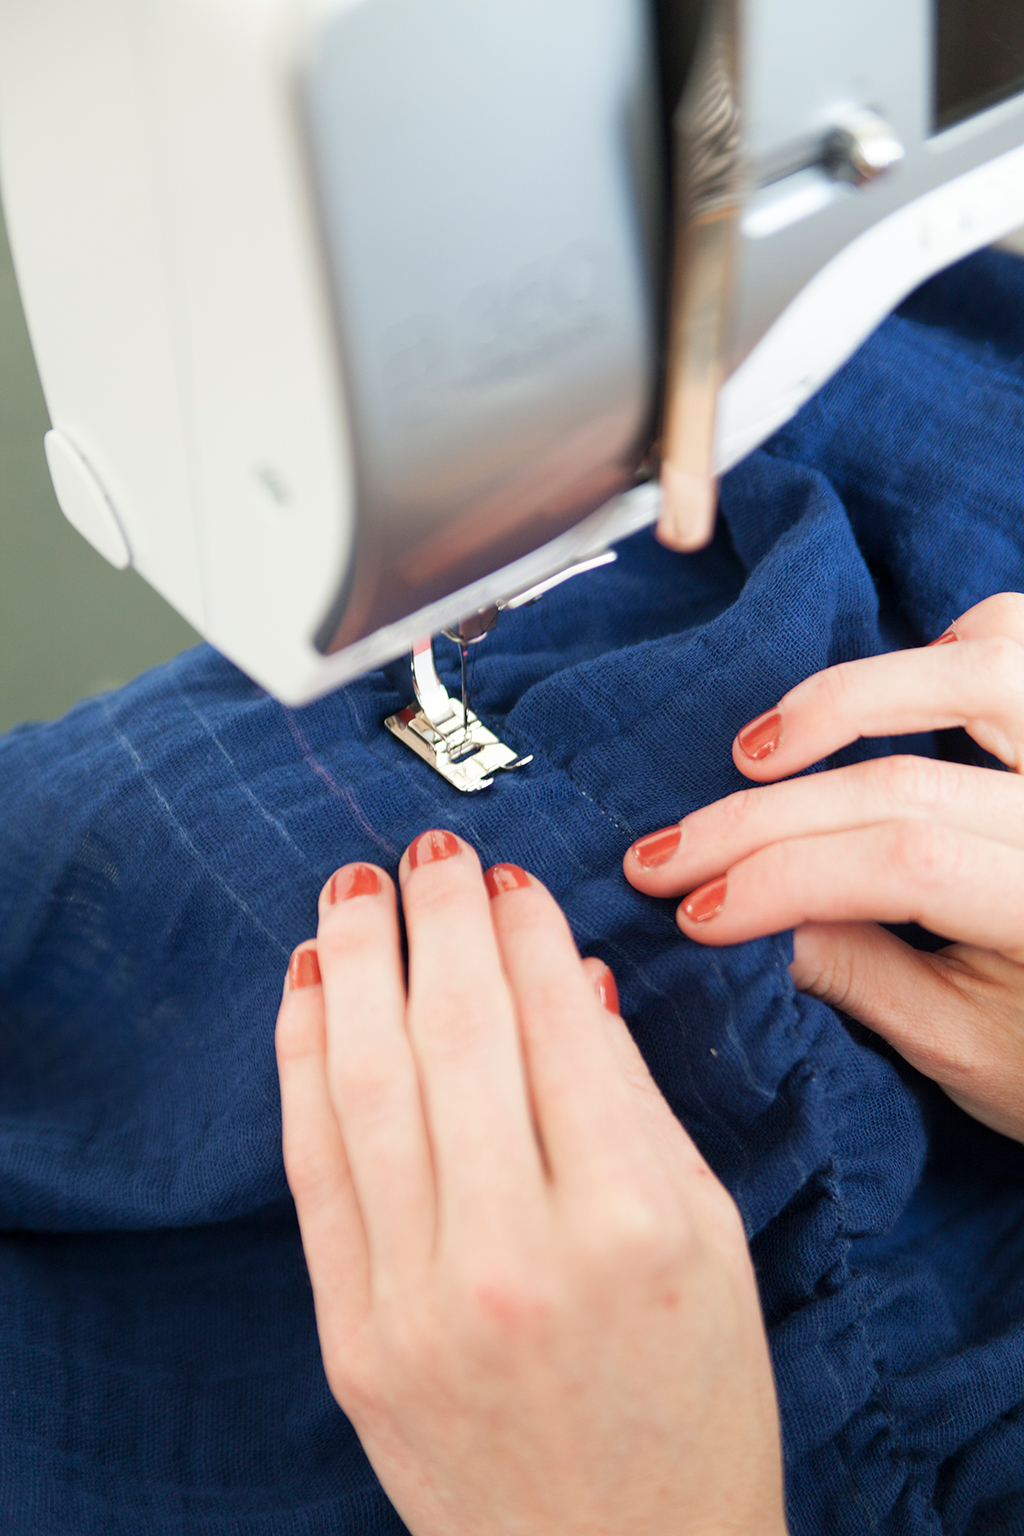
With the fabric right side up, sew along the marked stitch lines using a long stitch length (3-4). Backstitch at the beginning and end of each stitch line by only 1-2 stitches. These backstitches will hide within the seam allowance.

If the beginning and end of your shirring stitches are exposed, like at the center back of a blouse, you may opt to knot the threads by hand. Leave 2-3” tails at either end of your stitching, pull threads to the wrong side, and knot the threads by hand to avoid adding unsightly bulk.
When you finish the first few rows of stitching, your garment might not have the gathered appearance you'd expect from shirring. Don't worry; the gathering will increase as you add more rows of stitches.
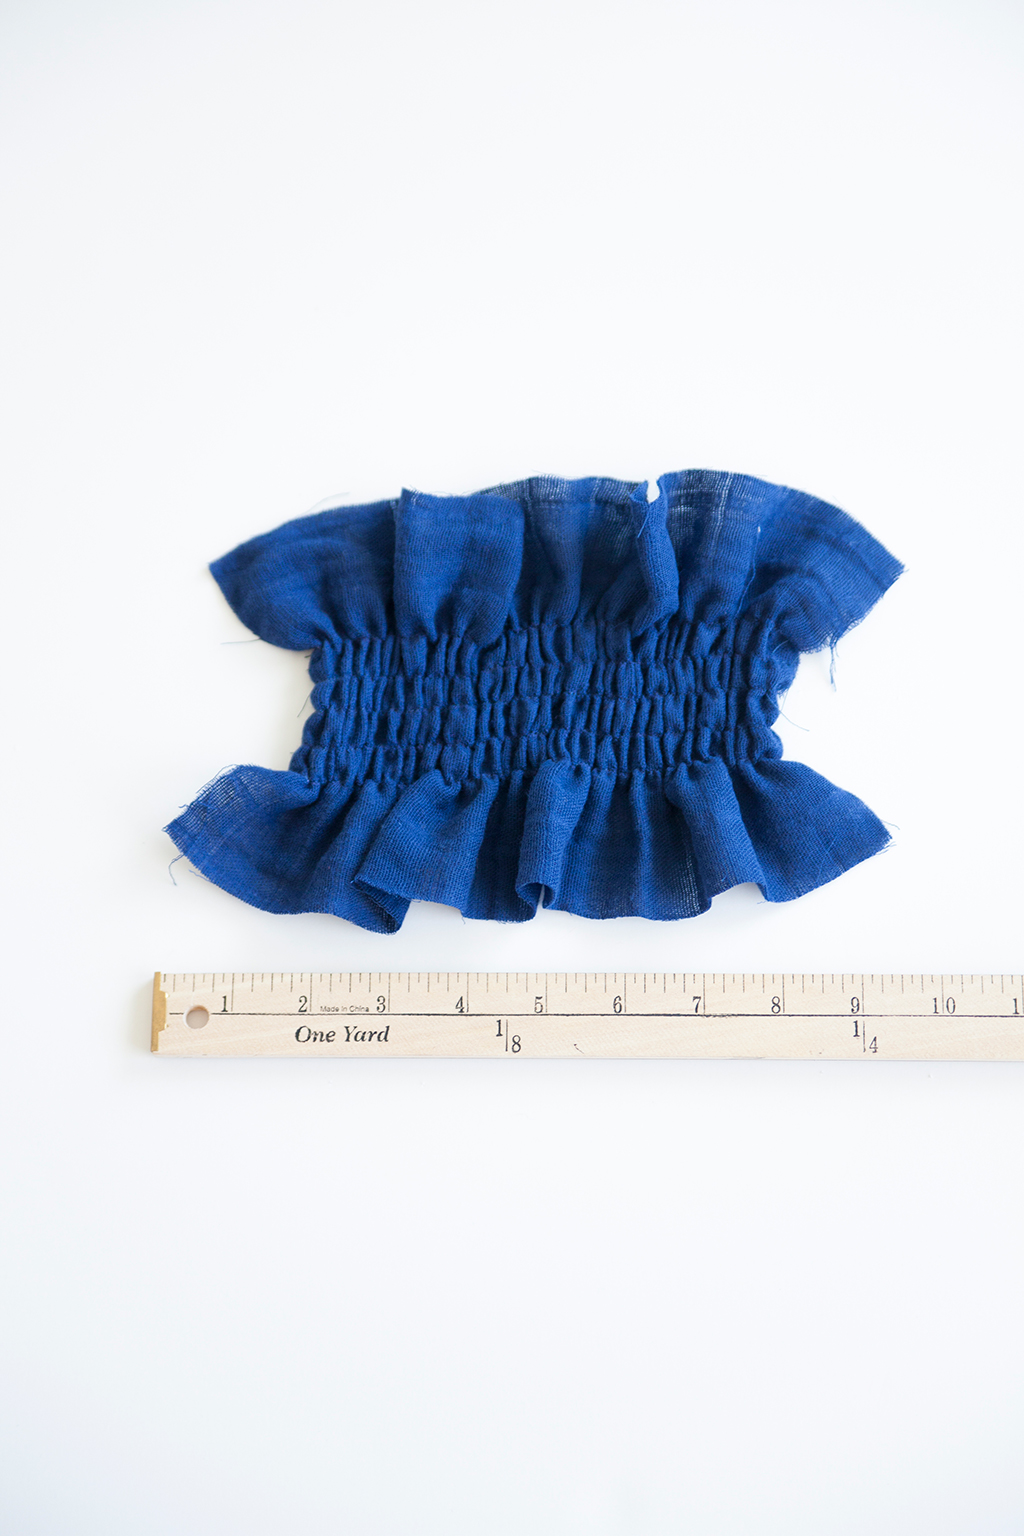
When you have completed shirring your garment, hover a hot steam iron 1” above the shirring and steam the fabric. You’ll see that the gathers will condense even more.
Shirring Variations
You don't always have to shirr with a straight stitch. Try using a zigzag stitch or one of the smocking stitches on your machine. Take your design one step further and combine different stitches in one section to easily create an heirloom look.
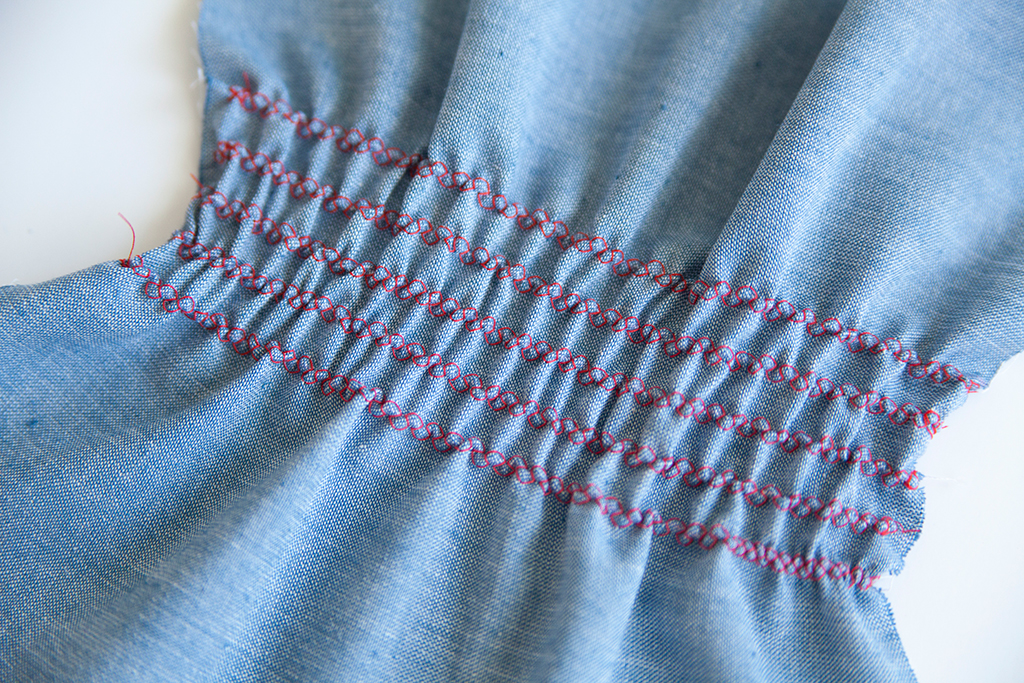
Decorative threads can sometimes look a little “crafty,” but when used in the right context, they add dimension and texture to a garment. For instance, choosing a metallic needle thread to shirr a simple chambray dress might transform the garment from a sundress to evening wear.

About the Author
Katie Whittle teaches new skills through in-depth tutorials, sewalongs, and articles for Seamwork Magazine and The Colette Blog. She loves inspiring and encouraging sewers try new techniques and create a personalized wardrobe that they love!