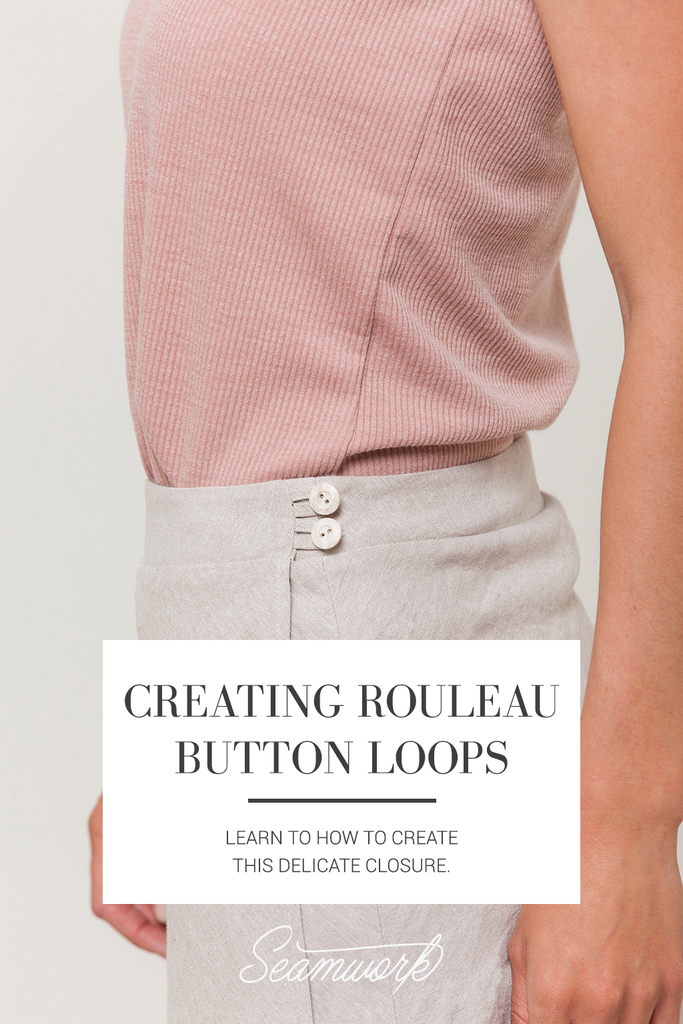
An elegant closure can elevate an average handmade garment into a thoughtful one-of-a-kind piece. Rouleau button loops are small loops made of cording. This fine closure takes the place of buttonholes and works well with lightweight or medium-weight fabrics. Rouleau button loops are often seen at the top of keyholes, or down the center back of cocktail dresses and gowns.
Though this variety of closure is often seen in eveningwear, you can also use this unique detail to elevate a simple daywear piece.
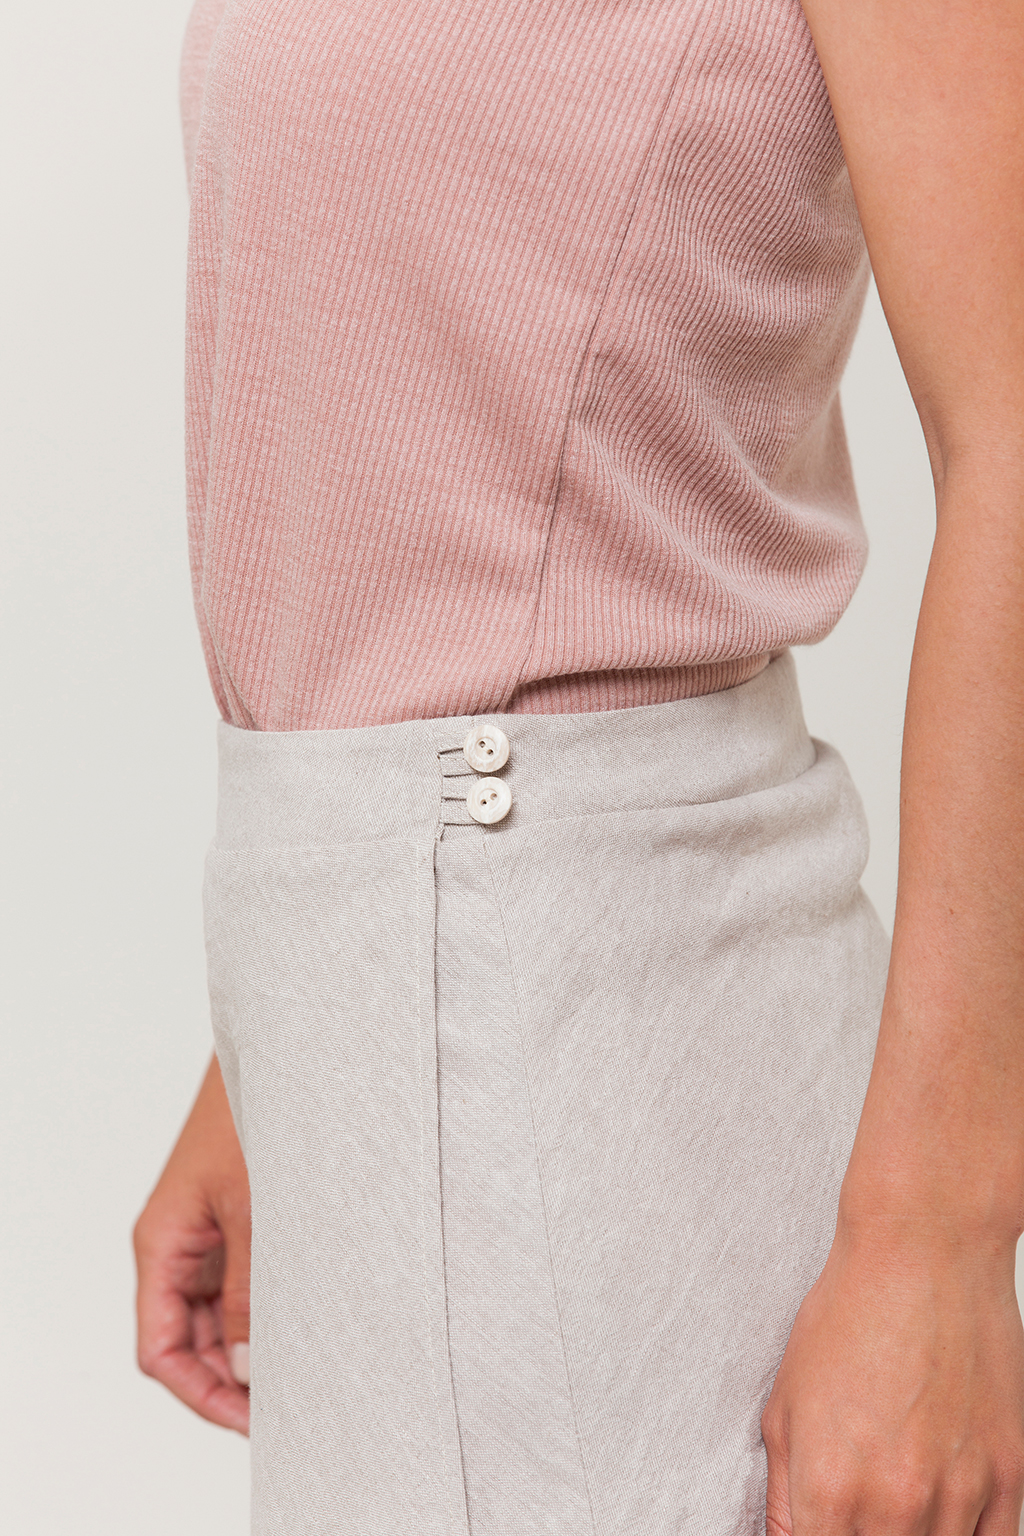
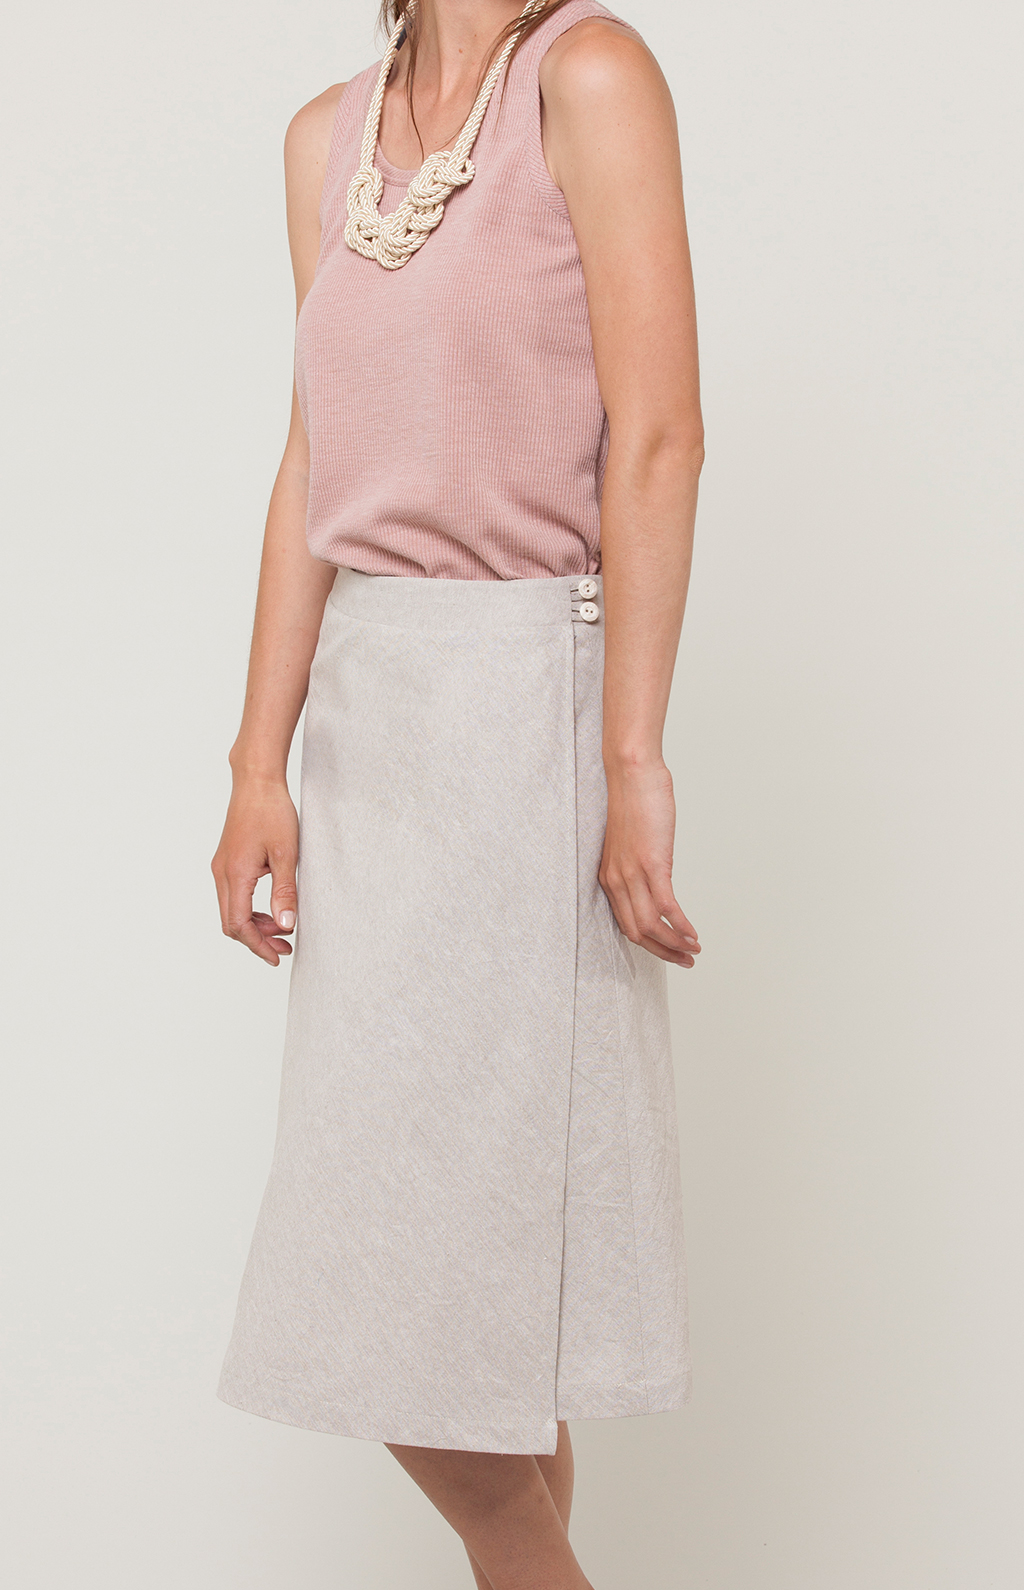
In this tutorial, we added a rouleau button loop closure to the Laura skirt, but you can easily upgrade many patterns with this technique. Look for patterns with a wrap-style closure or a faced button placket closure, like these:
You’ll Need:
- An additional 1/2 yard of your main fabric
- 1 yard of 2mm rattail cord
- Thread
- A water-soluble marking tool
Preparing Rouleau Loops
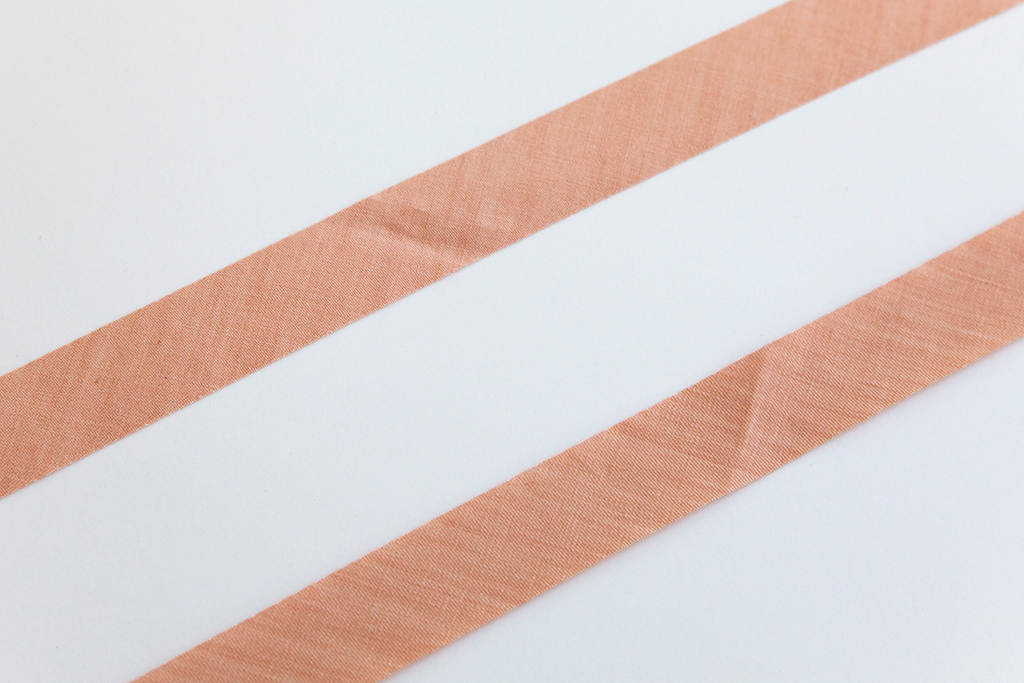
1. Cut a 1” wide strip of bias tape from your main fabric.
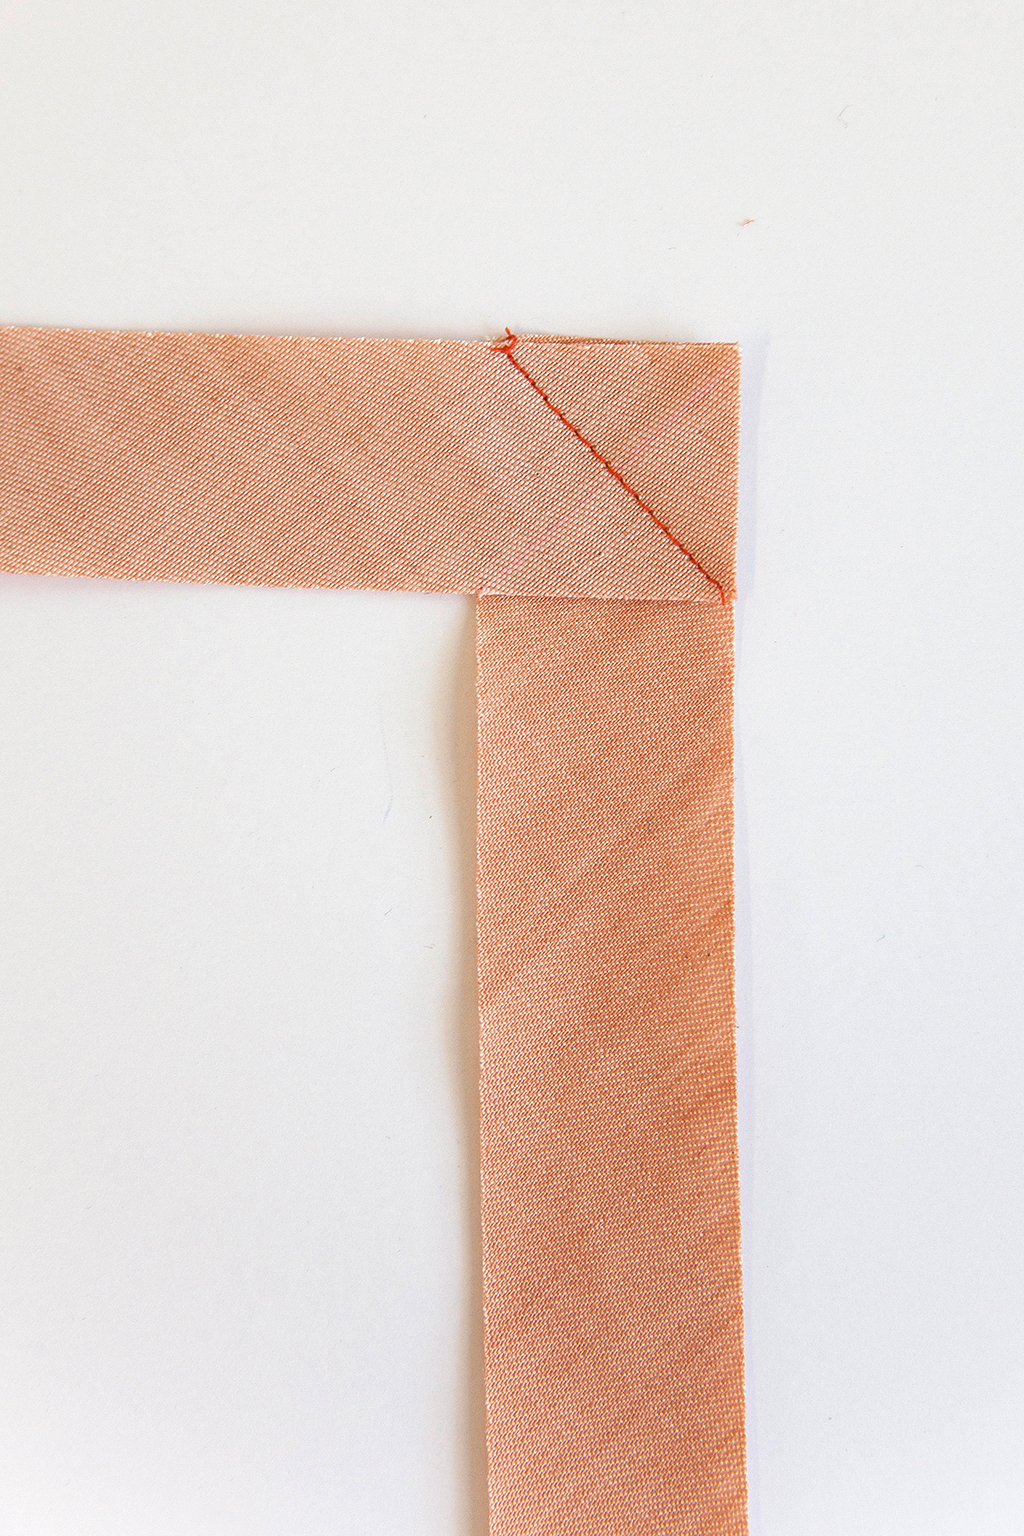
2. If you are creating many rouleau loops, you may need to join a few pieces of bias tape to make a longer length. To do this, place two strips at 90-degree angles with the right sides together, lining up the edges. Sew diagonally across the bias intersection.
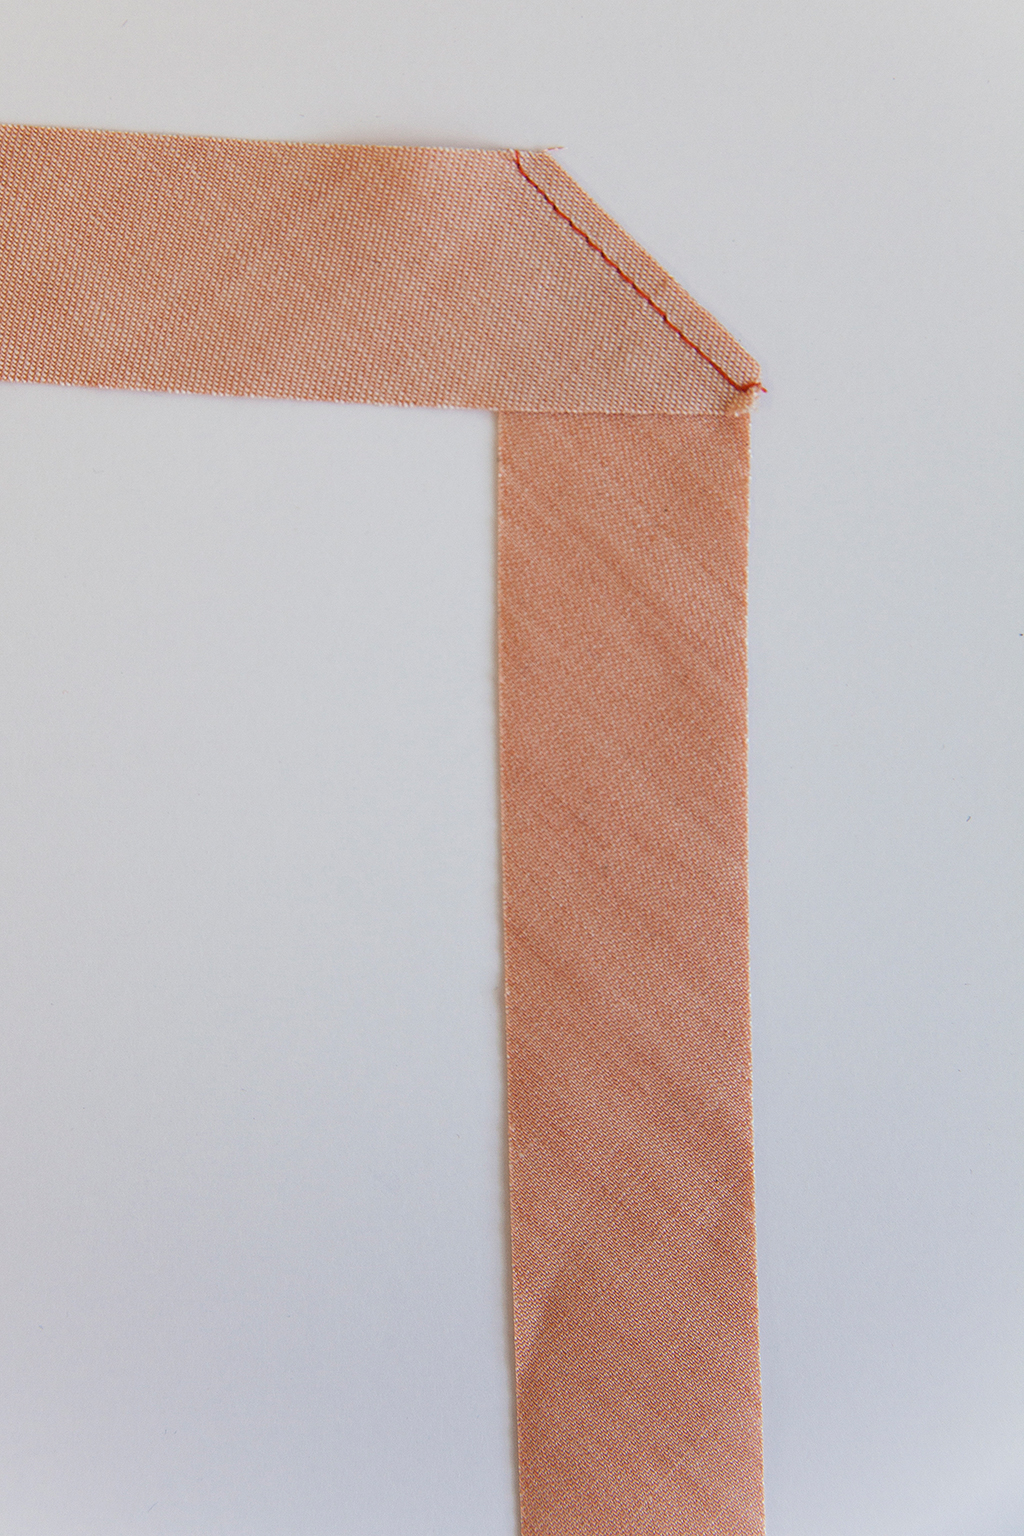
3. Trim the seam allowance to 1/8” and press open.
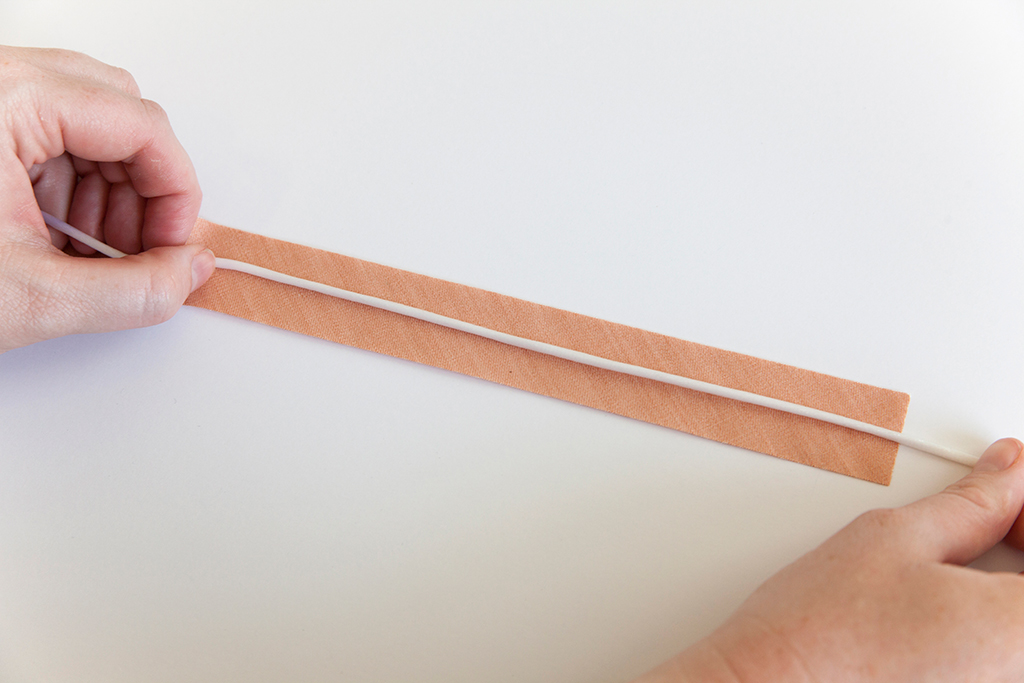
4. Lay the rattail cording down the middle of the bias tape, lengthwise, on the right side of the fabric.
NOTE: The rattail cording will help you quickly turn your cording. For this turning technique to work, your rattail cording must be longer than your bias strip.
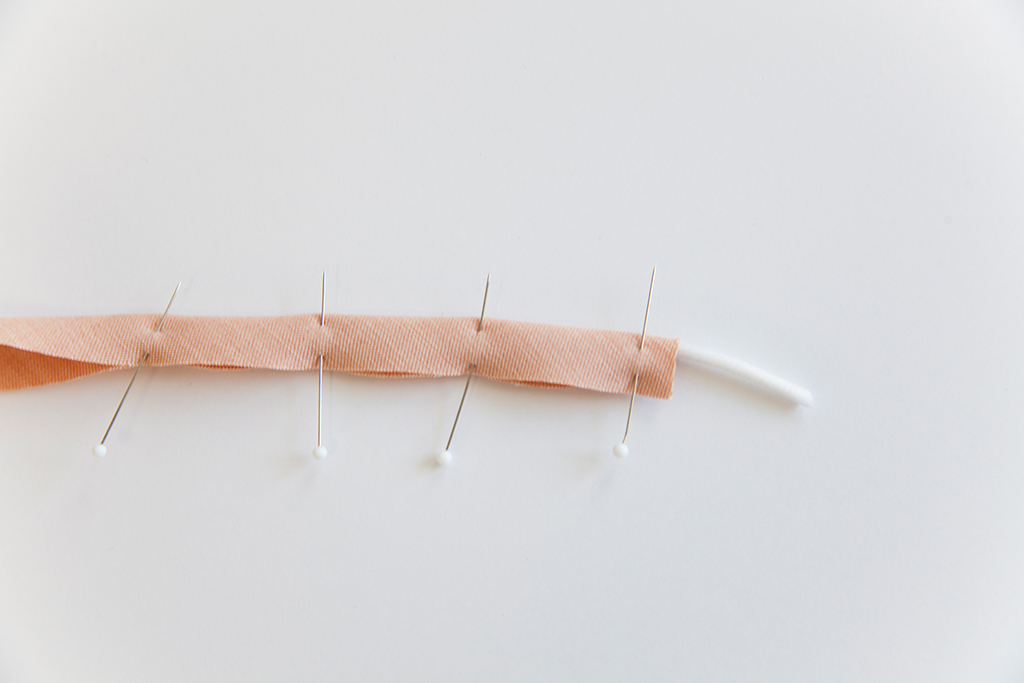
5. With right sides together, fold the bias tape lengthwise, sandwiching the rattail cording between the layers.
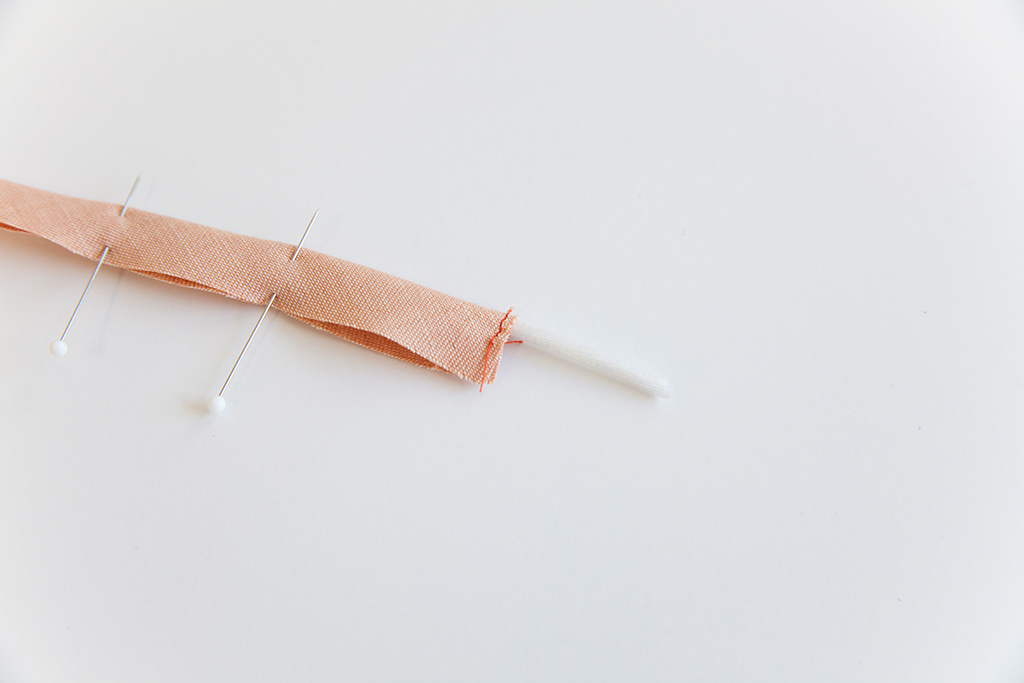
6. Use a straight stitch to secure one end of the bias strip to one end of the rattail cording.
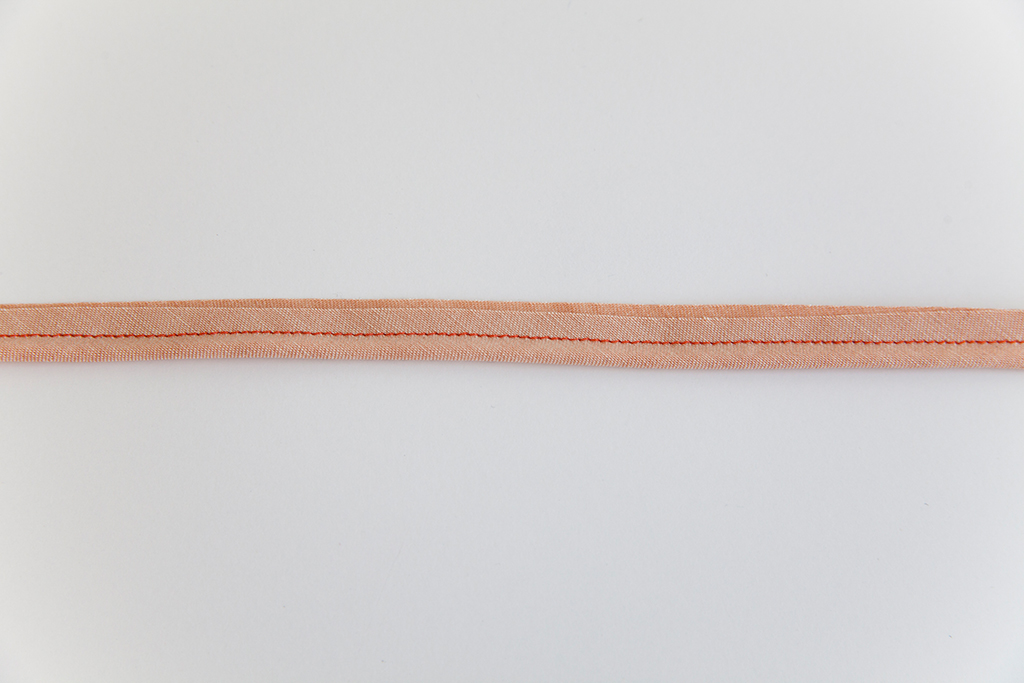
7. Using a zipper foot, stitch as close to the rattail cording as possible.
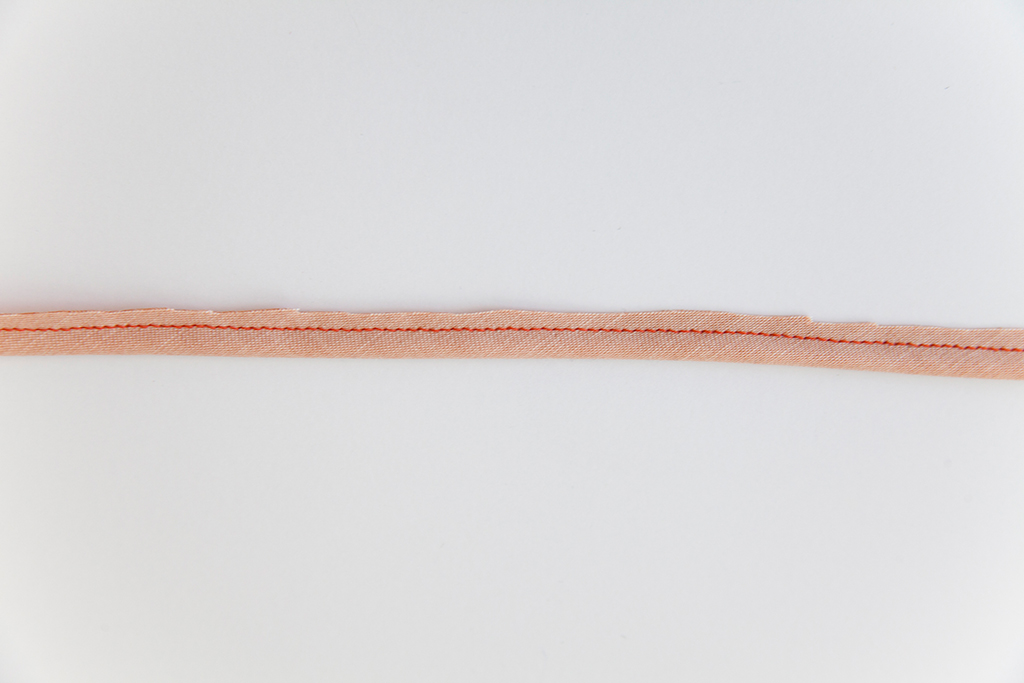
8. Trim the seam allowance to 1/8”.
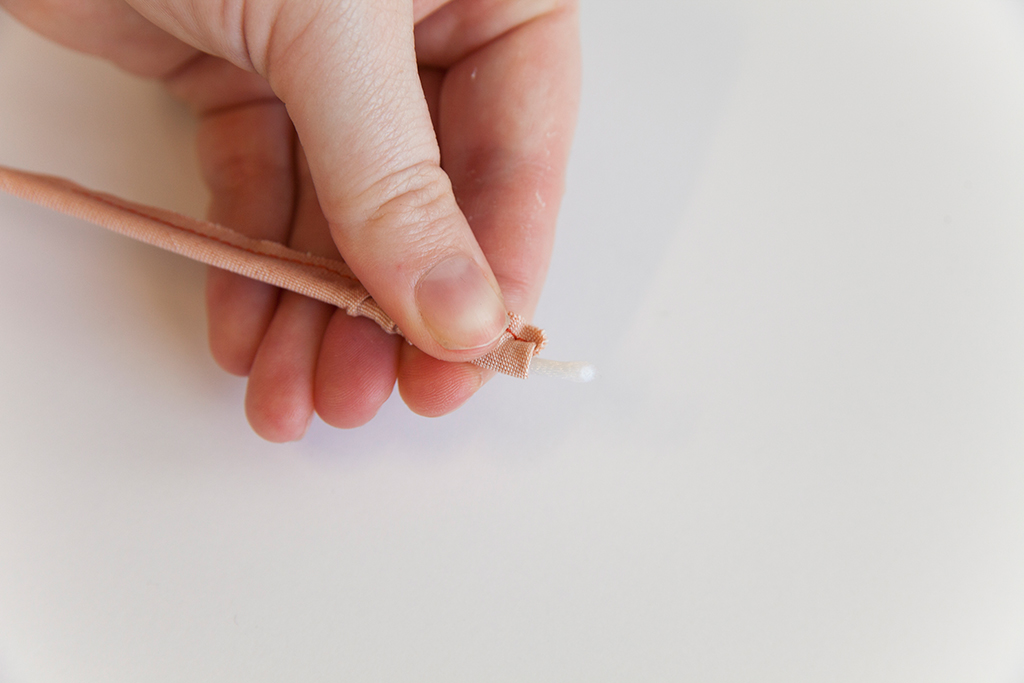
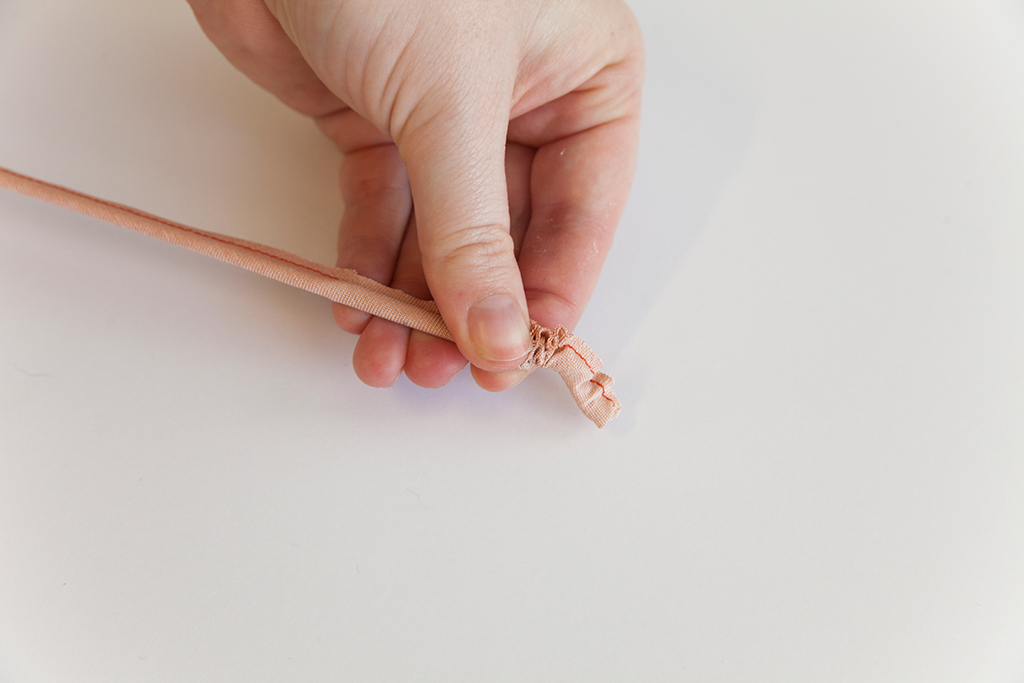
9. Pull the rattail cording to turn the bias to the right side.
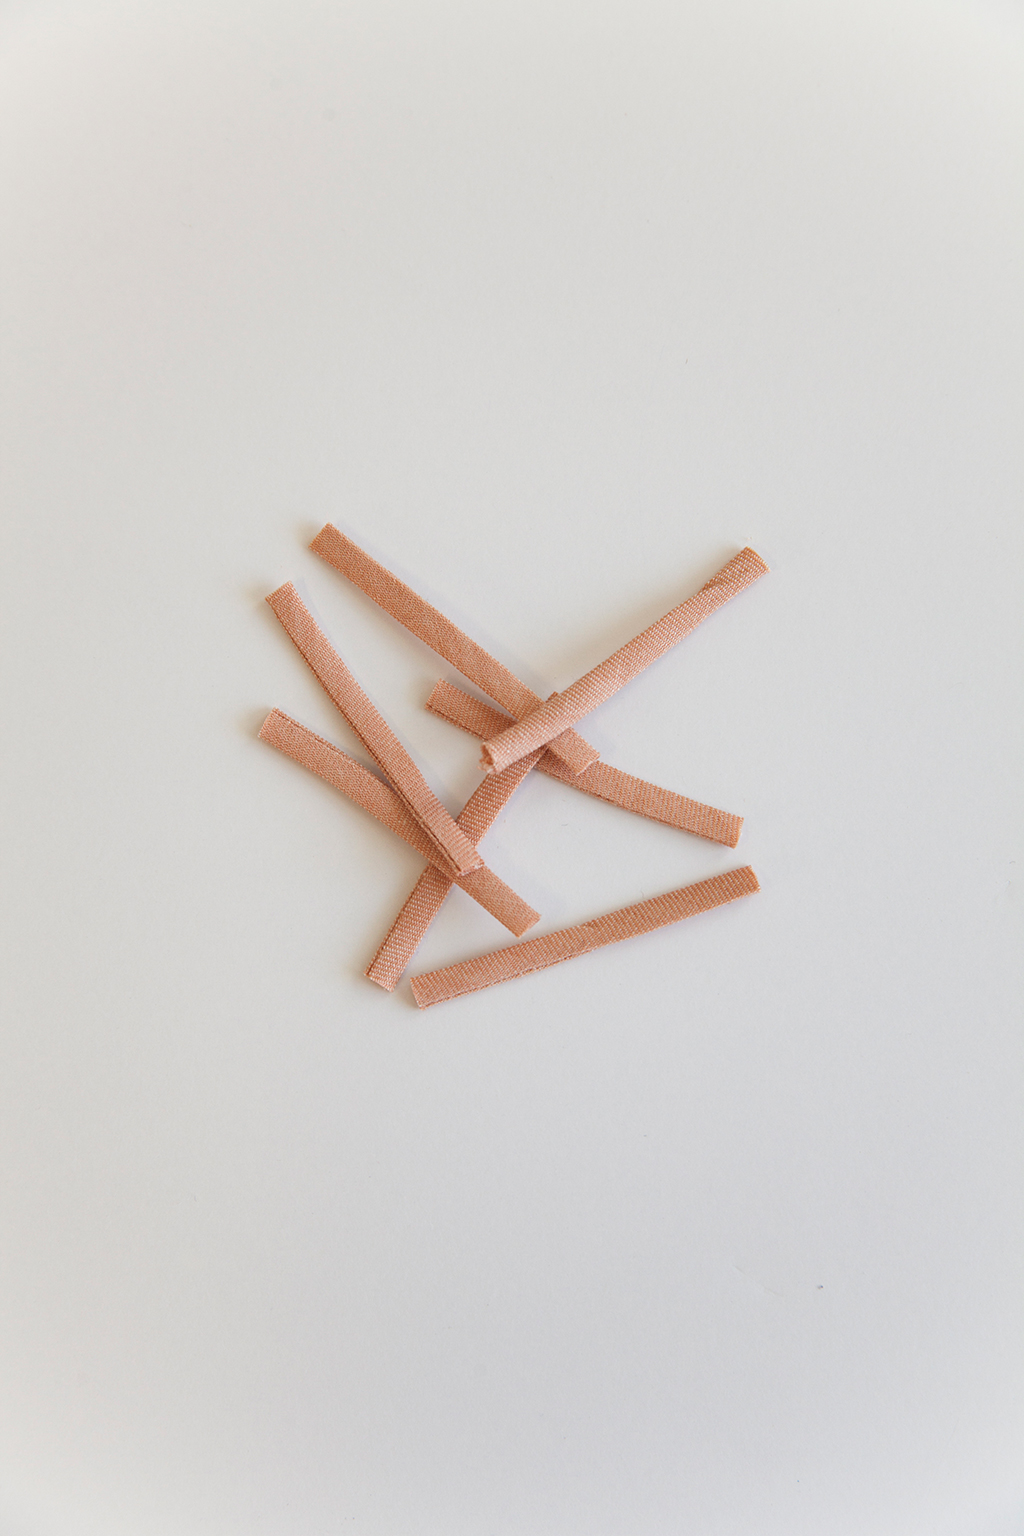
10. Cut the tube into two-inch pieces.
Attaching Rouleau Loops
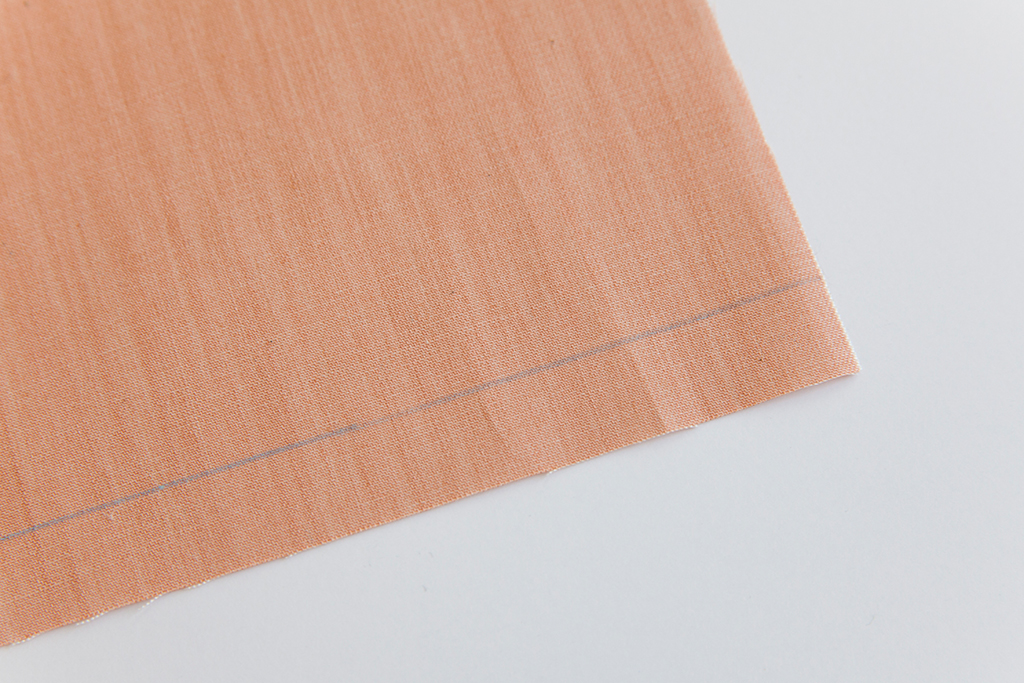
1. Using a water-soluble marking tool, mark the stitch line where the rouleau loops will attach.
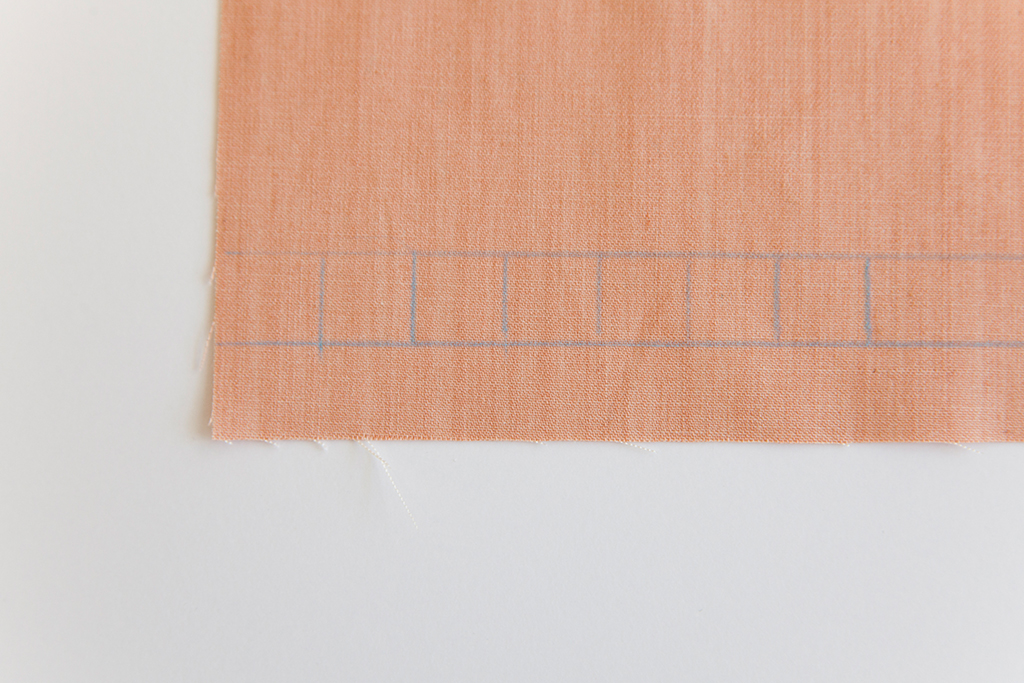
2. Use a water-soluble marking tool to create a reference grid on the fabric. Mark along the stitch line and outside the stitch line.
By creating a reference grid, you will easily be able to create loops with consistent size and spacing.
If you are replacing traditional buttonholes with rouleau loops, you can use the same closure spacing indicated by the pattern, or place each loop side by side, as we did in the example shown.
The width of your rouleau button loops should be equal to your button width. You can either make the depth of the loop equal to the length or narrower, depending on your preference.
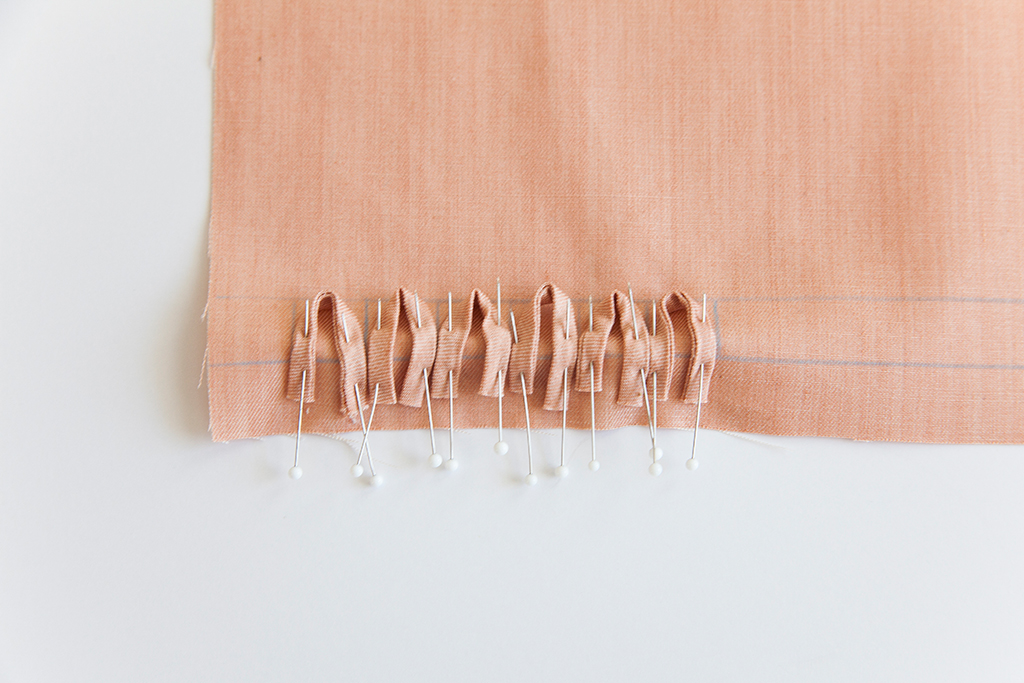
3. Pin the rouleau loops to your project, using the marked lines as a guideline.
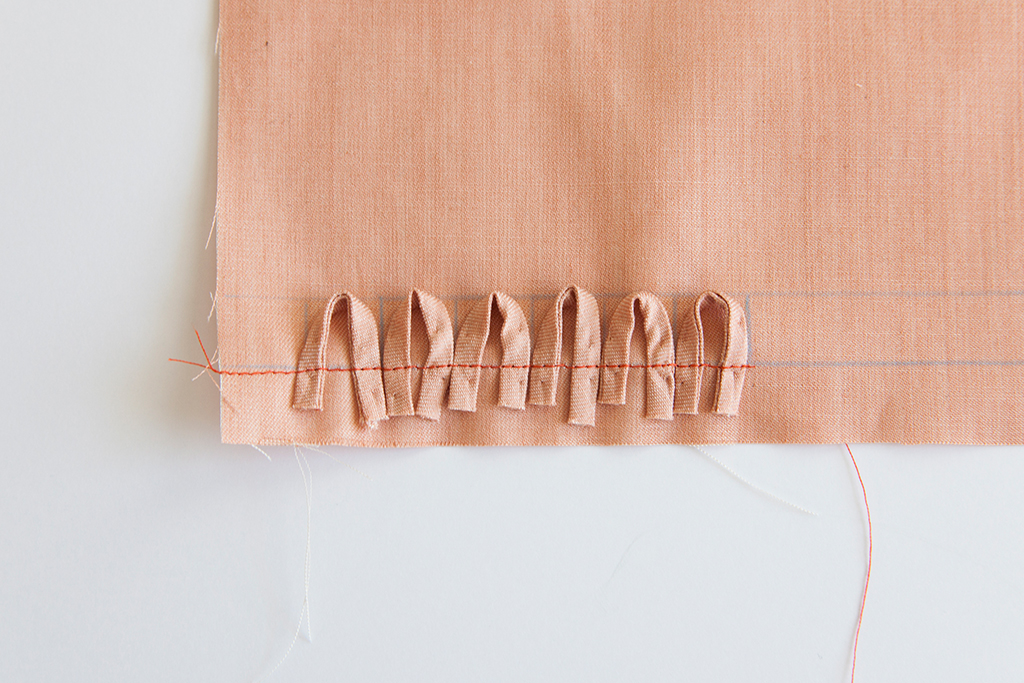
4. Using a straight stitch, sew the rouleau loops in place within the garment's seam allowance.
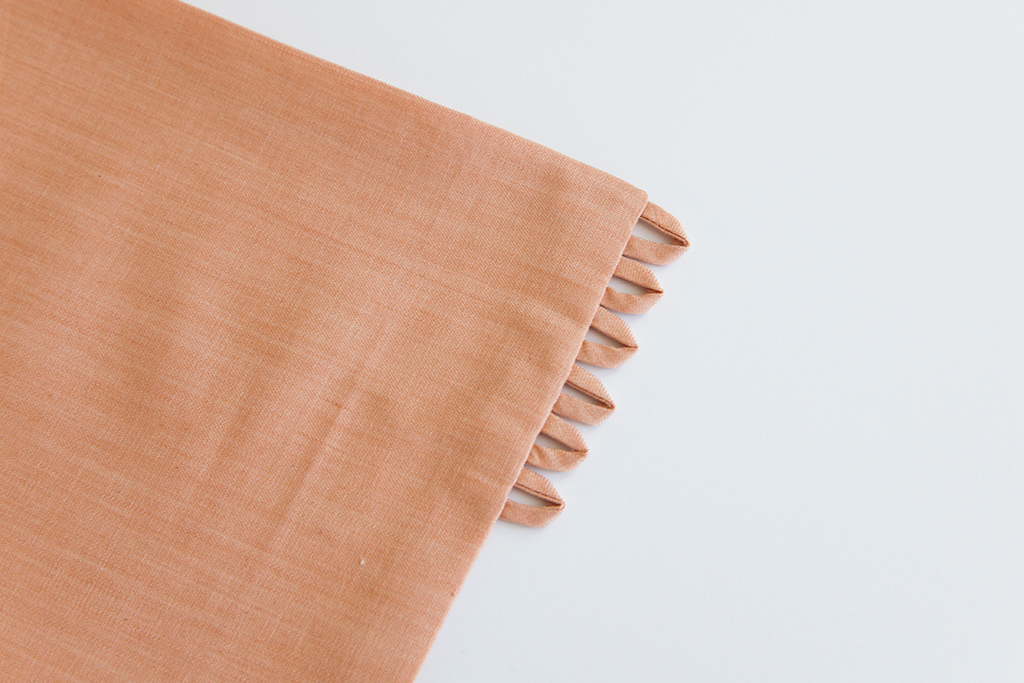
5. Finish the garment according to the pattern instructions. In the example shown, we finished the Laura skirt by finishing and attaching the waistband.

About the Author
Five years ago, Haley left the apparel industry to join the world of home sewing. She has been empowering women to sew ever since —first through years of in-person teaching at Sew LA, and now through her writing at Colette. Haley writes tutorials and articles on our blog, and writes and edits for our magazine, Seamwork.
 Related Articles
 Best Articles