Sign In
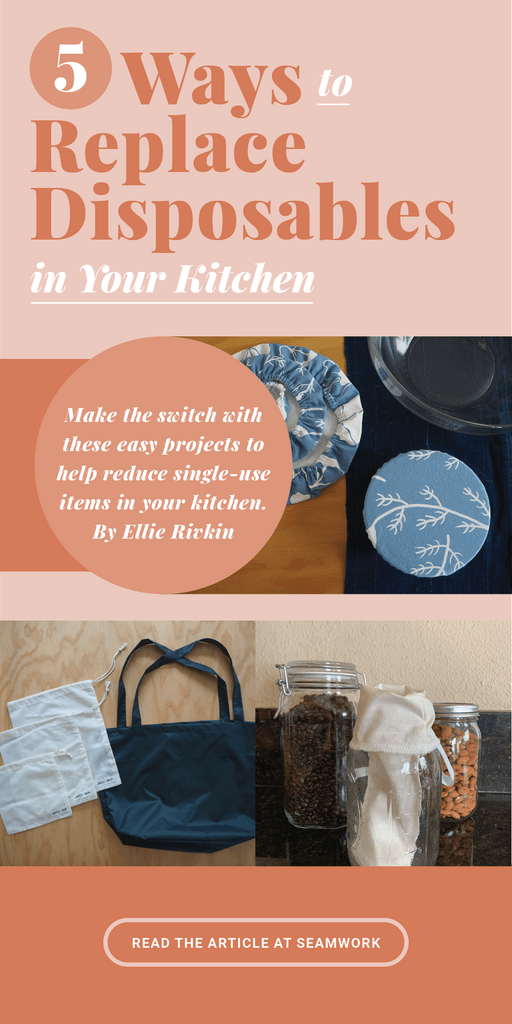
When it comes to kitchen tools, it’s easy to overlook things we use daily as part of our routine. If your little one spills some food on the floor, your first instinct is to grab a paper towel, but why can’t that be a reusable cloth? Or say you’ve lovingly prepared a pasta salad for a picnic but don’t have a cover for that bowl—can that “lid” be a washable fabric bowl cover instead of plastic wrap? These little switches in your habits give a cute personal touch to your décor, and these scrap-busting tutorials will help the planet save on resources and save you money.
Let’s get to the projects!
Sew a Reusable Grocery Set
A no-brainer first project for your kitchen upgrade is the tried-and-true Seamwork Ollie Grocery Set. In this rendition, I swapped out the typical cotton canvas for a strong but lightweight nylon ripstop. I love having a packable tote in my purse, so I hacked the Ollie tote by adding an internal pocket to fold itself into.
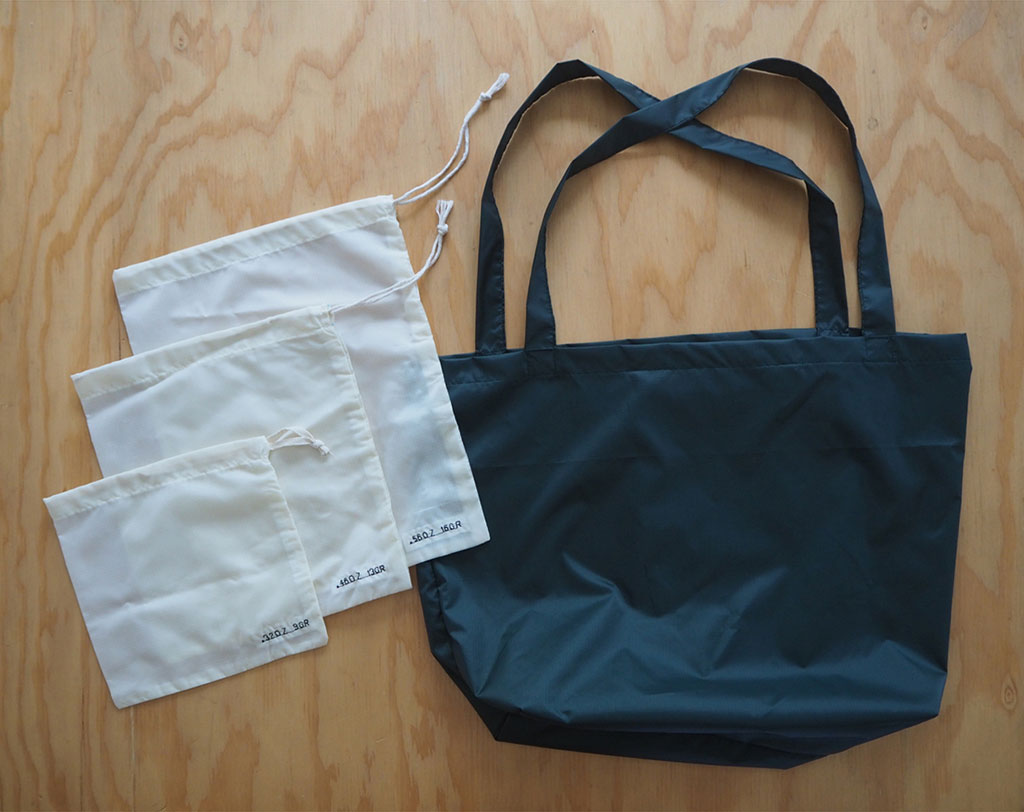
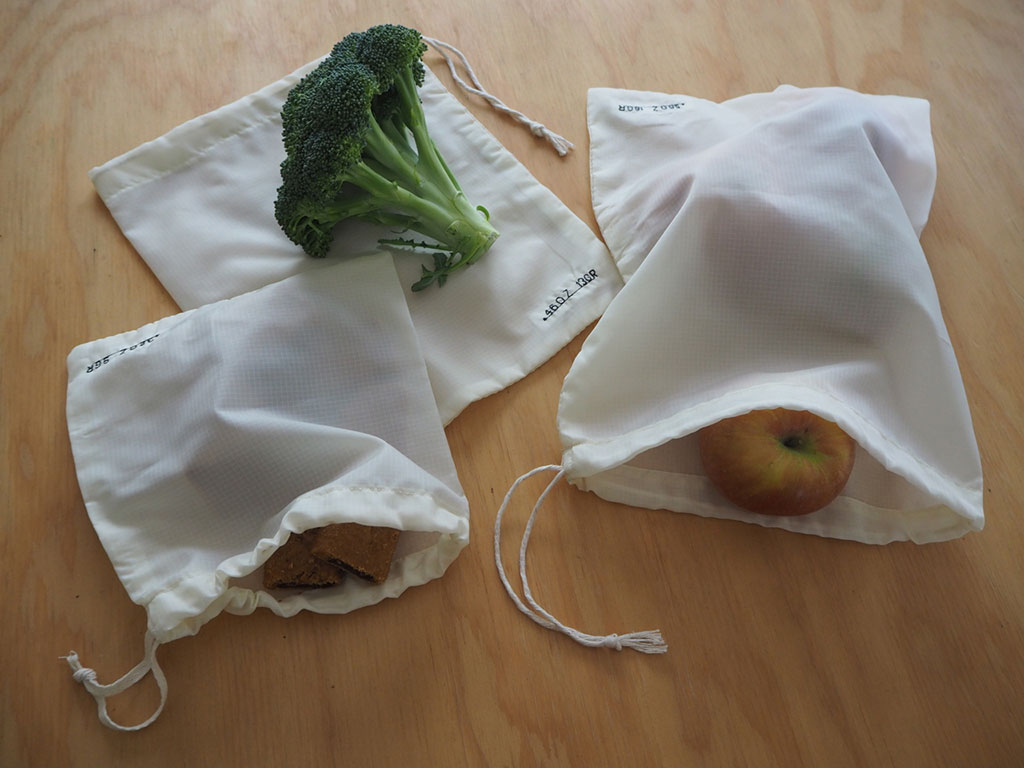
For the produce bags, I used the same nylon ripstop but in a clean white color so you can easily tell what’s inside. This fabric is still breathable, so it should be safe to store in the fridge if needed.
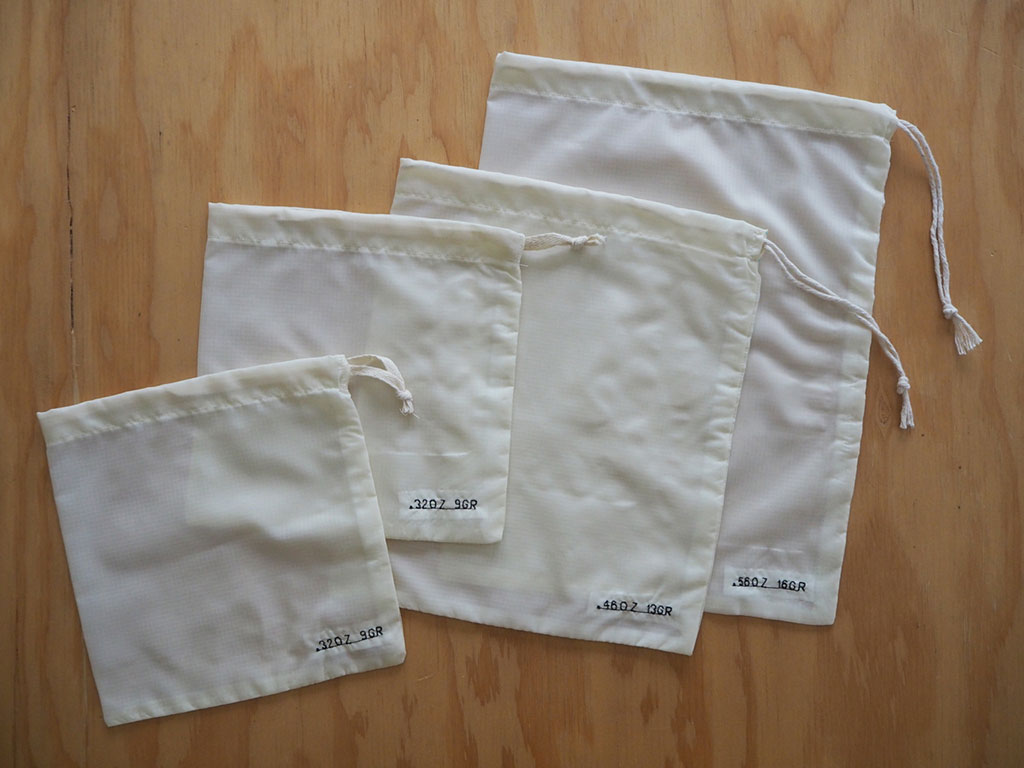
Produce bags are also an excellent multi-use project. Use these to buy and transport produce and bulk items at the store and work great as gift bags or storage for small items. When you’re at the grocery store, all you have to do is let the cashier know the tare weight of the produce bag, and you’re good to go! I embroidered mine on the outside, so there’s no confusion.

Follow this step-by-step video sewalong to sew the Ollie grocery set.
Sew Fabric Bowl Covers
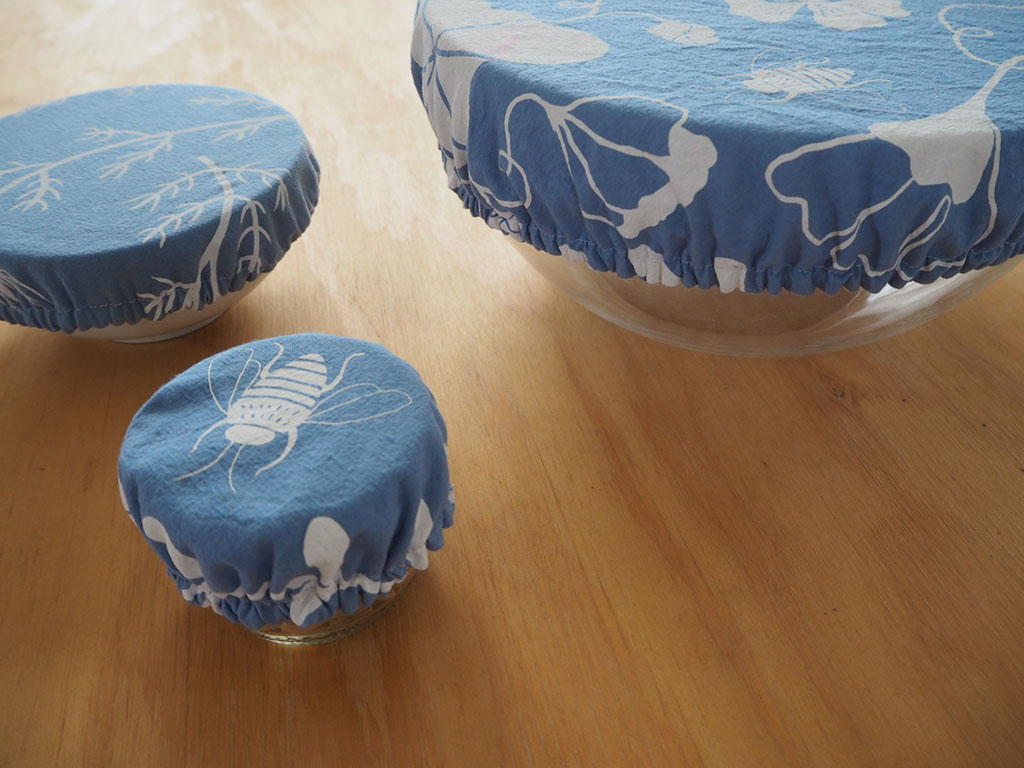
Great for picnics or all that sourdough you’ve been baking, fabric bowl covers come in handy quite often! They are a great replacement for plastic wrap or tin foil when you just need to store something quickly in the fridge or keep out flies off the counter. All you need is a densely woven natural cloth and some 1/4 inch elastic, and you’re set. You can also opt to add a beeswax coating if you’d like a more water-resistant outer layer.
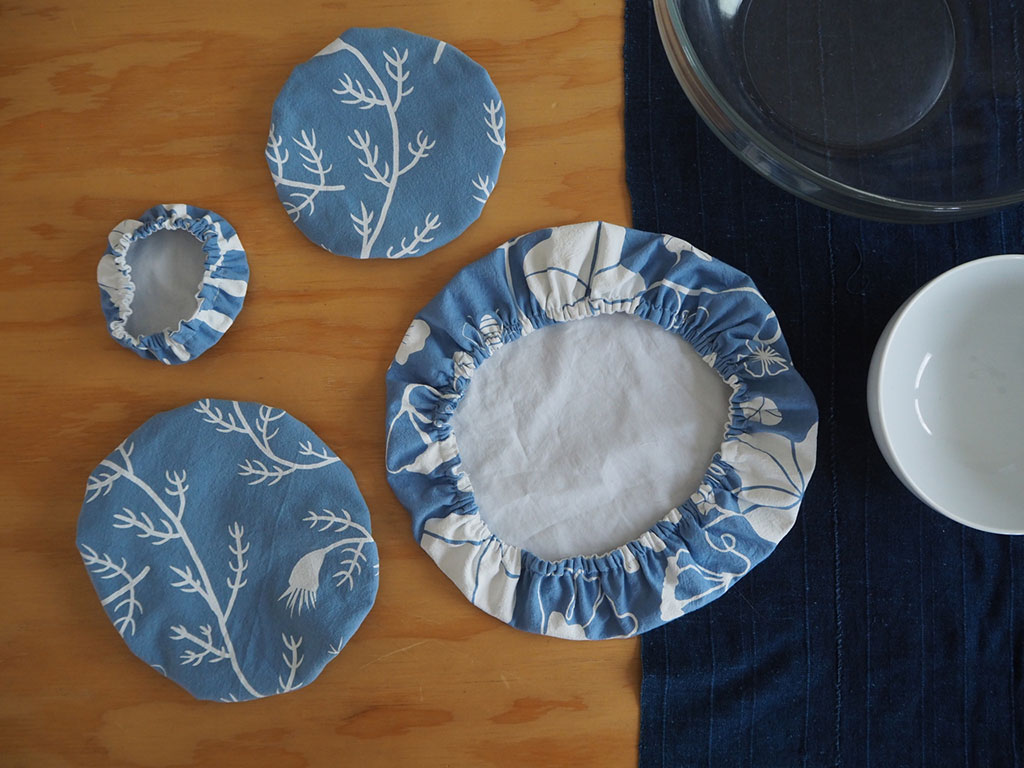
- Decide which bowls you’d like to use. I chose four sizes varying from 3 inches to 12 inches.
- Lay your fabric flat and flip the bowl upside down to trace the circumference.
- Trace 2-3 inches out from the first line: 2 inches for small/medium bowls, 3inches for large bowls over 10 inches in diameter. This is your overhang and includes a 1/4 inch seam allowance.
- Layer your second color or bottom fabric underneath, matching straight of grain, then cut out your circle. You may also do this one by one if you’d like to place a surface pattern in a certain spot.
- Repeat with as many covers as you’d like. Make sure right sides are facing, then pin around the perimeter.
- Leaving at least 3-4 inches open at one end, backstitch, and sew right sides together with a 1/4 inch seam allowance. Stop and backstitch when you have 3 inches left.
- Turn inside out. Press out the curves.
- Next, sew around the perimeter with a 3/8 inch seam allowance.
- Take the elastic and measure it around the edge of your bowl, cut it at about 2/3 the measurement of the bowl’s circumference.
- Using a safety pin, insert the end of the elastic into the casing, matching ends. Make sure it is not twisted, then sew the ends together flat with a zigzag stitch.
- Fold under the seam allowance at the 3-4 inch gap, pressing and pinning into place around the curve.
- Holding the fabric and elastic taught, edgestitch the opening closed. And you’re done!
Make Reusable Swiffer Heads
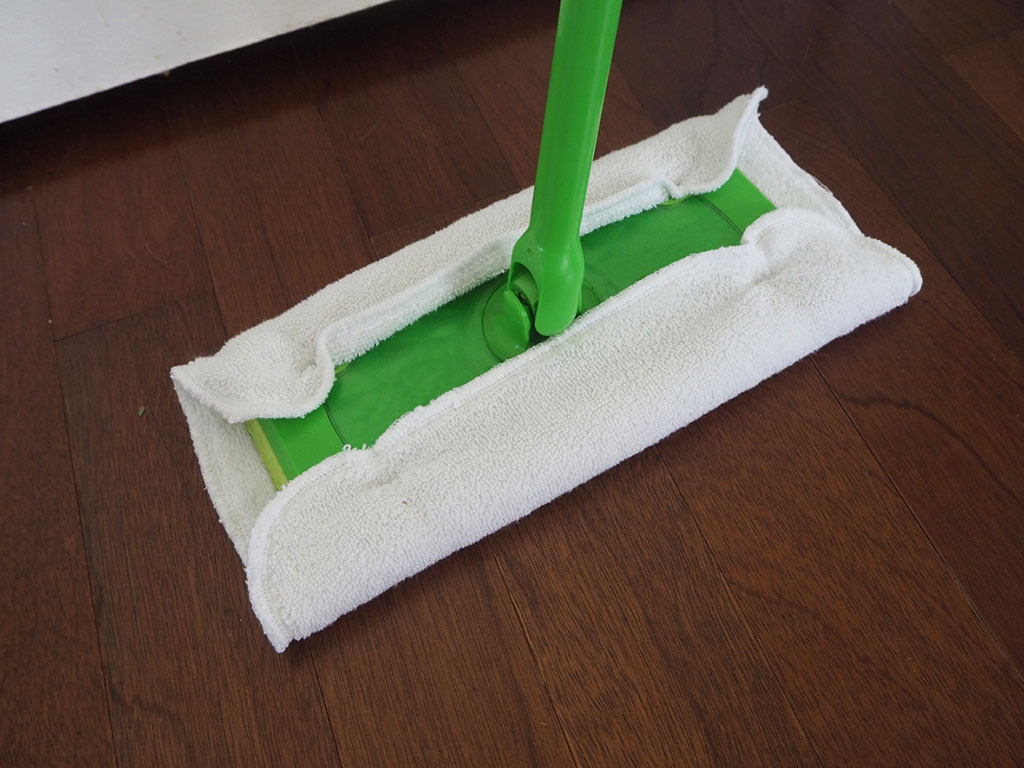
You can easily cut an old towel for a machine-washable alternative to disposable Swiffer pads. Those get dirty so fast anyway, right? These clean better and last much longer.
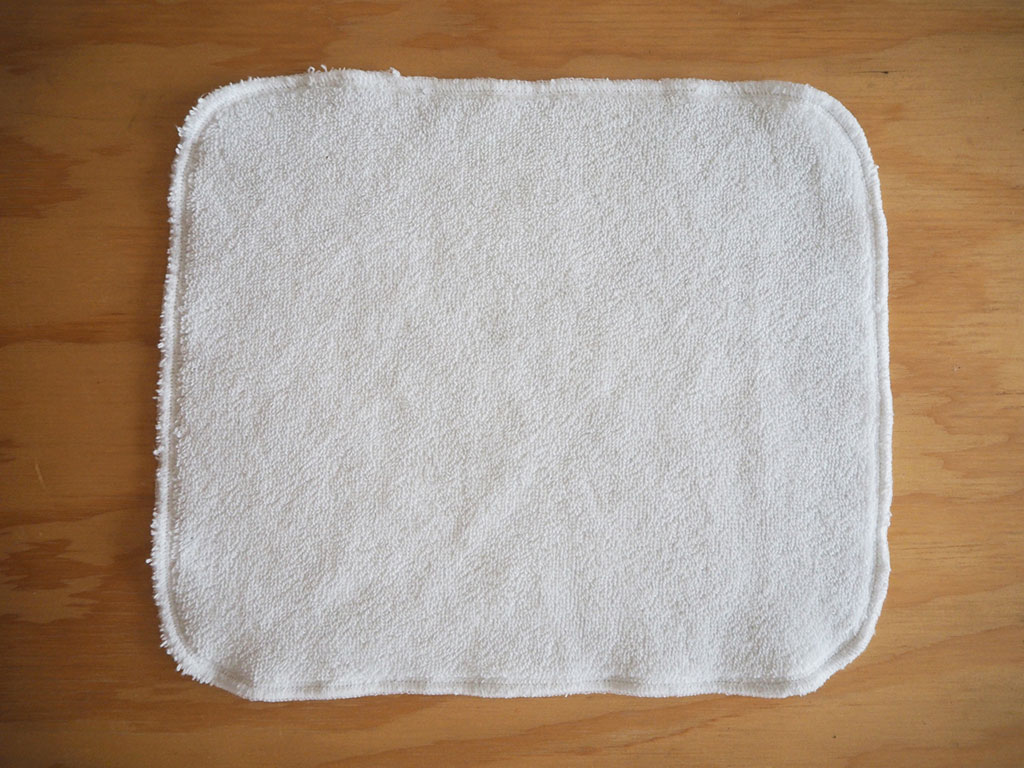
Cut a piece of terry cloth 12 1/4 inches long and 9 1/4 inches wide, with rounded corners. Serge edges at 1/4 inch without trimming off any seam allowance. Leave a 2-inch tail at the end so you can tie it and thread it through the end for closure.
This finished size allows for about 1/2 inch shrinkage and fits a mop head that is 11 inches by 5 inches.
Sew a Lunch Tote

Rather than relying on paper bags to pack your lunch, grab a few yards of your favorite printed fabric and sew a reusable lunch tote.
The Seamwork Rocco Lunch Bag looks like an expensive lunch tote you would get at REI, but you can sew it yourself. It has D-ring and snaps closures to keep your snacks safely stashed within, plus an insulated interlining and a pocket just for your icepack, so your snacks will stay just the right temperature.
Create a Cold Brew or Almond Milk Bag
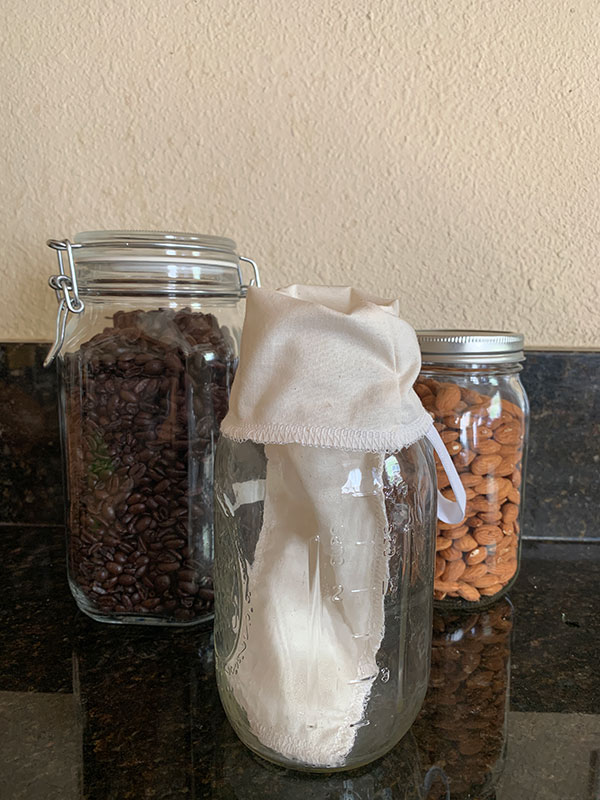
Love your cold brew with oat milk but don’t want to spring for the $5 throwaway plastic cup and straw at the shop? Making your own coffee or nut milk is kind of an underrated zen moment, in my opinion—both of which you can prepare in minutes at home! A piece muslin or lightweight cotton is ideal for allowing the liquid to seep through but leaving the pulp or coffee grounds clear. This bag fits best over a regular mouth 32 oz jar.
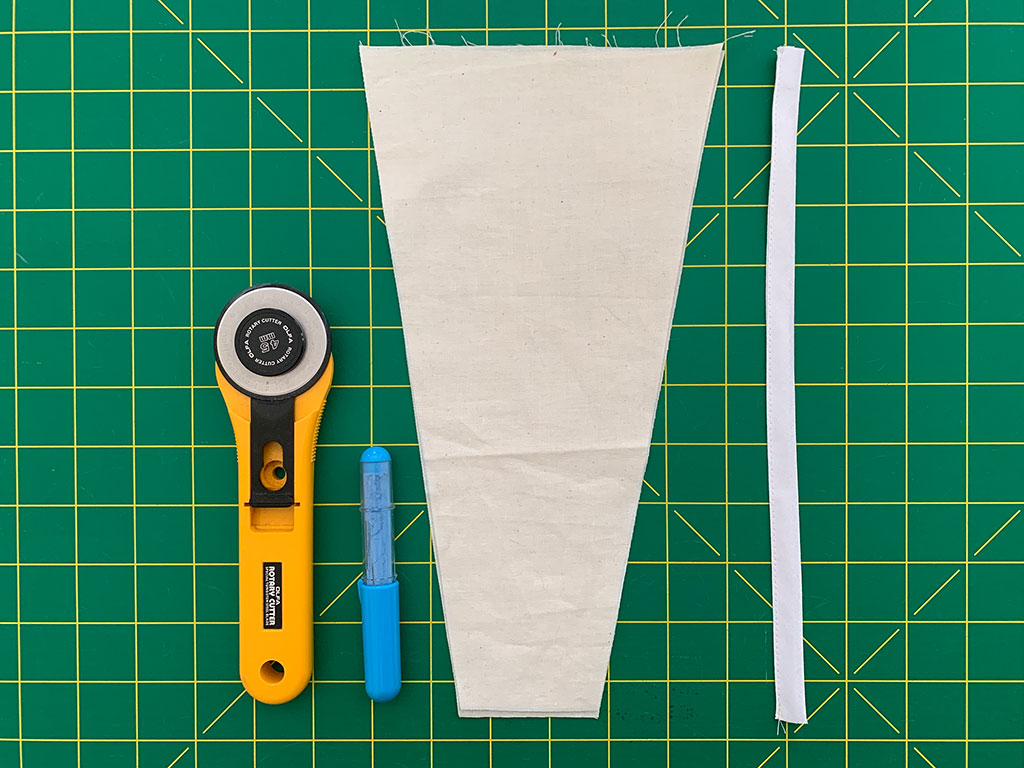
Mark the following dimensions on the straight of grain over two layers of muslin (typically, both sides are the same here). Cut 2 pieces.
- Height: 11 3/4 inches
- Width at top: 6 1/2 inches
- Width at bottom: 2 1/4 inches
- Drawstring length: 11 inches
- Optional: You can add a small weight to this handle to make it easy to grab. I folded and edgestitched a piece of bias binding here.
To sew, first, serge one of the long edges with a 3/8 inch seam allowance. Unfold and serge along the top raw edge. If you’re using a drawstring handle, place and pin it 1/2 inch from the top. Then fold back together flat and serge from the short bottom edge, turning the corner if you can, and back up the long edge (enclosing the drawstring) through the top, leaving a thread trail. You can now cut tie and cut off the thread trails—the serged edges are right side out.
After you make your bag, look for a tasty recipe online, brew some coffee, and pair your drink with a reusable straw—and you can cut waste out of your morning routine every single day. Hope you give it a try!

Ellie Rivkin
Contributing Writer
Ellie Rivkin has been a sewer and maker since childhood. Her journey as an apparel designer was driven by the intersection between art and function; most recently portrayed through upcycling textiles and playing with natural dyes. She enjoys advocating for the slow fashion movement by educating the community about thoughtful consumerism in today’s world. Find her on Instagram at @ellierivkin or at ellierivkin.com.
Related Articles
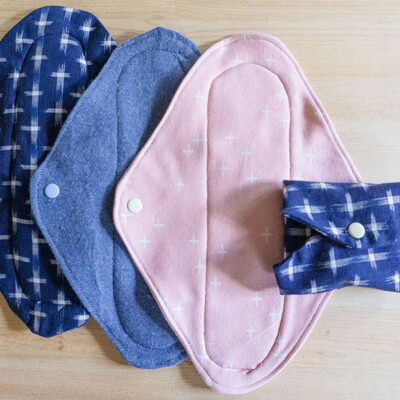
3 Ways to Replace Disposables in Your Bathroom
Make the switch with these easy projects to help reduce single-use items in your bathroom, by Ellie Rivkin.
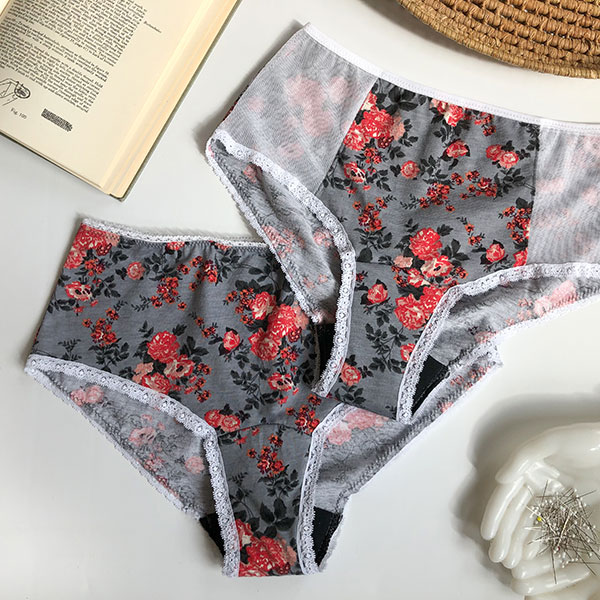
Sewing Your Own Underwear is Empowering
Use this free Seamwork pattern to make a pair of underwear that fits your style and body. By Wallis Smith-Owens.
Pinpoint Your Style (While Minimizing Your Stash)
The most sustainable fabric is the fabric you’ve already got, by Michelle Colistro Brown.