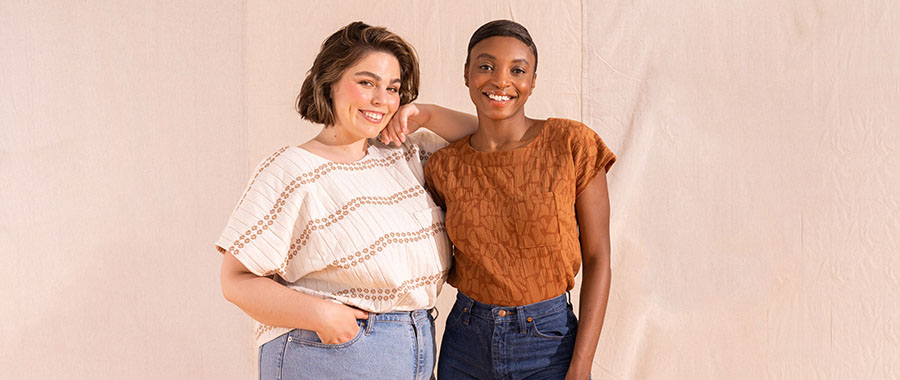
There's something so satisfying about making your own cozy knits. You get to pick exactly the fit, the fabric, the little details that make it yours.
But sweatshirt knits have their own quirks, and if you don't know how to handle them, you can end up with shoulder seams that droop or seams that ripple no matter how many times you re-sew them.
I've been sewing for almost 30 years, and teaching people how to build a wardrobe they love for the last 15. Today I want to walk you through exactly how to work with sweatshirt knits, so you can sew pieces you're proud to wear — whether that's lounging at home or heading out the door.
Know Your Fabric First
Think all sweatshirt knits are the same? Think again.
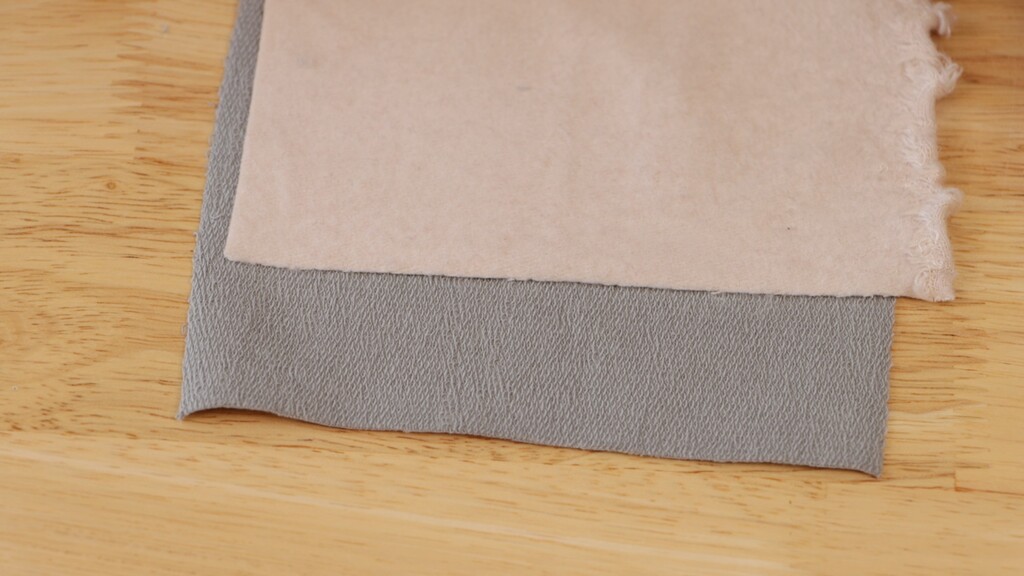
When people say "sweatshirt knits," they're usually talking about one of two fabrics: sweatshirt fleece or French terry. Sweatshirt fleece has a smooth face and a brushed, fuzzy interior. It's heavier, with more structure and body, and it holds its shape — the classic choice for hoodies and sweatpants. French terry has that same smooth face, but the interior is looped instead of brushed, so it's lighter, with more drape and breathability.
Fleece for structure, terry for drape. The fabric you choose shapes everything about your finished piece, so think about what you're actually looking for in the finished garment before you buy. If you want structure and warmth, fleece is what you're after. But if drape and movement matter more, reach for French terry instead.
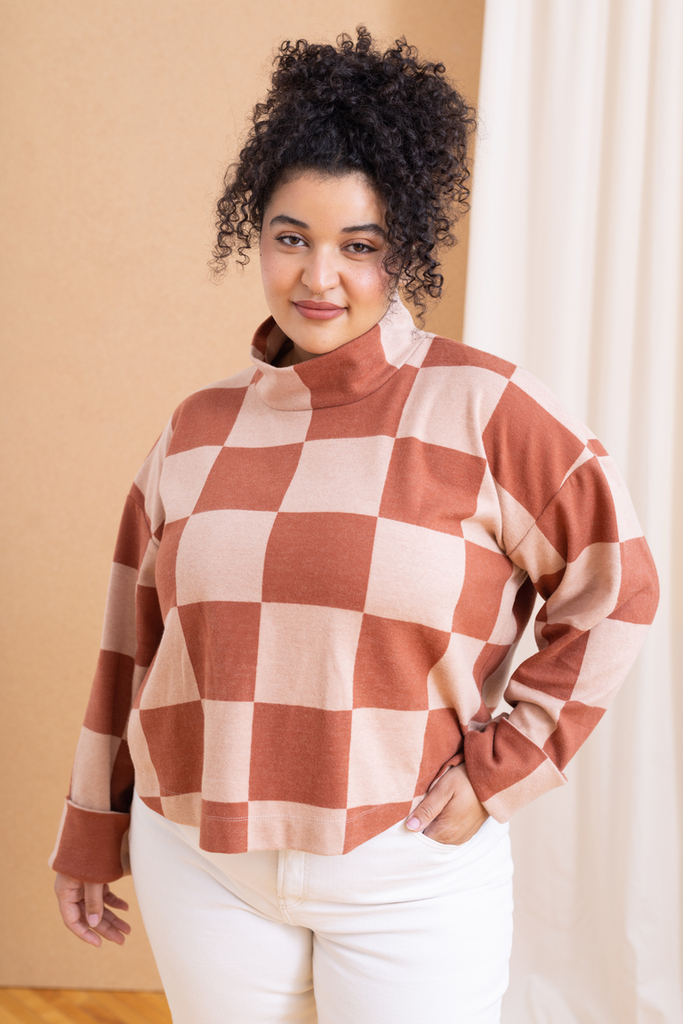
Knowing that difference is exactly what made the fabric choice easy for a recent project of mine — a fitted pullover I wanted to wear over a dress or with jeans and still get a little waist definition. I found a French terry with matching ribbing at Yardblox, and the second it arrived I could tell it was exactly right, because it had this soft drape to it. If I'd grabbed a sweatshirt fleece instead, thinking "sweatshirt fabric is sweatshirt fabric," it wouldn't have draped the same way at all. It would've stood away from the body, and the whole thing would've come out stiffer and boxier than what I was going for.
Pre-Wash Like You Mean It
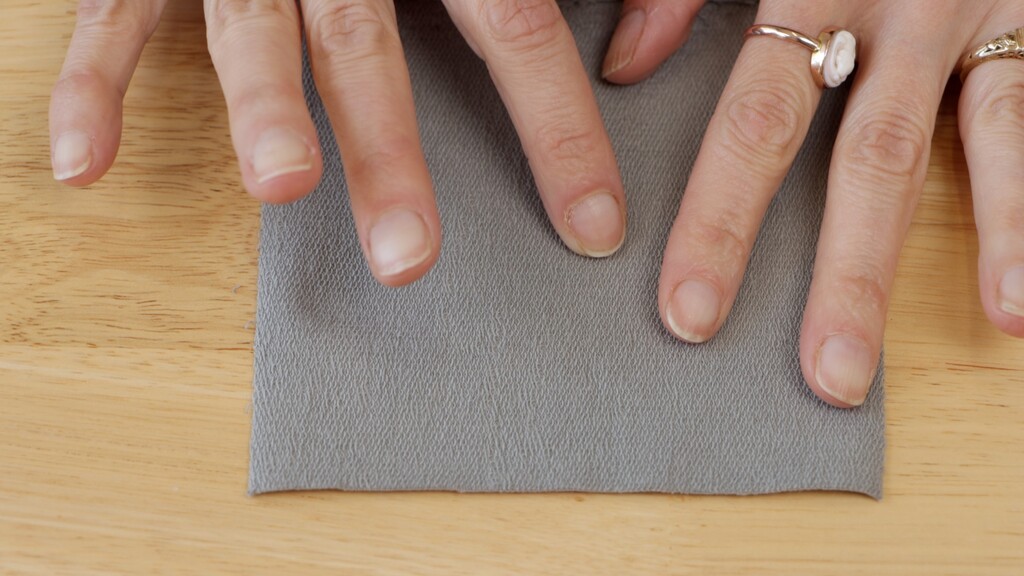
This one probably feels like the most skippable step, especially with a fabric that already feels finished and cozy right off the bolt. But cotton-heavy knits shrink more than almost any other fabric family. You can lose 5 to 10% or more on that very first wash.
So pre-wash and dry your fabric exactly the way you plan to launder the finished garment. Pre-washing is boring, I know. But it's the difference between a garment that fits the same in six months and one that doesn't.
Fleece has its own quirk on top of that: it can actually shrink unevenly between the brushed side and the smooth side, so the fabric can warp slightly if you skip this step. If you're working with a stiffer or more budget-friendly cotton blend, you might need to run it through the wash more than once before it settles down.
The important thing is that you want all these changes to happen before you cut your pieces, not after you've invested hours in sewing.
Cut in a Single Layer
Folding fabric to cut two layers at once usually works fine for most knits, but sweatshirt knits don't always play nice here. They're bulkier and stretchier, and they tend to shift on the table more than a jersey knit does. A folded layer can shift out from under you without you even noticing until the pieces don't quite match.
So cut in a single layer. It takes a little more time, but the accuracy is so worth it.
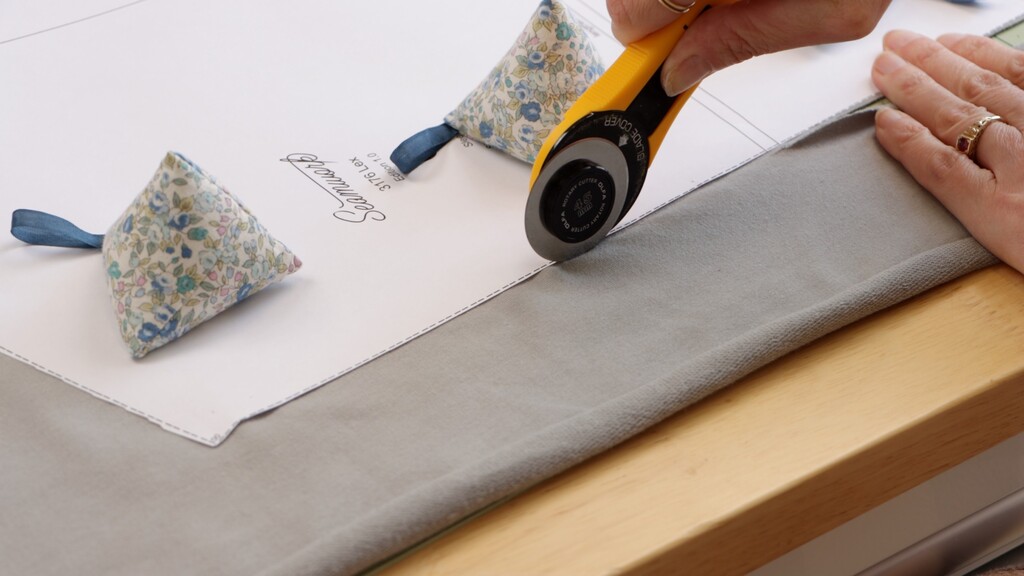
And while we're talking about accuracy, a rotary cutter and a self-healing mat make a real difference here too. They keep the fabric flat and stable instead of lifting it the way scissors can. Pins can also distort the fabric and snag those loops or that brushed nap as you cut around them, so opting for a rotary cutter can save you from dealing with that headache. Just be sure to use a fresh blade to keep your cuts smooth and precise.
If you're working with French terry specifically, handle those cut edges gently, since the loops on the interior can catch or run if you're rough with them. And if you're newer to sewing with knits, give yourself a little extra breathing room in your seam allowances. It makes construction so much less stressful.
Stabilize Your Shoulder Seams
Have you ever pulled a sweatshirt out of your closet after a few wears and noticed the neckline sitting a little lower than it used to, or the shoulders looking stretched out and saggy? That's gravity. Every time that sweatshirt hangs in your closet or sits on your shoulders, its own weight pulls down on the shoulder seams, and a knit will happily stretch in the direction you pull it.
Want your sweatshirts to actually hold their shape? Stabilize this seam first.
The shoulder seam is the very first place a sweatshirt stretches under its own weight, especially once you add sleeves and a hood or collar. Stabilizing is the simple fix — clear elastic, knit stay tape, or strips of knit interfacing all work beautifully. Sew it right into the seam as you stitch the shoulders together. It adds just enough structure to keep everything springing back instead of drooping over time.
If you're only going to stabilize one seam, make it the shoulders. That's the priority.
This matters even more with a heavier fleece, especially anything in that 300 GSM-plus range, because that extra weight is exactly what pulls those seams out of shape over time.
Setting Up Your Machine for Success
Now for sewing. There's a little bit of setup that makes all the difference when you're working with these bulkier knits.
First, use a ballpoint or jersey needle. This is non-negotiable with any knit, sweatshirt fabric included, since a regular needle can actually damage those knit loops instead of sliding neatly between them. A walking foot is incredibly helpful too, since it feeds both layers evenly and helps keep things running smoothly with all that texture on the back of sweatshirt knits.
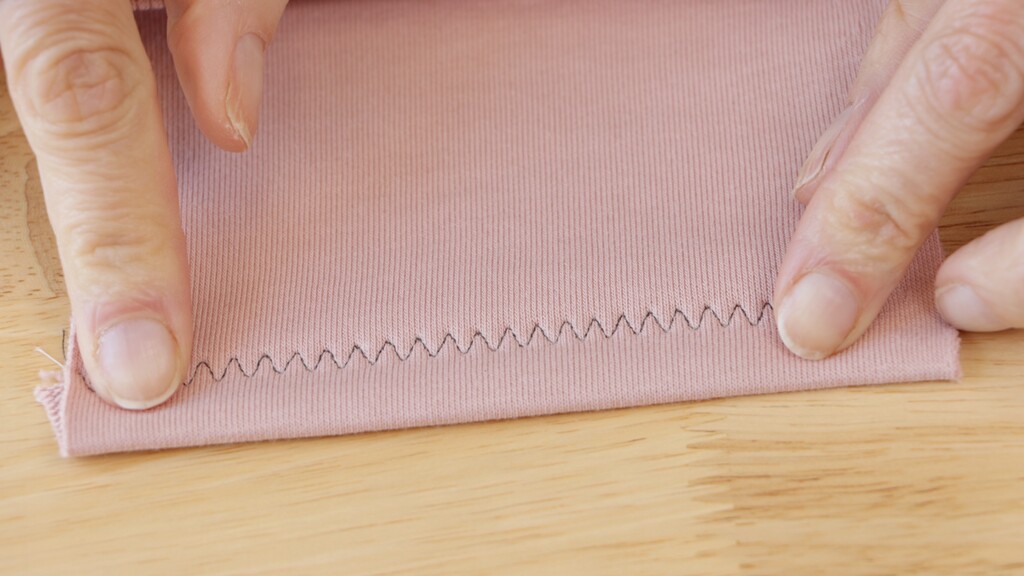
Just like with all knits, make sure you're using a stretch-friendly stitch — a zigzag, a lightning bolt stitch if your machine has one, or a serger — so your seams can flex with the fabric instead of popping. If you're working with a heavier or thicker knit, widen your zigzag to somewhere between 3.5 and 5.0 millimeters, and lengthen your stitch slightly too, to about 2.5 to 3.0 millimeters. That extra width and length gives the stitch room to accommodate the bulk and stretch of the fabric instead of fighting it.
But here's the main tip I want you to walk away with: guide your fabric, don't pull it. This is true whether you're on a serger or a regular machine. Pull or stretch the fabric as it feeds through, and you'll get a seam that ripples and waves no matter how carefully you thought you were sewing it. Let the machine do the feeding, and just gently support the fabric with your hands. Always test your stitch and tension on a scrap first, especially if you're switching between fleece and terry, because they can behave differently under the same settings.
For hemming, a twin needle or a zigzag — or a three-step zigzag if your machine has one — are your main options. Folded hems can be a little challenging with bulkier knits, so test your stitches on a scrap first to make sure you like the stretch and the look before committing. And if you want a little more of that finished, ready-to-wear look, you can swap a folded hem for a rib knit band instead.
Patterns Worth Trying in Sweatshirt Knits
Now that you know how to work with sweatshirt knits, let's talk about a few patterns worth putting these techniques to use on.
The Lex sweatshirt is a great low-pressure starting point. It has an oversized fit, dropped shoulders, and a kangaroo pocket with binding at the openings — a cozy, lived-in look but with just enough detail to feel intentional. It's quick to cut, quick to sew, and a fun place to play with a contrast fabric or coordinating ribbing on that pocket binding.
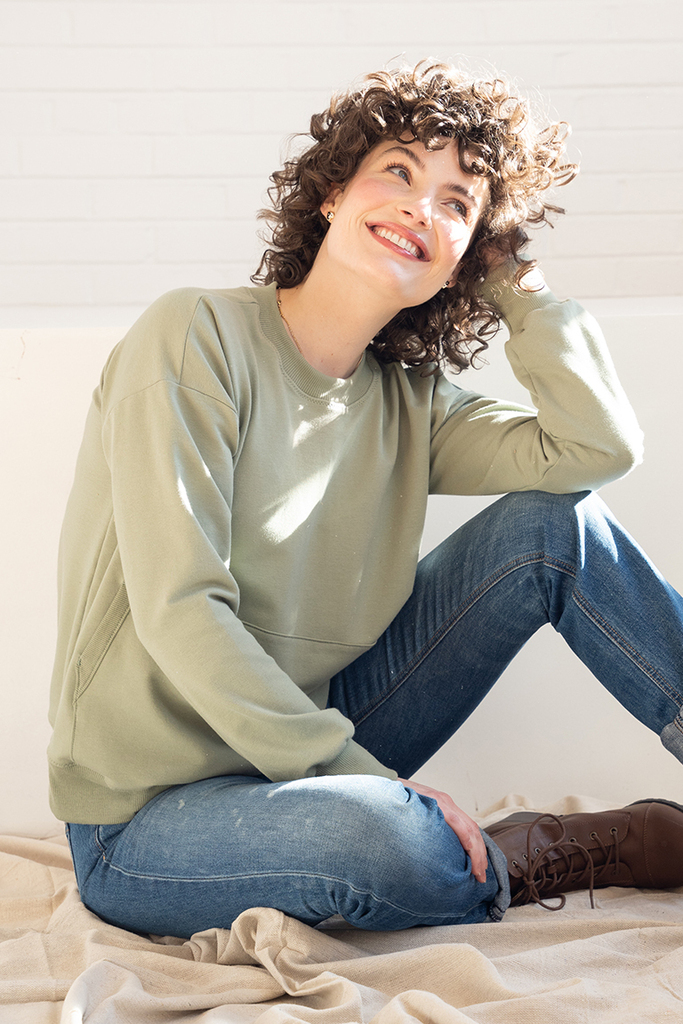 Lex sweatshirt product photo">
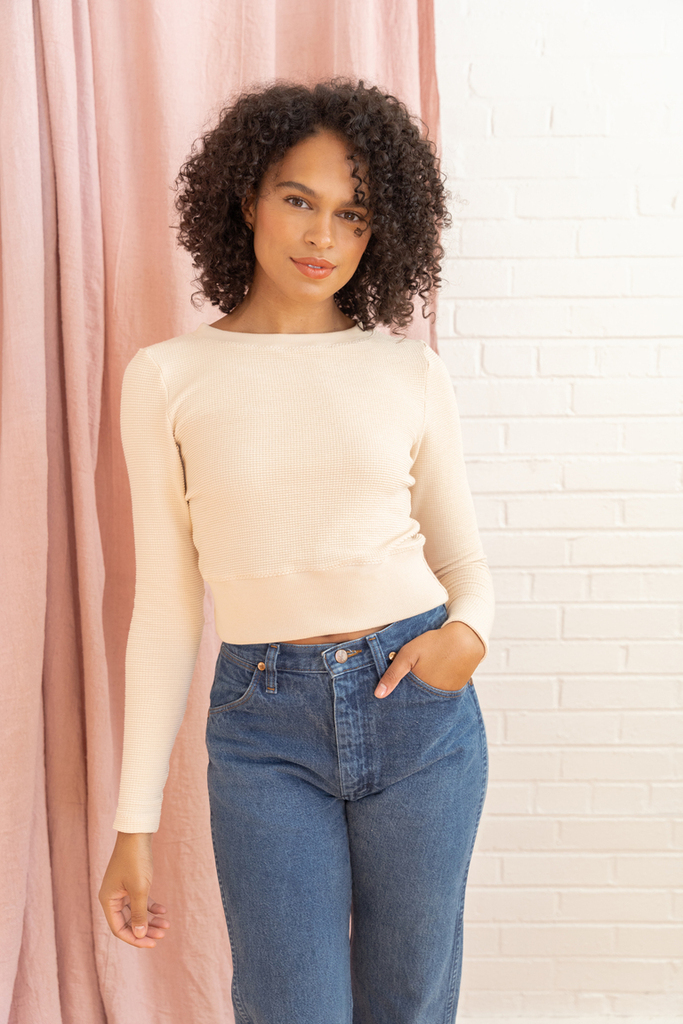
If you want something with a little more shape, the Astoria pullover is a nice contrast to Lex. Instead of oversized and dropped shoulder, it's cropped and closer-fitting, with a waist-defining shape that gives you a bit more design detail to work with. I made mine in that French terry with matching ribbing I mentioned earlier, and the ribbing at the hem and cuffs helps hold that shape without you having to add anything extra.
The Cove sweater takes things in a slightly more elevated direction. It's still got a relaxed fit and dropped shoulders, but the neck placket and rolled collar give it a bit more polish, so it reads a little more refined than your classic sweatshirt silhouette. The fitted hem band and cuffs give you a clean finish practically for free.
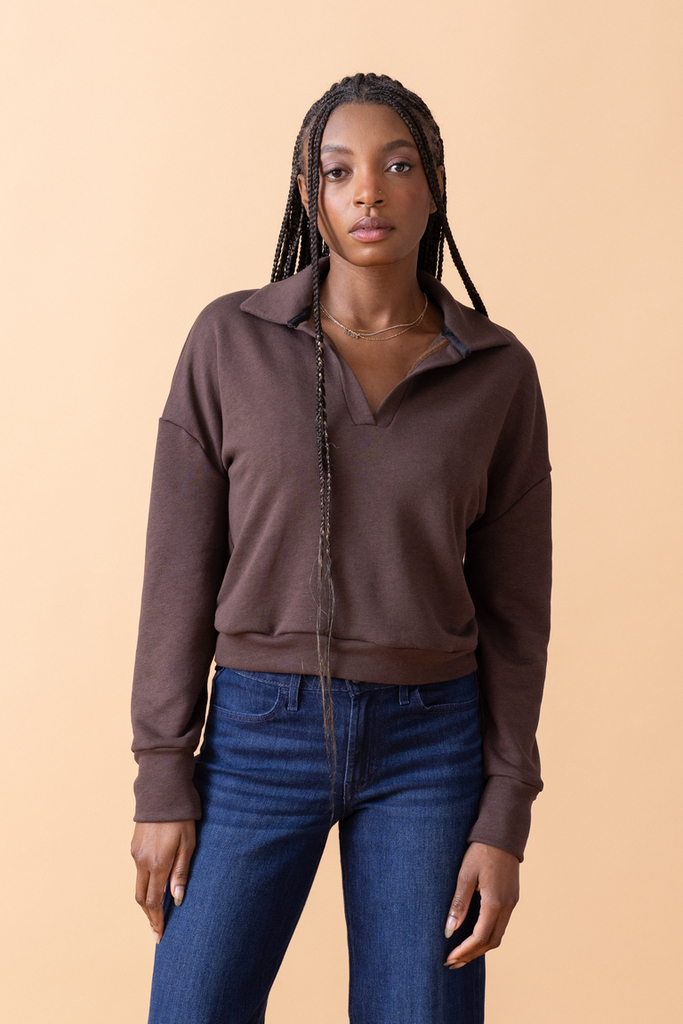
If you're working with a heavier fleece specifically, Pepper is designed exactly for that. It's built for medium to heavy knits with at least 25% stretch, so the oversized collar and wide cuffs can handle that extra weight without pulling out of shape.
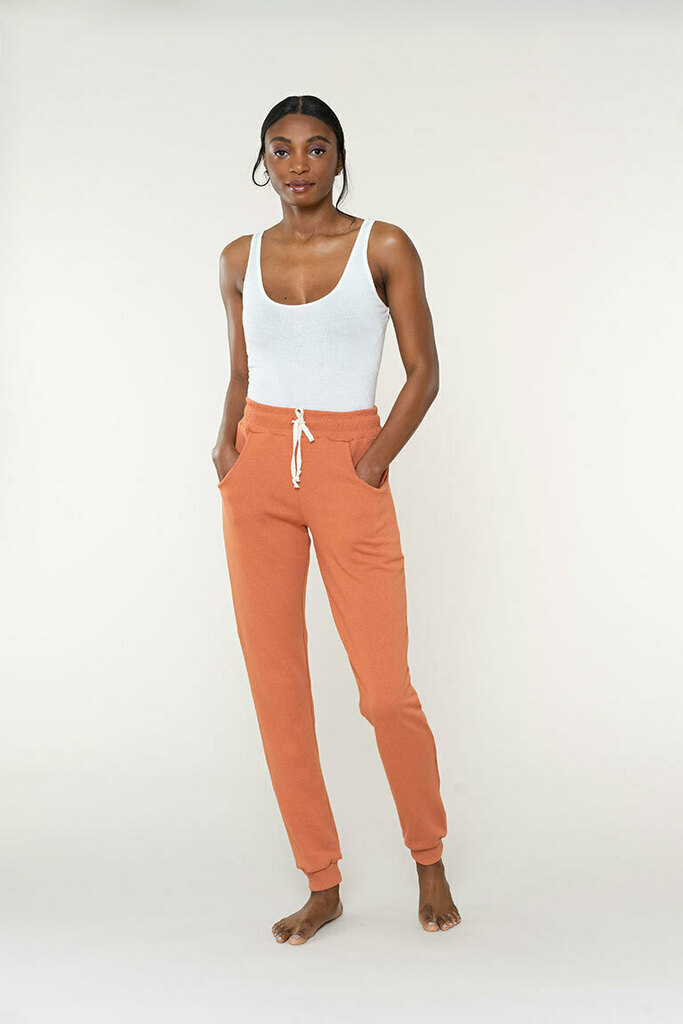
And don't forget about sweatpants. The Mel joggers are that classic jogger silhouette, with a relaxed mid-rise fit, an elasticized drawstring waist, and cuffs at the hem. They're a loungewear staple worth having in sweatshirt knit on their own, but they also pair beautifully with any of the tops mentioned above for a full matching set.
Wrapping Up
Sweatshirt knits reward a little extra care at every stage — from choosing between fleece and terry, to pre-washing, to stabilizing those shoulder seams before gravity gets the chance to. None of it is complicated, but each step adds up to a finished garment that holds its shape wear after wear, instead of one that droops and ripples by the second time you put it on.
What's the first thing you're planning to sew in sweatshirt knit this season?
 Related Articles

 Best Articles