
 Sign In
If you've ever found yourself squinting to see where your needle is landing, wrestling with decorative stitches that bunch up, or spending hours on hems that could be done in minutes, you're not alone. These frustrations used to drive me crazy until I discovered that the right presser feet could completely transform my sewing experience.
Today I'm sharing five specialty presser feet that have become absolute game-changers in my sewing room. Once you see what they can do, you'll wonder how you ever managed without them. These aren't just nice-to-have accessories—they're problem-solvers that will make your sewing more precise, efficient, and honestly, a lot more fun.
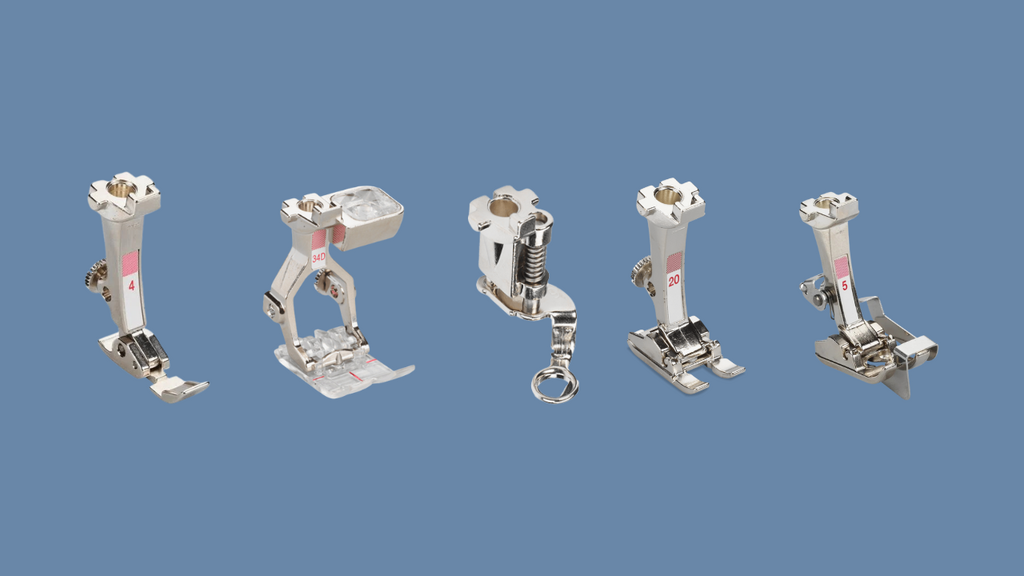
The Zipper Foot: Your Secret Weapon for Perfect Installations
Let's start with probably the most recognizable specialty foot—the zipper foot. If you've been avoiding zipper projects because they always turn out wonky, this foot is about to change everything.
The magic is in that narrow design with grooves on both sides. Unlike your regular presser foot, which keeps you at a frustrating distance from zipper teeth, this foot lets you position your needle exactly where you need it for clean, precise installations.
I used to dread putting in zippers because I could never get close enough to the teeth. The result? Wobbly stitching lines and fabric that puckered away from the zipper. But with the zipper foot, you can maintain that consistent distance from the teeth as you sew. The key is to go slowly and let the foot do the work—it naturally follows the zipper's edge, so your stitching stays perfectly parallel.
Beyond Zippers: Unexpected Uses That Will Surprise You
Here's what makes this foot so versatile—that same ability to stitch close to raised elements makes it perfect for inserting piping. The narrow design lets you get right up against that corded edge and stitch a perfectly straight line.
And here's an application that might surprise you: this foot is brilliant for installing snap tape or hook and eye tape. It lets you stitch close to the edge of the tape without fighting against bulk, giving you much neater, more professional-looking results.
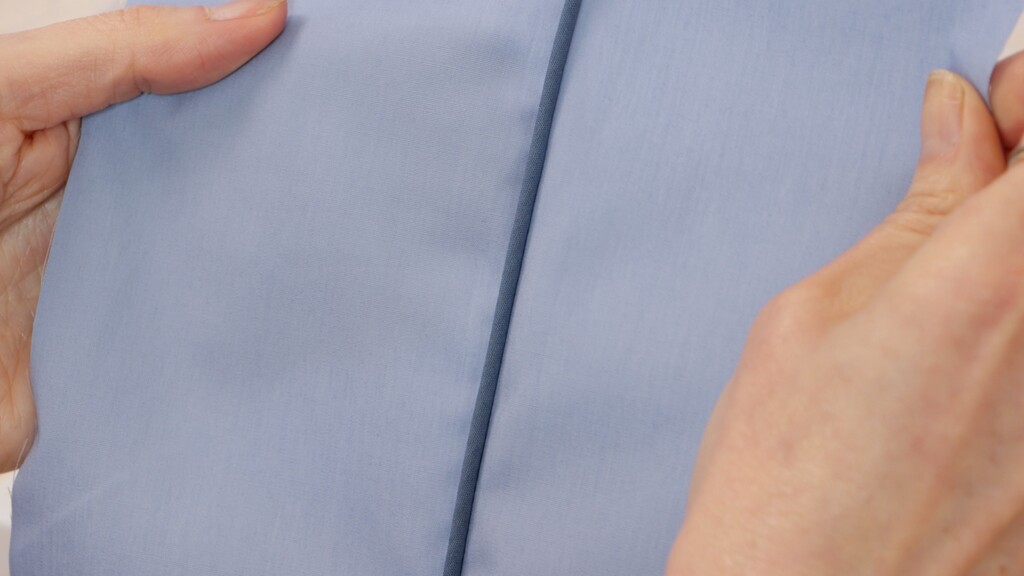
I recently used this technique when making the Bay coat pattern, and the difference in the finished look was incredible. Instead of struggling with a regular foot and getting uneven spacing, the zipper foot made quick work of the piping insertion.
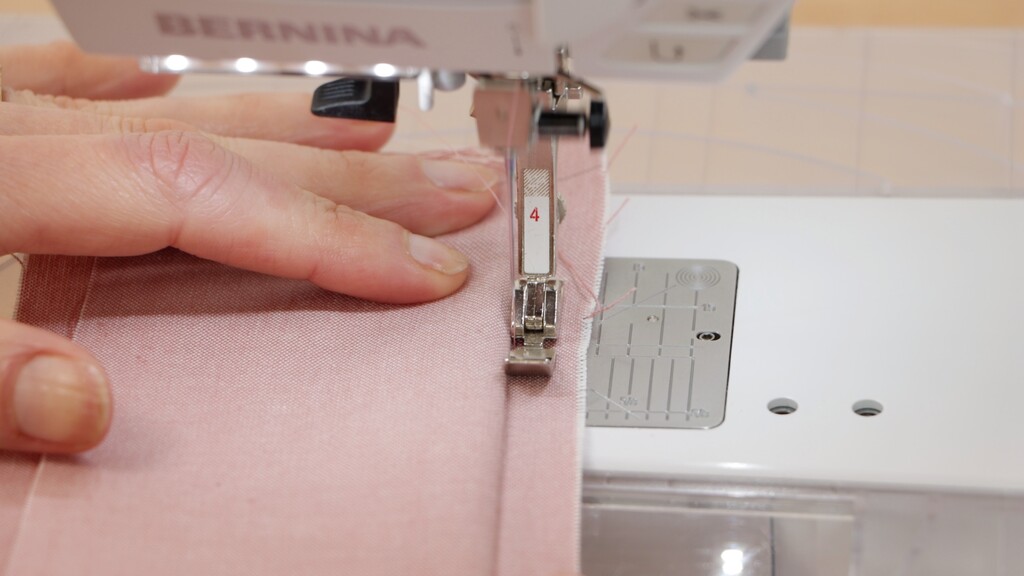
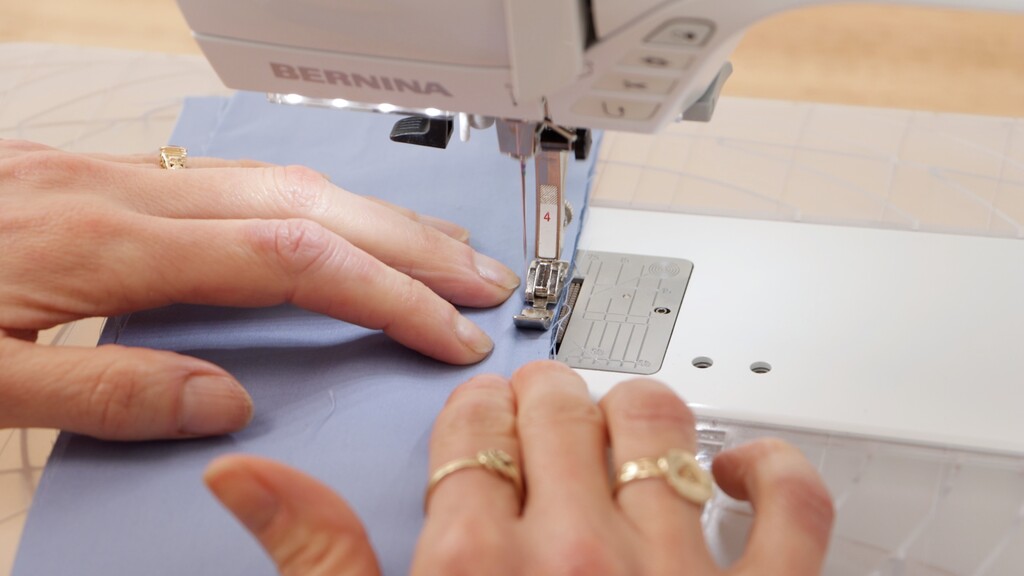
Clear Sole Reverse Pattern Foot: X-Ray Vision for Your Sewing
You know that frustrating moment when you're trying to follow a pattern marking or sew a perfect line, but you can't see exactly where your needle is landing? You find yourself craning your neck, constantly lifting the presser foot to check your progress, and somehow still veering off course.
The clear sole reverse pattern foot is like having x-ray vision for your sewing. That transparent sole gives you a perfect view of exactly where your needle is going, while the red markings on top work as guides for consistent spacing.
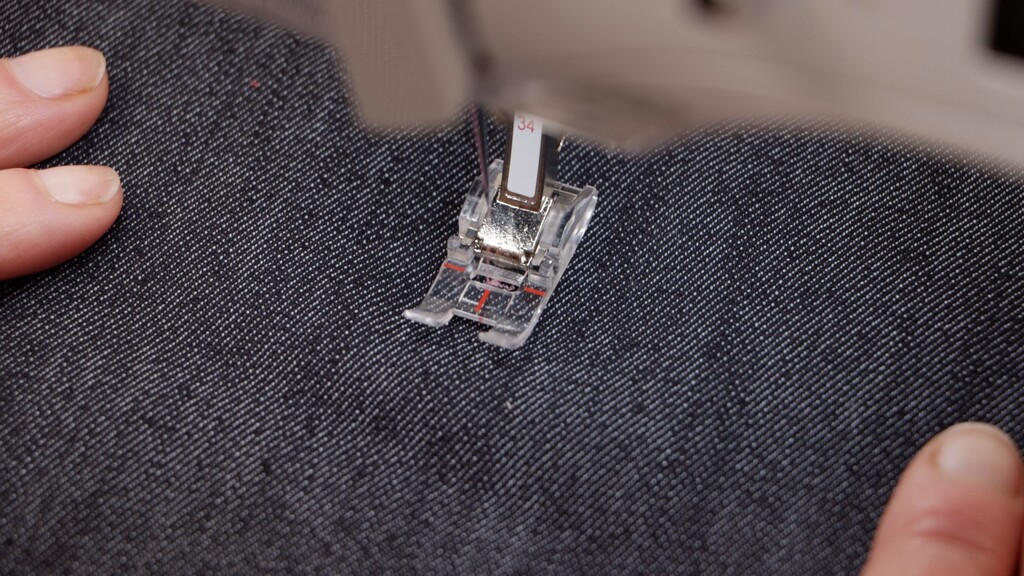
Whether you're doing parallel rows of topstitching on the Tessa jeans or maintaining an exact distance from an edge on the Rachel shirt, these markings take all the guesswork out. I love using this foot when I'm adding topstitching details—you can see exactly how your stitches are forming and make tiny adjustments as you go.
The real magic happens during decorative stitching or appliqué work. Use the red markings to align your stitches precisely where you want them, then watch as your stitches form exactly as planned. No more surprises when you lift the foot—what you see is exactly what you're getting.
The Darning Foot: Become a Fabric Magician
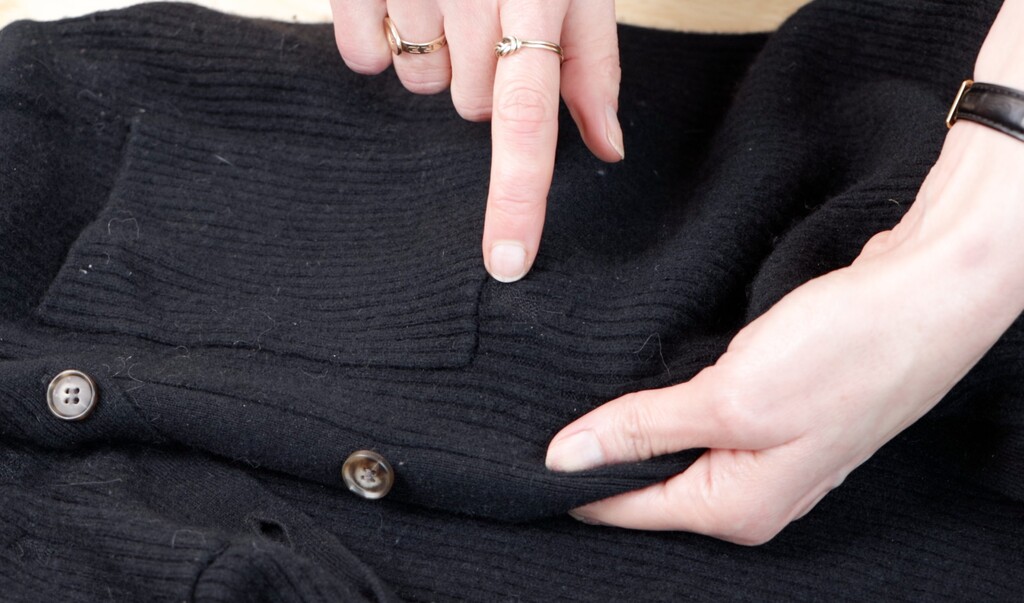
How many times have you had a favorite garment develop a small hole and resigned yourself to throwing it away? Or tried to patch it, but the repair looked so obvious you were embarrassed to wear it? The darning foot changes all of that.
This foot has a spring-loaded hopper mechanism that holds your fabric firmly while allowing you to move it freely in any direction. It's like having a tiny embroidery hoop that moves with you as you sew.
The Darning Technique That Saves Your Favorite Clothes
The technique is surprisingly straightforward once you understand the setup. First, drop your feed dogs so your fabric moves completely free. The spring-loaded action keeps everything stable as you move the fabric around, creating intersecting stitch lines to form strong, even patches.
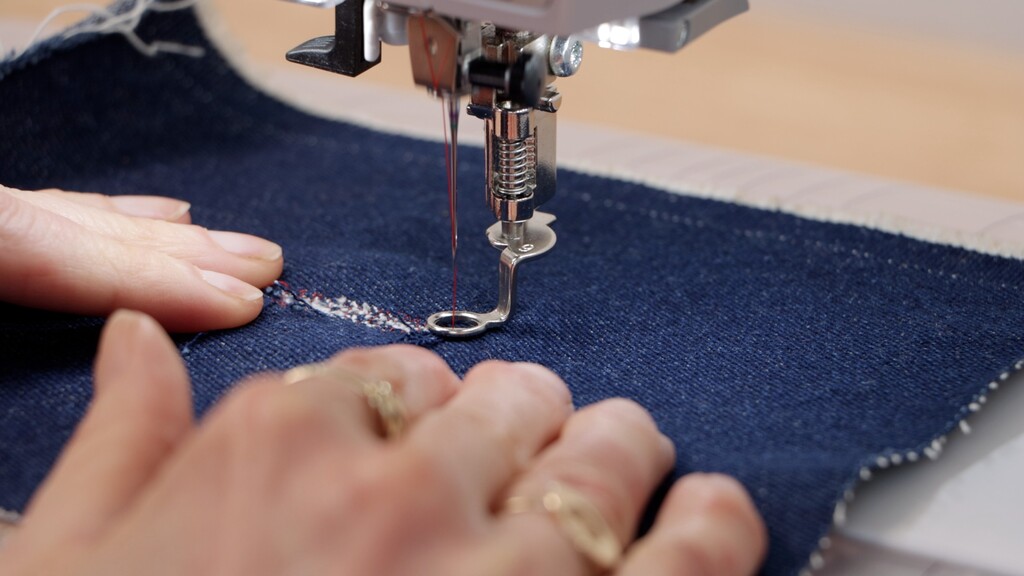
Use thread that matches your fabric, and the repair will be practically invisible. I saved a favorite pair of jeans this way—what looked like a hopeless hole became an invisible mend that's now stronger than the original fabric.
But here's where it gets really fun: this same foot opens up free-motion embroidery and quilting. One technique I absolutely love is stipple quilting. You can create those beautiful meandering patterns that add texture and dimension to your projects. The control you get with this foot makes it possible to create smooth, flowing curves without any starts and stops.
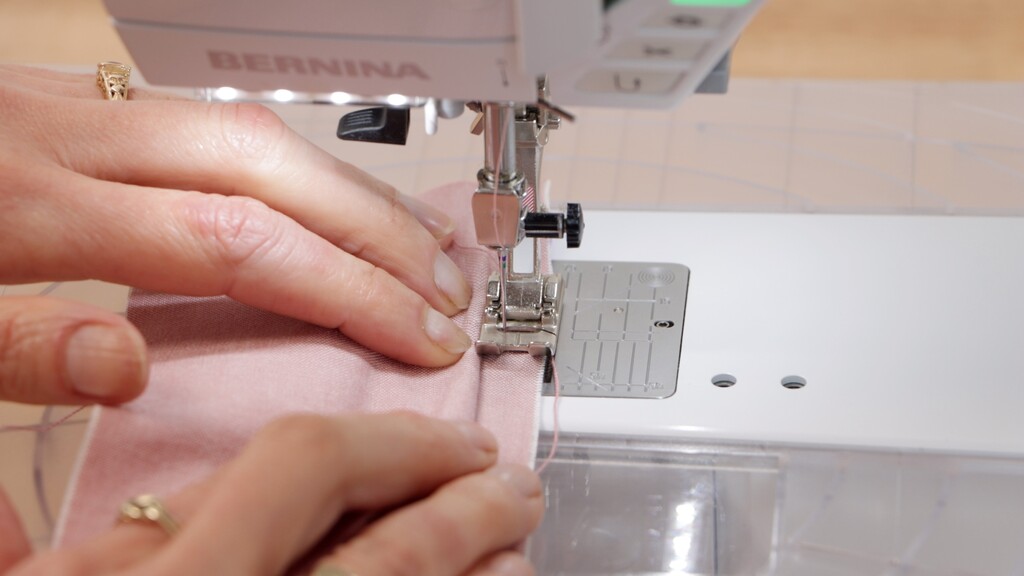
Open Embroidery Foot: Your Gateway to Decorative Possibilities
If you've been curious about decorative stitching but frustrated with bunched-up results, the open embroidery foot is going to open up a whole world of possibilities.
That wide opening at the front isn't just for show—it's what makes this foot so special. When you're doing decorative stitches, especially dense satin stitches, regular presser feet can actually fight against you. They don't have room for thick stitch formations to pass through smoothly.
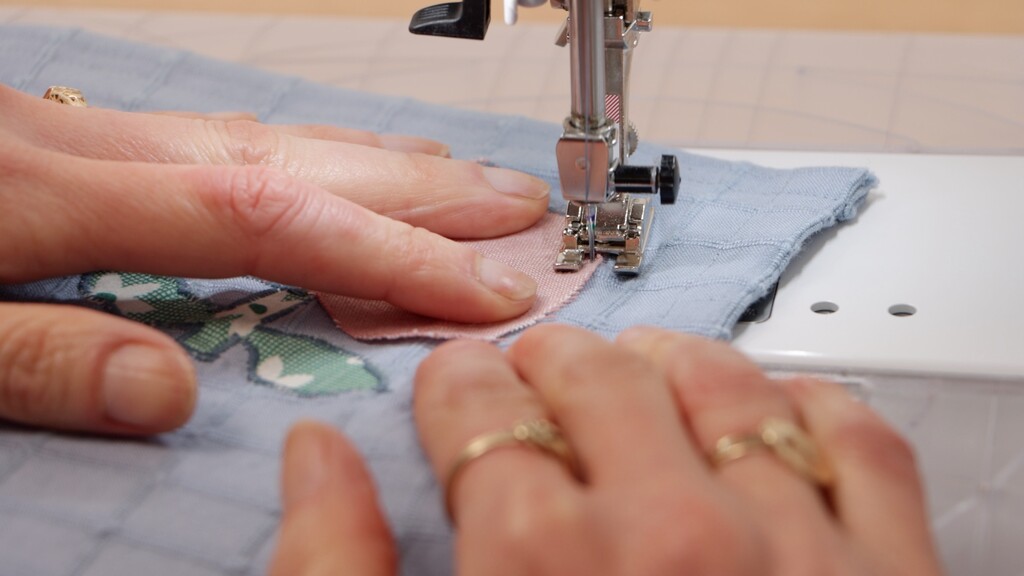
This foot solves that problem with its specially designed channel underneath. Think of it like a little tunnel that lets even the densest decorative stitching glide through without jamming. Your stitches come out smooth and even, no matter how elaborate the pattern.
Perfect for Appliqué and Trim Work
Here's where this foot really shines: appliqué work. That wide opening gives you a perfect view of your fabric edges as you're satin stitching around them. You can see exactly where your needle is catching the appliqué piece, resulting in beautifully finished edges that look professionally done.
Don't think this foot is just for fancy embroidery, though. It's also fantastic for attaching trims and decorative tapes. The open design lets you see exactly where the trim is positioned, and that channel underneath accommodates the bulk of the trim so everything feeds through smoothly.
I used this foot recently when adding decorative trim to the Hansie top pattern, and the precision it gave me turned a simple project into something that looked so chic.
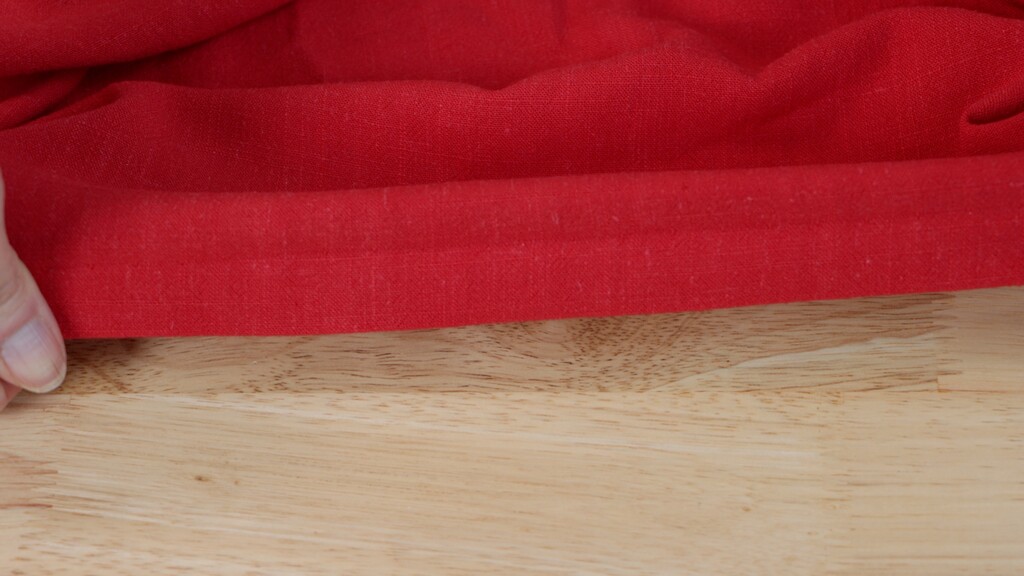
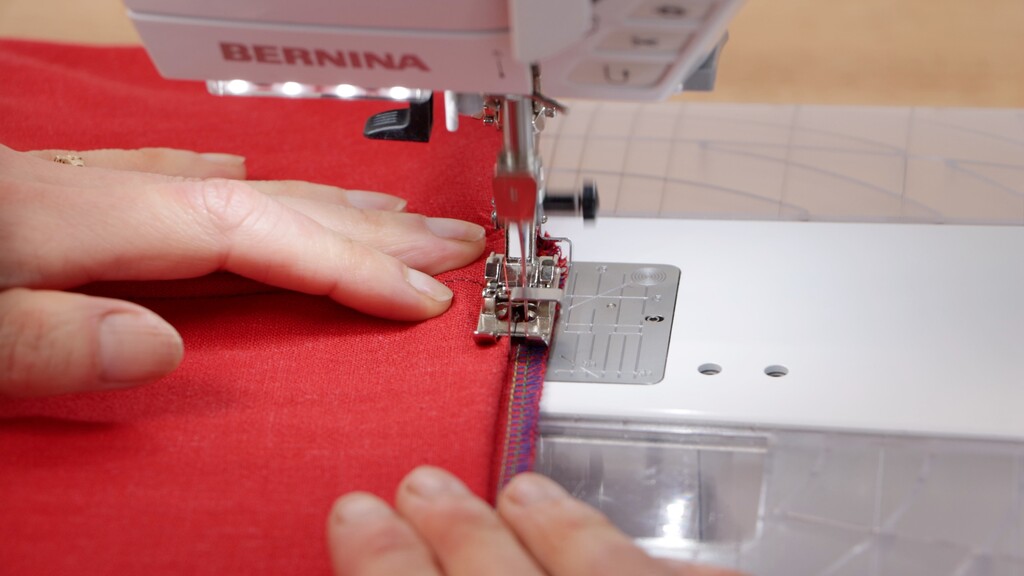
Blindstitch Foot: Invisible Hems Without the Hand-Sewing Marathon
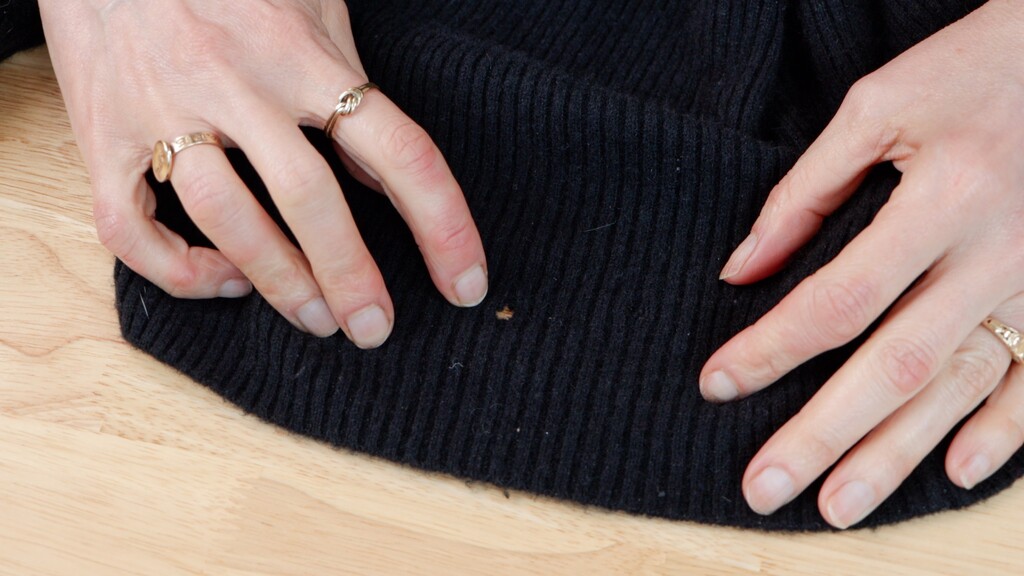
If you've been avoiding hemming or paying to have it done elsewhere, the blindstitch foot is about to save you time and money. Traditional hemming puts you in a tough spot: hand-hemming gives invisible results but requires hours of tiny stitches, while machine hemming is quick but leaves visible stitch lines on the front.
The blindstitch foot gives you the best of both worlds—machine efficiency with virtually invisible results.
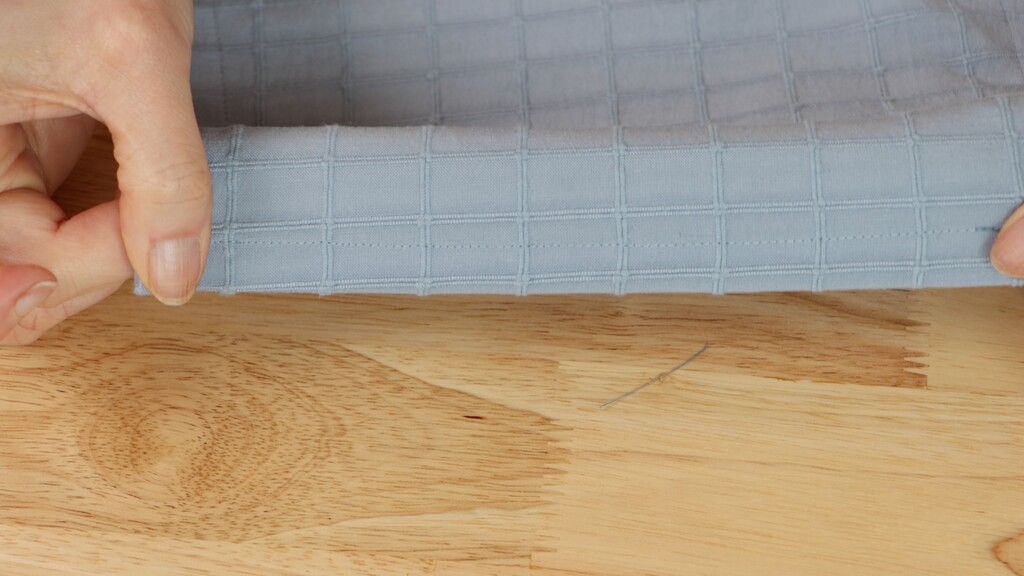
The Setup That Makes All the Difference
The metal guide on this foot works with your machine's blind hem stitch, which alternates between straight stitches and zigzag stitches. Here's the technique:
First, press your hem and finish the raw edge, then fold it back leaving about a quarter inch visible. The metal guide positions along that fold while your machine alternates between straight and zigzag stitches. Straight stitches anchor the hem allowance while the zigzag barely catches the main fabric.
I'll admit there's a bit of a learning curve with the setup, but once you get the hang of it, you can hem things in a fraction of the time it would take by hand. I use this technique constantly when hemming dresses like the Greer maxi dress—it maintains that beautiful drape while giving a completely professional finish.
Read this article to learn the complete blind hemming technique, including when to use this method versus other hemming options.
Building Your Presser Foot Collection Strategically
You don't need to buy all these feet at once. I recommend starting with the one that addresses your biggest current frustration. If you avoid zipper projects, start there. If you're doing a lot of decorative work, the open embroidery foot might be your priority.
Many of these feet are universal and will work with most machines, but always check compatibility with your specific model. The investment in quality presser feet pays for itself quickly—both in time saved and in the professional results you'll achieve.
These five presser feet have completely transformed how I approach precision work in my sewing room. They've turned techniques I used to dread into ones I actually look forward to. The confidence that comes from having the right tool for the job makes sewing so much more enjoyable.

