
 Sign In
Cardigans are one of my absolute favorite things to wear in fall. You can throw one over a dress, layer it with a pretty blouse, or just wear it on its own as a top. Here's the thing though—knitting a cardigan takes me months, but sewing one? That takes just a couple of hours, even if you're a total beginner.
If stretchy fabrics usually make you nervous, I get it. But I'm here to show you that sewing a fitted cardigan is totally achievable, even if you've never worked with knits before. Plus, I'll share my favorite technique for installing sleeves in knits that you can use for all your future knit projects.
Why the Fig Cardigan is Perfect for Your First Knit Project
I chose our Seamwork Fig cardigan to walk you through this process because it has that classic crew neck and fitted shape that makes it incredibly versatile. The construction is straightforward enough for beginners but sophisticated enough that you'll end up with something you actually want to wear.
The Fig pattern works with a wide variety of fabrics, which gives you lots of room to experiment and find your personal style. Whether you want a lightweight cardigan for transitional weather or something bulkier for true fall comfort, this pattern adapts beautifully.
Essential Tools and Materials You'll Need
Let's talk about what you'll need for this project. For fabric, you'll want medium-weight to heavyweight knits with at least 30% stretch. Think ponte, double knit, merino jersey, French terry, rib knits, or sweater knits. I'm using a beautiful merino wool jersey I bought from The Fabric Store, which is lightweight. You can definitely use something bulkier for a different look.

You'll also need:
- Lightweight fusible knit interfacing
- Half-inch buttons
- Ballpoint or jersey needles
- Knit stay tape or strips of knit interfacing for stabilizing shoulder seams
Some helpful extras include fabric clips, wonder tape, and a twin needle for your hems. You don't absolutely need these, but I'd recommend them—they make the whole process smoother and more enjoyable.
Do You Need a Serger?
Here's a question I get all the time: Do I need a serger to sew a cardigan? The answer is absolutely not! A serger does make things fast and easy, and it's what I use for all my knits, but a simple cardigan like this can easily be sewn on your regular machine using a zigzag or stretch stitch. Just make sure to test your stitches first on some scraps, and consider using a walking foot if you have one.
Step 1: Choose and Cut Your Fabric
The key to a successful cardigan starts with choosing the right fabric. You want something with good recovery—meaning when you stretch it, it bounces back to its original shape. Give your fabric the stretch test: pull it gently and see if it returns to its original width. If it stays stretched out, keep looking.
When it comes to cutting knits, I always reach for my rotary cutter instead of scissors. It glides through the fabric without shifting or stretching it out of shape.
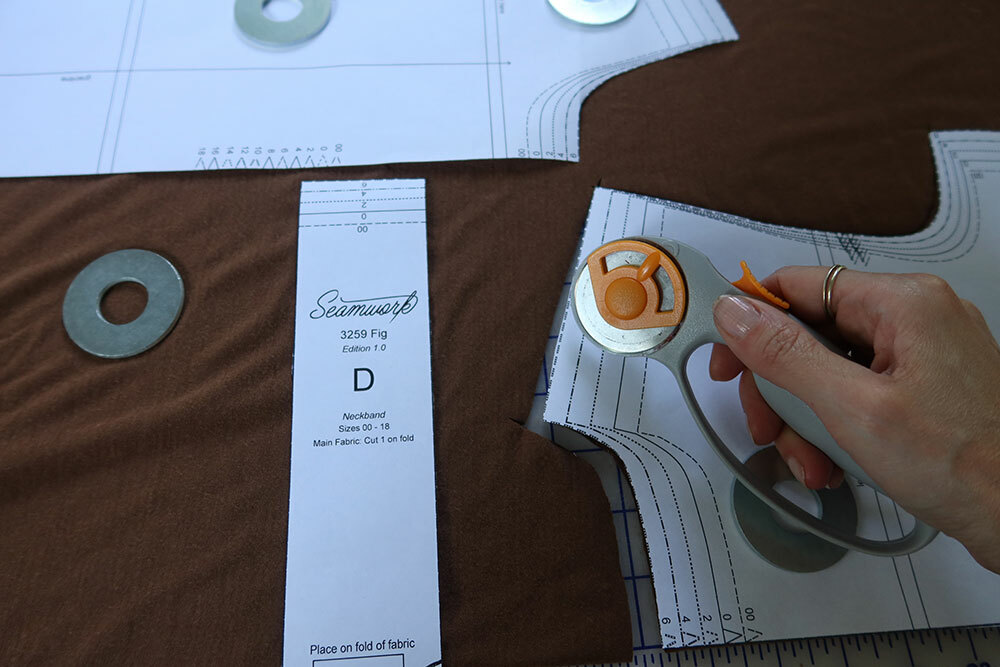
Here's a little tip that's going to save you stress later: cut an extra placket and interfacing piece. That gives you three instead of two, so you have a sample placket ready for testing your buttonholes. Trust me, you'll want to practice before sewing on your actual garment. There's nothing worse than being at the very end of your project only to have a wonky buttonhole completely ruin it.
Step 2: Reinforce and Sew Shoulder Seams
This step is crucial for a cardigan that maintains its shape. Place strips of clear elastic, knit stay tape, or knit interfacing along the wrong sides of the shoulder seams on your back pieces. I like using extra strips of knit interfacing because I already have it on hand, and it's easy to just fuse to the edge. No pinning required.
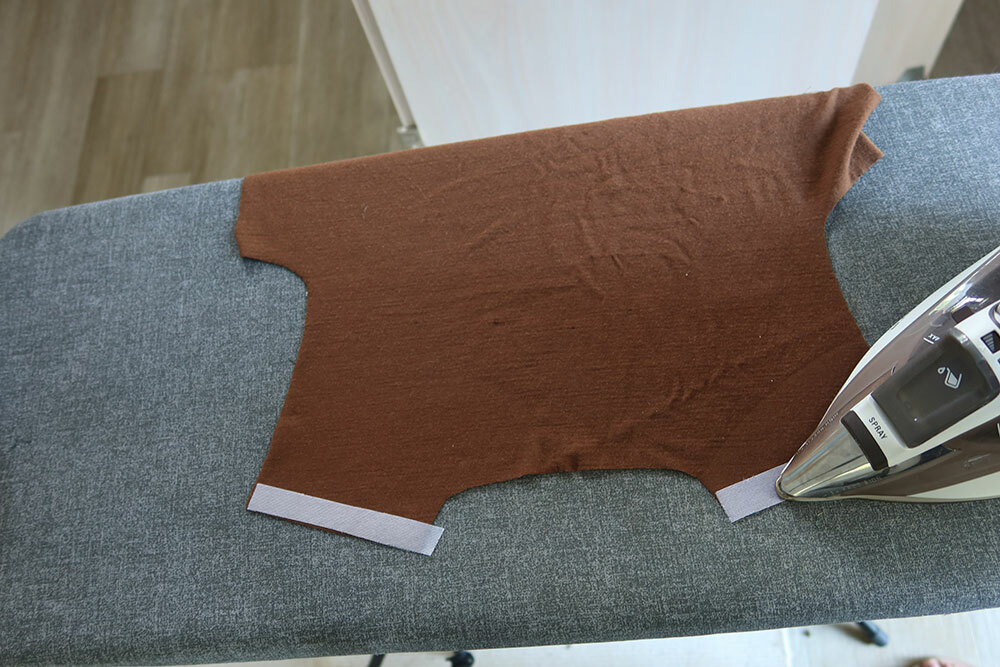
With right sides together, match your front pieces to the back at the shoulder seams. Pin everything carefully, then serge or stitch, catching that reinforcement in the seam. This prevents your shoulders from stretching out over time—something that can turn a great-fitting cardigan into something unwearable.
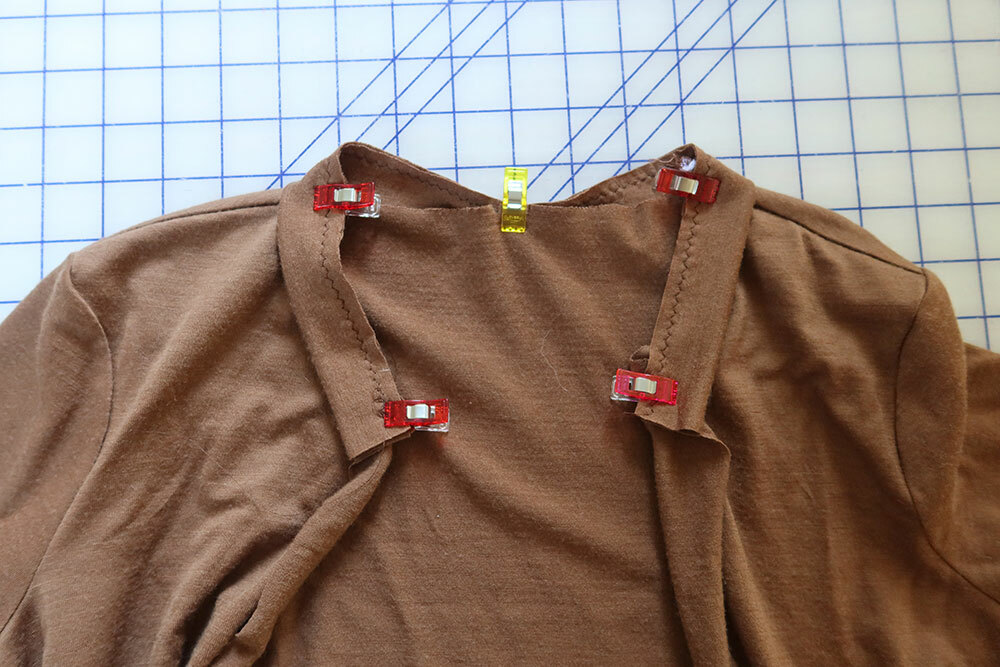
Step 3: Attach Sleeves Using My Favorite Technique
Now here's where I'm going to share one of my favorite techniques for setting knit sleeves perfectly every time. With right sides together and notches matched, align the circle on your sleeve cap with the shoulder seam.
But instead of trying to sew the entire sleeve in one go, I start at that circle in the middle and stitch towards one edge. Then I go back to the circle and stitch towards the other edge.
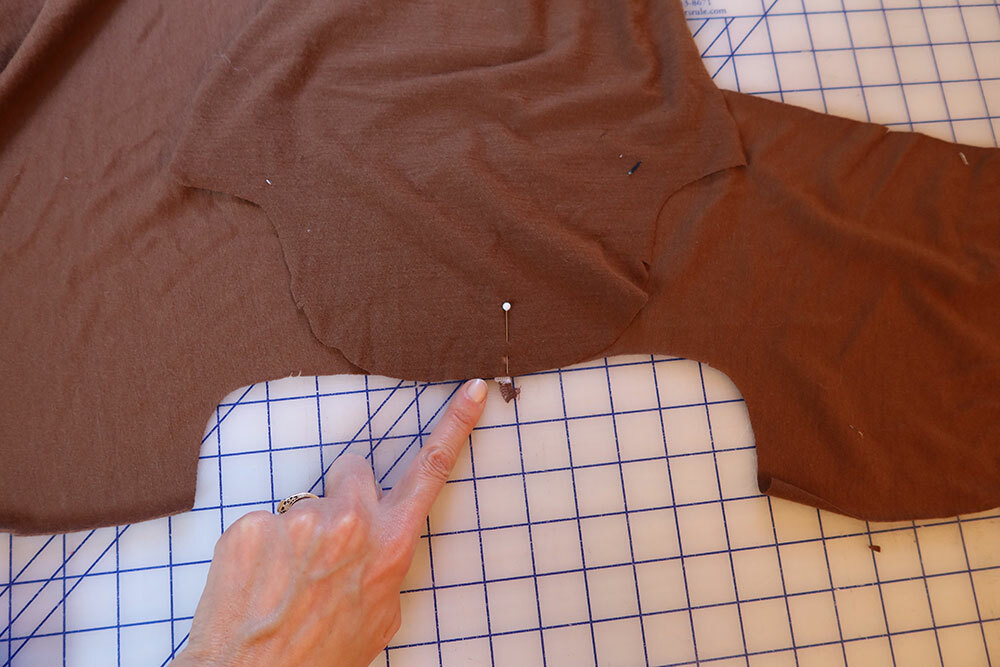
This prevents the sleeve from shifting back or forward in the armhole, so you know the top of the sleeve cap is perfectly aligned with the shoulder seam. I use fabric clips to hold everything in place because they don't create holes like pins might in delicate knits, and I don't have to worry about accidentally sewing over them.
Step 4: Sew Side Seams
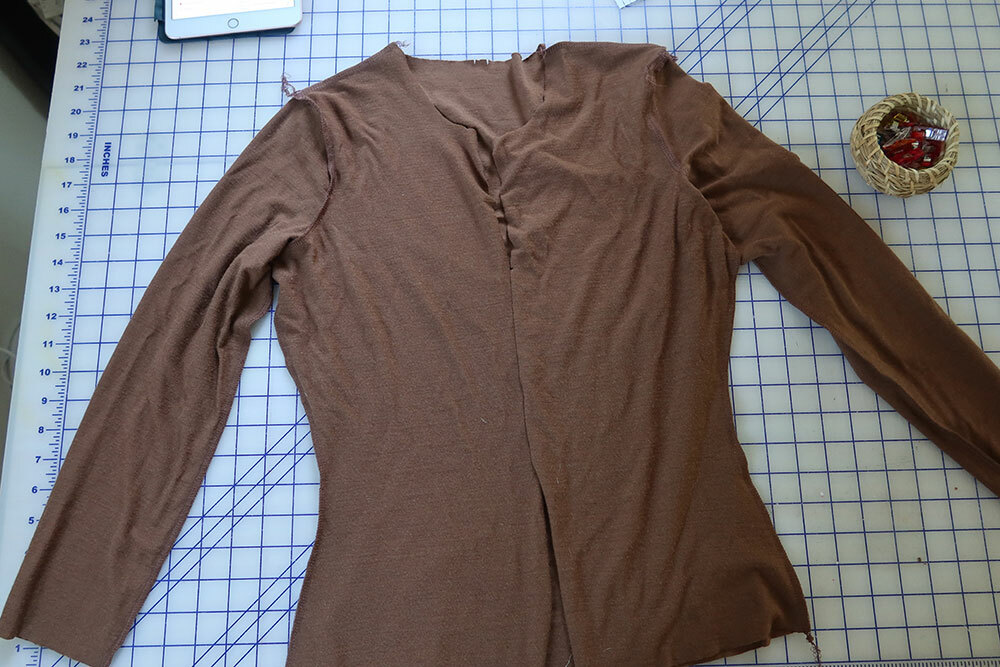
Pin your back to the front at the side seams and stitch from the hem all the way to the underarm, then continue down each sleeve.
Look at that—it already looks like a cardigan! This is actually a perfect time to stop and try it on to check the fit. Knits are forgiving, but it's always better to catch any issues now rather than after you've attached all the finishing details.
Step 5: Attach the Neckband
Now we'll create an easy neckband that gives your cardigan that finished look. Fold your neckband in half lengthwise with wrong sides together. Baste the long edges together at a quarter inch using a long zigzag stitch.
Place the basted edge of the neckband against the right side of your neckline edge, matching notches, and stitch. Again, I like using fabric clips to hold everything in place.
Press that seam allowance towards the body. This creates a really clean, flat finish that won't flip up or roll. If you'd like, you can even topstitch it in place along the neckline with a twin needle or zigzag stitch.
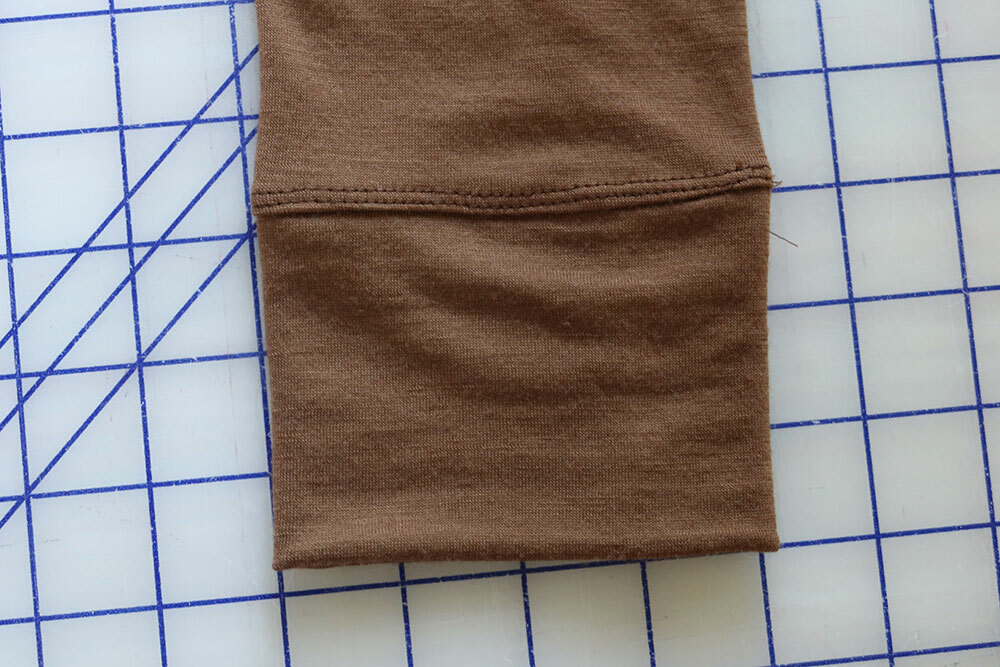
Step 6: Attach Cuffs
The cuffs use basically the same method as the neckband, but this time we're working in the round. Fold each cuff right sides together so the unnotched edges meet, then pin and stitch. Press those seam allowances to one side.
Now fold each cuff wrong sides together, matching notches, and baste the raw edges together at a quarter inch using that same long zigzag stitch.
Place each cuff against the right side of your sleeves, aligning seams and matching notches. Pin and stitch, then press the seam allowances towards the sleeve.
Step 7: Hem Your Cardigan
For the hem, finish the bottom edge using a serger or zigzag stitch, but don't trim any seam allowance. This will give you a nice clean, finished edge on the inside.
Fold the bottom edge to the wrong side at five-eighths of an inch and press. To hold it in place, you can use pins, or use wonder tape like I do! I almost always use wonder tape on my knit hems because this double-sided tape holds everything in place, keeps the fabric from stretching out as you stitch, and dissolves completely once you wash it.
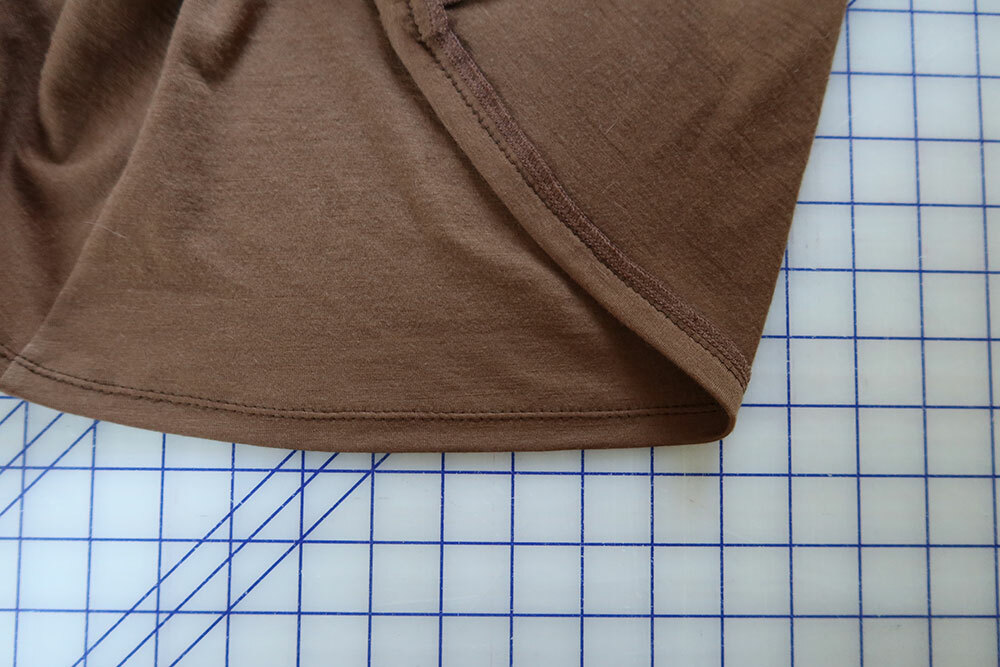
Once it's in place, stitch the hem on the right side at half an inch using either a twin needle or zigzag stitch. The twin needle creates this beautiful, stretchy hem that looks incredibly polished. If you don't have one, a zigzag works perfectly fine—just make sure your tension is balanced so you don't get any puckering.
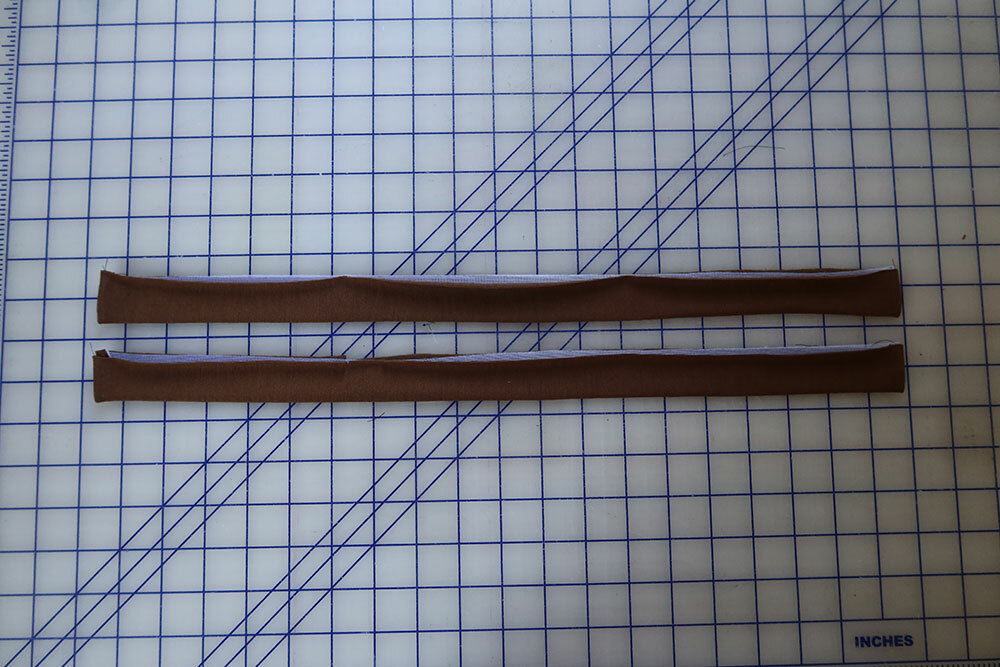
Step 8: Attach the Placket
Here's where things get interesting. Cut your placket interfacing piece in half lengthwise and apply one piece to the wrong side of each placket. This interfacing is what's going to make your buttonholes stable and easy to sew.
Fold each placket in half with right sides together and stitch across the top and bottom at three-eighths of an inch. Clip those corners and turn right side out. Press everything nice and flat.
Baste the raw edges of each placket together at a quarter inch using a long zigzag stitch. Place the basted edge against the right side of your front pieces, matching notches. Pin and stitch in place, or you can use wonder tape again to really make sure everything stays where it should. Then press each placket away from the front and the seam allowances towards the front.
Step 9: Buttonholes and Buttons
Remember that extra placket piece I had you cut? This is where it really pays off. Take that sample and practice your buttonholes before sewing them on your actual cardigan. Because you interfaced the placket, it should be stable enough to make buttonholes easy, but testing is always smart.
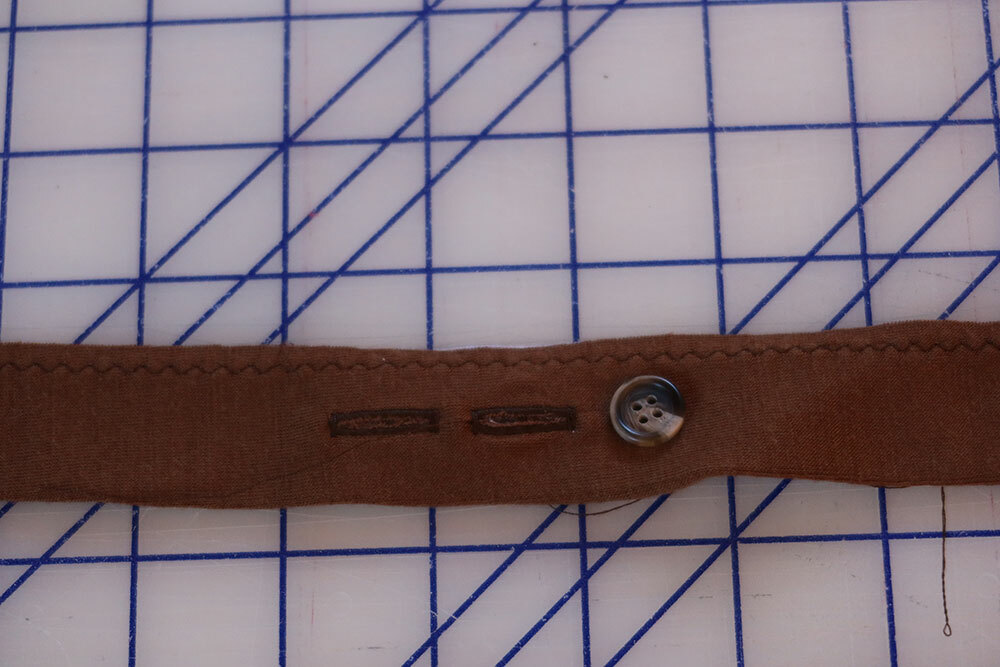
Once your buttonholes are looking good, sew them on the right side of the placket and attach your buttons on the left. Here's a little secret I've discovered: I've also started using wonder tape to hold my buttons in place before attaching them, and it works incredibly well! It holds them securely so they don't slide around under your button foot and end up crooked.
Final Details and Finishing
Take a moment to press everything one final time, paying special attention to those seam allowances and edges. The beauty of working with knits is that they're forgiving, but good pressing really elevates the finished look.
Troubleshooting Common Issues
Let me address a few things that might come up. If your neckband is rippling, you might have stretched it while sewing. Next time, let the machine do the work and don't pull on the fabric. If your buttonholes are puckering, add some tear-away stabilizer behind the placket for extra support.
And if your side seams are wavy, that usually means your tension needs adjusting or you're stretching the fabric as you sew. Remember, with knits, you want to guide the fabric, not pull it.
For more detailed guidance on working with challenging fabrics, read this article about sewing with knits without a serger.
Your First Cardigan Success
You've just sewn your first cardigan! This technique works for so many different knit projects, from lightweight cardigans like this one to chunky sweater-weight versions. The key is choosing the right fabric for your vision and taking your time with each step.
If you want to expand your knit sewing skills even further, watch this video about working with sweater knits specifically. You'll learn five game-changing tricks that make sewing with the coziest fabrics absolutely foolproof.
The Fig cardigan is available to Seamwork members, along with hundreds of other patterns in our growing collection. Members also get access to detailed sewalongs, fitting guides, and our supportive community of sewists who are always ready to help troubleshoot or celebrate your latest makes.

